
Now that I have a good bit of work completed on my corselette, it is time to get started on the other undergarment portion of this dress . . . the petticoat. I have a few different petticoats on hand, but none of them are going to work for this dress. One is the right shape, but it is black, and I have a feeling that it would show through my fabric, even with the layer of underlining I am planning on using. So I am making my own!
For the foundation of the petticoat, I like to use cotton. Some are made almost entirely of netting or tulle, but I prefer something more comfortable.
I find netting and tulle to be too itchy next to the skin, and any kind of polyester is out because I avoid it whenever possible.
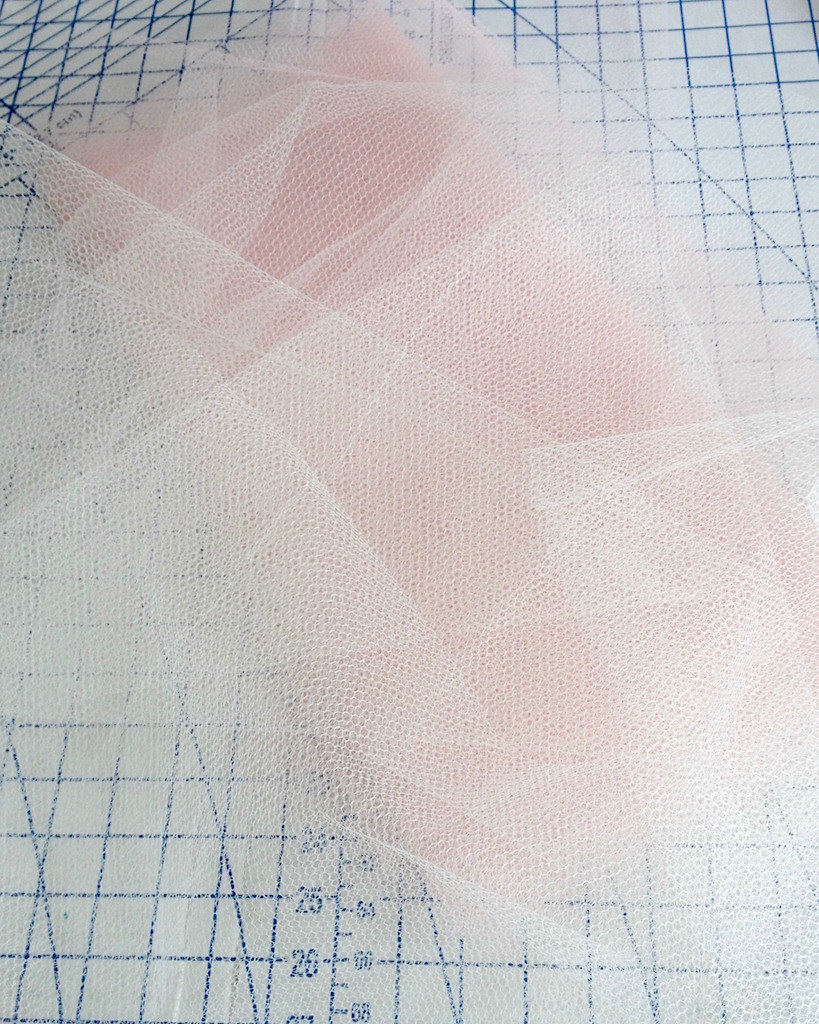
One of these days I will figure out a good source of cotton crinoline, but on a time crunch, netting is a great substitute to make a petticoat. While tulle is a lot softer to wear, it just does not create the bulk that netting does. Another bonus is that netting comes 72 inches wide and it is really inexpensive!
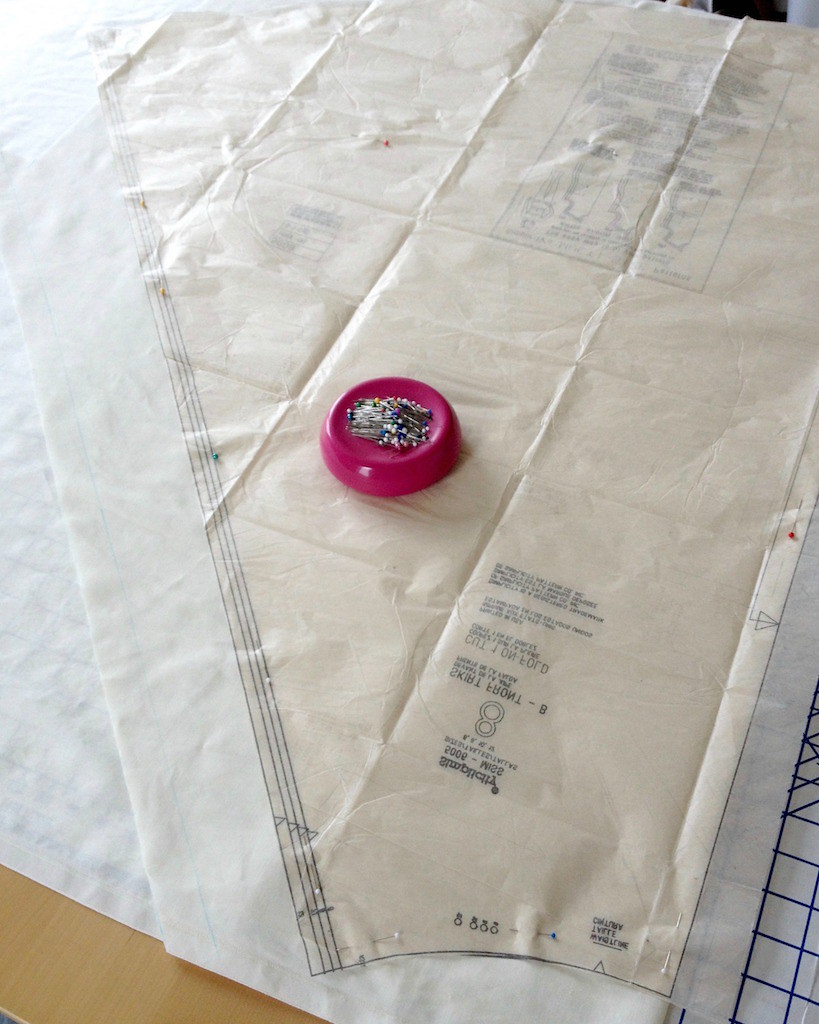
For the cotton foundation layer, I pulled out Simplicity 5006 and cut two skirt fronts. For my Cherries Jubilee gown, I used a much narrower cotton skirt as the foundation for my net ruffles. This time around, I am curious to see how starting with a full skirt as a base will work.

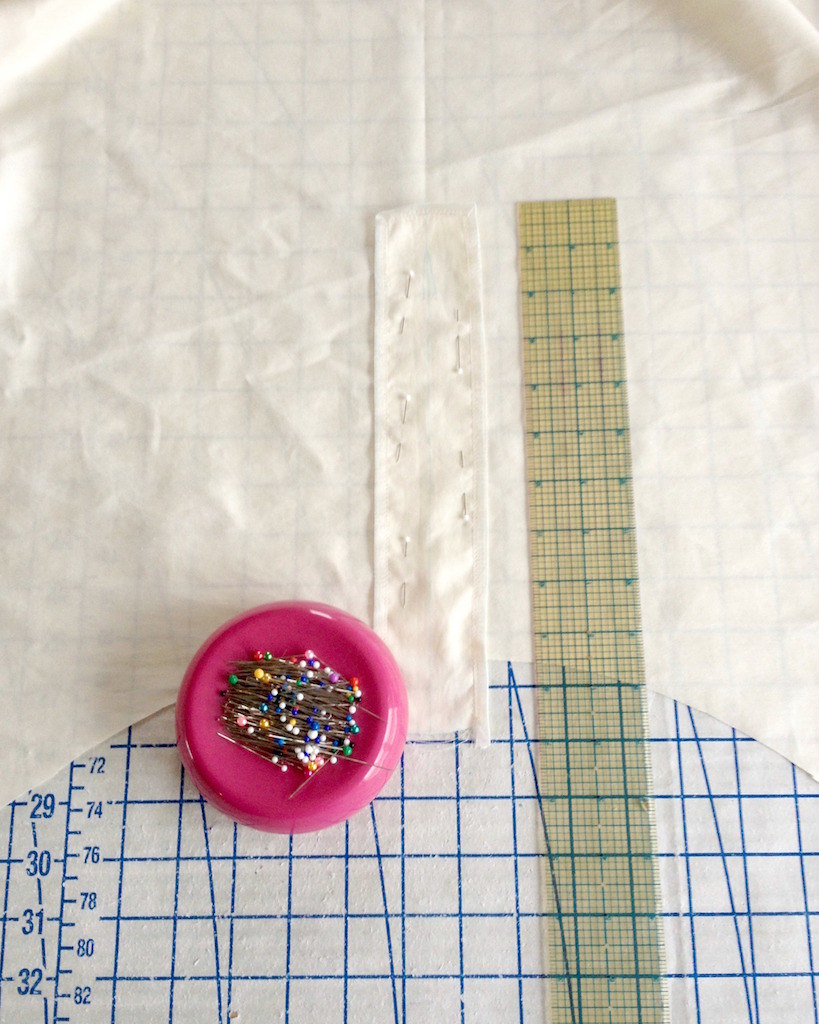
A placket was added to the center of one of the cotton pieces before stitching them together at both sides. I will be attaching this an inch or two below the waistline of my corselette when both items are finished.
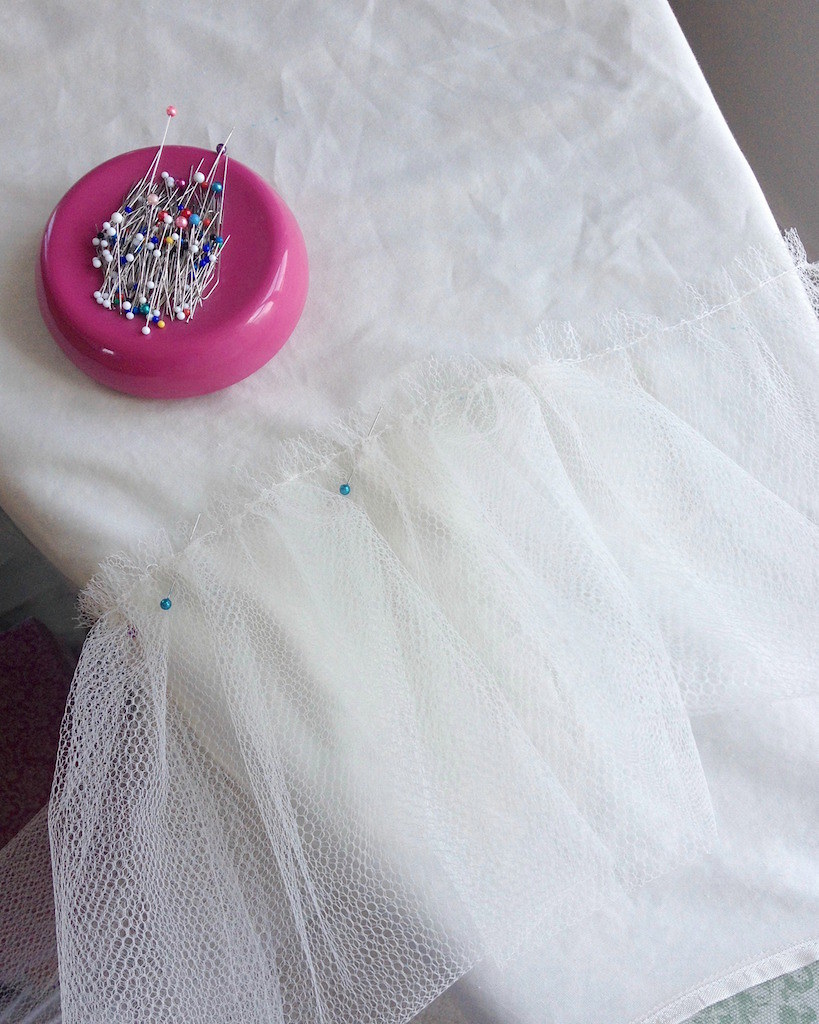
To make the ruffles, I cut two pieces of netting of equal size, stitch the ends together, and then fold that newly formed circle in half, joining the two raw edges. I did a similar thing for this petticoat, but this time I am using the netting around the entire skirt circumference.
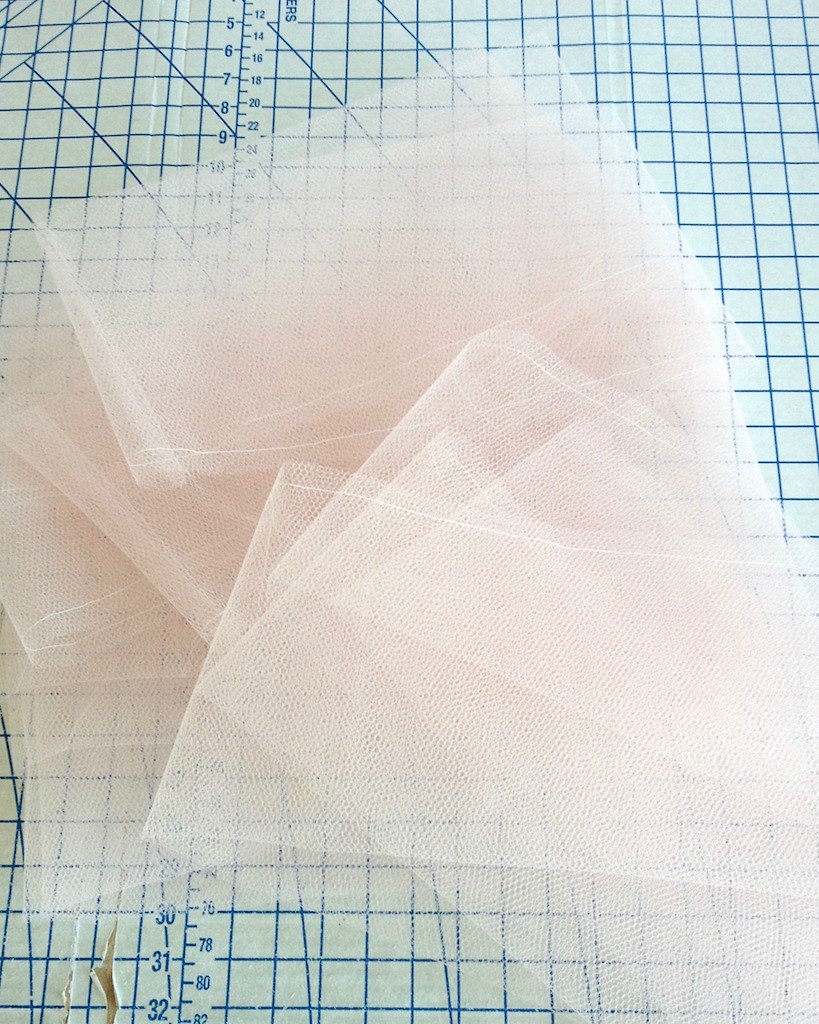
Those raw edges are then gathered to create a ruffle.
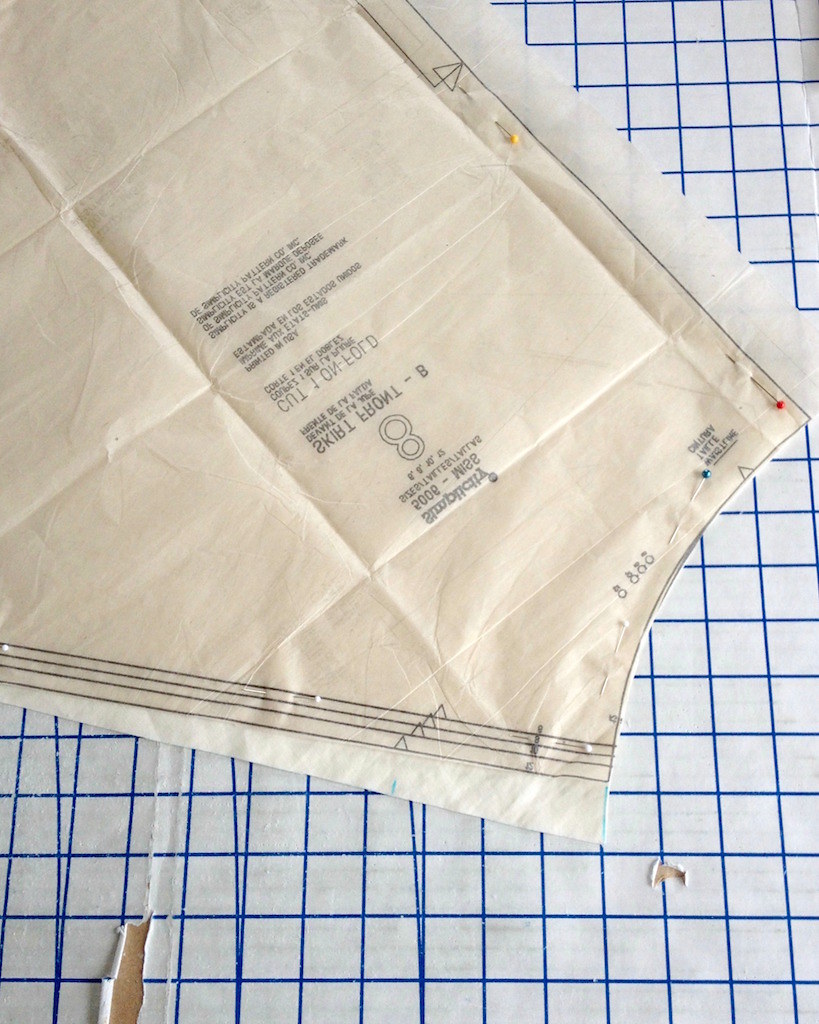
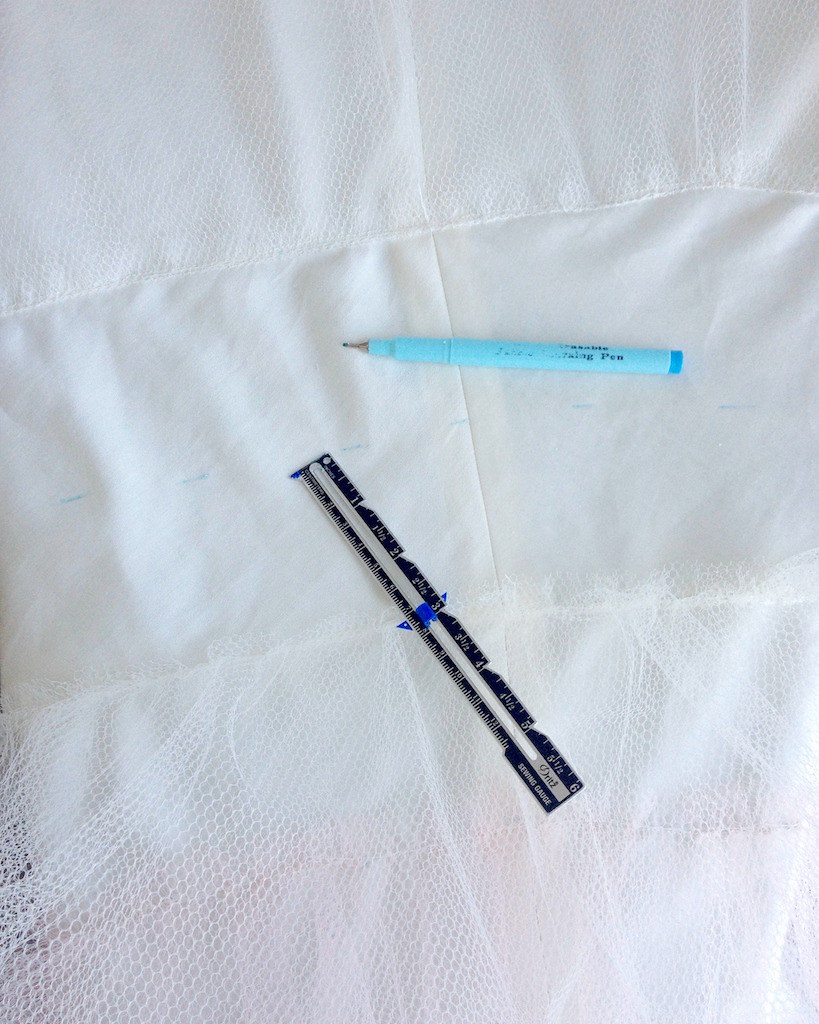
To make it easier to apply the ruffle evenly, I mark placement lines on the cotton.
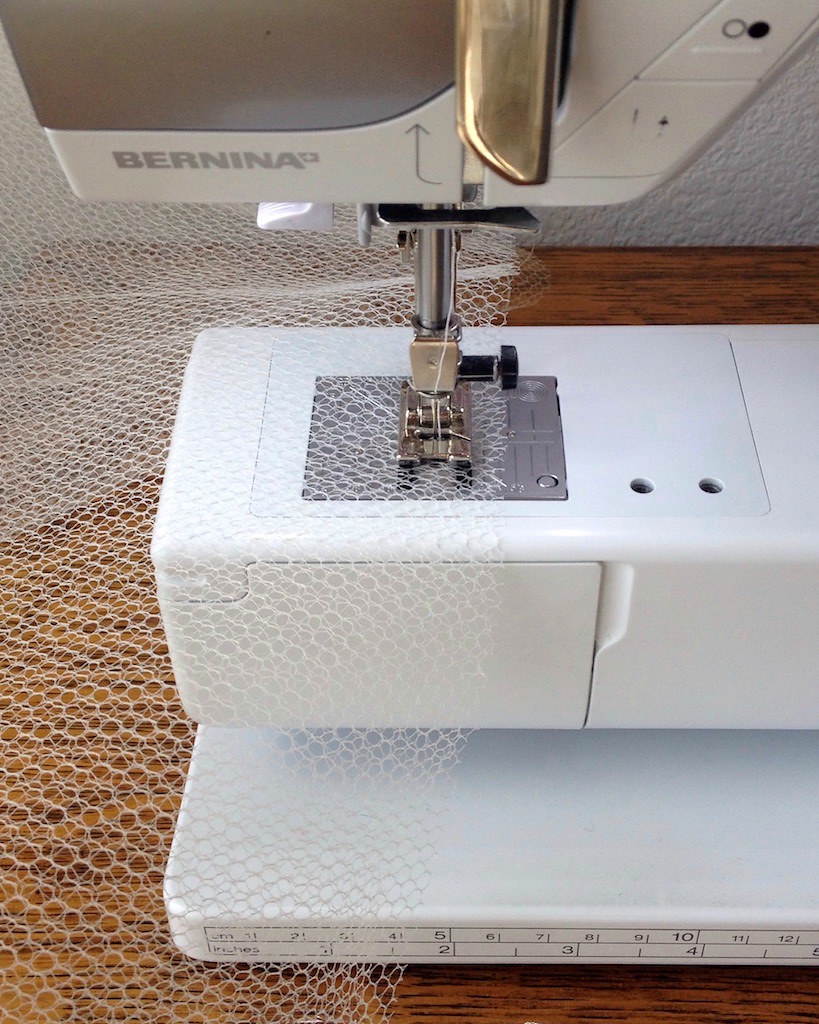
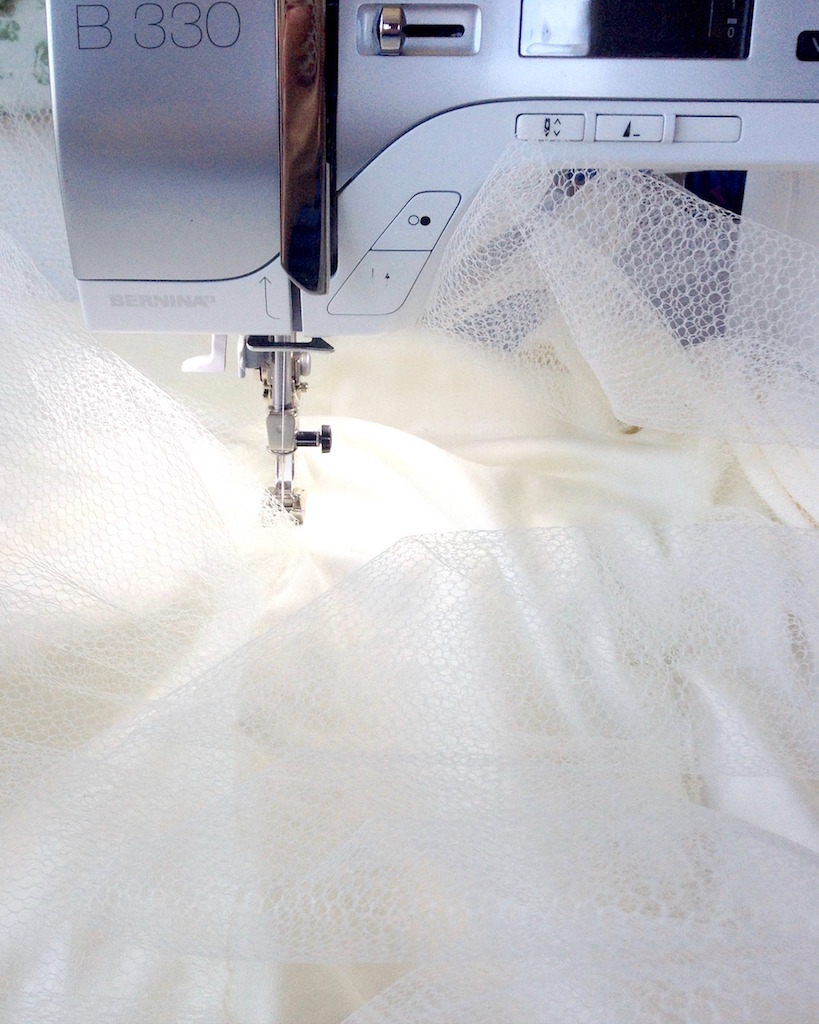
To apply the ruffle to the cotton foundation, I stitch along the gathered stitching line with the folded ruffle edge facing the waistband. After stitching it in place, that ruffle is then reoriented with the folded ruffle edge facing the hemline of the cotton foundation and edge stitched over the gathered edge.
If I don’t run that line of edge stitching, the netting tends to have a mind of its own and the multiple layers like to bunch up.
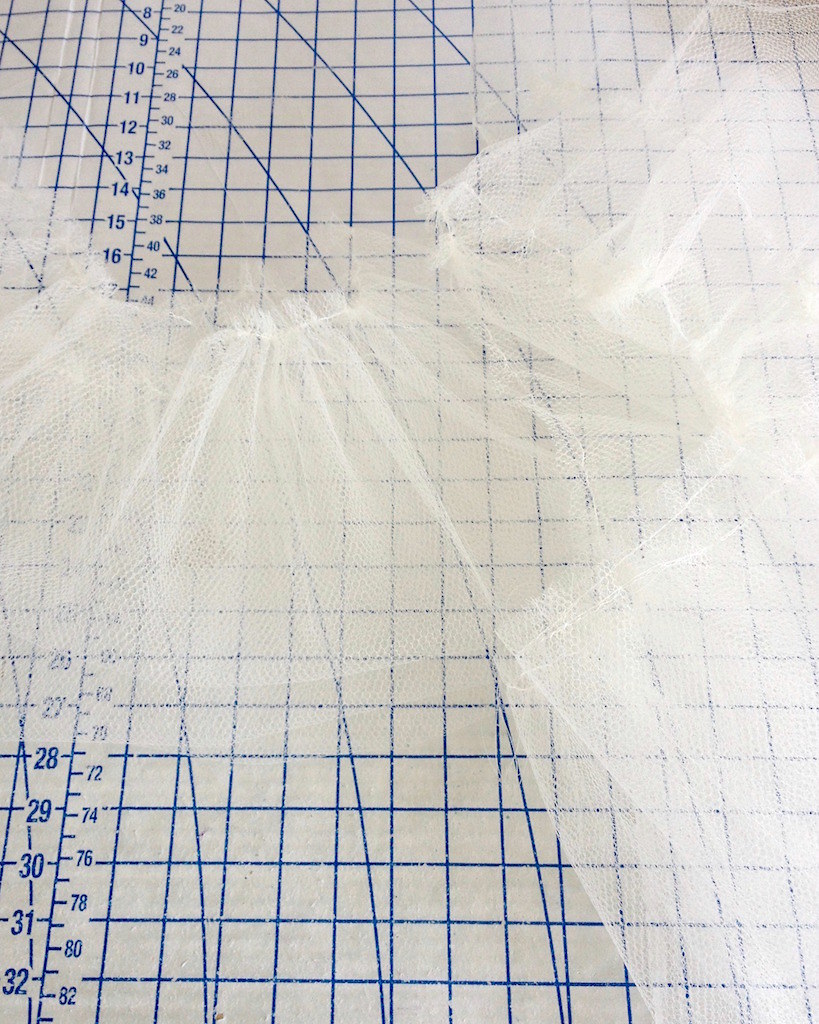
And that process get repeated over and over . . .

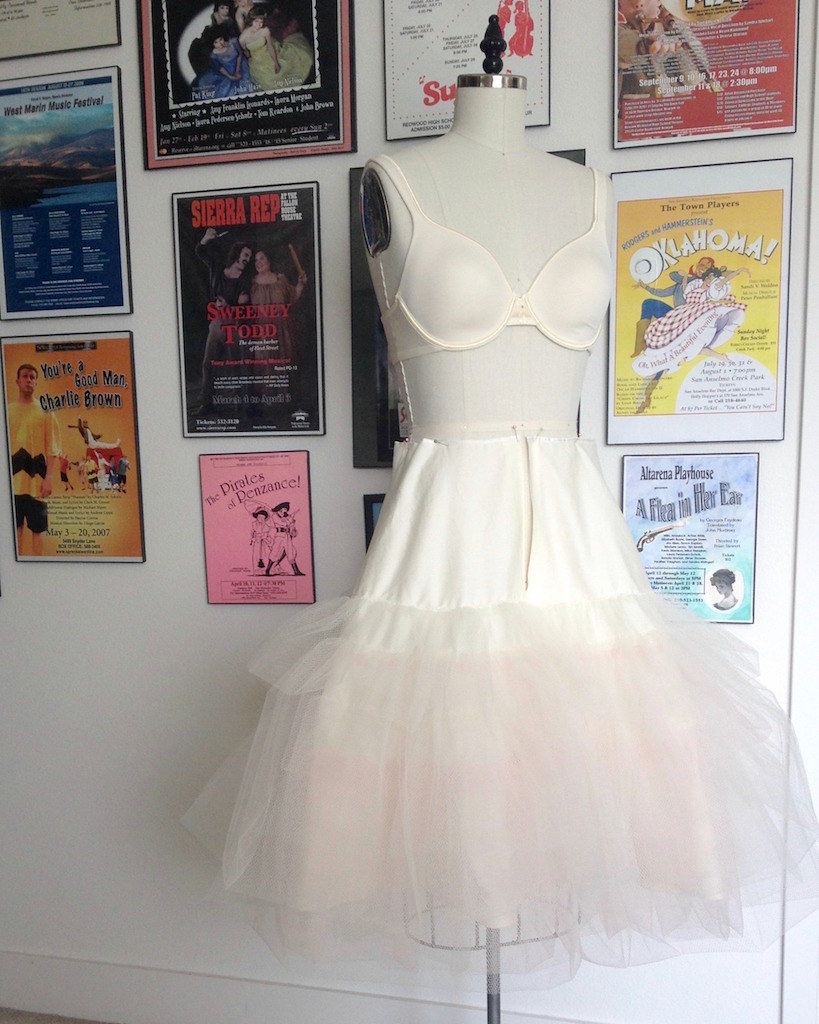
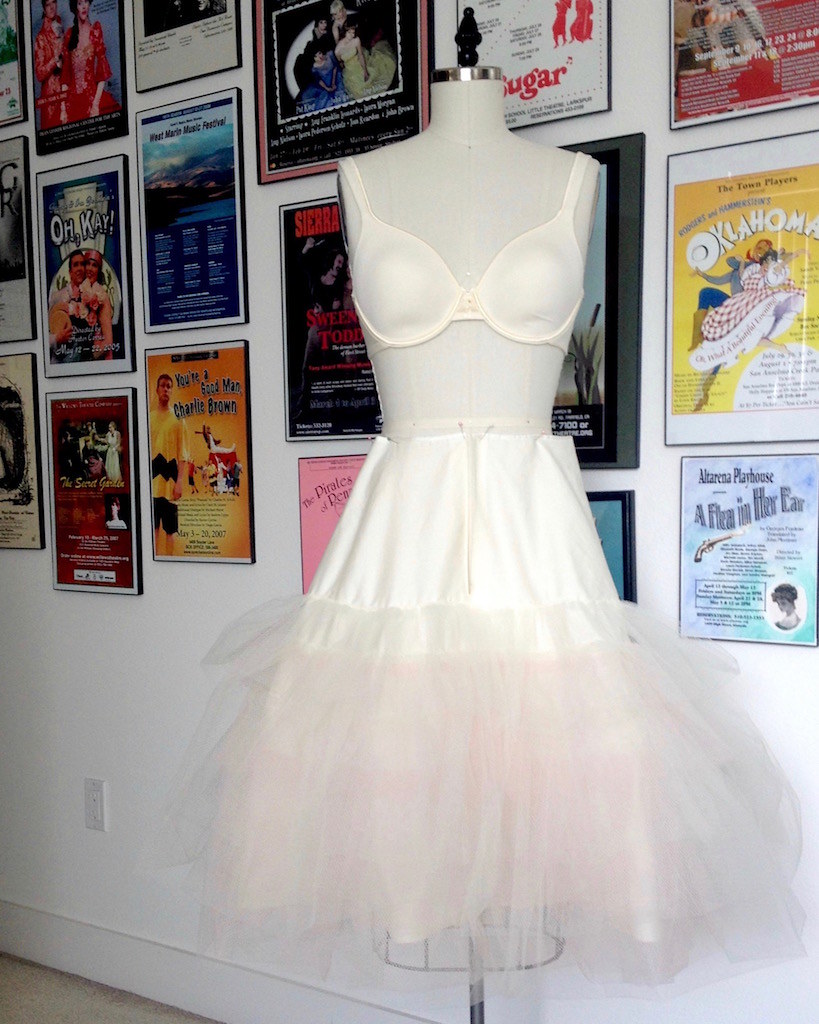
. . . until it looks something like this. I will need to add a few more yards of netting to this petticoat, but it is beginning to take shape.
. . . until it looks something like this. I will need to add a few more yards of netting to this petticoat, but it is beginning to take shape.
Your flip- and - stitch layering resolves my own petticoat compunction.
ReplyDeleteWith the curve of this skirt, will you space the layers more densely mid-thigh and sparse toward the hip, or will the outer skirt simply rest upon all the poofiness in the proper shape?
Thank you for sharing how you construct a petticoat on a soft cotton base to avoid scratchy tulle next to the skin and how you handle the tulle to produce more pouf and get nicer looking edges at the same time.
ReplyDeleteFascinating!
ReplyDeleteYour petticoat already looks really lovely, almost like cotton candy!
ReplyDelete