

Many years ago, I started working on Simplicity 3856. I decided that I would make View 1 with a lovely quilted velveteen. Problem was, those welt pockets were never going to be easy in such a puffy fabric, and I was never really motivated to getting going with the project. Also, the pink color combined with the knee length jacket looked decidedly robe-esque or too house coaty.

That wasn't the look I was going for, so I put the project aside.

I did keep the muslin pieces, and a couple of months ago, I put the whole thing back together (just to make sure that I still liked the fit and style).

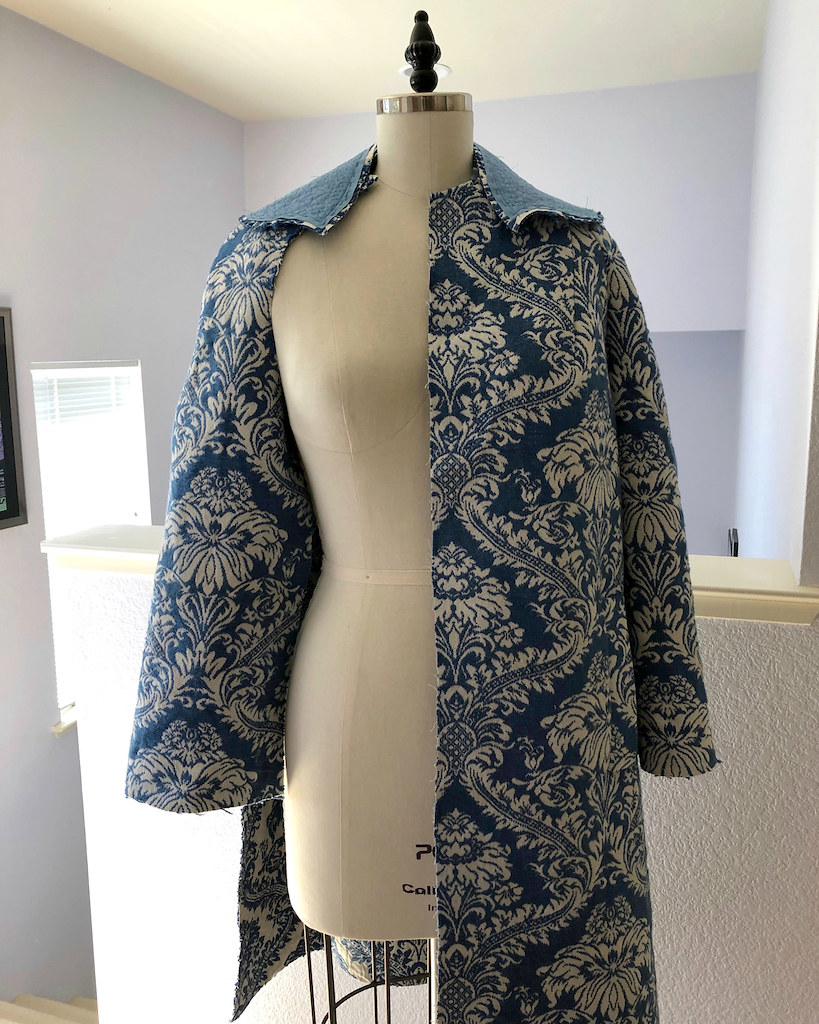
Because I was convinced that the leftover upholstery fabric from this dress would make a fabulous vintage jacket.

And I did have enough fabric!

Like so many other vintage patterns, I am always impressed that even with a fairly basic design, they include things like an under collar. And they suggest pad-stitching said under collar! I cannot recall ever seeing that suggestion in contemporary pattern instructions. Sure, you can take a tailoring class, or pull out a book about tailoring a jacket or coat, but to have the instructions suggest such a thing is one of the many reasons why I love vintage patterns.

Yes, it takes a bit of extra time, but the finished product is so much better!

Not to mention the fact that I do love hand sewing.

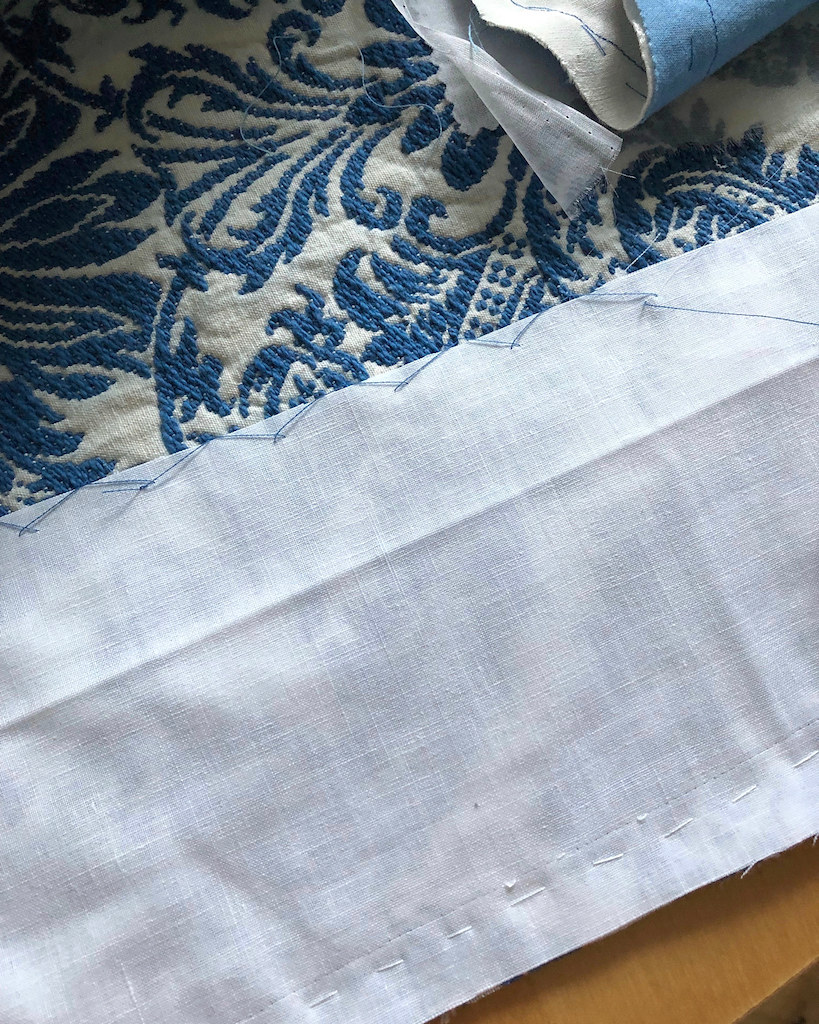
I did cheat on the vintage construction a bit with a fusible interfacing to stabilize the welt pocket opening.

I was concerned that the loosely woven yet very thick textile might fray while I was clipping into the corners.

I also added a strip of silk organza thinking that it might further stabilize things. Whether or not this was the case remains to be seen, but it certainly didn't do any harm.

I cut the interior pocket bag out of my lining fabric to avoid extra bulk.

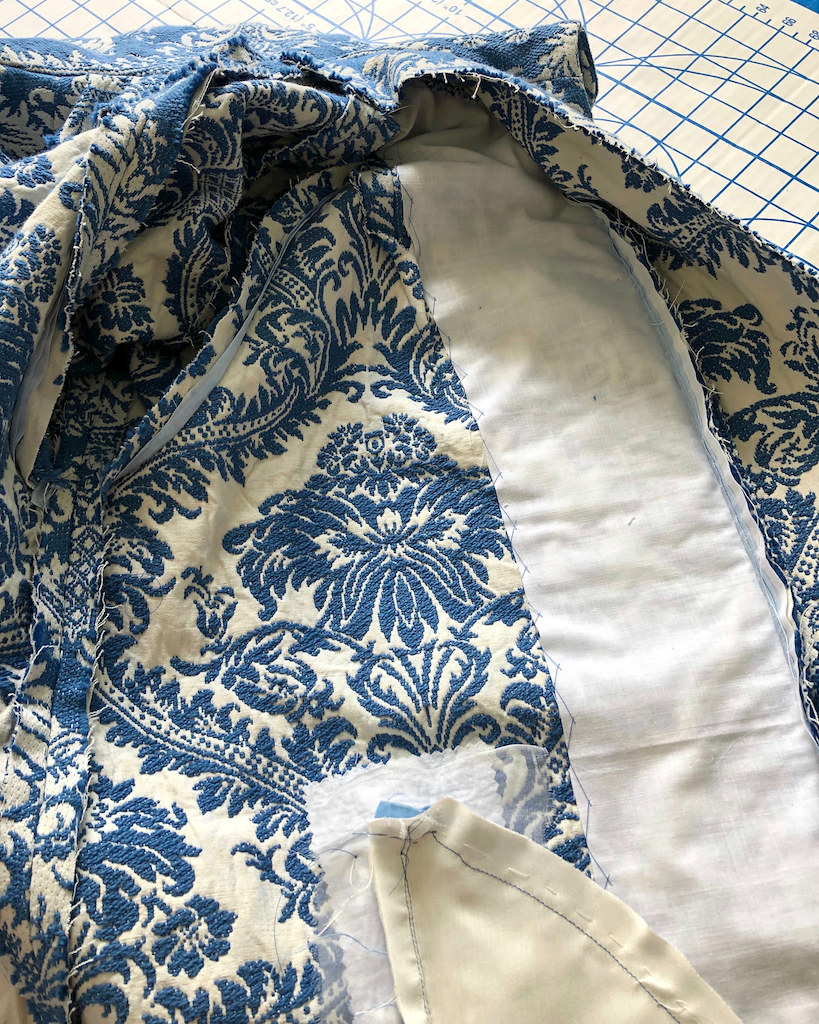
I do find it a bit fiddly attaching an extremely drapey fabric like this rayon lining to a super stable one like the upholstery fabric. In these cases, I find it very helpful to hand baste things together.

Another suggestion included in the instructions was to stabilize the neck and armholes with seam binding. You could also use twill tape for this, but I always have my seam binding handy, so that is what I grabbed.

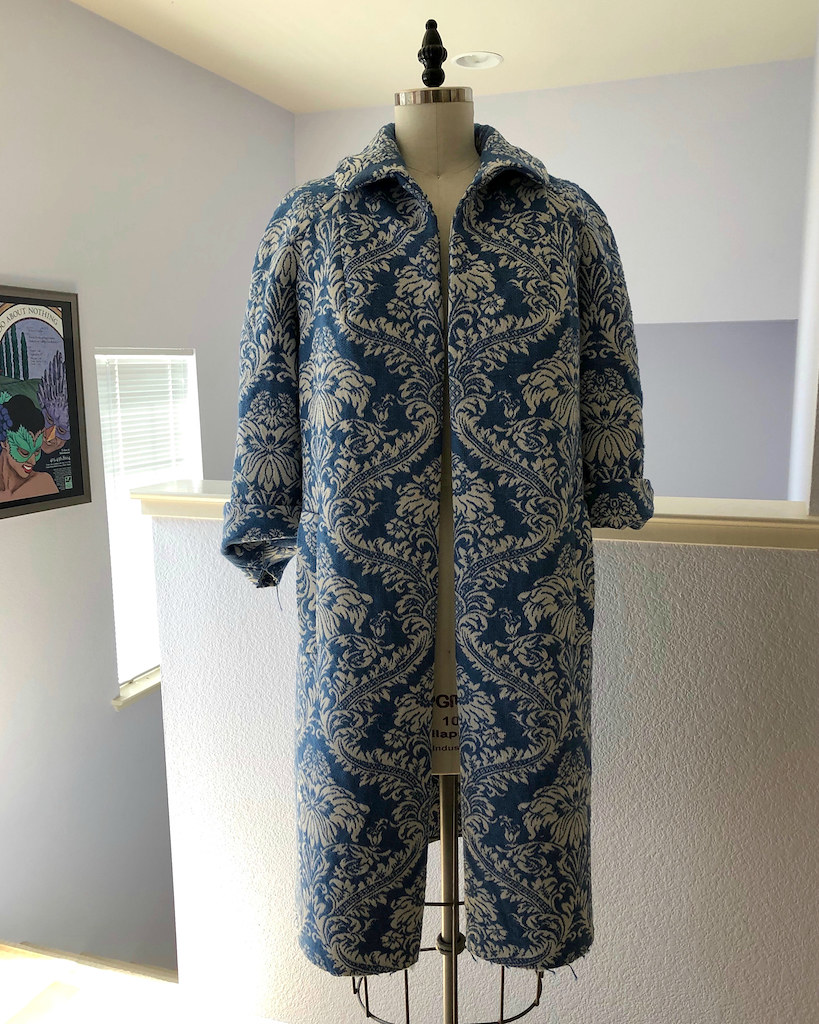
And sleeves on the coat means that this garment is beginning to look like a jacket!
I interfaced the front opening edges with a piece of muslin. This was probably not entirely necessary as this upholstery fabric is incredibly stable, but I thought I might as well not skip any steps.
Which means there is some seam grading to be done, and a lining, of course.
But that definitely looks like a jacket to me, raw edges and all!
Beautiful
ReplyDeletegorgeous, love the strong pattern
ReplyDeleteWell done
ReplyDeleteI love the line of this coat. Good job as usual!
ReplyDeleteThat is going to be so lovely on you! Your sewing is amazing!
ReplyDeleteI have the same observation about old patterns vs. new. Back when I started sewing I remember making a couple of tailored jackets. The instructions included pad stitching and other details you never see these days. It's really too bad that new sewers are missing out on these techniques unless they do extra research or take a specialized class. Beautiful coat by the way!
ReplyDeleteFirst, from the title, I thought you were giving old furniture new life.
ReplyDeleteThis coat is the polar opposite of robe-y, it's swanky. Your deft needle work, and detailed approach to doing as you do, combined into something which will carry you through many an adventure with stylish elegance.
Your coats are really becoming your calling card.