

Back in July, I was approached by Michelle of OldPatterns.com, who asked if I would like to choose a few patterns in exchange for blogging about them. I find that one really cannot have too many vintage patterns (okay, maybe one can, but that is not the point), especially newly found vintage patterns to inspire my creativity, and I said yes, please! Of course, there are a whole lot of goodies to choose from on OldPatterns.com, so it took a bit of time to choose which patterns I wanted to take home with me. The first pattern that caught my eye was McCalls 4587, from 1958. I have seen images of this design online in the past, and I just adore that neckline!

Of course, by the time that I had decided on my patterns, it was September. And what follows September? Why, October, of course! And October means that it's time to make a silly Halloween themed novelty print dress. So the idea of this year's Halloween frock was percolating right about the time that I received this pattern in hand. And you can probably guess where this is going.
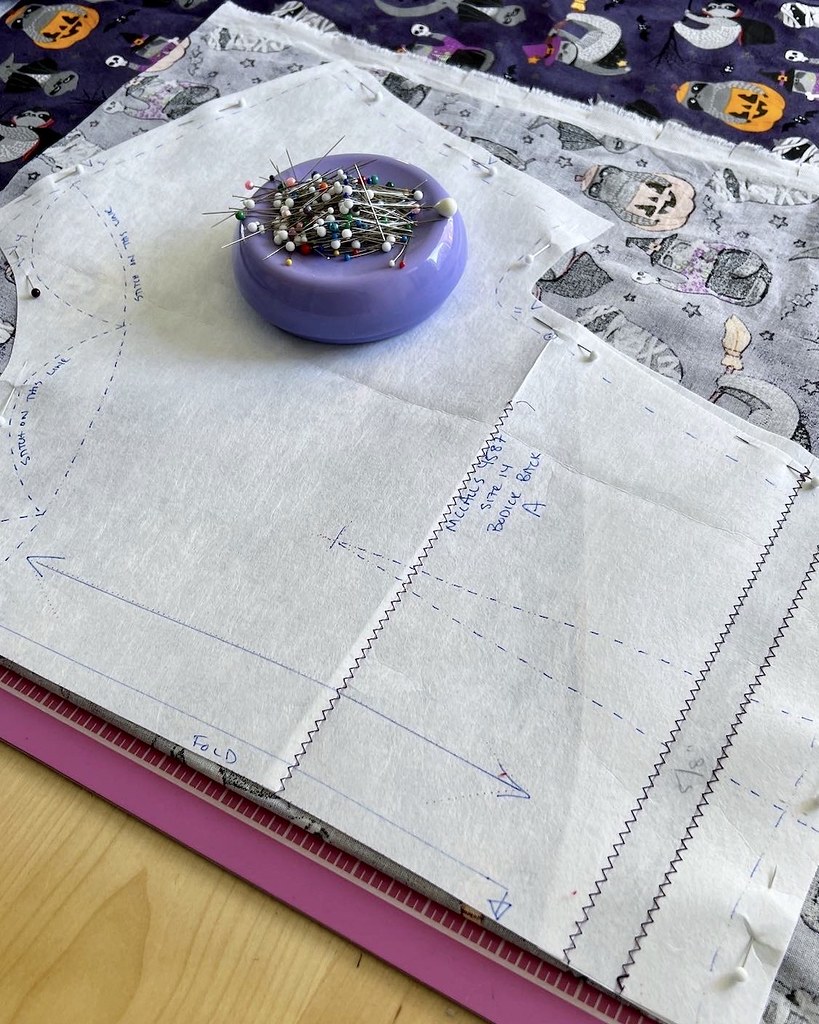
The pattern tissue is in very good condition, however, I am loath to cut into vintage patterns (I am not as reverent with the contemporary ones) and I knew that I would need to length the bodice, at the very least. Sometimes I trace onto muslin fabric, but I have been using non-woven interfacing lately and it works quite well for me.

I was also planning to use transfer paper and a tracing wheel to transfer those lovely scalloped shapes on my fabric, and I figured the Pellon was going to hold up much better to that treatment than tissue paper.

And let's face it - this pattern is all about the scalloped neckline! Both the facing pieces and the bodice include the scalloped edges along with all of the other printed markings, but I thought that marking the wrong side of my facing would be sufficient.
And since I knew that I was going to use a contrasting fabric for the bias strip on the bodice just below the scallops, I though it would be a nice touch to use that same contrasting color for the facing. It won't be visible from the outside, but I will know it's there!

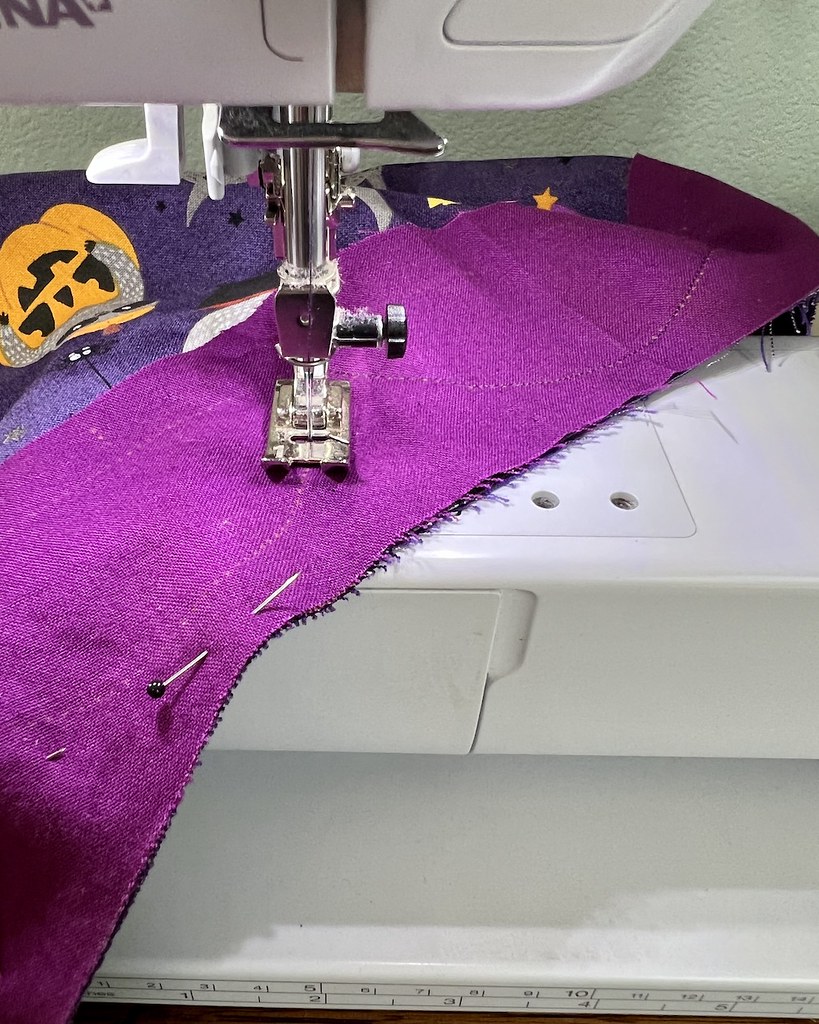
The process is slightly tedious, but the scallops are worth it! I like to use a small stitch length and stitch at a slow speed to make sure those curves are nice and smooth.
My other suggestion is to trim those seam allowances down nice and small before clipping into the points.

One final trick is to clip out wedges of fabric from the curve. This keeps the excess fabric from the convex curve from bunching up in the seam allowance when the layers are turned right side out. It makes a bit of a mess, but clipping curves is important for convex curves, not just the concave ones.

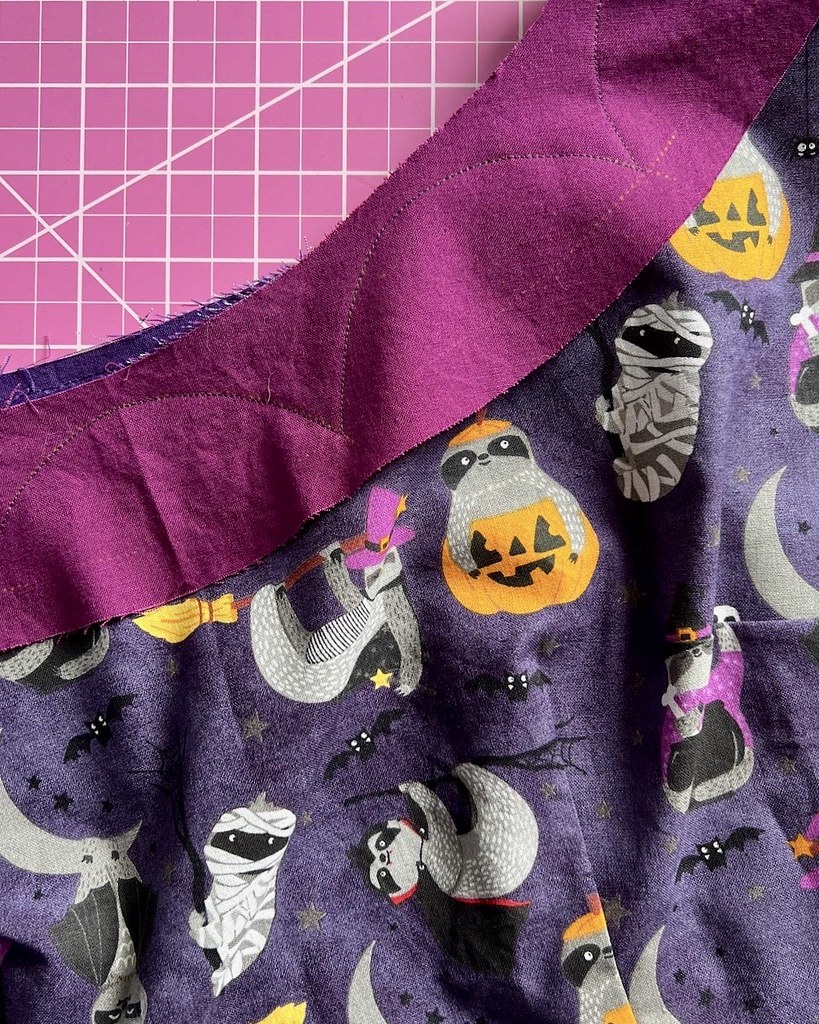
And then everything gets a nice press. I was slightly concerned about the narrow facing fraying, but this cotton was okay on that front.

Which leaves the bodice looking something like this.
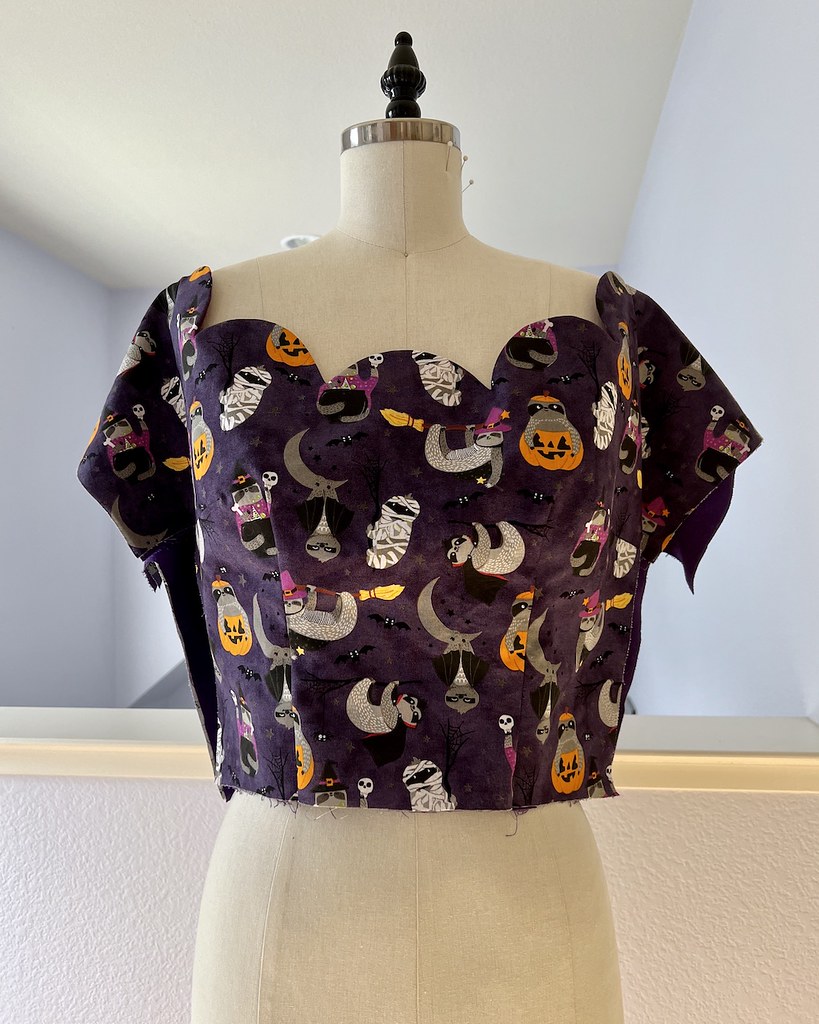
The instructions suggest basting the outer curve, but my cotton fabric was behaving, so I basted the lower edge since that seemed like a more advantageous option. I also added a lining since my fashion fabric was slightly thin, and with the added layer, the basting seemed like a good thing to do.

And so far, I love it! But how could I not . . . hundreds of adorable sloths dressed up in their Halloween costumes is just too much cute!!

Laura May, why not use your pinking shears to clip around the curve?
ReplyDeleteI don’t like to use pinking shears on curves because they aren’t very accurate (at least mine aren’t). I prefer a sharp pair of small scissors for cutting details. But pinking shears are definitely an option!
DeleteOh my, I just love reading your blog. I haven’t sewn garments in years. Spend most of my time making quilts but seeing your creations makes me want to dive right in. They are extraordinary! Thanks for sharing!
ReplyDeleteLove this!!!!
ReplyDelete