Showing posts with label Rug. Show all posts
Showing posts with label Rug. Show all posts
Sunday, July 7, 2019
The Saga of the Jelly Roll Rug
After a year or more of use, my knitted kitchen rugs started to look a little worse for wear. They were also very lightweight and didn't like to stay put. I cannot recall when I first came across a #jellyrollrug, but once I saw one, my mind wouldn't let go of the idea of replacing one with the other.
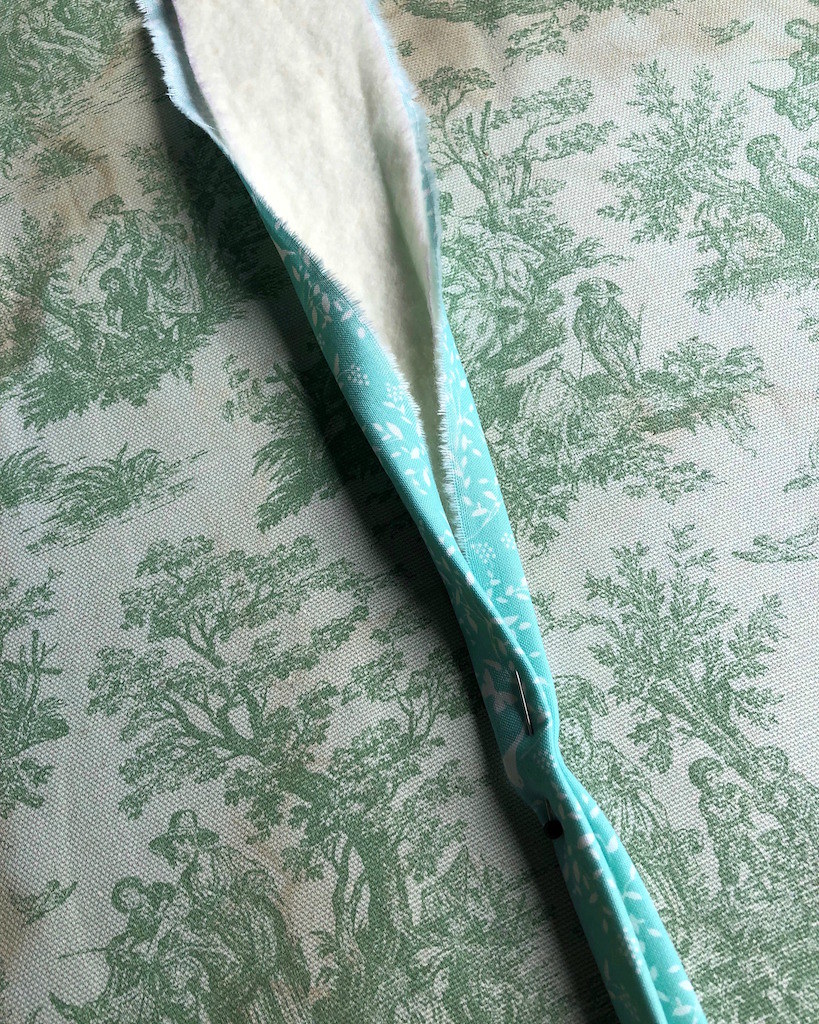
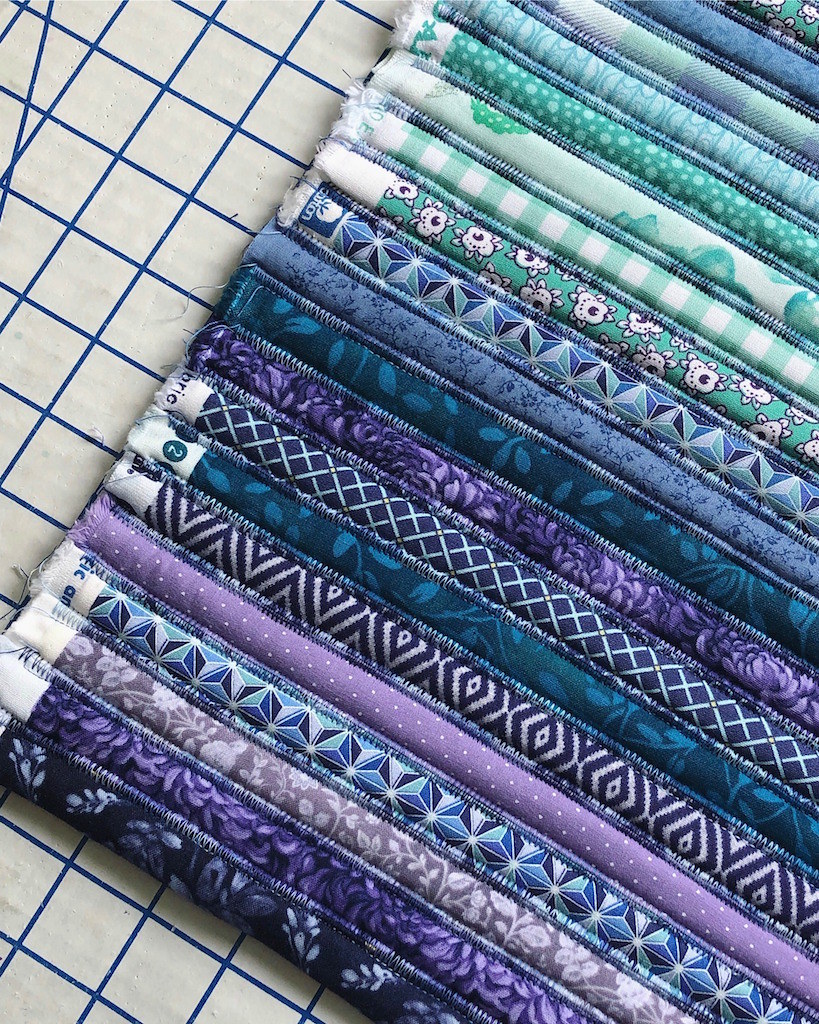
I started small, with the idea to replace the dog bowl rug. An actual Jelly Roll was not used. Instead, I gathered scraps of fabric that I thought would look nice together, purchased a few small cuts of quilting cotton, and ripped my 2.5" wide strips along the cross grain. Cotton batting was cut into 2.25" wide strips.
I started at the ironing board and wrapped the batting in my cotton strips. Eventually, this got old, and I decided that the ironing step was unnecessary. I would just fold the layers together at the sewing machine.
For the first rug, I used my 42" wide strips laid side to side in an order that I found pleasing.
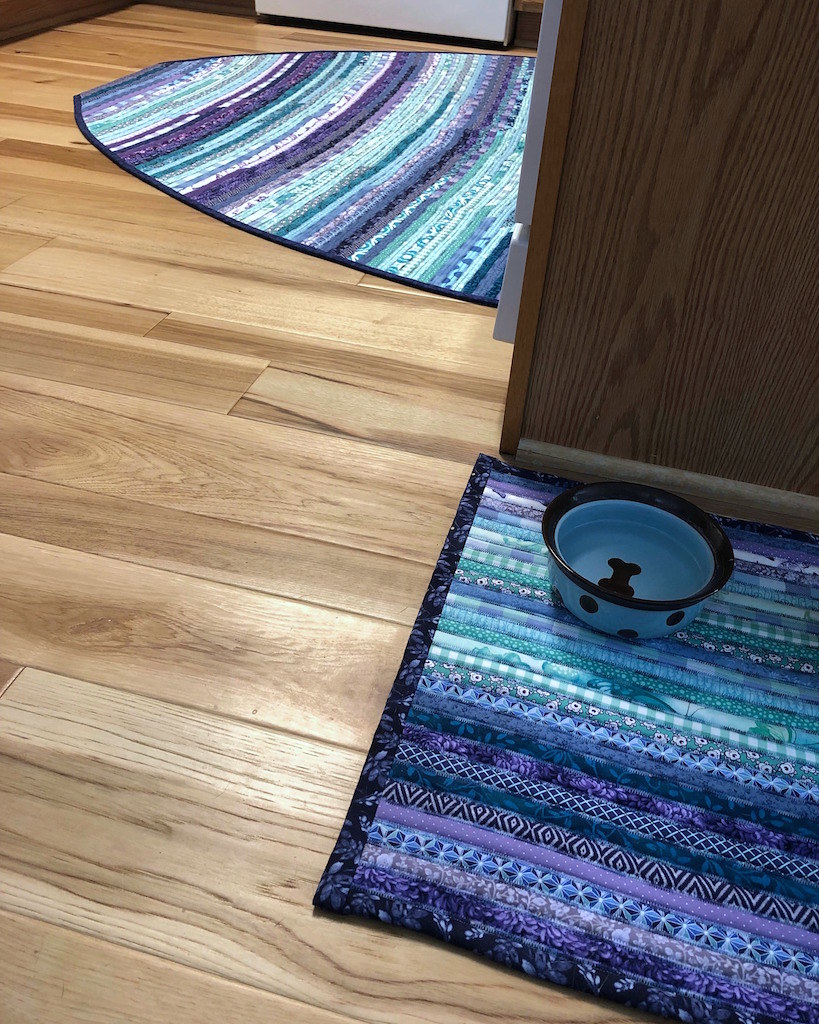
There was no need to join the ends of the fabric/batting tubes since the 42" minus the trimmed selvedge ends was going to be wide enough for my rug. To finish the sides, I just used another strip of fabric and bound the edges. It's not perfectly rectangular, but it certainly works, and I think it looks rather pretty!
Of course, once I made the first one, I wanted a larger version to replace the boring gray rug in the living room. That was definitely going to need more than the 42" strips, so I needed to join at least some of the ends.
Once I came up with a color/print order, I joined the seams along the bias, trimming the excess off after I had a long chain of 2.5" wide fabric.
The next step was to wrap the fabric around more cotton batting until I had a big ball of fabric rope.
The idea for this rug was to make it into a half circle shape, or something similar; large enough to fit the coffee table, but rounded at one end to save on fabric.
Well, my sewing machine table is set against a wall, and once the rug began to grow, it was a struggle to manage. There is a rippled portion, the rows are definitely not straight, and I had to trim more of the edges than I wanted to, making this much too small for the living room. The only good thing was that it could replace the other knitted rug in the kitchen.
So, not an entirely successful project, but I think it has charm, and it does work in the space.
But I wasn't over the fact that I wanted a pretty rug to replace the boring gray one. So a couple of weeks later, I was back at it, making a very large fabric rope ball for my next Jelly Roll Rug.
This time around, I decided to go for the original oblong shape. And that's where things went really wrong. I love my colors, and I love the idea, but fighting with an ever growing rug in a small space, with a wall to contend with, and the weigh of the rug dropping off the side of the table every chance it gots was not an easy thing. I was determined to get through.
I was ironing everything flat at each turn, and checking that it was laying flat for the first bunch of rows, until the floor space in the sewing room could no longer accommodate the growing rug, nor could my standard ironing board. I stuck it out, hoping that I could iron the thing into submission once I was finished. But once I brought it downstairs to iron on the floor with some old towels laid down, I saw what a huge problem I had. No amount of steam or starch or a combination of both was going to get this thing to lay flat. So I had a hissy fit and ripped the whole thing apart. And then I put the fabric ball away.
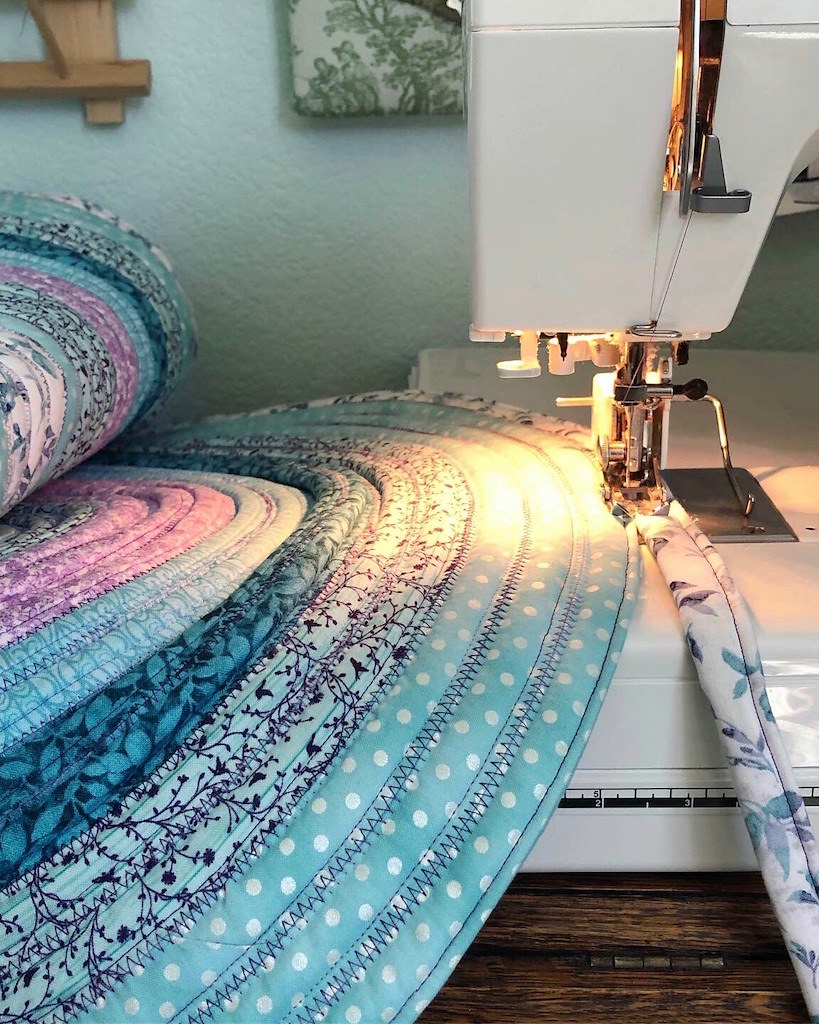
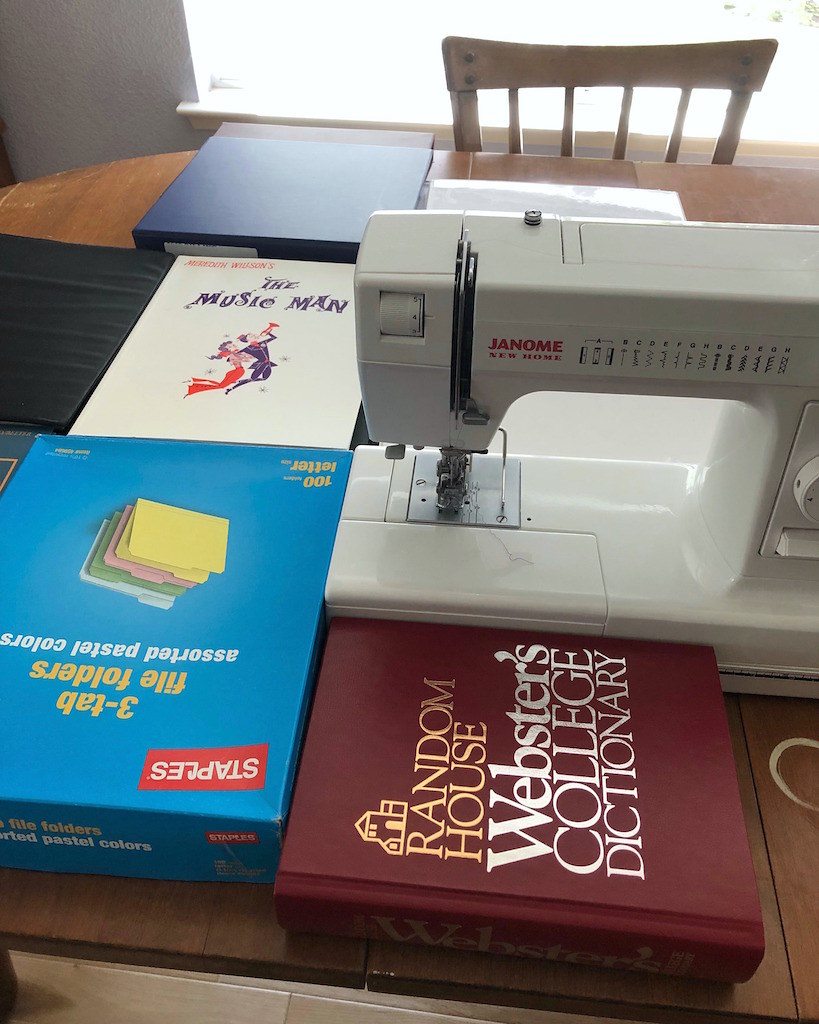
A few days ago I was still glaring at the discarded rope when a thought crossed my mind. People without an extra sewing room use the dining room table as a temporary sewing table all the time; in fact, I used to do the same thing. I am so very grateful to have a dedicated space, but in this case, I though the extra room just might save this project. So I cleared everything off, brought the sewing machine down, and pulled out a bunch of books to give myself a semi flat working space. Best of all, no wall to fight directly behind the machine!
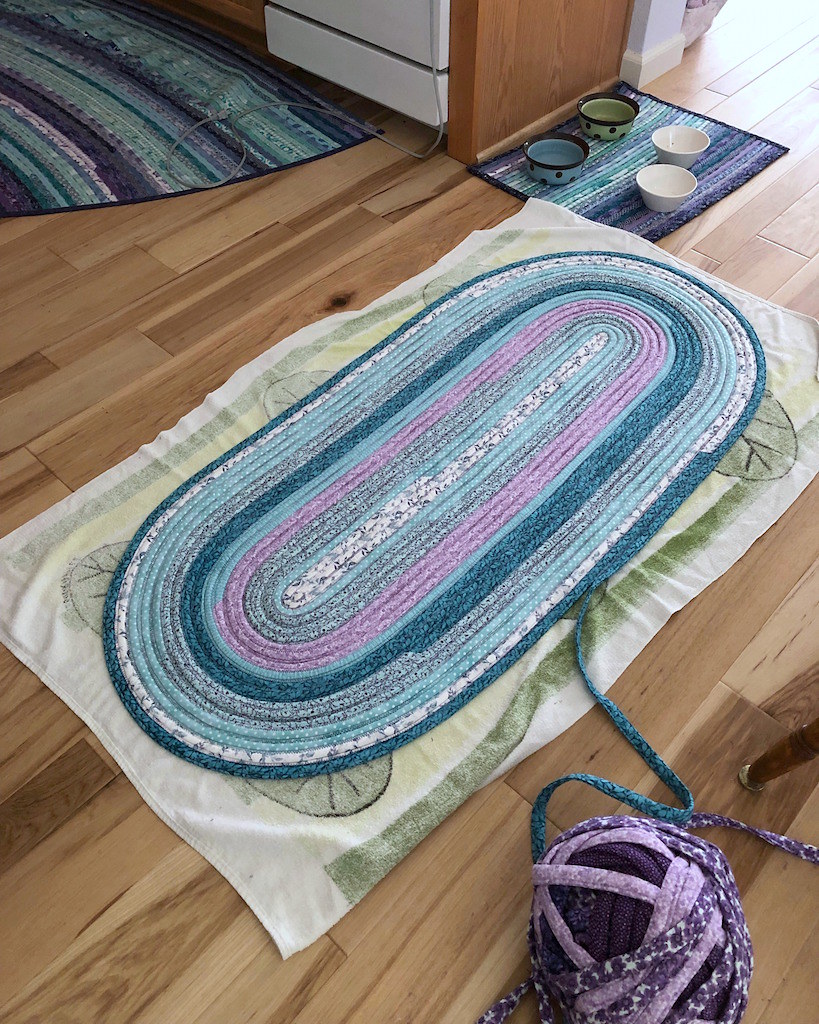
I also put a towel down and brought the iron downstairs to check my progress. The corners were cupping slightly, but I was able to iron them flat along the way.
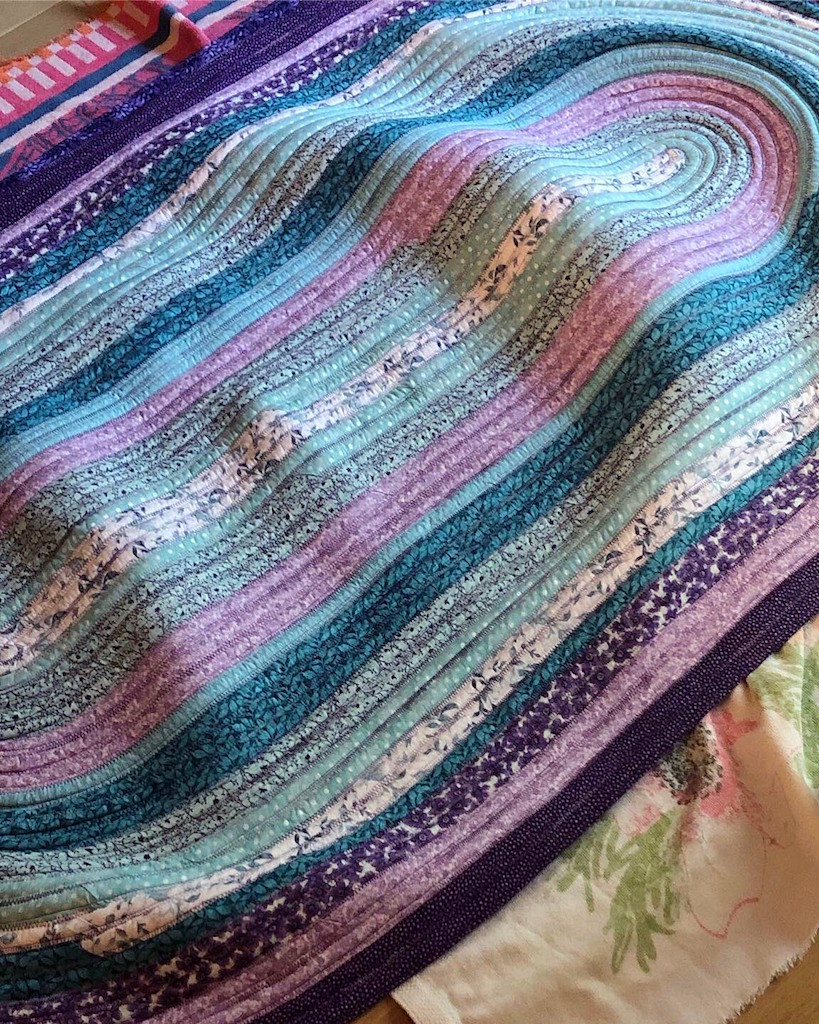
That is not to say it wasn't a lot of working fighting this monster as she grew larger and larger. The finished measurements are 67" x 40". I am not sure how many 42" strips are in this rug, but I think there are considerably more than 40 of them (the standard Jelly Roll number, I believe).
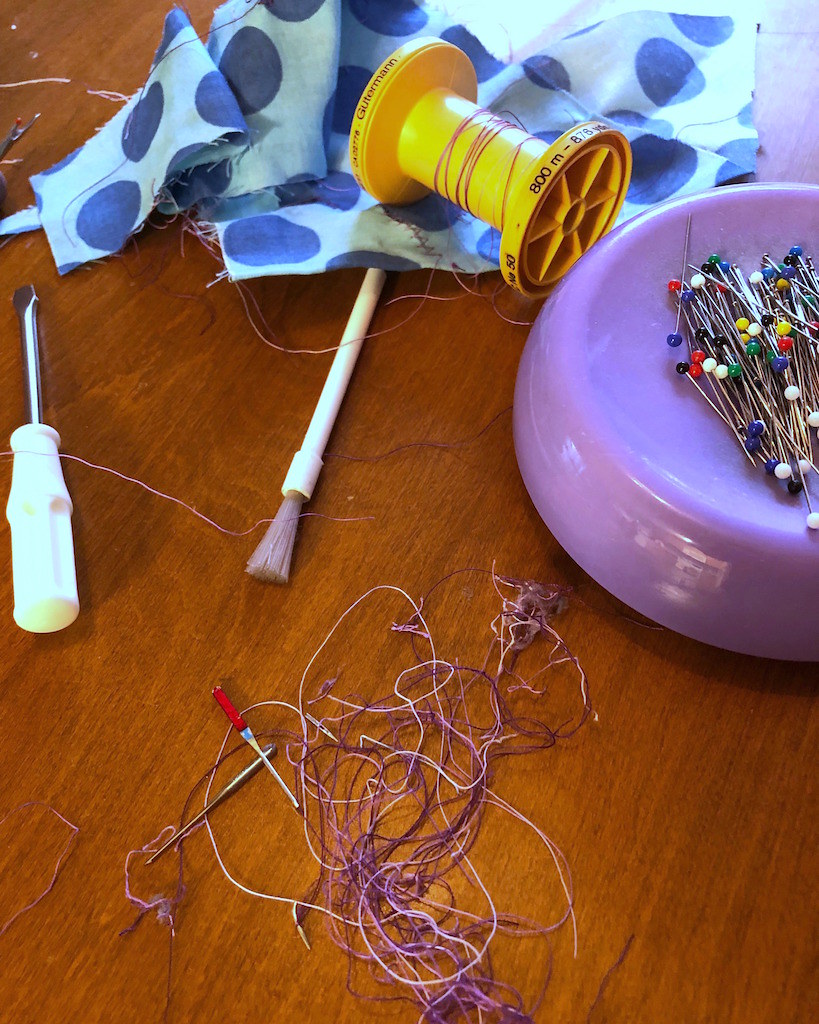
Everything was going fairly well until the last few yards of fabric rope. Then the machine started acting up. Grrrrr. I suspect that my needle had enough and perhaps bent slightly. Well, I got myself a new one and started again, only to have it break as I was pushing the end under. I suppose I may have been stitching too fast for the added thickness. Well, a third needle was employed to get through the last few inches of the project.
I gave her a final press, pulled the towel out, and weighted her down with books for a few hours.
Miraculously, I have a usable rug! There is a little bit of waviness at the center, but overall, I am calling this a win.
And, most importantly, the gray rug is gone! You can also see a bit of the hand braided and hand sewn rag rug I made a year ago in the background. I am still convinced that hand sewing on a flat surface is the only real way to keep a larger sized rug completely flat, but I am very happy that this project turned out as well as it did in the end!
Saturday, May 5, 2018
Burning through the Quilting Cotton Scraps!
Since I loved my first rag rug so very much, I decided to jump right in and make another.
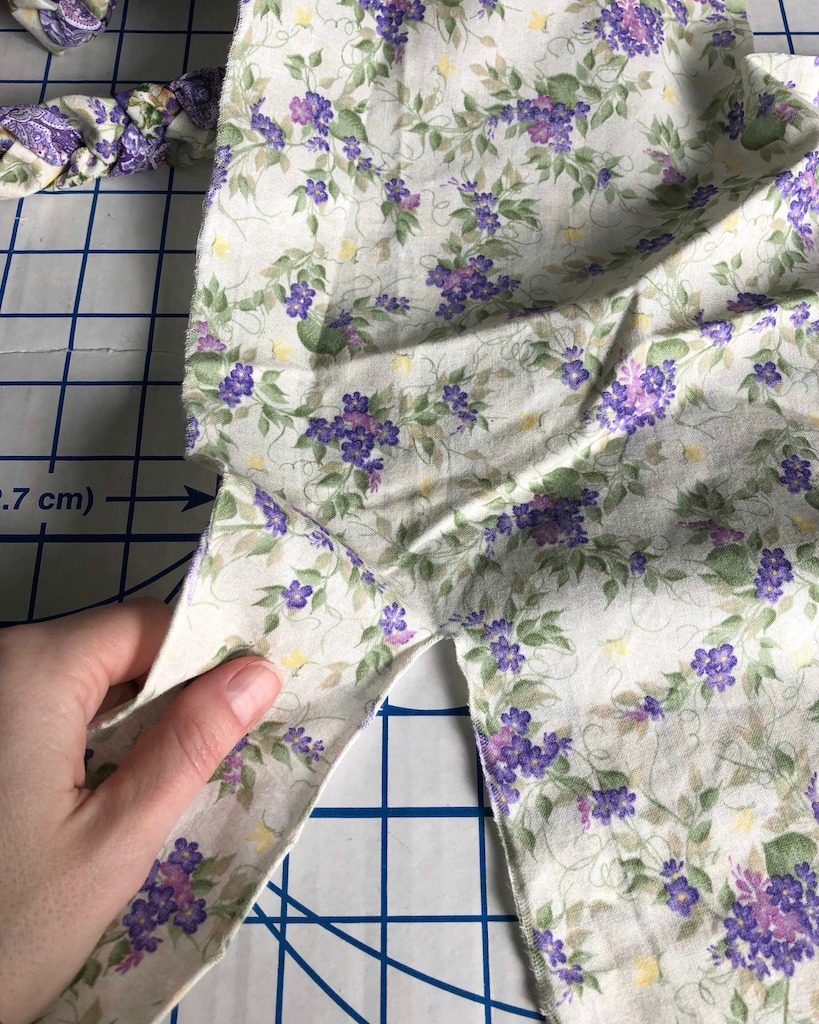
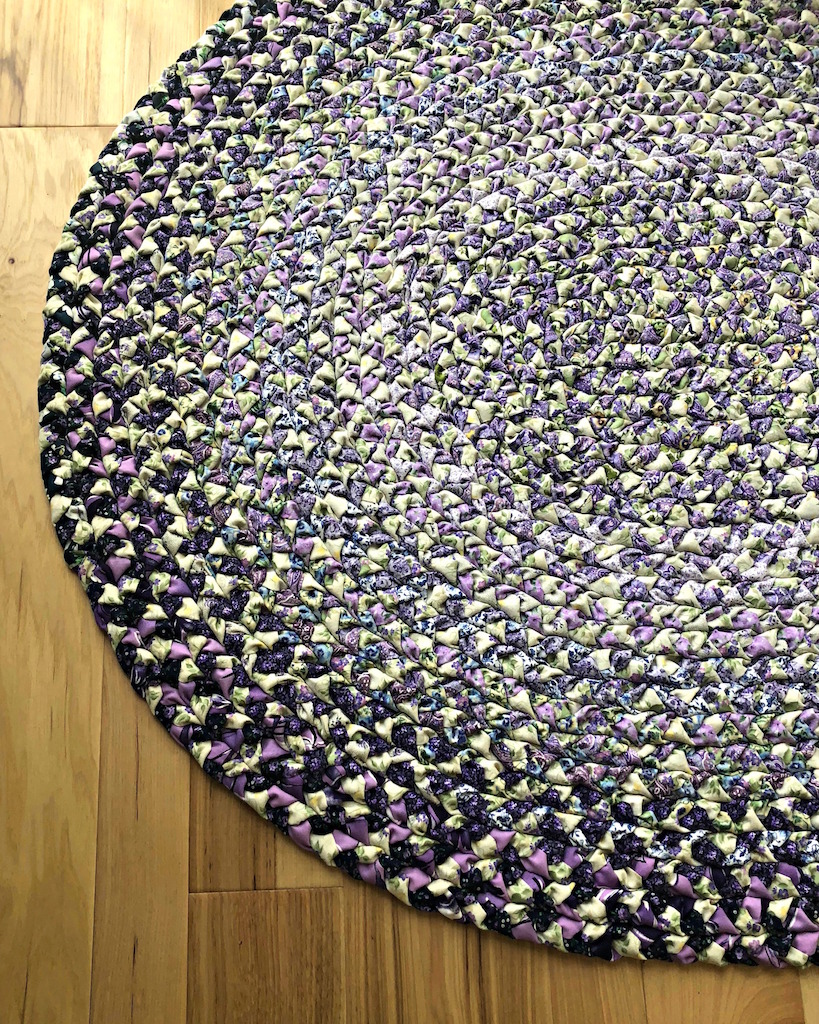
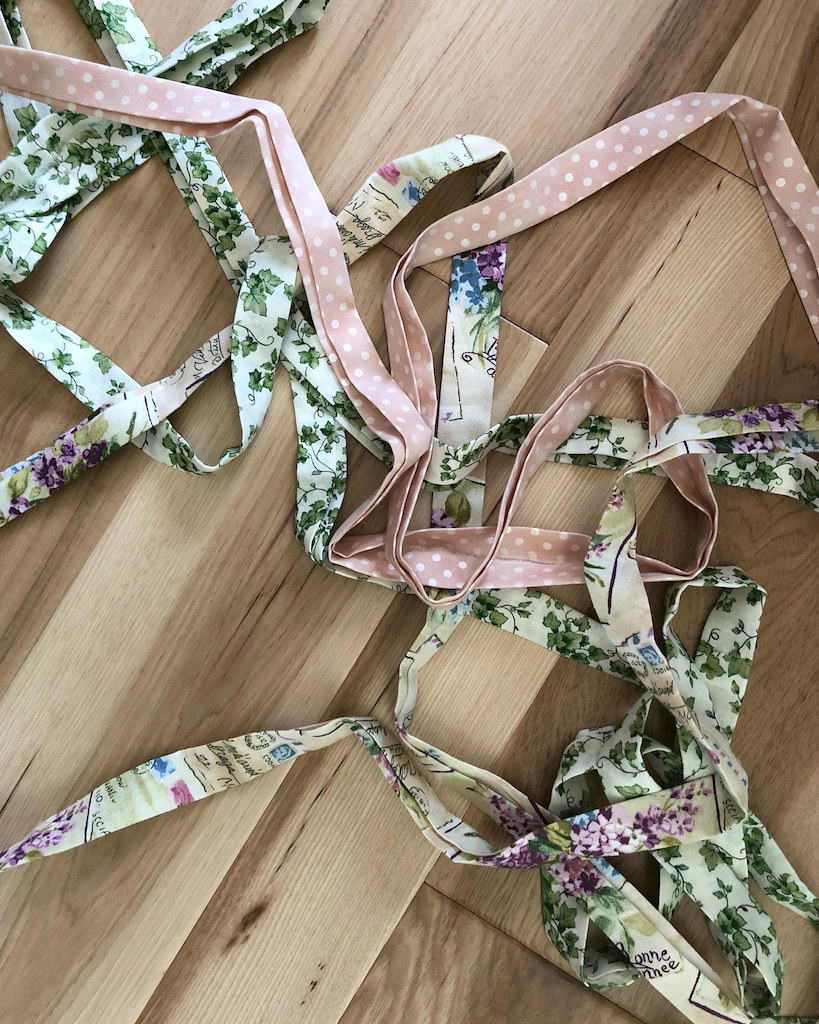
This time around I pulled out all of the cool colored quilting cotton scraps I had stashed away. I had a whole lot of this purple and green floral on a cream background which was supposed to be the backing of this quilt top that still needs to be quilted! Yikes - need to get back to that soon! But it is a bit heavy and did not seem like something I wanted to be hand quilting through for an extended period of time, so it became the one constant in the braid throughout this rug.
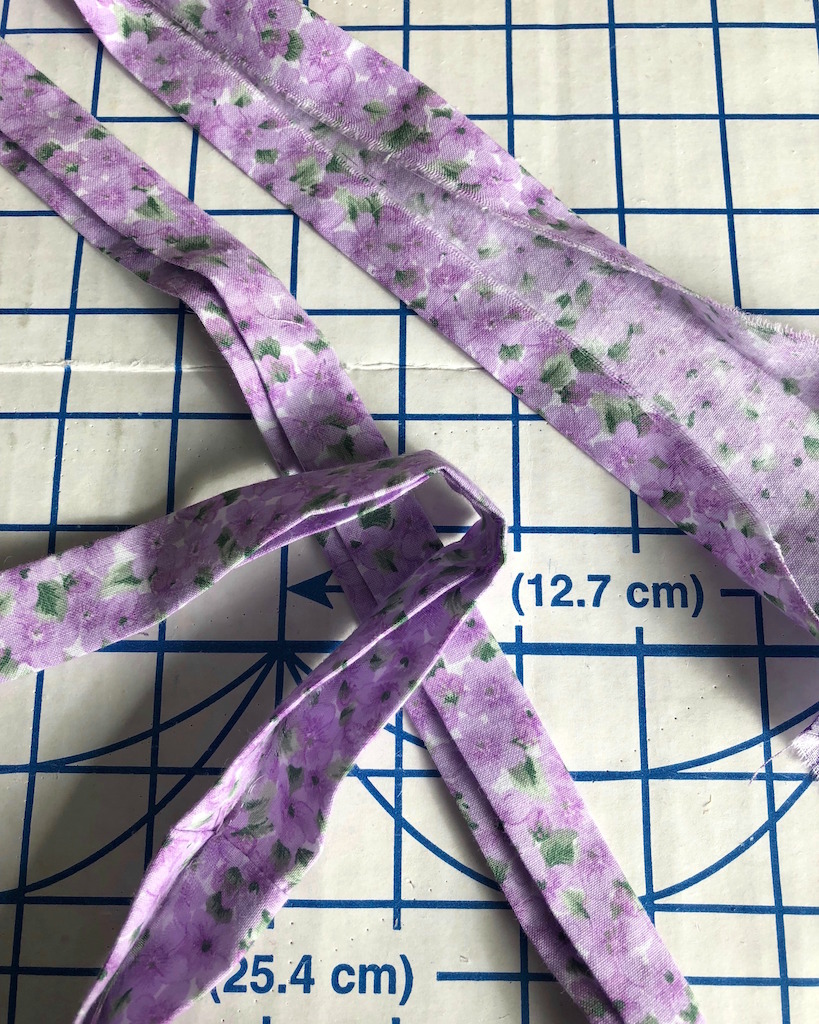
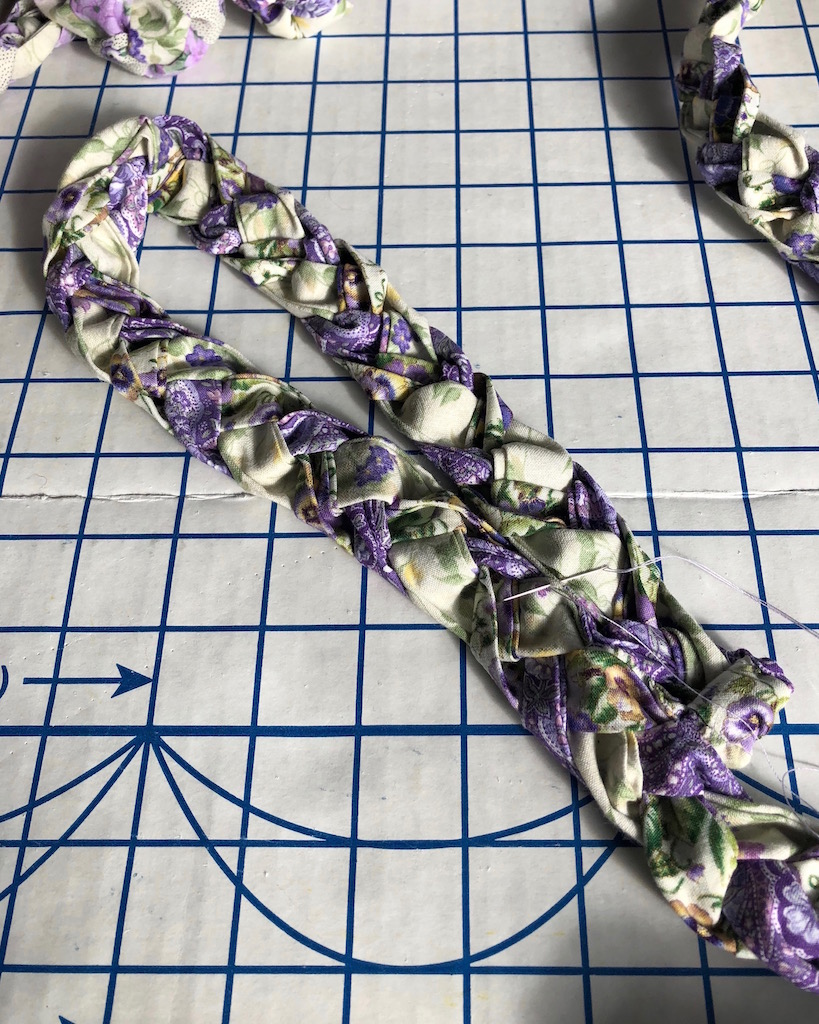
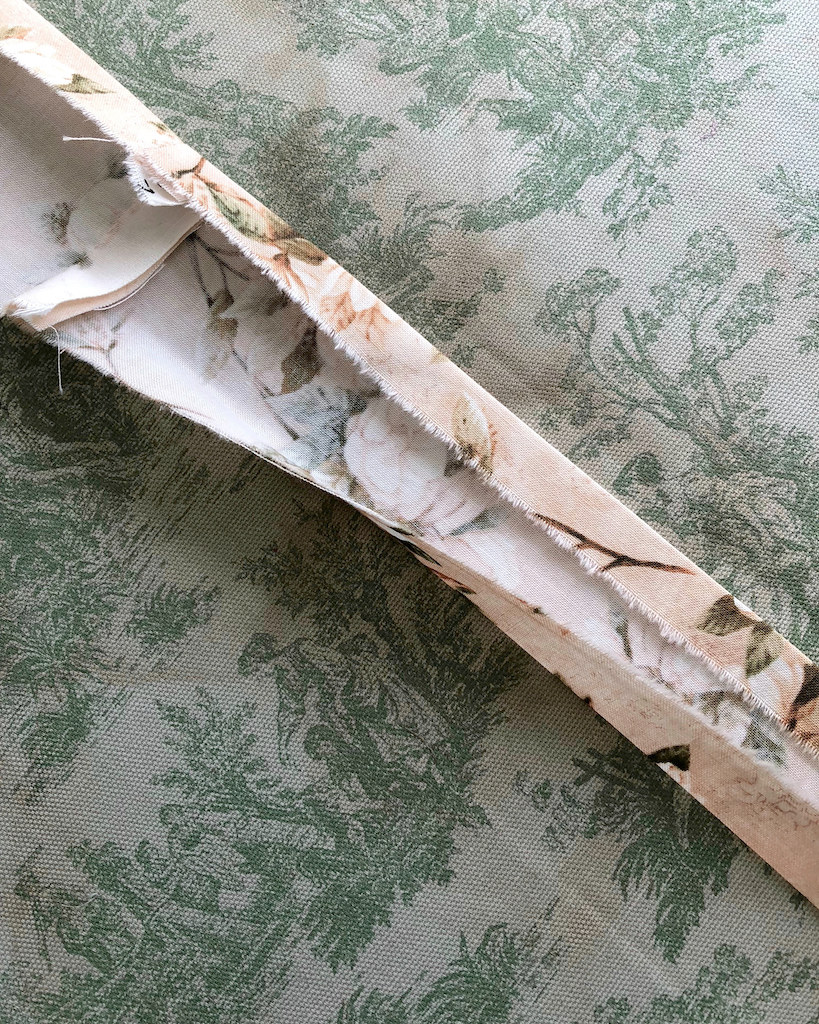
I also managed to take a few more in progress photos, so I thought I would better explain my process. First, strips of fabric were ripped (faster and easier than cutting, and it means everything is right on grain).
The strips get stitched right sides together, and then ironed so that all raw edges are hidden.
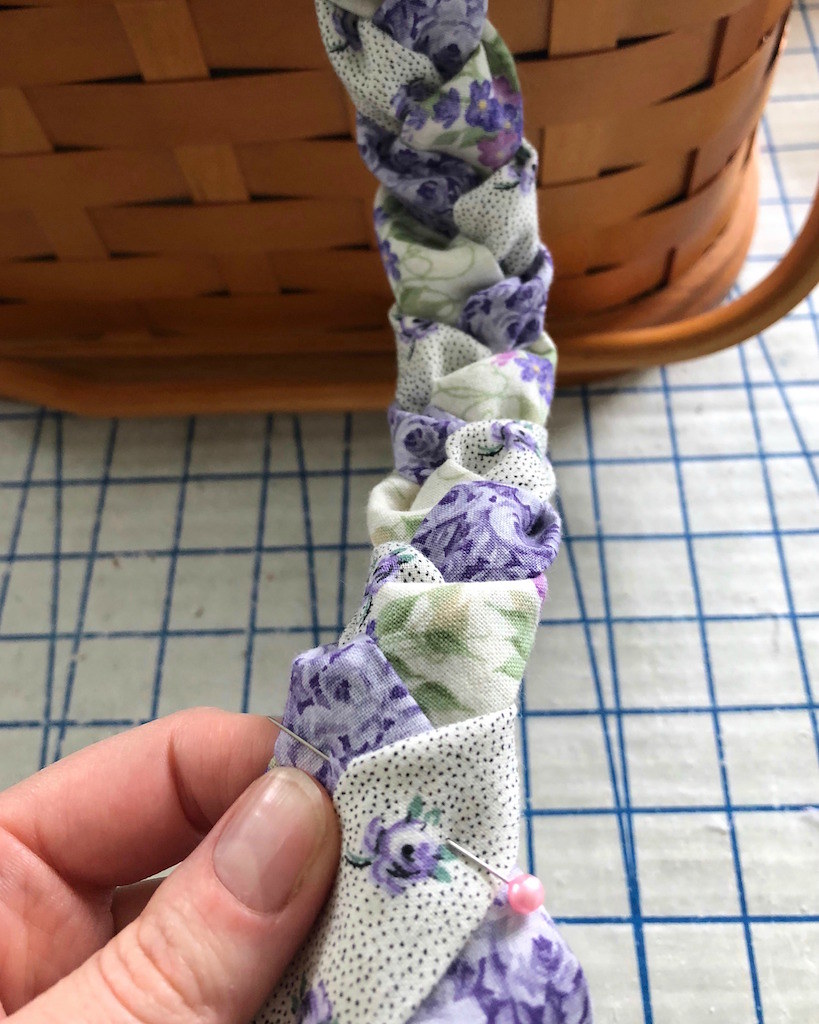
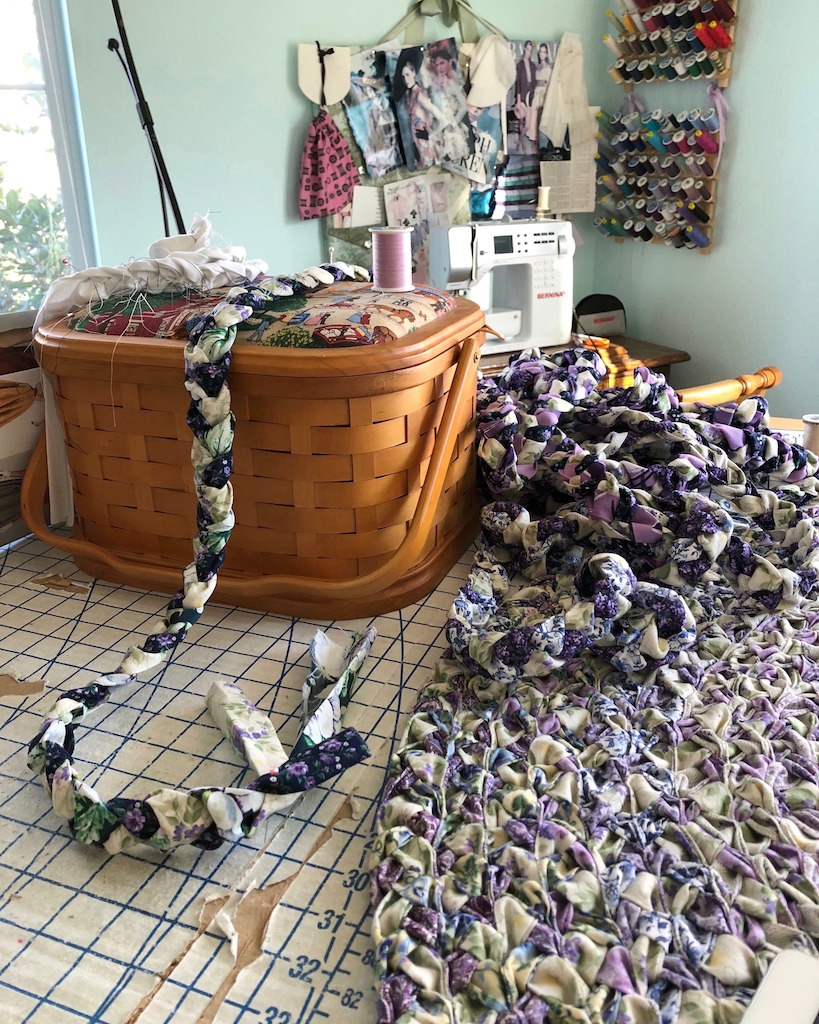
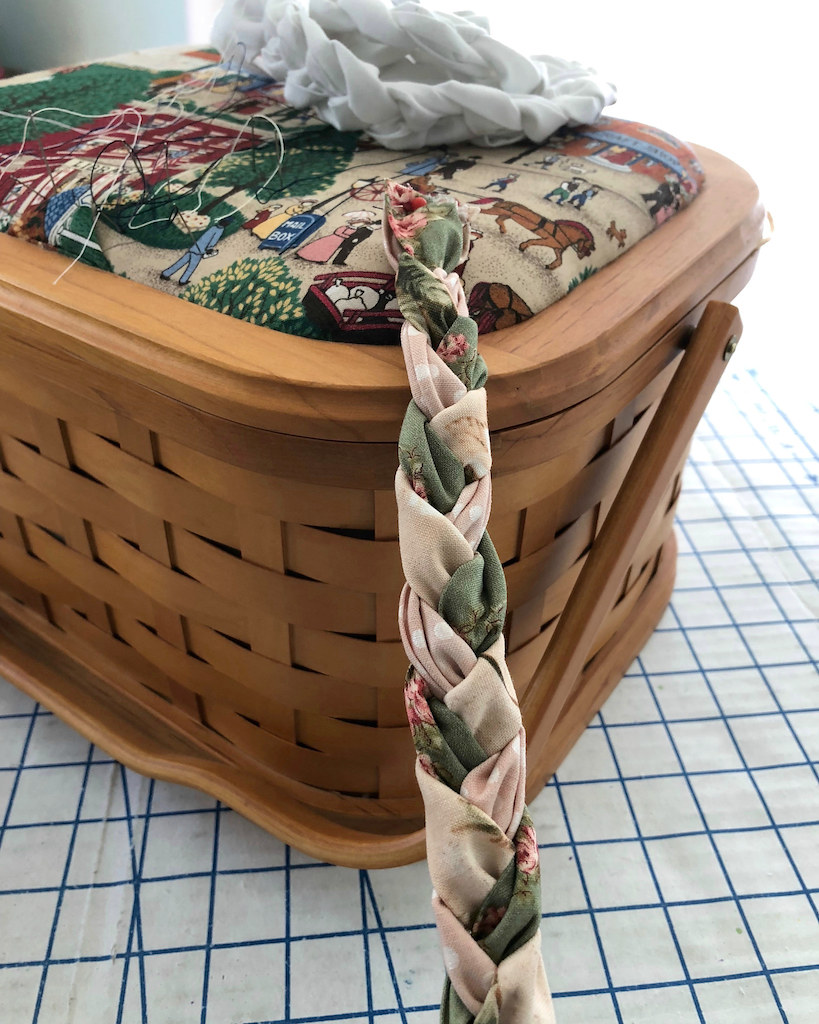
Lots of braiding . . .
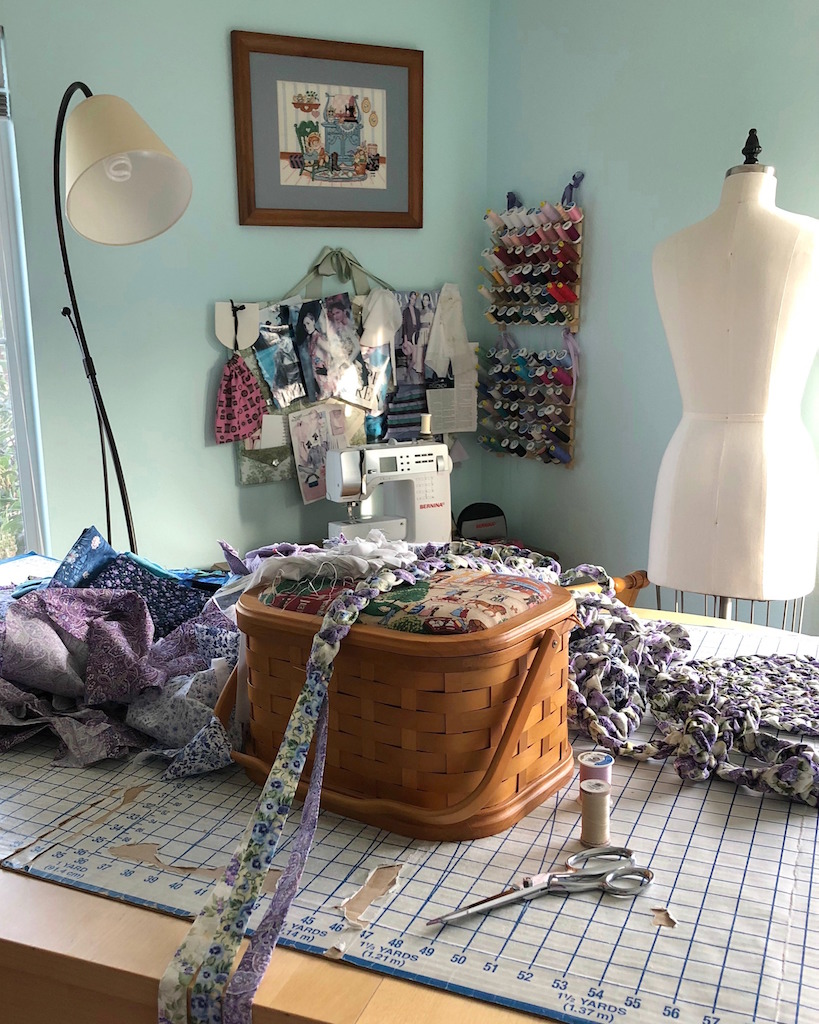
with a little help from my trusty sewing basket (it makes it easier to braid things if you have a sturdy anchor point) . . .
and the braid is ready to be stitched together.
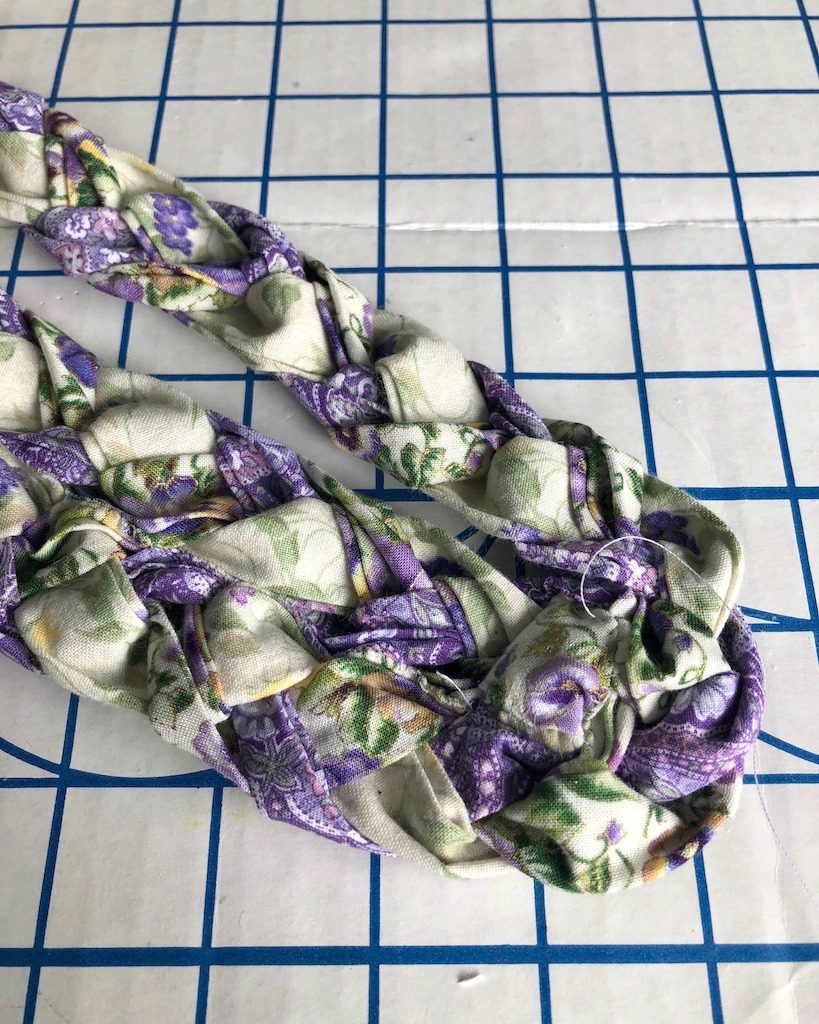
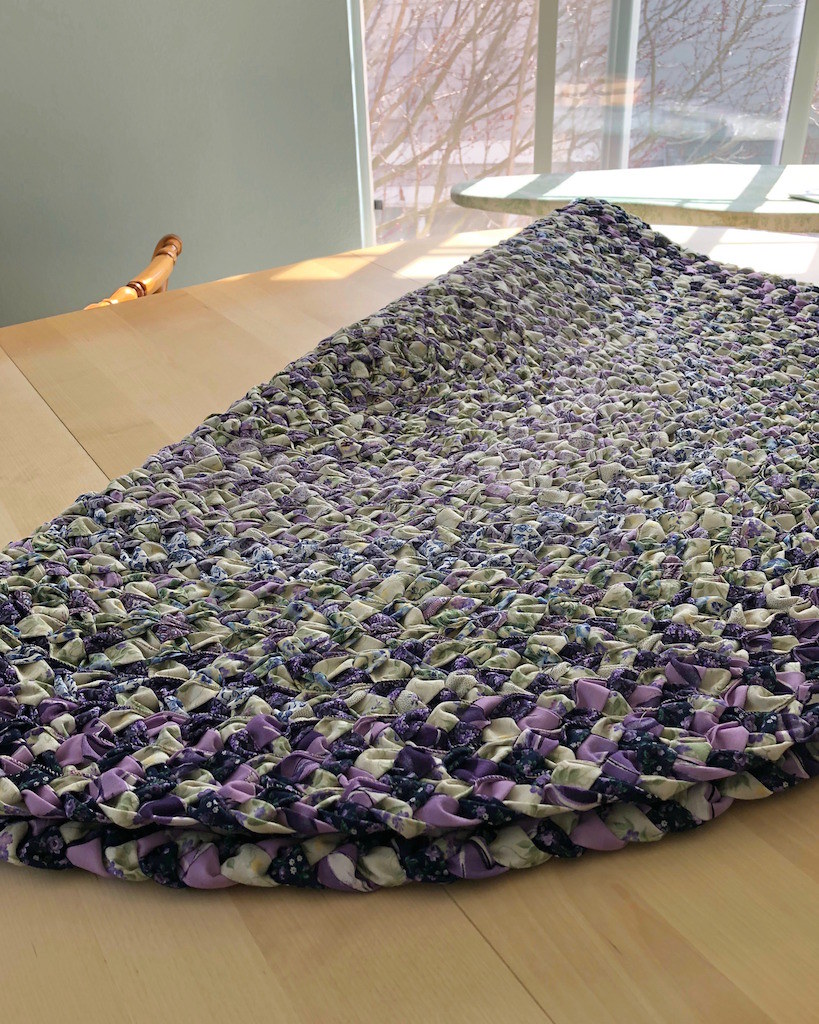
This time around I wanted a bit of an oblong shape, so I started with this.
And then the fun begins!
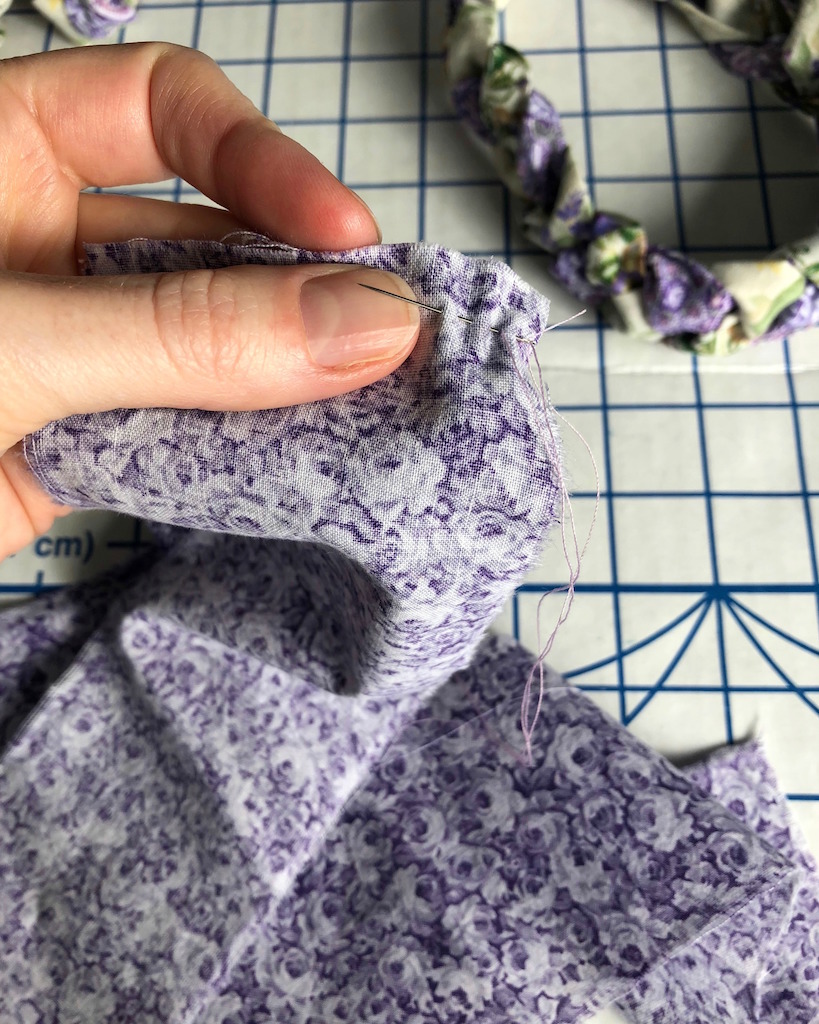
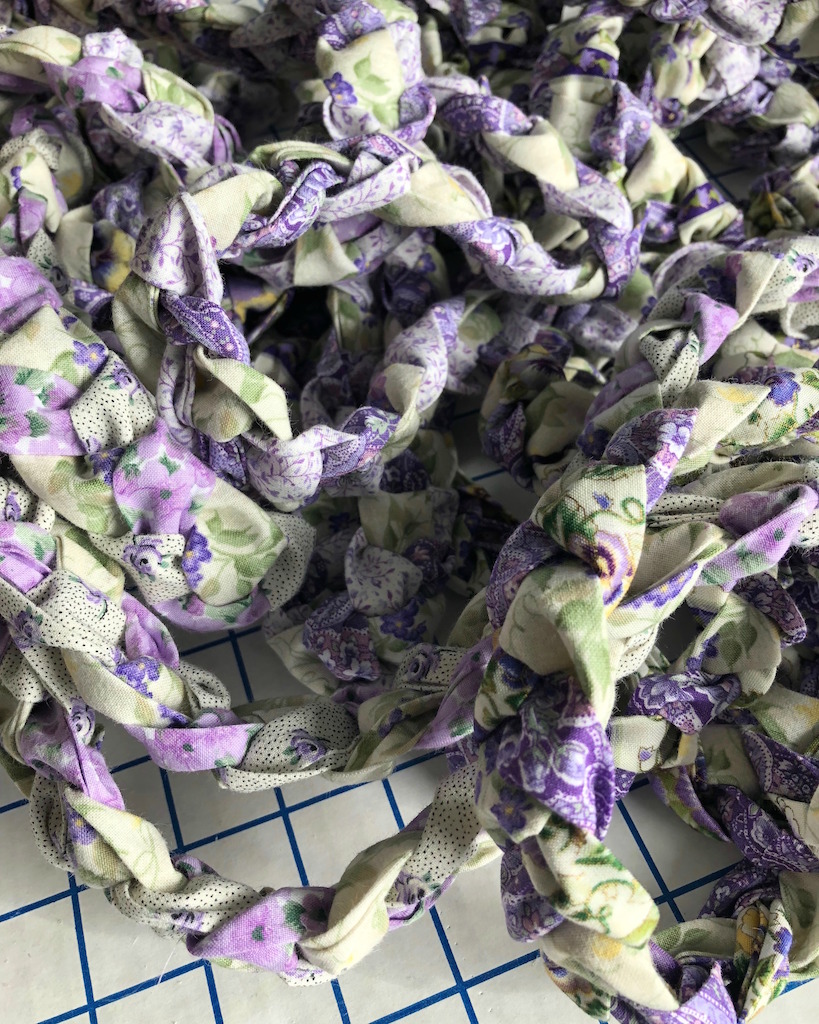
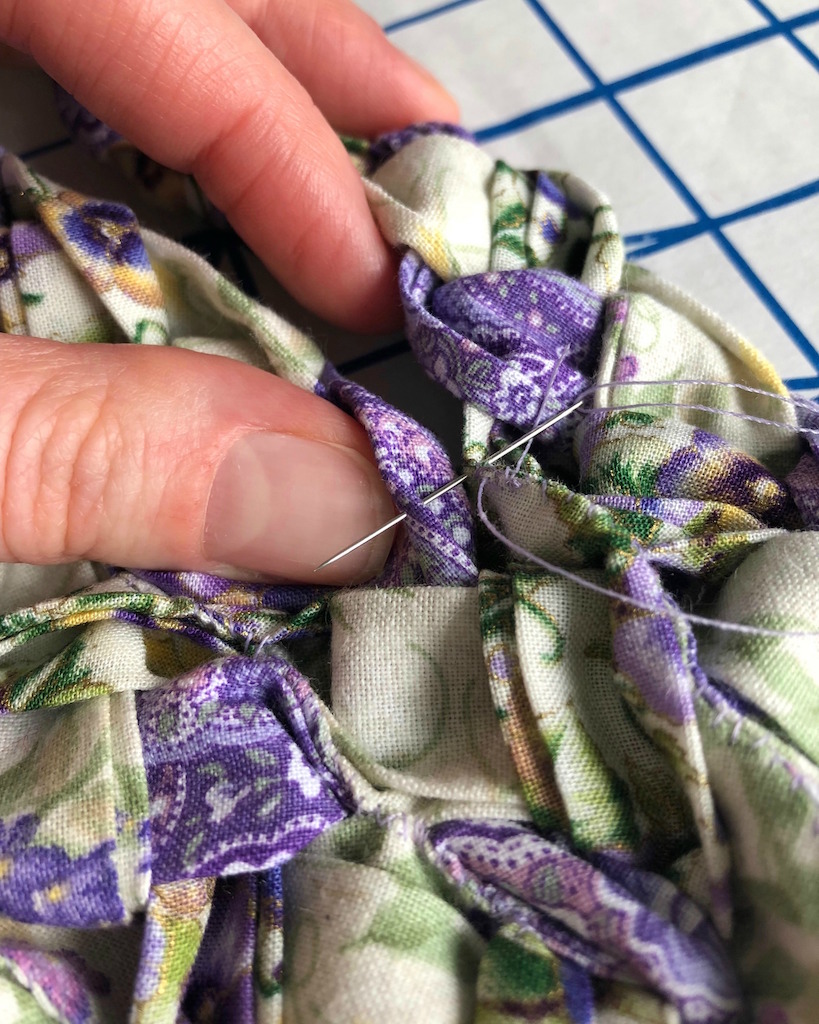
Lots and lots of tiny little stitches holding this rug together!
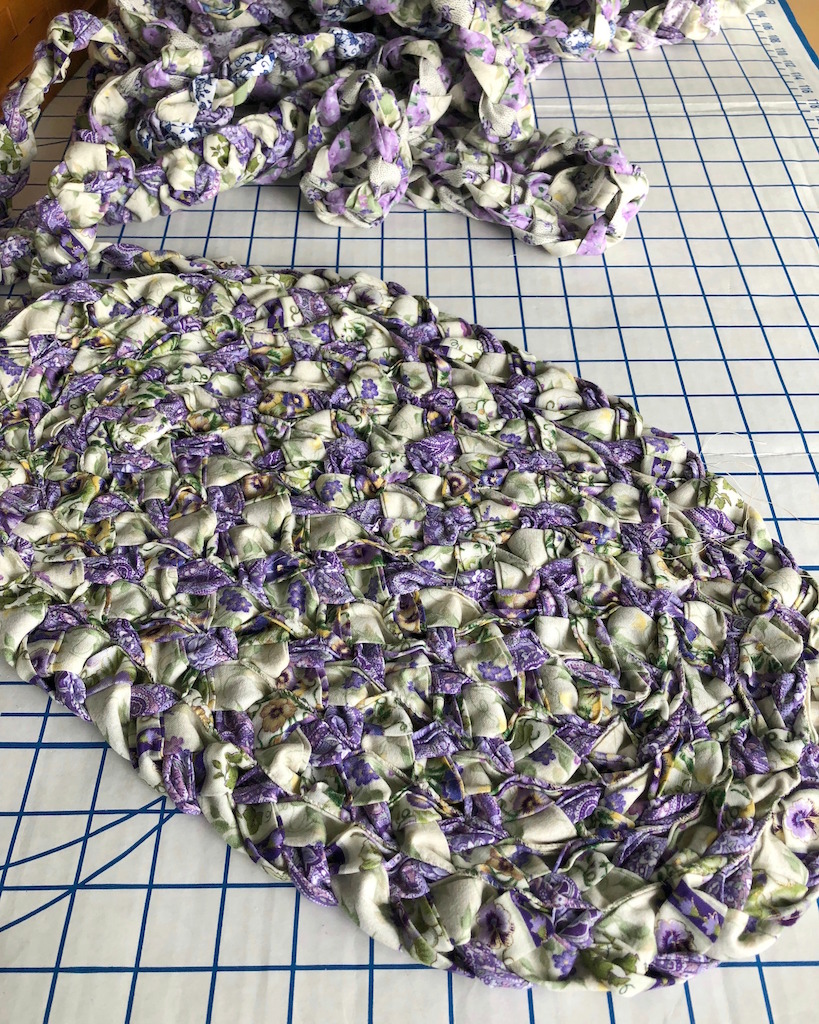
I will say that if you are going for a true oval shape, you need to be rather extreme with setting up the shape from the center of the rug.
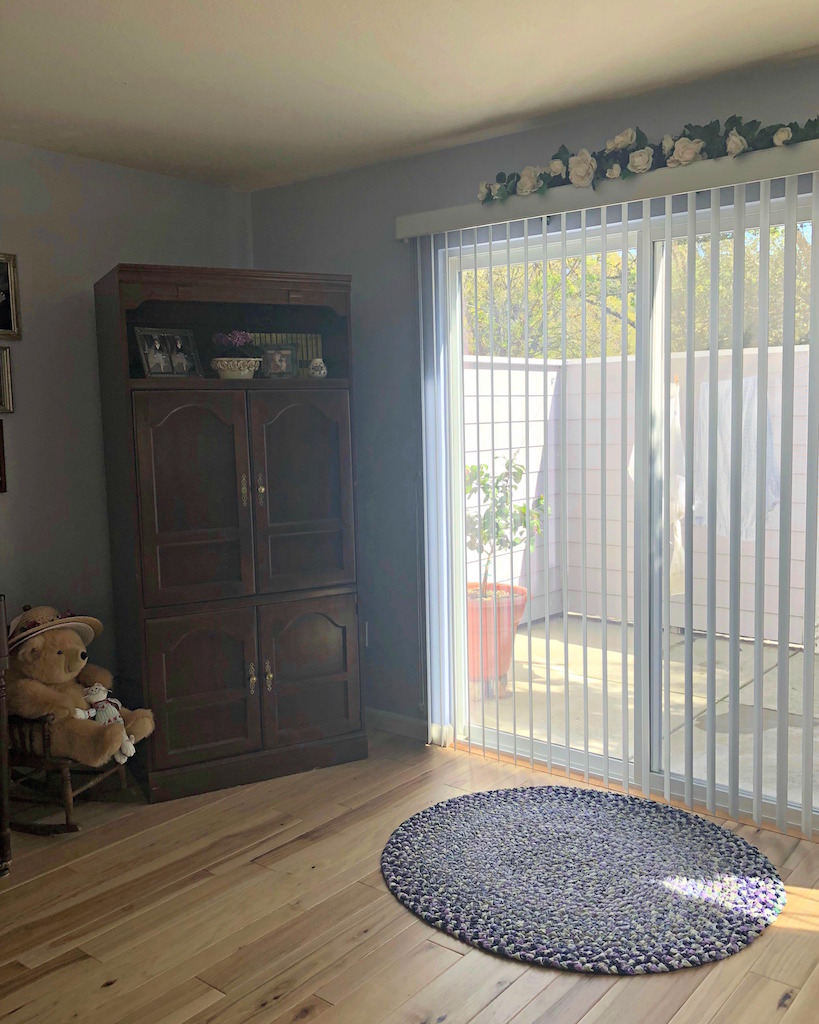
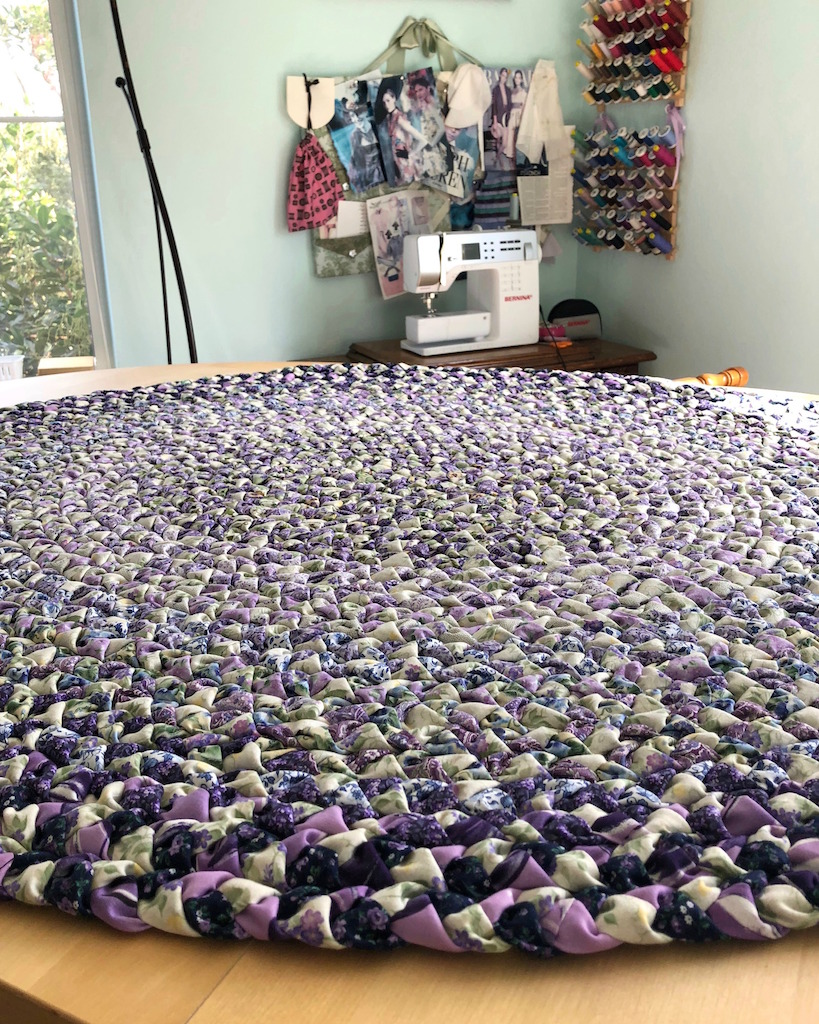
Once I ran out of that purple and green floral, I called it a day with the braiding. This rug is significantly larger than my first, and it turned out slightly more circular than I anticipated, so next time I will have to remember how circular these things turn out when using a lot of fabric braid!
But I still love the finished product.
It also means I am putting a lot of scrap fabric to good use. Those bureaus are still stuffed full of plenty more yardage, but I am really enjoying dressing my new home in hand made items.
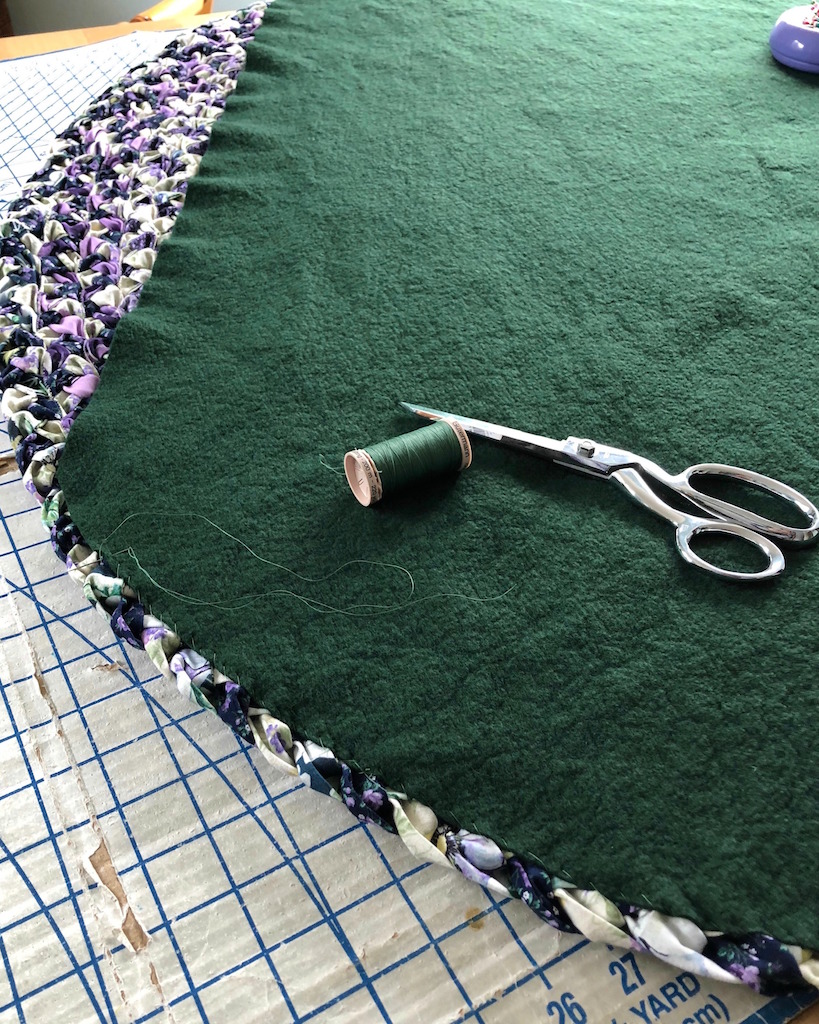
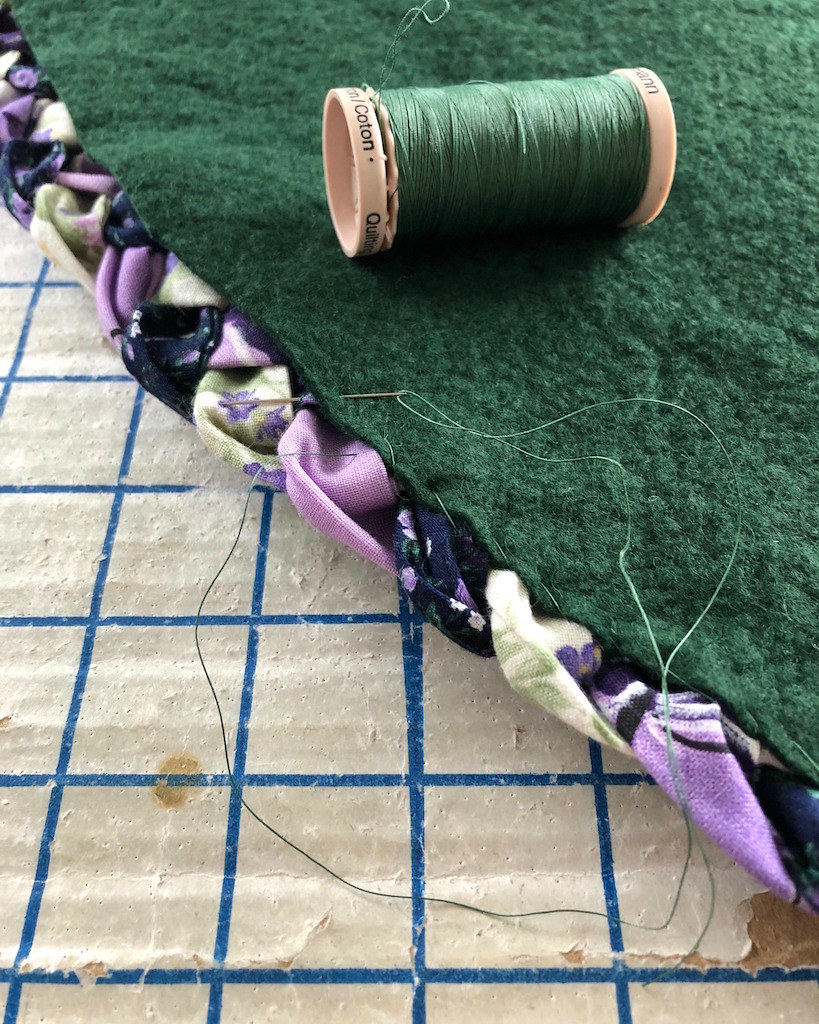
And, just like the first one, I backed the cotton with felt. I needed a bit more width than I could find to cover the entire rug, so I pieced the outer edges.
Quilting thread was used to tack the felt in place. I figure if the felt gets gross or wears out over time, it will be easy to replace. Meanwhile, the felt is protecting all my hard work with the cotton!
Which brings me to the finished piece. I am not sure two of something can be considered a collection, but I have a feeling there will be more rag rugs in my future, and I am very pleased with these stash busters. I may even have plans for the tiny bits left over from this project . . .
Tuesday, January 16, 2018
Rags to Riches
First of all, I would like to thank everyone for their incredibly thoughtful and kind words on my last post. I like to think that I am immune to negativity from cyber strangers, but some days it can prove to be quite challenging. But now it's time to return to the sewing stuff!
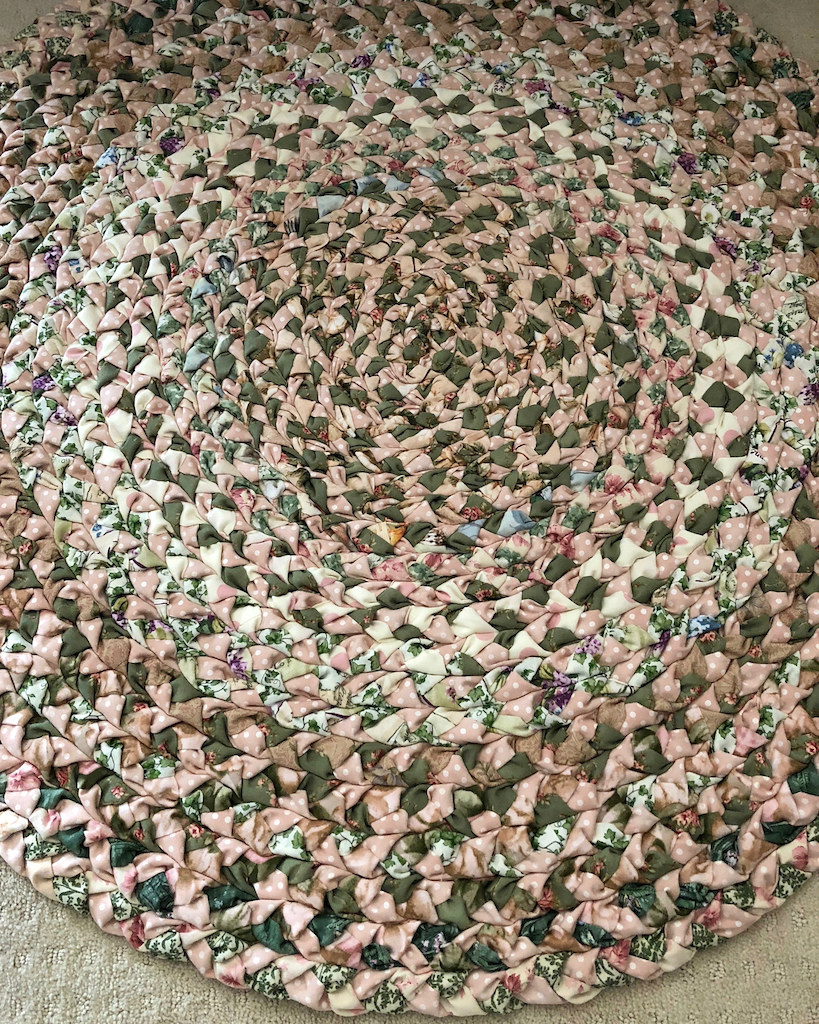
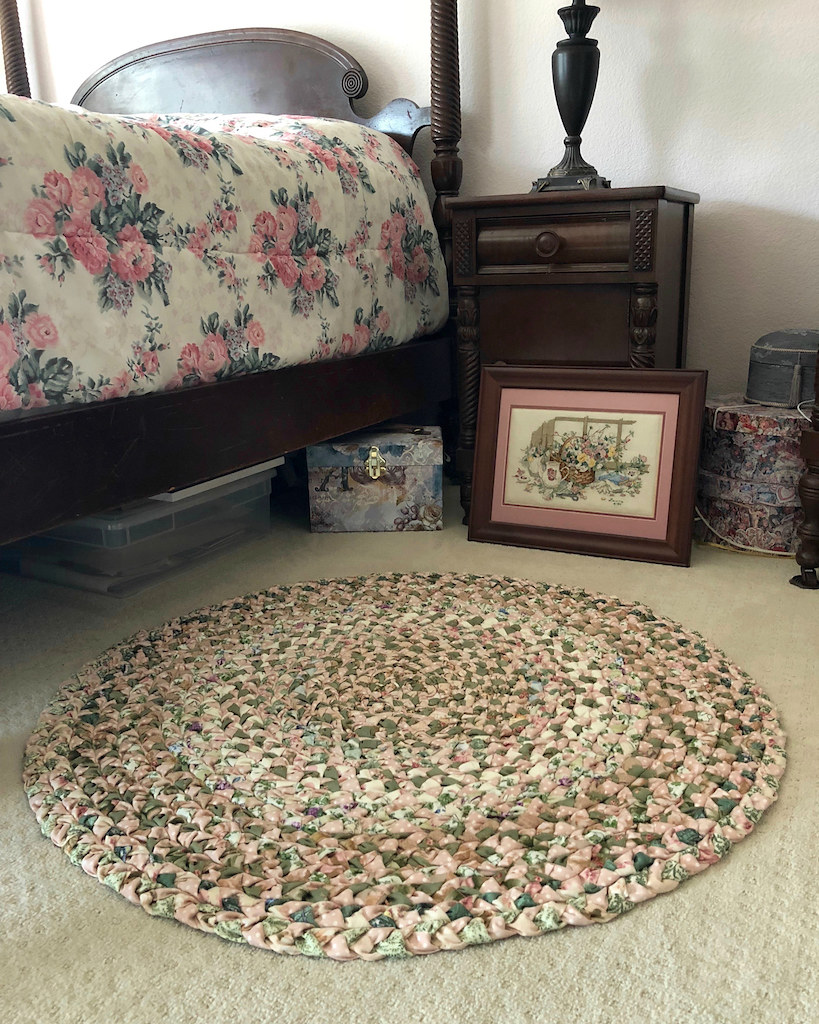
Last month, I decided I would try my hand at making a rag rug. I recently knit a couple of small rugs for my kitchen and decided that I needed one for my bedroom - but this time I wanted to try something different. My maternal Grandmother had a braided rug under the dining room table which I believe was made of wool. Although the colors were not my favorite, I remember being intrigued by the item. I even made my own version with braided yarn as a small child, though they were more coaster size than rug size.
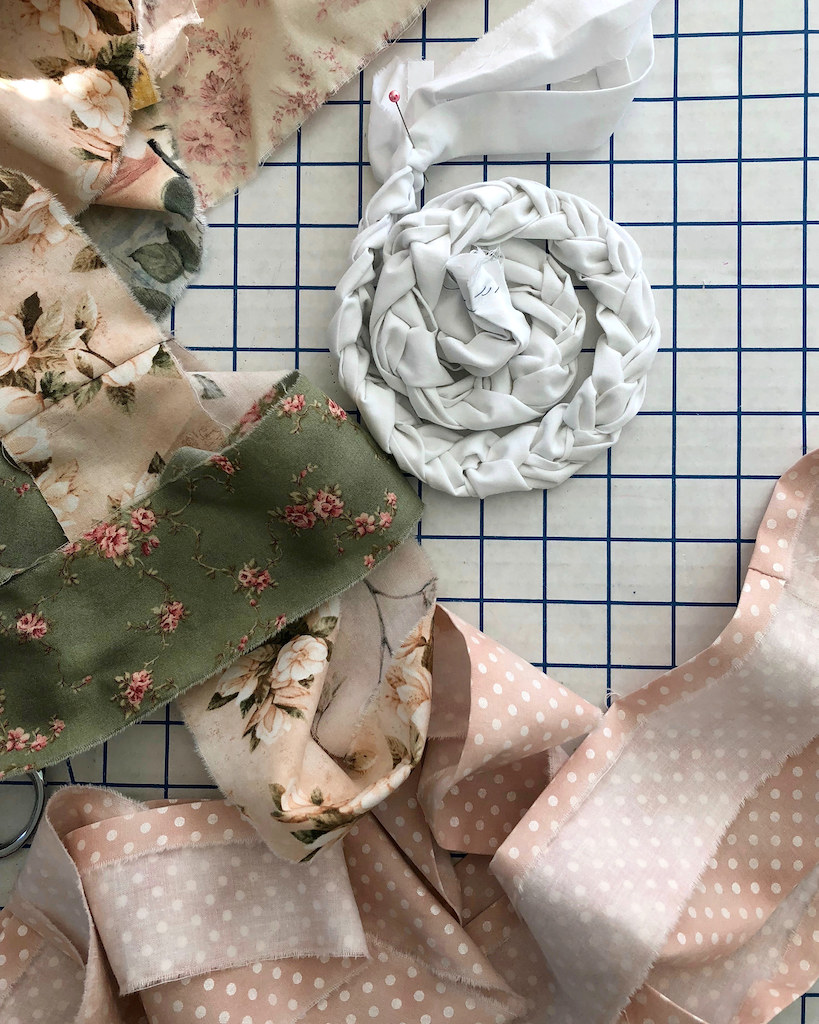
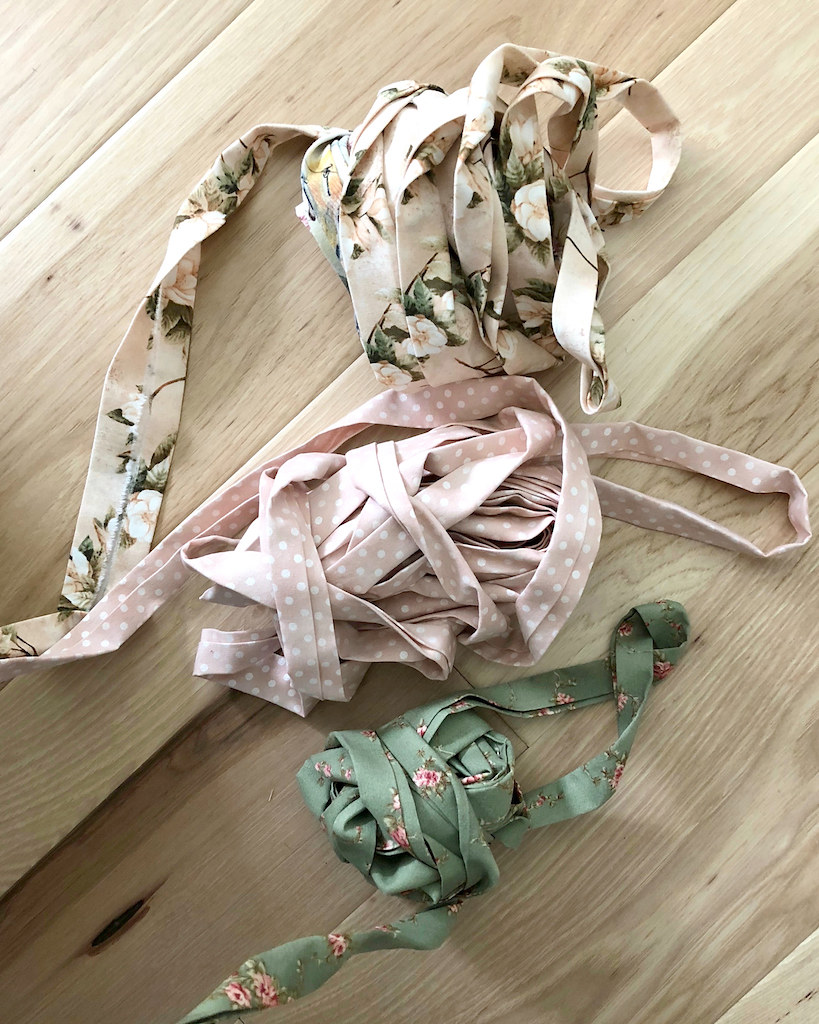
The first thing I knew that I wanted to avoid was raw edges. I used a few scraps of muslin to test the best way to go about creating strips. What I ended up with were three inch torn strips that I folded and ironed to hide those dreaded raw bits.
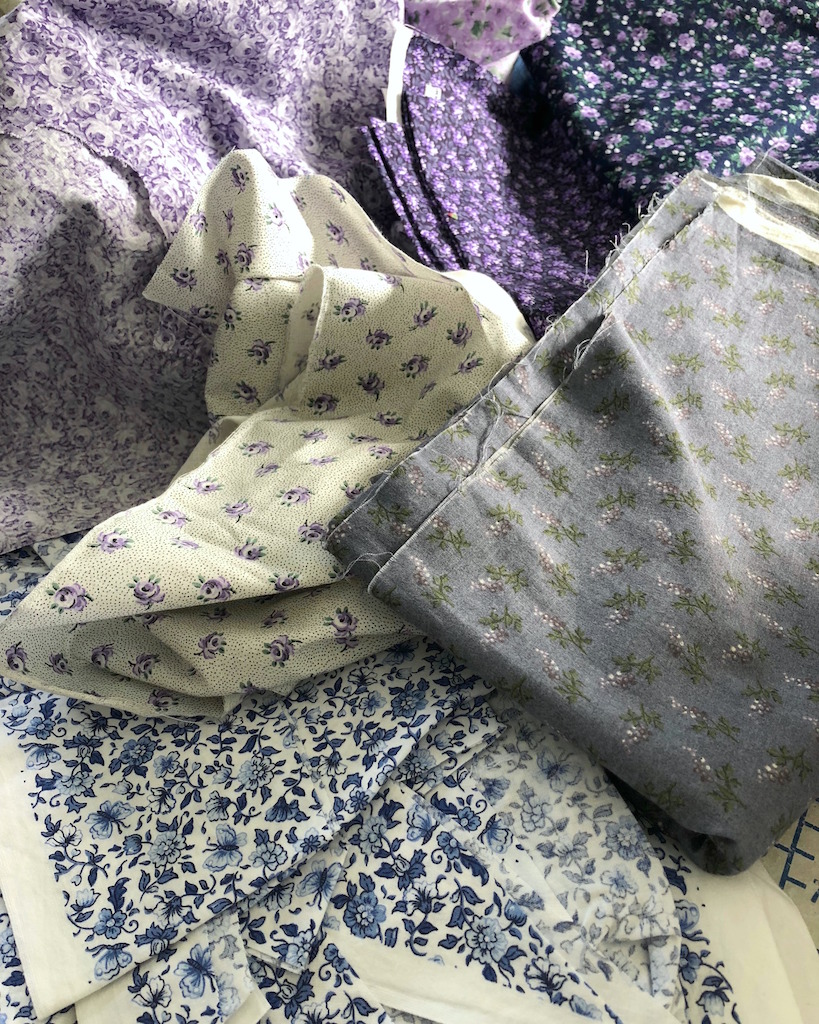
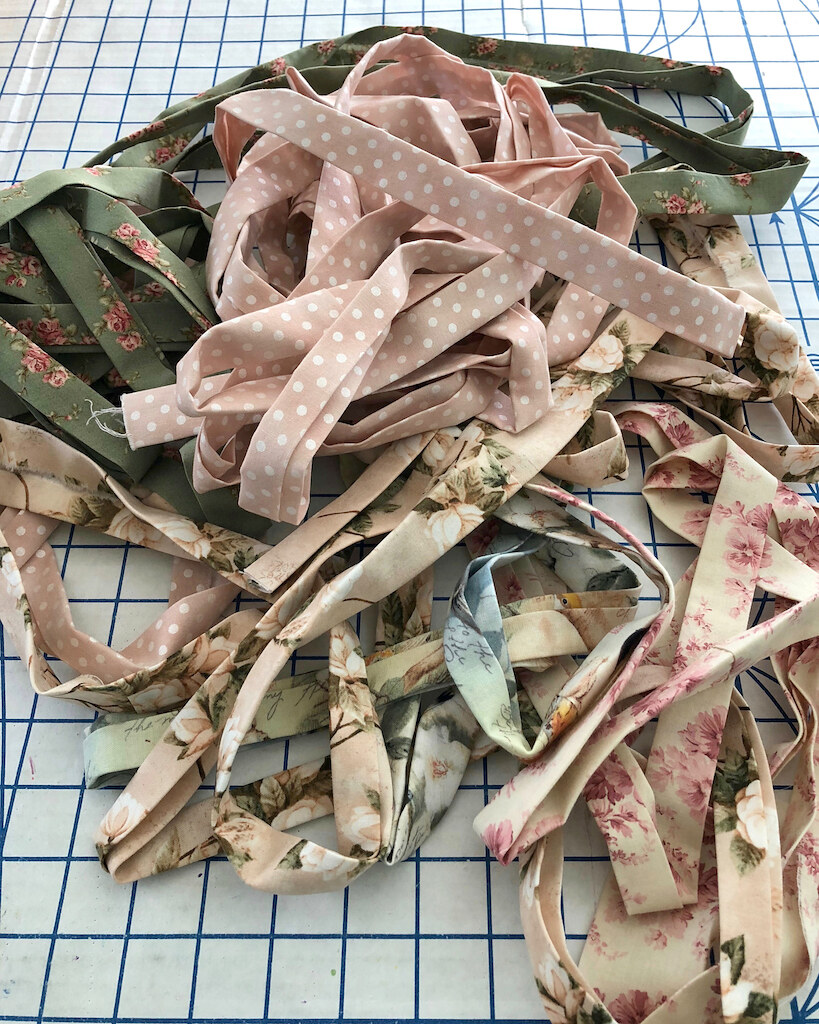
I rooted around in fabric bureaus, boxes, and bins to find quilting cotton remnants that I thought would work together to create a cohesive color scheme.
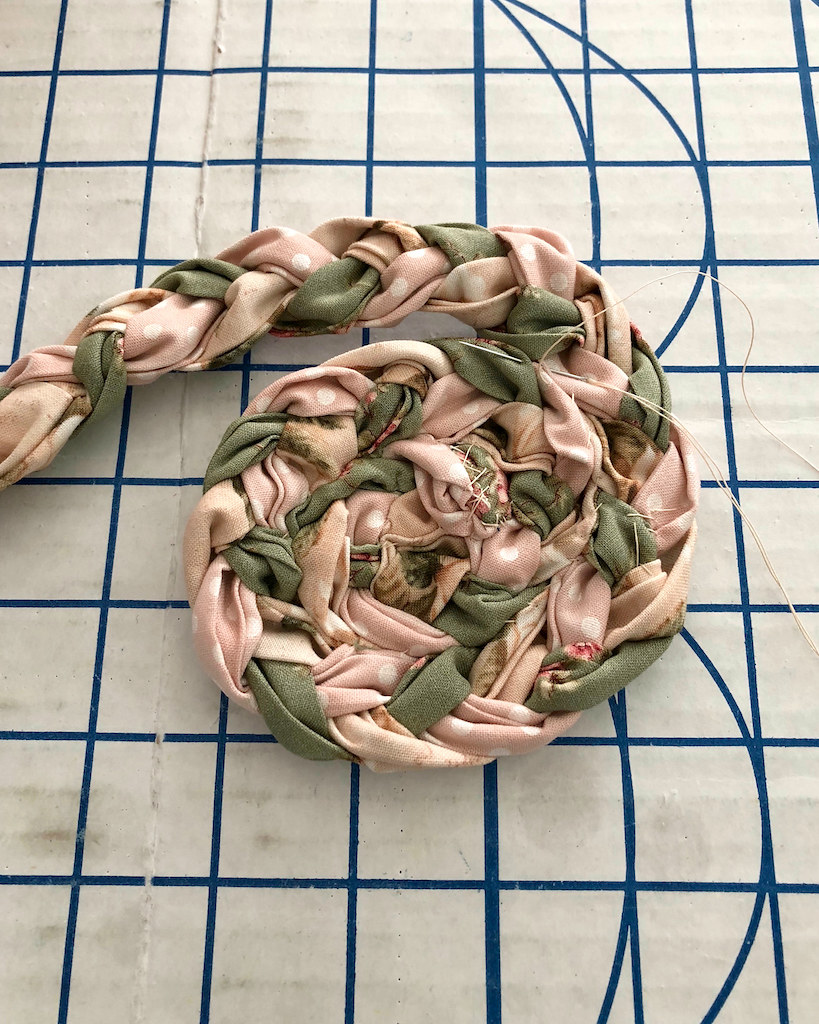
Once three of these folded strips of cotton were ready to go, I stitched them together, and started braiding.
Because I wanted a bit of consistency running through the entire rug, I purchased three yards of pink polka dotted cotton. I was expecting that I would have leftovers, but I ended up using the entire three yards.
Which means that I used up six yards of cotton scraps for the second and third strands of the braid. It also made me reevaluate some of the tiny scraps of fabric that I have been hoarding - there is a limit to how useful micro remnants can be, and if I save every bit of cotton I will not be able to maneuver around the sewing room at all.
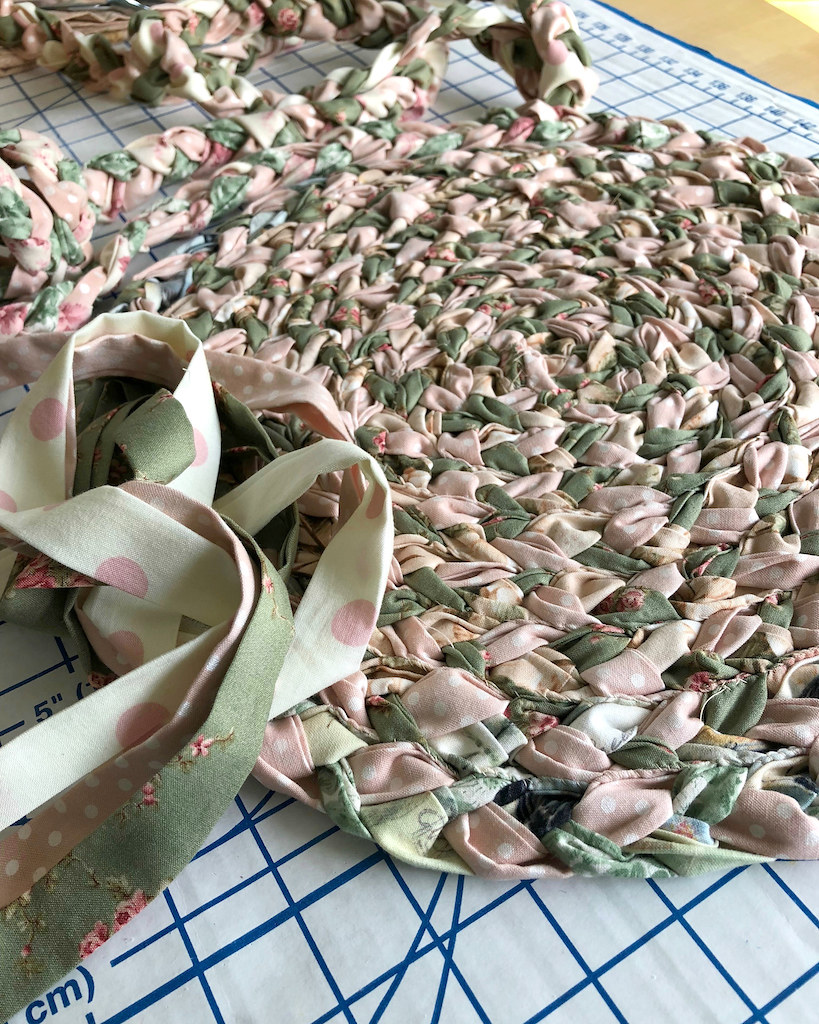
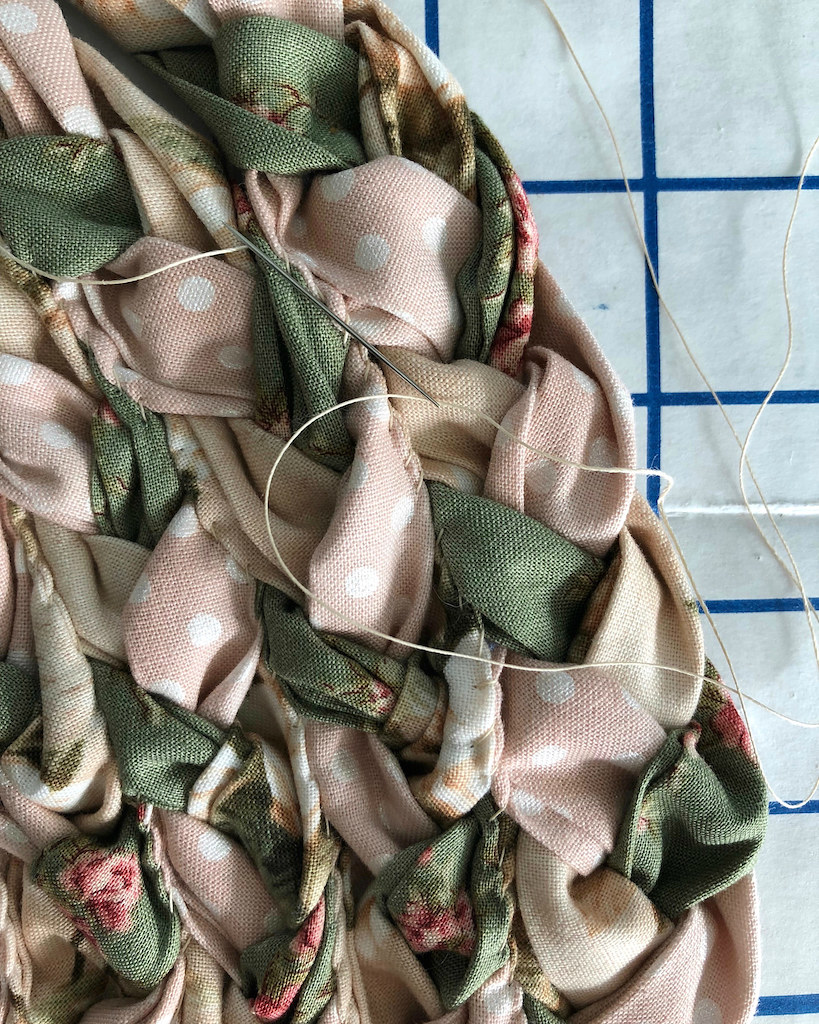
The next, and most time consuming step, was hand stitching the braided cotton into a rug. I know there are a lot of online versions of rag rugs that use a machine zig zag stitch to attach the coiled braid, but where is the fun in that?! And to be honest, I am not a huge fan of how that ends up looking.
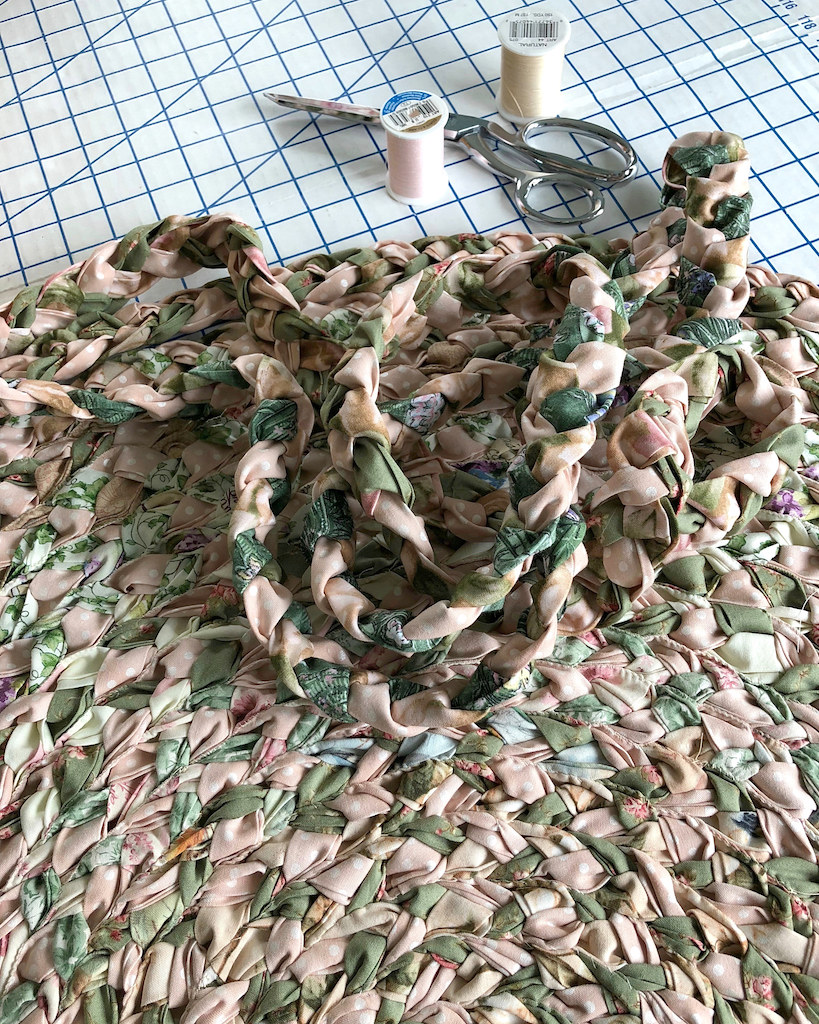
My finished rug is approximately 36 inches in diameter. I estimate that I used about 42 yards worth of braided cotton to end up with a fairly small rug, so yes, this is a fabric hog!
But in the end, I cleared out a small portion of my stash and did not add yet another garment to my very full closet(s). I am by no means finished with garment sewing, but this was a very enjoyable sewing experience that took me a little bit out of my comfort zone.
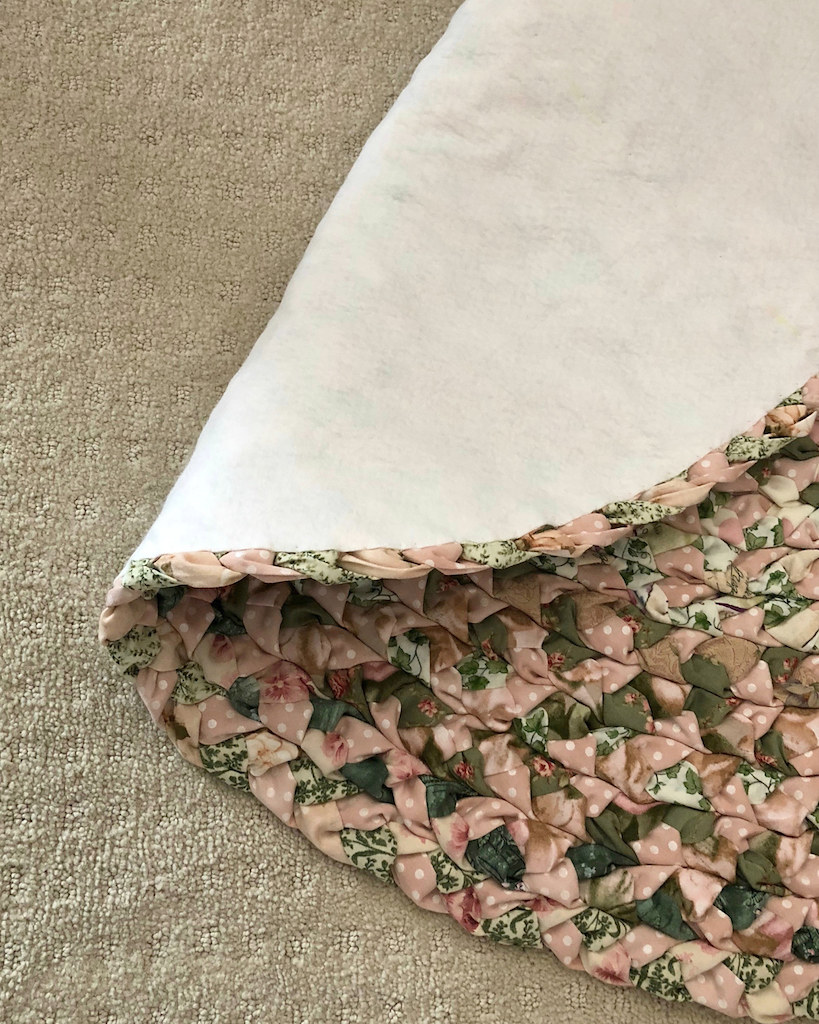
The final step was to back the rug with felt. This particular felt contains some rayon and is a little bit lighter weight than I would have liked, but I already had it on hand, so it was another stash buster! And if the backing deteriorates at some point, I can always replace it - the backing probably took an hour to cut and apply by hand. The rug, however, took a lot longer than that!
I wasn't sure that this was going to be a totally successful project, but I am thrilled with how it turned out. And I may have already started another in shades of purple for my living room, this time with a more oblong shape . . .
Subscribe to:
Posts (Atom)


