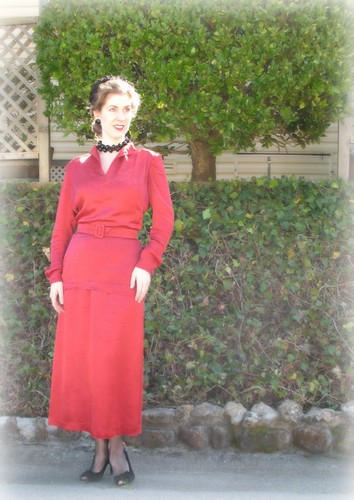
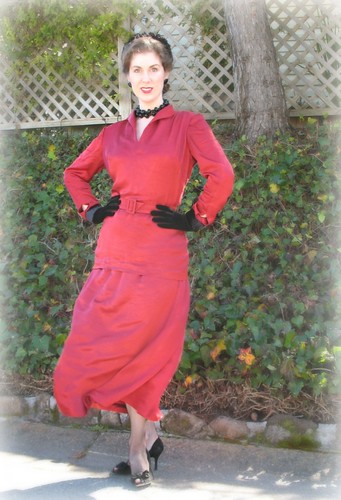
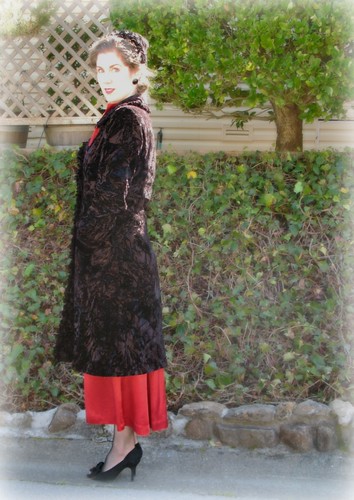
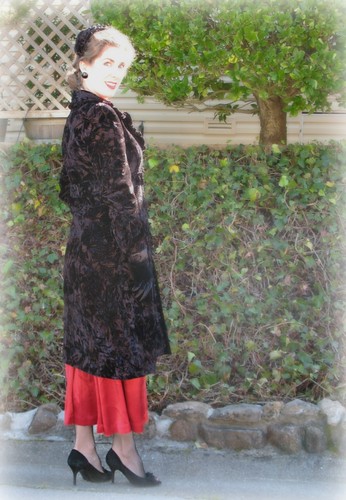
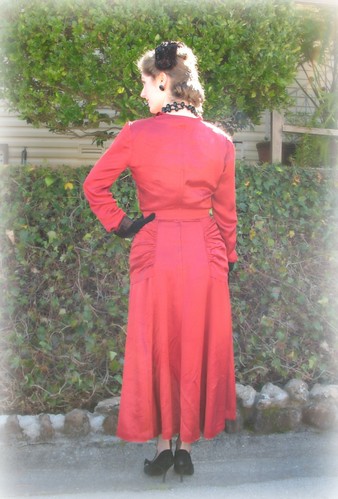
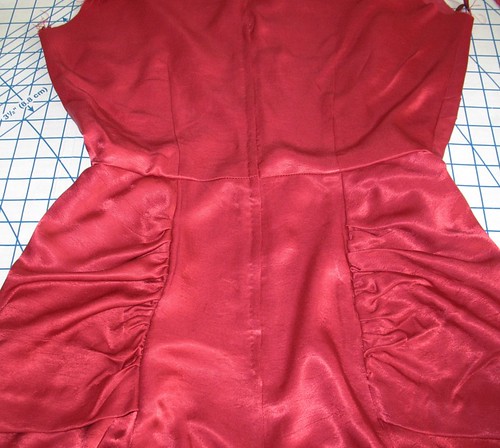
Here is a sneak peek of the project that has been keeping me
from my new sewing machine!
This lovely rayon satin fabric was a lucky find at a
Bella Notte Linens warehouse sale. I found a 3
yard piece of the 57” wide fabric, grabbed it, and promptly added it to my immense
stash.
Looking through my closet, there is not a whole lot of
red. There is plenty of burgundy, pink,
and rose, but not very much red. Well,
I decided to do something about that.
The red satin kept nagging at me, and low and behold, I
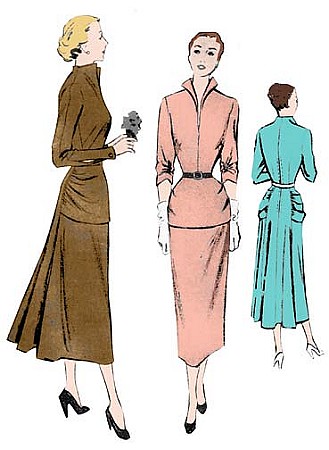
came across this vintage reproduction from
The Vintage Pattern Lending Library. In my mind, they were a
match made in heaven. A couple of years
later, I finally got around to purchasing the pattern, and when Mena announced this week’s “Red”
challenge, I figured the timing was perfect.
Time to pull out my fabric, give it a wash, and get going on
my muslin. While ironing the freshly
washed yardage, I discovered two large patches that had not taken the red dye
very well. Aargh – the long-sleeved version
that I had hoped to sew requires more than 3 yards of 52” wide fabric, and I
was going to have to avoid two large sections of fabric. Good thing a challenge only makes me more determined!
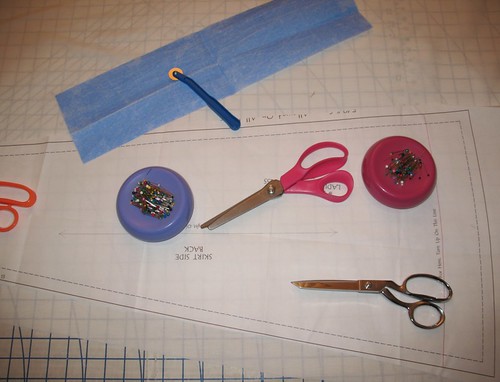
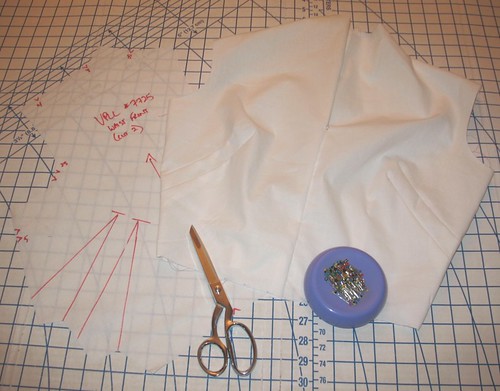
For vintage reproductions that are printed on bond paper, I like to trace the pattern onto muslin and mark all symbols in a Sharpie pen. The paper is extremely durable, but does not drape anything like rayon, so I prefer to work with a fabric pattern.
This time around, I decided to sew up a muslin version of the bodice to check the fit. (I really did not want to waste any of this fabric!) I added a bit of length to the bodice, took a skosh out of the sleeve length (next time around I might take a bit more), and was ready to get to the fun stuff.
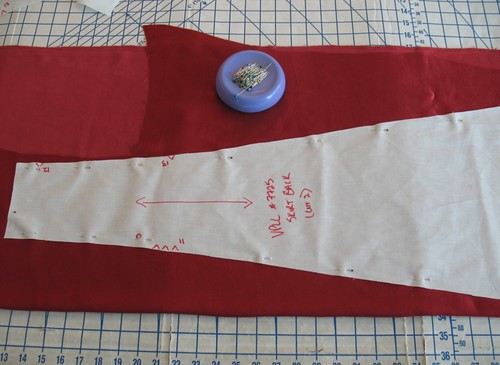
The pattern instructions include five pages of cutting
layouts! I generally avoid them because
I figure I can come up with a more efficient way to save on fabric, and this
time was no different. Although I had to
get a bit creative, and I had to cut some of my pieces in a single layer, I
managed to avoid the marred sections of fabric. Hip, hip, hooray!
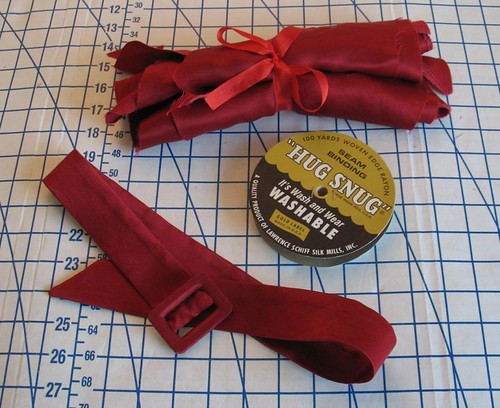
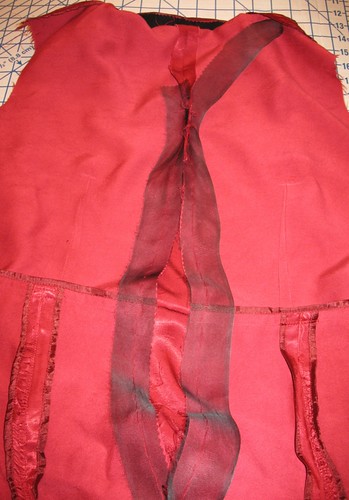
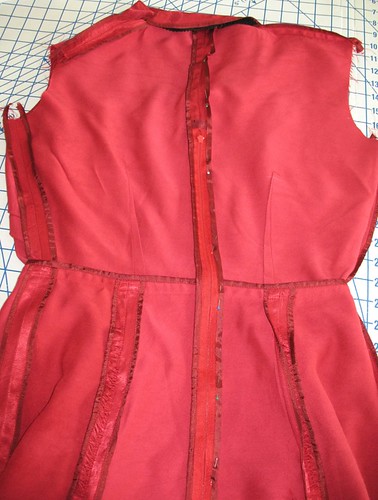
Once again, my beloved Hug Snug seam binding came in
handy. This fabric likes to fray (as
does every fabric choice I seem to make!).
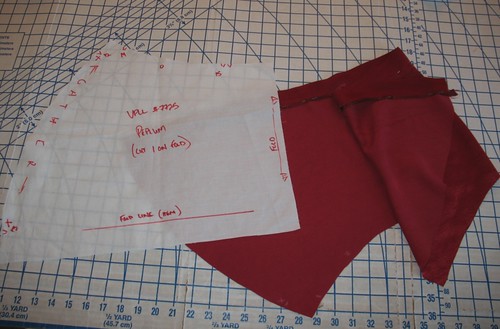
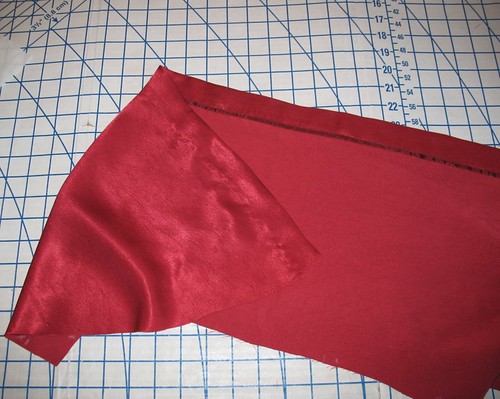
This rayon is more mid-weight than light-weight, so instead of turning
under facing edges twice, I used seam binding.
This was especially helpful on the sleeve facing and the lower edge of
the peplum.
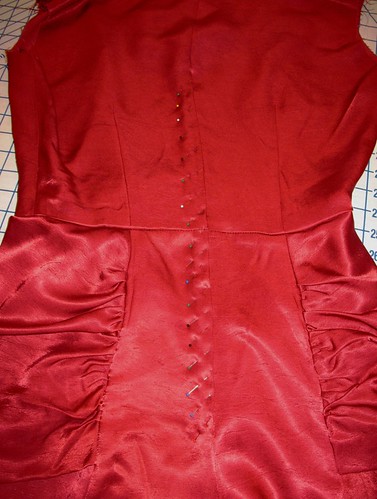
Thanks to a tip from a recent
Threads Magazine blog post, when
inserting my zipper, I placed my pins at an angle rather than horizontal to the
edge. It really does work better! And I remembered to hand baste a strip of
silk organza to the zipper seam for a bit more stability. (This probably would have helped my
blue velvet.)
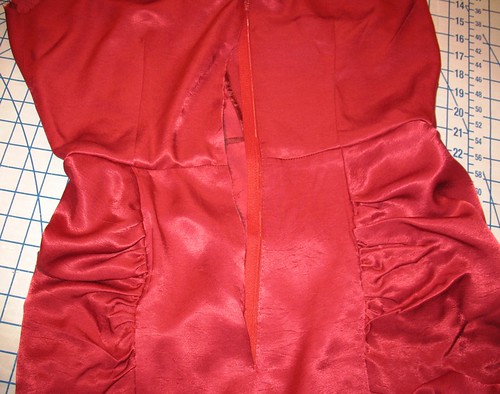
I was a little unsure how a lapped zipper application would
work with a center back zipper, but I am very pleased with the look. I definitely has a vintage feel.
Like other vintage patterns I have come across, the instructions suggest
applying the neckline interfacing (I used a cotton remnant from the stash)
directly to the wrong side of the fabric, and then sewing the facing to the
bodice pieces, right sides together. I am not sure that I like this application as much as using an interfaced facing, but I will have to try it with other fabric choices before I abandon it completely.
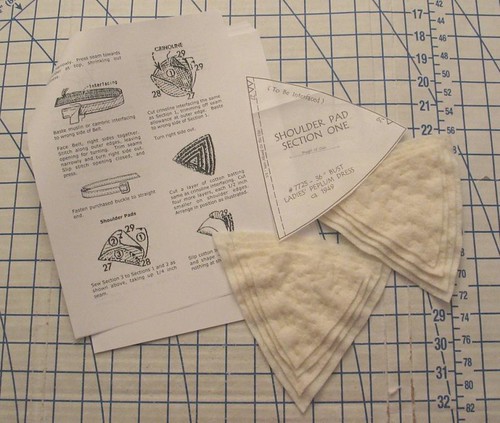
To help with the vintage silhouette, I made my own shoulder pads out of cotton quilt batting.
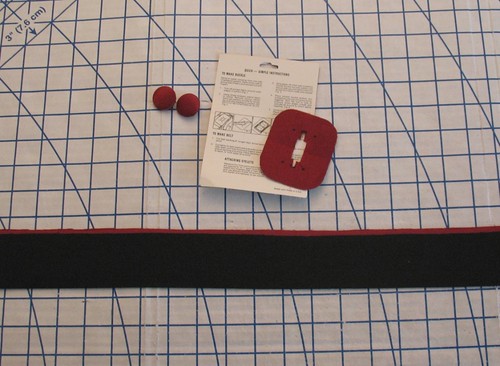
I barely had enough fabric to make a self-fabric belt, and
it would not have been the end of the world if it did not work out (at some
point I think I would like to wear the dress with a black belt) but I do like to have a matching set! I used a ruler and some chalk to mark the edges on my fusible interfacing and ironed it to a leftover fabric
scrap. This also makes cutting a
straight edge a whole lot easier in a fussy fabric!
And to finish off the belt, I do love
Maxant Buckle Kits, and I need to get more! When working with buckle and button kits, I
always fuse interfacing to my fabric so that the metal of the buckle/button
form does not show through the fabric weave. I also find that this cuts down
on the amount of fraying while you manipulate the fabric over the forms. A quick drop of Fray Check at the cut corners also helps to keep things neat and tidy.
Just make sure that it does not permanently discolor your fabric before
you use it on any project!
More picture of the finished dress will follow . . .