Saturday, October 1, 2011

Ceil Chapman Cocktail Dress, Part 7


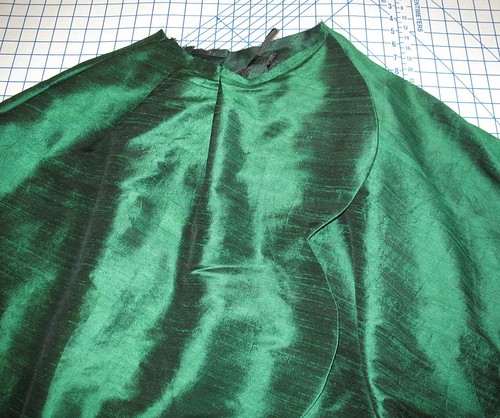
Working with silk just makes me happy.  Don’t get me wrong, it can be a bit challenging, but the finished product is well with any extra aggravation.
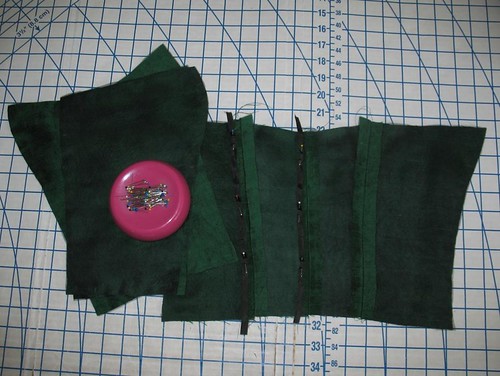

Because I am a finishing freak, I am binding all my edges with Hug Snug rayon seam binding.  I just love the vintage feel it gives to my sewing.  And if I bind off seams as I work, I do not have to worry about massive amounts of fraying (which the dupioni and organza has a tendency to do).  I also ended up finishing off all of the facing edges.
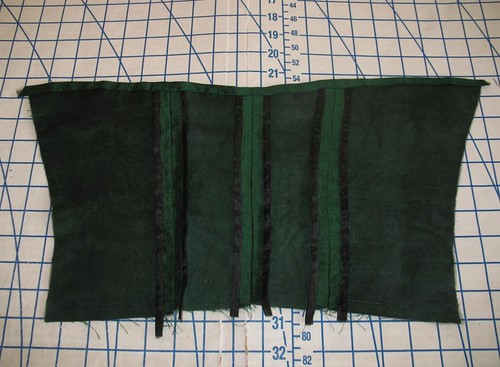

I have spent a lot of time hand basting with this project, and I have come to the conclusion that couturiers really know what they are doing – I have so much more control over fabrics (especially when basting two different textures together) if I avoid the sewing machine.  Also, silk thread really does make a difference and is worth the extra money.
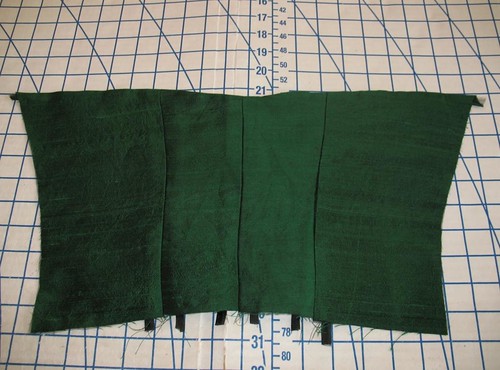

I am curious as to the original fabric suggestions.  It is hard to tell from the sketch, but the dress is, for all intents and purposes, a strapless garment – the shoulders really do not hold anything up.  Boy am I glad I made that corselette!  My dupioni, even when underlined with organza, would not have been sturdy enough to stay up without boning of some kind (which the instructions do not suggest). 


There is an under-bodice (the pattern calls this bodice front/side front and bodice back, etc.).  The under-bodice front is constructed separate from the back, and the bodice (called waist front and back) is laid on top and then basted together before the side seams are sewn up.
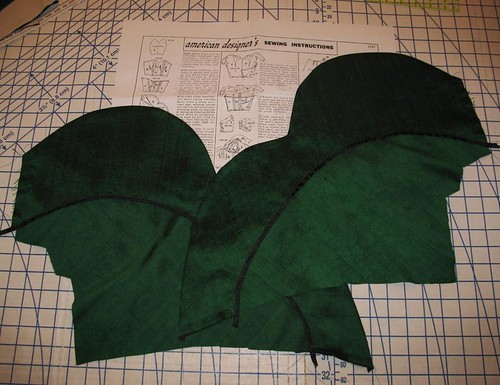

The “wings” on the back bodice pieces actually pull forward when attached to the sleeve and open out while the upper back folds down with the help of the upper back darts.  I also decided that the facings needed a bit more body, and underlined them with some cotton.
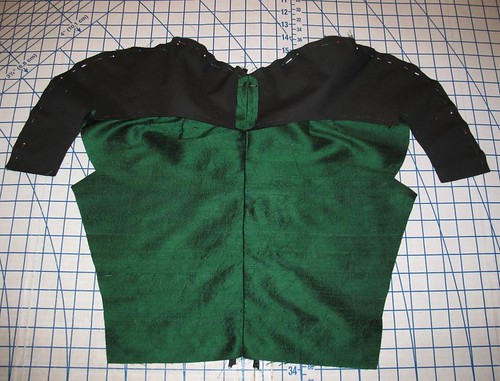

I am very surprised that the instructions do not suggest reinforcing corners before clipping them to set in the sleeves.  Was this just understood, or did a seamstress in the 1950s not concern herself with that sort of technique?  What would keep the clipping from continuing to tear into the garment?
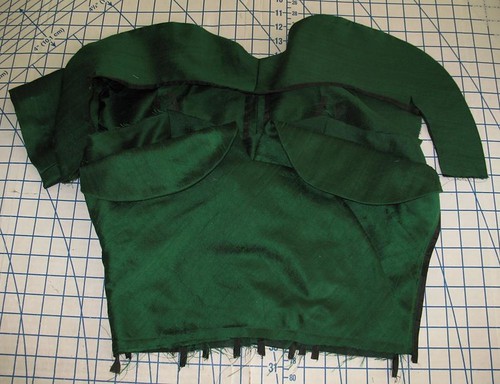

Those sleeves gave me quite a bit of attitude, but they are now set in.

Because my corselette is only going to be attached to the front bodice, I finished the back upper edge with my emerald silk.  It obviously will not show, but I like the way it looks. 


I have more work to do, but the end is in sight.  I cannot wait for the Gala on Sunday!

Friday, September 30, 2011

New Vintage Vogue Patterns!

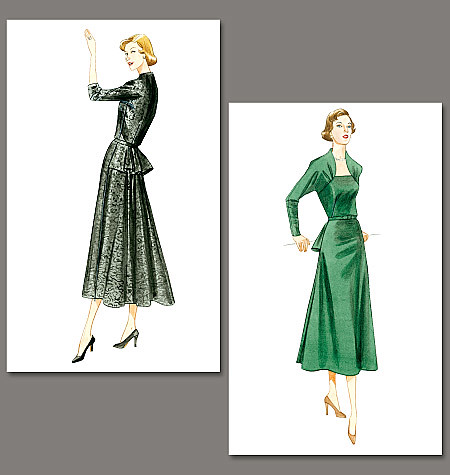
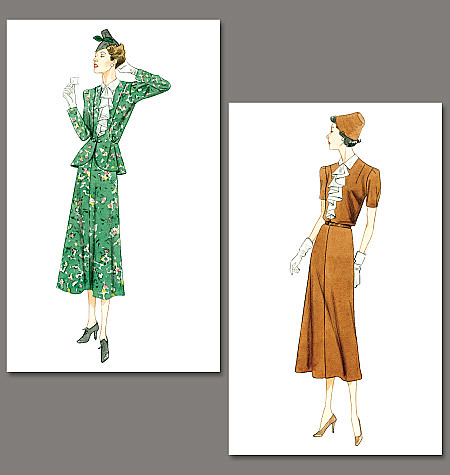
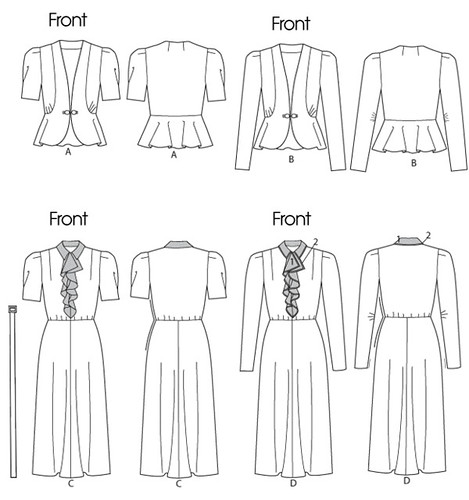
This morning I received an email announcing Vogue's new Winter/Holiday 2011 Collection.  Lo and behold, they did not let me down – there are two “new” Vintage Vogue lovelies to tempt me! 

Vogue 8768


Vogue 8767


I love, love, love both of these!  And that jacket is perfection!
As the new Butterick and Vogue pattern catalogues come out, the first thing I look for are the Retro and Vintage lines (big surprise, right!).  If there are none, I am a bit peeved.  To be fair, most seamstresses are probably annoyed that two of the patterns are vintage inspired and taking up space in the catalogue.  But not me – so thank you Vogue! 
I will have to take a closer look at the line drawings of the other patterns to see if any interest me, but for now, it is back to the sewing room, where another vintage reproduction requires my immediate attention!  No more distractions for me . . .

Thursday, September 29, 2011

Ceil Chapman Cocktail Dress, Part 6


To make sure that the bodice of this dress fits properly, I mocked up a muslin version.  I went ahead and added ¾” to the torso length because I figured it would be necessary (and I was right).

Attaching the sleeves to the bodice turned out to be the most frustrating part of the process so far.  But I am glad that I went through the irritation with muslin first, and did not shred my dupioni with each new attempt to make the darn thing fit together properly.

The reproduction pattern (from The Vintage Fashion Library) is missing quite a few markings.  This was originally an unprinted pattern full of different sized perforations and notches that are used to help match up all of the pieces.  Unfortunately, about 70% of the perforations are missing from the reproduction.  Not all of them are completely necessary, but there are some fold-lines and match ups that I am having to guess, and have added quite a bit of difficulty.  This is especially problematic on the sleeve insertion.  The only thing that I can figure is that a step is missing in the instructions that would gather the front section of the upper sleeve with the dart.  The more I fiddle with it, the more I am convinced that something was drafted incorrectly, most likely the sleeve.

I did not end up with any pictures of my muslin - not sure how that happened.  It is now in pieces, having used one entire half of it to cut out my silk.

A big thank you goes out to my mom for helping me fix the fit on the back of the bodice.  Patterns are not drafted for people with good posture!

Here’s hoping that in a couple of days, I have a finished product that looks something like this.


Wednesday, September 28, 2011

Ceil Chapman Cocktail Dress, Part 5


The past couple of days I have been feeling a bit overwhelmed by this process and needed a project that I could complete quickly.  There is nothing like being able to check something off a list to instill a sense of accomplishment!


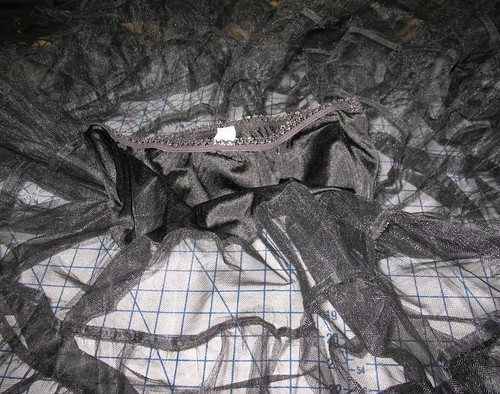
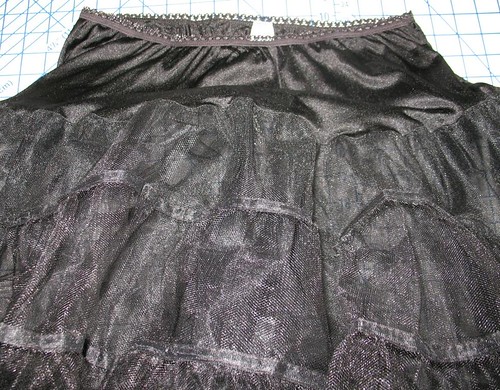
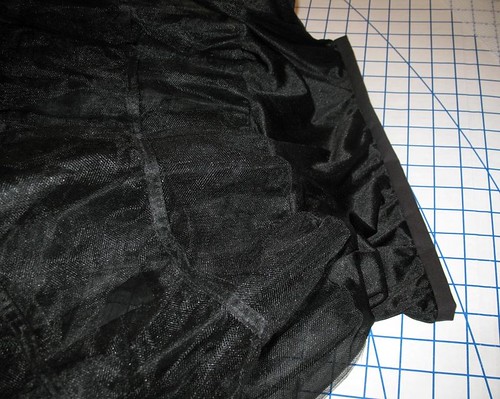
Because I did not want the added stress of having to fashion myself a black petticoat for my Ceil Chapman cocktail dress, I recently purchased a Malco Modes tea length petticoat on ebay.  I know, I am being incredibly lazy, but time constraints sometimes get in the way, and I would rather spend my time and energy working on the dress.  Wanting the fluffiest one I could find, I ordered an extra-large because each size gets incrementally longer as they move from small to large.  This was probably wishful thinking, because I imagine the easiest way to produce them is to alter the yoke of the petticoat, and not the netting, but just in case, I got the longest one I could find.  I was not worried about waist size (which was even bigger than expected) because I planned on altering the waistband for myself.  I cannot stand an elastic waist because it never feels secure to me and constantly rotates on the body.


I made a simple waistband from some black cotton that I had.  The top elastic was cut off, and the cotton band sewn on to encase the raw edge I had created.  The back is fastened with a simple hook and eye closure.  Instead of using a zipper, I just cut an opening in the center back yoke and rolled a mini hem so I can get in and out of the petticoat now that the waist is no longer stretchy.


And now that one portion of my outfit is complete, I am feeling a lot more relaxed and ready to tackle those silly sleeves that have been giving me so much trouble!

Sunday, September 25, 2011

Ceil Chapman Cocktail Dress, Part 4


I usually construct a dress for a special occasion, only to realize a few days before the event that I do not have the proper undergarments.  A frantic search begins,  and once again, the long-line bras of today let me down - they just do not create the proper look for a 1950s silhouette.

Thanks to Gertie (her Blog for Better Sewing was one of the first sewing blogs I happened upon), I had the idea of attaching a corselette to the dress itself.


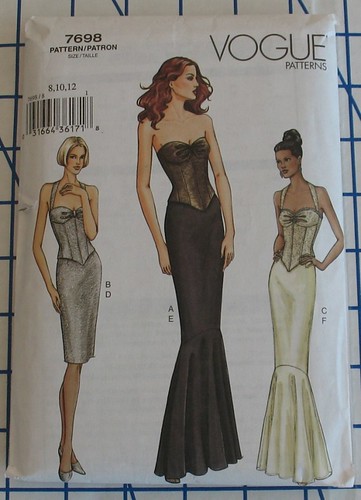
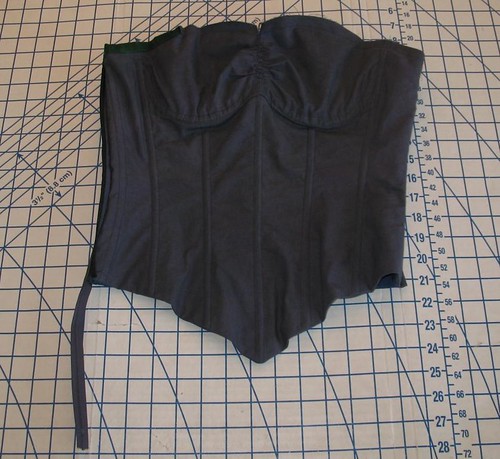
Instead of stressing about finding the proper pattern to use for the corselette, I decided to restrict myself to my own pattern stash.  The Victorian corset patterns were not exactly the look I was going for – I did not want to flatten my bustline.  I ended up choosing Vogue 7698, which was designed as formal outerwear but had the basic silhouette I was looking for.


As with most patterns, I had to add a bit of length to the torso.  Thankfully, that was the only real alteration that was necessary.   


There is nothing worse than having something dig in at the waistline, especially when seated.  I love the fact that this pattern extends beyond the waist, even though this dress obviously does not need any shaping through the hips.

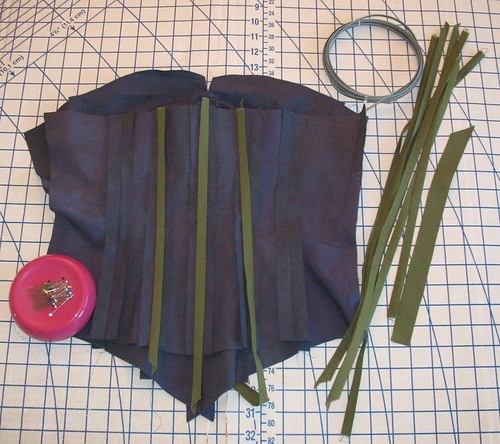
The cotton down proof ticking I am using as a coutil substitute is from Vogue Fabrics (now a steely shade of blue thanks to a second bath in RIT dye).  I am very pleased with how the fabric is working.  It has an incredibly tight weave that makes pinning a bit more challenging than normal, but the corselette feels very sturdy without being bulky.

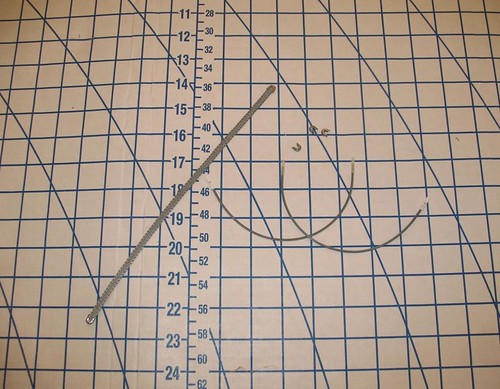
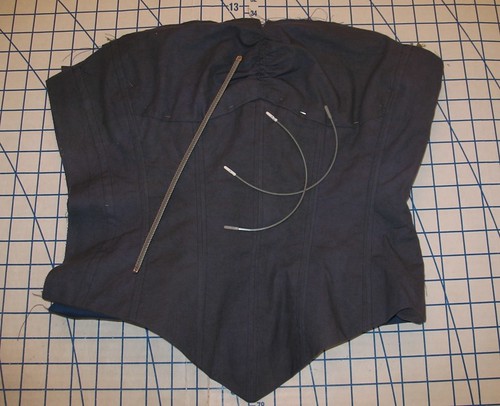
The few long line bras I already own all use plastic boning.  And after wearing them for a couple of hours, the plastic warms up and bends to the curves of the body.  So if I have been sitting and then stand up, part of the boning sticks out at funny angles.  In an effort to avoid this, I decided to try spiral steel boning.


I purchased 12’ from lacis.com along with boning tips so I could cut lengths as needed.  Unfortunately, my little jewelry wire cutters were not up the task of cutting the stuff.  However, I was able to borrow a more heavy duty wire cutter from my boss that worked great.  A tutorial over at Sew Curvy Corsetry was very helpful for securing the boning tips to the ends of my cut pieces.  I love how my jewelry pliers have now become a useful sewing tool!

I used a bit of leftover yardage to create the boning channels.  I cut 1” wide strips on the grain for all of the boning except the underwires, which were cut on the bias.  


An old stretched out bra donated the underwires (I knew there was a reason I was keeping it!).  By the way, have you ever dissected one of your bras?  These things are evil looking.  Because of the multi-layered channels, I assumed that the wires were thick and plastic, and maybe they are in some cases.  These, however, are thin, wire, and scary looking.


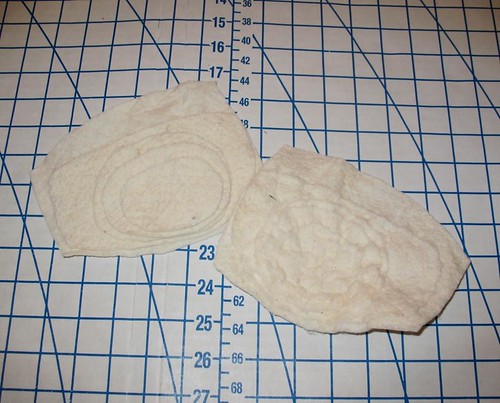
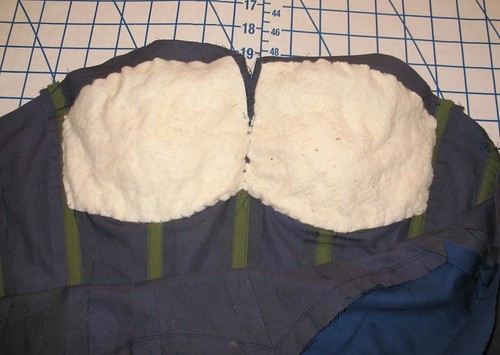
Using the tutorial from Tasia over at sewaholic.net I added bust pads to the corselette.


The same pattern pieces were used to create a duplicate corset for the lining.  I sewed the bottom edge, right sides together with a  3/8” seam, and then turned it right side out with a finished lower edge.  


The side seams were basted together, and the edges finished off with Hug Snug seam binding.  If you are not familiar with this product, you should be!  The rayon seam binding allows a beautifully finished seam edge without adding any bulk and I am absolutely obsessed with it.

I purchased an 18” zipper.  This is obviously quite a few inches longer than the corselette, however, it is necessary to have more length so it will open wide enough to go over my head and shoulders.  The zipper will end up being a bit longer than the zipper opening on the dress.  The zipper was hand picked with silk thread.


The raw upper edges will be basted to the front bodice and treated as one piece.

With one week to go, time is running out . . . my bodice muslin fitting is up next!

Previous posts about this project may be found here:

Saturday, September 24, 2011

Ceil Chapman Cocktail Dress, Part 3


There is something so satisfying about cutting into beautiful silk yardage.  And while mocking up the muslin and making a corselette is definite progress on my dress, until I am working with my real fabric, it does not feel like I have started on the dress.

So instead of working on the fit of the bodice, I went ahead and started on the skirt.  It does not require any real fitting except the waist, but that is easily altered within the tucks should there be any problems later on.

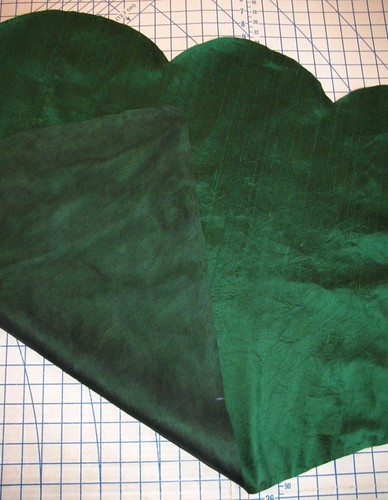
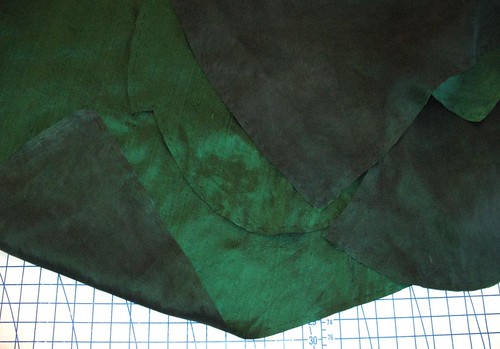
The first step was to hand baste my newly dyed organza to the underside of the dupioni.  The pattern calls for skirt “lining” but the instructions treat it more like an underlining.


My first impression was that the skirt was two separate layers - an underskirt and a half-circle overskirt with scalloped edges.  Upon inspecting the pattern pieces, however, it was clear that there was no underskirt. 


I was concerned that the half circle skirt and the scalloped half would allow a crinoline to show with any movement or a gust of wind.  However, Ceil Chapman was smarter than that.  Reading the directions carefully, it is clear what a brilliant designer she really was.  The scalloped edges are faced with self-fabric, trimmed, clipped, and turned right sides out.  The facings are then sewn to the other half of the skirt (a bit more than a half-circle) and the facing gets folded back under and stitched at the waistband creating a six inch scalloped flap along the length of the skirt front and back. 


I adore this manipulation of the skirt pieces.  When I get a chance, I would love to use them to make a skirt.

That being said, cutting the massive pieces out was not the easiest thing to do.  I am thankful that I was working with muslin and not paper or tissue – that helped quite a bit.


I love how different lighting makes this iridescent fabric change colors!

Next up is my corselette.

Thursday, September 22, 2011

The Perfect Afternoon for a Mint Julep


Now that Fall is almost here, Summer weather has finally arrived in Marin County.  This means that I am pulling out all my summer dresses before the heat decides to disappear again!


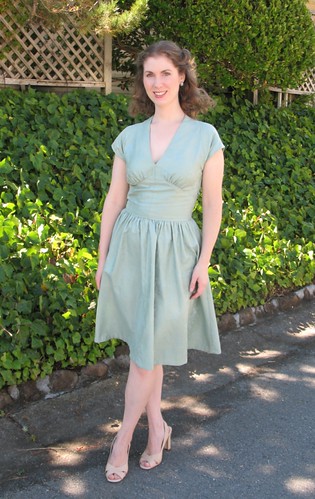
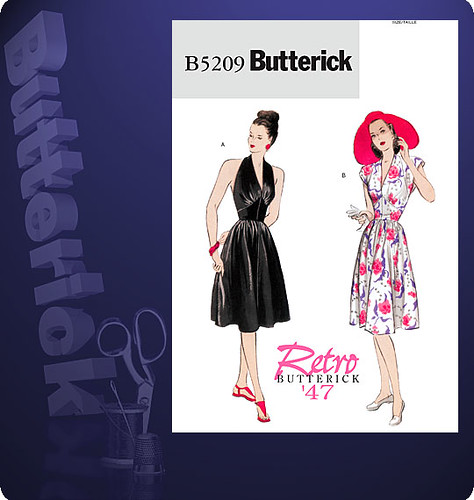
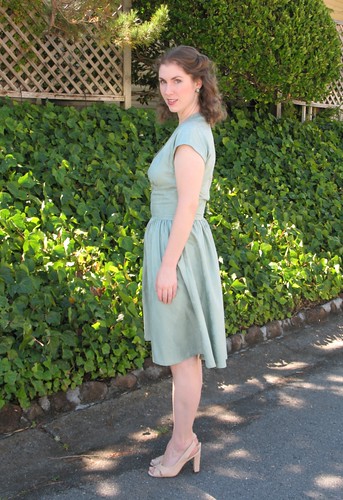
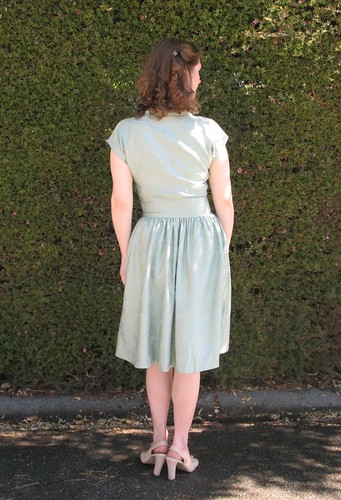
This dress is yet another vintage reproduction from my closet.  I used Butterick 5209, a pattern originally printed in 1947. 


I was first attracted to the halter version, but decided that the cap sleeved look would be much more wearable.  And I am so glad I made the decision – the sleeves are one of my favorite parts of the garment.


The fabulous fabric is from Bella Notte.  The 44% silk/56% cotton blend floral jacquard is called Deluxe Marie in the colorway “ocean” and is one of my favorite fabrics.  It drapes beautifully and works perfectly with the style of the dress – crisp enough to keep the dress summery, but with enough drape due to the silk content to keep it from looking too stiff.


I was surprised by the amount of yardage required.  I assumed this was a wartime styled dress (silly me, since the pattern envelope clearly says 1947).  However, the dress requires almost 3.5 yards of 45" fabric – the designer must have been thrilled that wartime rationing was over – it is certainly not a “New Look” amount of fabric, but quite a bit more than I was expecting.  This may have to do with the fact that the bodice and midriff are lined with the fashion fabric.  I wonder if the original was lined –I have never come across a day dress pattern from the 1940s that was finished like this.  So if you think you may not have enough yardage, an easy fix would be to use a lining fabric instead of cutting double of the bodice and midriff pieces.


I substituted an invisible zipper, although if I was to make this up again, I would probably choose a lapped zipper with a hand picked seam.  I was fully converted to hand stitched zippers when I saw a few Balenciaga creations up close and personal at the de Young Museum in San Francisco earlier this year – if they are good enough for a couturier, they are good enough for me!  I also live for hand stitching, so any extra excuse works for me!


Earrings: Macy's
Shoes:  Banana Republic "Tina" in Ivory