
There is something so satisfying about cutting into
beautiful silk yardage. And while
mocking up the muslin and making a corselette is definite progress on my dress,
until I am working with my real fabric, it does not feel like I have started on the dress.
So instead of working on the fit of the bodice, I went ahead
and started on the skirt. It does not
require any real fitting except the waist, but that is easily altered within
the tucks should there be any problems later on.
The first step was to hand baste my newly dyed organza to
the underside of the dupioni. The
pattern calls for skirt “lining” but the instructions treat it more like an
underlining.
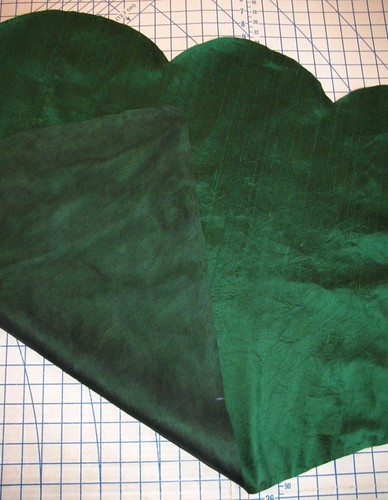
My first impression was that the skirt was two separate layers
- an underskirt and a half-circle overskirt with scalloped edges. Upon inspecting the pattern pieces, however,
it was clear that there was no underskirt.
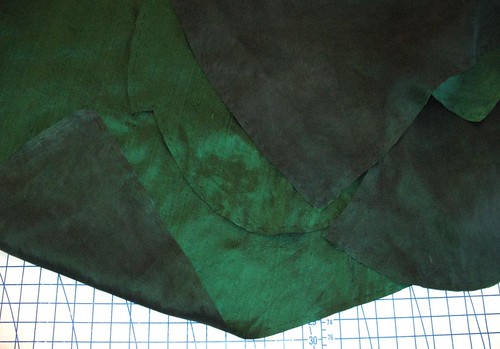
I was concerned that the half circle skirt and the scalloped
half would allow a crinoline to show with any movement or a gust of wind. However, Ceil Chapman was smarter than
that. Reading the directions carefully,
it is clear what a brilliant designer she really was. The scalloped edges are faced with
self-fabric, trimmed, clipped, and turned right sides out. The facings are then sewn to the other half
of the skirt (a bit more than a half-circle) and the facing gets folded back
under and stitched at the waistband creating a six inch scalloped flap along
the length of the skirt front and back.

I adore this manipulation of the skirt pieces. When I get a chance, I would love to use them
to make a skirt.
That being said, cutting the massive pieces out was not the
easiest thing to do. I am thankful that
I was working with muslin and not paper or tissue – that helped quite a bit.
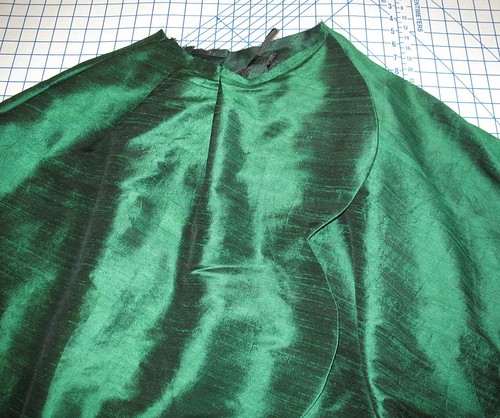
I love how different lighting makes this iridescent fabric change colors!
Next up is my corselette.
Ooh, that fabric is gourgeous. I've used silk dupion and it's so satisfying to see a finished article looking so rich! I can't wait to see this finished dress.
ReplyDeleteExcellent documentation, can't wait to see the finished project. The fabric looks beautiful.
ReplyDelete