
I thought I would document the progress I am making with my
cocktail dress. Forgive my rambling –
this is mostly for my own benefit, but I thought it might be interesting or
helpful to someone else, so here it goes . . .
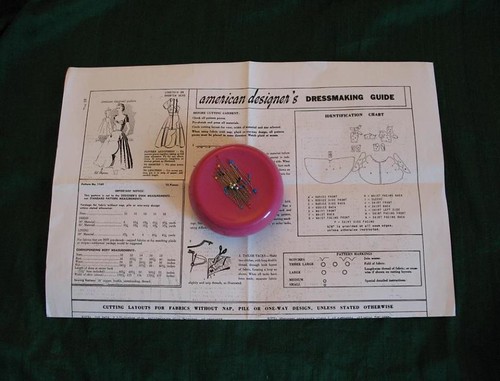
The pattern is a multi-size reproduction that I purchased
from The Vintage Fashion Library. It has
been copied onto white paper and includes 9 separate sizes ranging from a 32”
bust all the way up to a 48” bust by 2” increments. From the dark line that indicates a 34” bust,
I would assume that this was the original pattern size. However, it is interesting to note that the original
instruction sheet is marked a size 12 with a bust measurement of 35.5” a waist of 25" hips at 36" and a
notation that reads “this pattern is cut to the designer’s own measurements . .
. not standard pattern measurements.”
Unfortunately, there is no differentiation between sizes (other than the
one bold line out of 9) which makes following the lines a bit tricky in some
spots. To make sure I was following the
correct line, I used colored pencil to make my chosen size stand out on the
paper.
The envelope includes two pages of instruction sheets and
three huge pieces of paper with the printed pattern pieces.
Quite a few of the individual pattern pieces
are separated between the three different papers - it would have been helpful
to add marks for matching them together properly. It took my entire living room floor to
unfold and layout the pattern and figure out which piece lays next to the other,
and then tape and cut them apart!
Not all the vintage pattern marks are included. And instead of the notches and different sized
circles on the original, a small line is used to identify notches and darts are
drawn in as with modern patterns. I would
expect that the darts will need to be adjusted as you move up in size – it
does not seem to me that a size 34 bust should use the same size dart as someone
with a 48” bust.
There are a couple of pattern pieces that are printed
up-side-down or look a bit different than the identification chart.
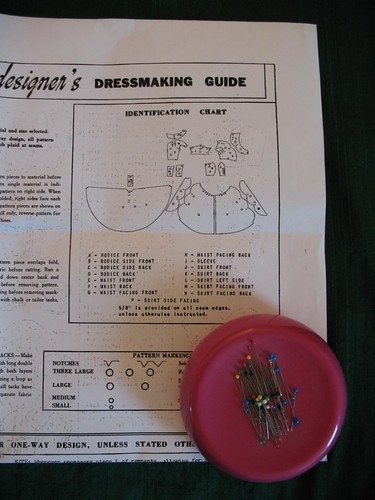
1. The bodice front
(A) is drafted as a full piece, but the original was to be cut on the fold (this
confused me for a second – I thought I was missing a piece).
2. The Waist Facing
Back (H) is printed up-side-down.
3. The Waist Facing
Front (G) is printed up-side-down and the grainline is misdrawn.
4. The Waist Front (E)
grainline is misdrawn.
I always like to iron the paper on a low heat setting in
order to get the major wrinkles out, and this also tends to make the paper a
little less stiff. However, I made the
mistake of ironing one of the pattern pieces
with the printed side up. The
printing came up and stuck to the faceplate of my new iron – aargh! I did manage to get it off without any damage
to the iron, but that is a mistake I will never make again.
The pattern pieces are labeled with the company’s name and
their pattern identification as well as the letter and description of the
piece. The writing, however, has nothing
to do with the directionality of the pattern piece according to the
identification chart. I kept thinking
that I did not have all the pieces because the shapes were facing in the wrong
direction or up-side-down! Note to self: do not try to
match up funny shapes when tired.
Using a tracing wheel and some tracing paper, I have
transferred all of the pieces to muslin along with their markings. It feels positively wicked to write on fabric
- but now there is no need to deal with stiff paper pieces!

Bless your heart; what an undertaking! But i have seen the finished product over on Sew Retro and I know you know it was all worth. Just gorgeous and you are too!
ReplyDelete