Wednesday, December 12, 2012

Red Velvet, Part 3

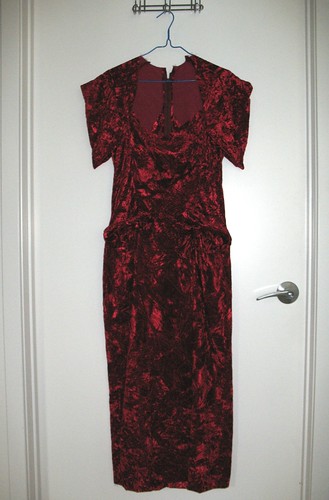
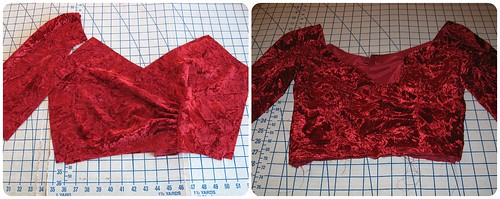
The bodice is what really makes this dress, in my opinion.


Something to keep in mind is that the neckline is very low cut.


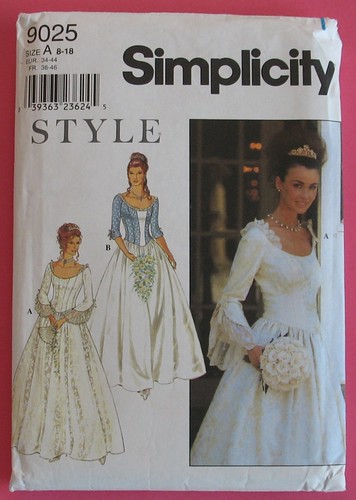
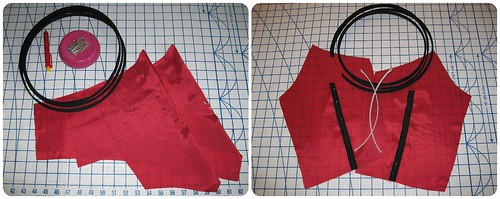
Just a note:  the diagrams for the front bodice boning seem to be incorrect.  The picture indicates that the boning channel should extend beyond the dart, but that would smoosh the boobage.  The instructions are correct, but I like to just scan the diagrams and can be very lazy about reading every word of the directions - and I assume I am not the only one out there!

Also, my pattern tissue indicated a "placement line for lining," however, I believe that line should be used to place the boning pieces.  The lining will be placed along the seam line once the seam allowance is pressed under.

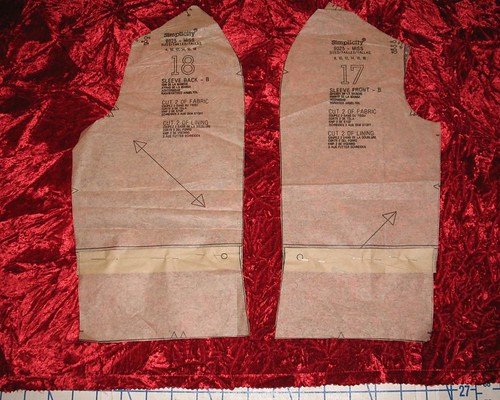
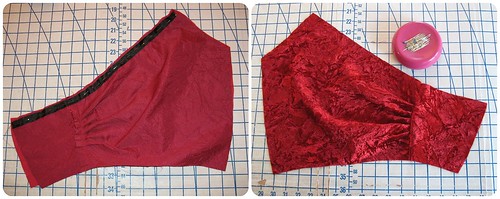
And then there were those added sleeves to contend with.  
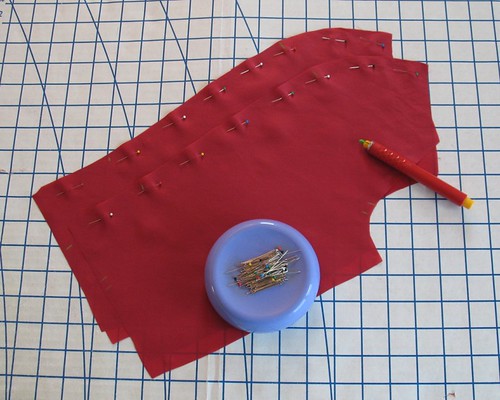

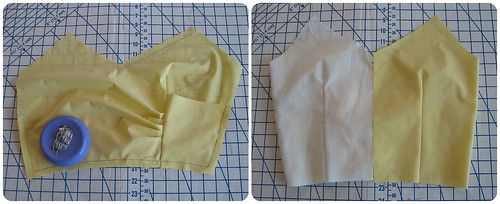
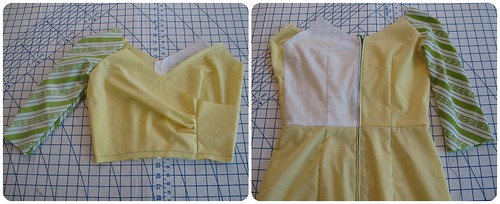
The bodice construction leaves the lower half of an armscye available for sleeve stitching with the upper half completed by a finished sleeve cap.
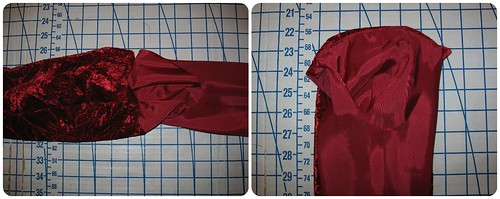

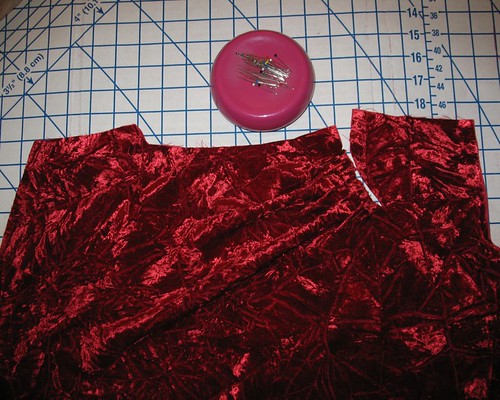
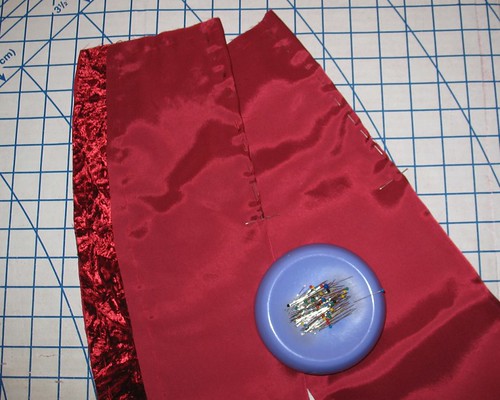
Once the front and back sleeve pieces were stitched together, I sewed the upper portion of the sleeve and lining, fabric right sides together, leaving 5/8” seam allowance free at either end.  The velvet portion of the sleeve underarm was then sewn to the bodice.  
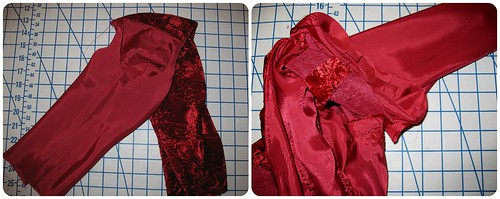

The lining underarm was stay-stitched and clipped so that the raw edges could be turned under and hand-stitched in place for a clean finish.
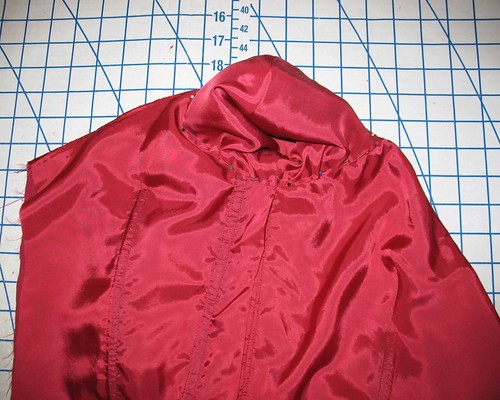


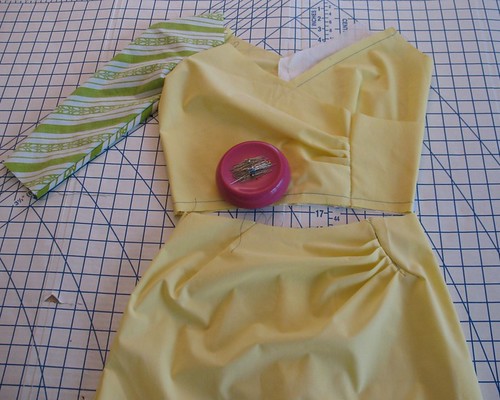
And then there was the waist seam – I really did not want to have it visible, even from the inside.  With my addition of tulle and the multiple layers of velvet where the drape was attached, there was absolutely no way to make it look pretty.

It was a bit convoluted, but I managed to treat the bodice bemberg as half underlining, half lining.
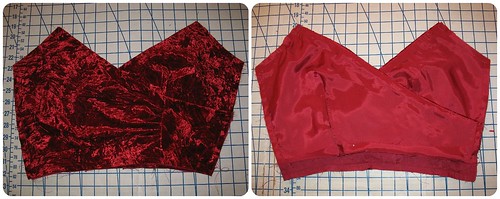

The two front bodice pieces are supposed to be basted together along the side and bottom edges and treated as one.  But I wanted to keep the bottom portion of the lining free until after the skirt was attached.  As a fix, I left the bottom bit free until the side seams were completed.  This required the side seams to be sewn from armhole to just over an inch from the edge with the lining and fabric as one piece.  Then I flipped up that portion of lining and pinned it out of the way while the remaining lower bit of side seam was sewn.
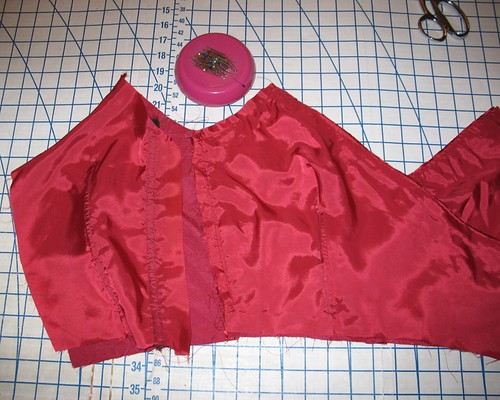

Some people may not like the amount of hand stitching involved with the lapped lining pieces, but it suits me just fine.  After the skirt was attached, that front bodice lining was sewn into place, at which point the back lining could cover that side seam raw edge.  The puzzle pieces just needed to get placed in the proper order for everything to fit together.


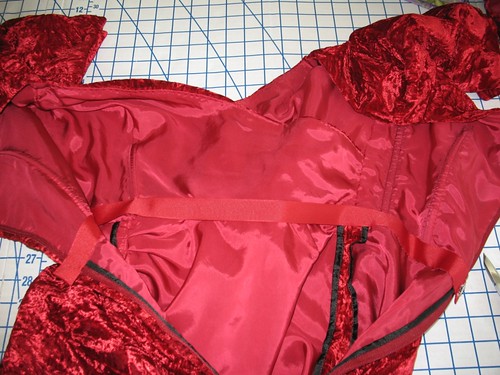
And with my hacks, the inside looks just as pretty as can be.


What I really do not like about the instructions is that the back opening zipper does not utilize the lining to cover the zipper.  Instead, it has the raw edges sewn together along the entire back opening before the zipper is inserted.  This leaves a funky bit of folded fabric that cannot be hidden very well at the neck edge.  I have come across similar instructions on Vogue patterns before, and know to avoid them, even if I have to rethink my methods of construction.  That is not to say the method is incorrect - I just personally do my best to avoid it!


I used a lapped zipper application and hand picked the seam.  I could have easily used an invisible zipper (and actually had the proper color on hand) but I really am beginning to prefer the old-fashioned look - big surprise, I know!
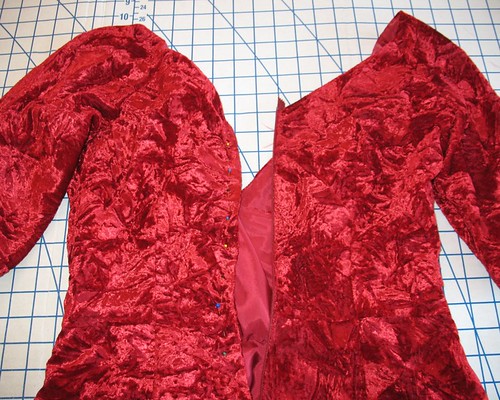


The final touch was to add a grosgrain ribbon waist stay.

A walking foot sure would have been helpful - there was a fair amount of swearing at my fabric.  But I did have an easier time with this velvet than I did with this project!

Tuesday, December 11, 2012

Red Velvet, Part 2


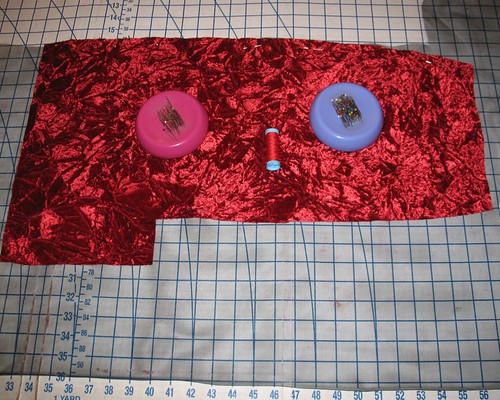
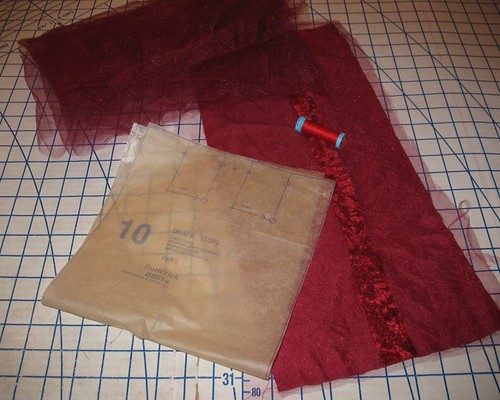
As I previously mentioned, my yardage for this project was extremely limited.


That old adage, measure twice, cut once was something I took to heart!

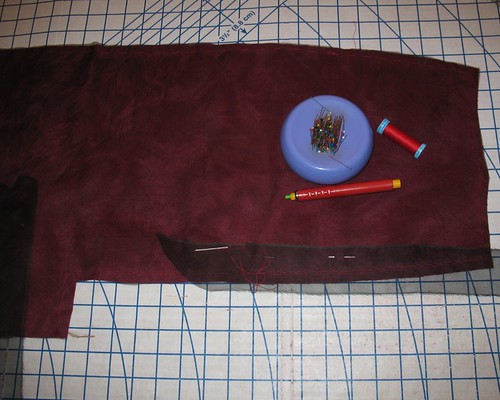
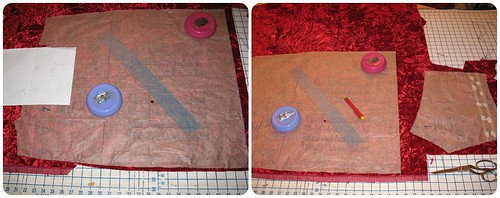
In fact, I laid out the pattern pieces multiple times, took pictures, went to bed, and tried again the next day.  But no matter what I did, those bias sleeve pieces were not going to fit – darn it!  I ended up shortening them by 2” to squeeze them in.


Once I was sure that it was possible to make the dress with this fabric, I drew out a very rough sketch of my chosen layout.  As I cut each piece, I crossed my fingers that I had not forgotten some important piece of the puzzle.


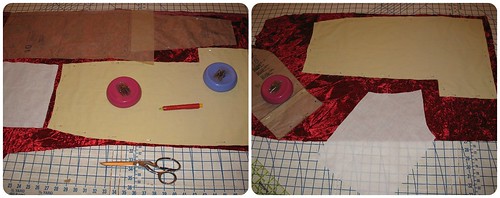
The instructions use an underlining instead of a lining.  I decided to follow them, just for fun.  I often have an issue with straight skirt linings showing when I sit down, and the underlining takes care of the problem.  And change is fun!  Also, this made it possible to mark my lining instead of the velvet which is so much easier!


For the back skirt pieces, I added an extra layer of silk organza (between the velvet and bemberg lining) as an experiment.  I am hoping that the crisp fabric will keep the skirt from bagging out.  I will let you know how that goes.


Because the upper skirt back is not cut on the grain, I added another strip of organza to stabilize the opening.


I did have to piece the second cut of the drape.  Thankfully, this does not show on the final dress!  Because the velvet has a whole lot of drape to it, I underlined the upper drape with two layers of tulle from the stash.  I probably should have used netting (the coarser stuff) but I did not want to make a special trip to the fabric store. 


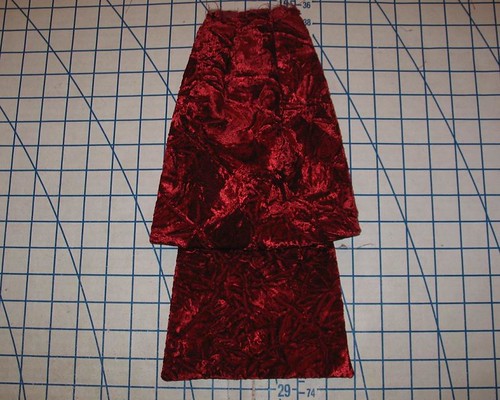
 And that is the skirt!

Monday, December 10, 2012

Red Velvet, Part 1


This crushed velvet has had quite the journey.  I purchased what was left on the bolt from Beverly’s before my local store sadly went out of business.

I used it to make a cute little purse for a Christmas gift years ago.  And then I found the perfect cocktail dress for the fabulous fabric, or so I thought . . .


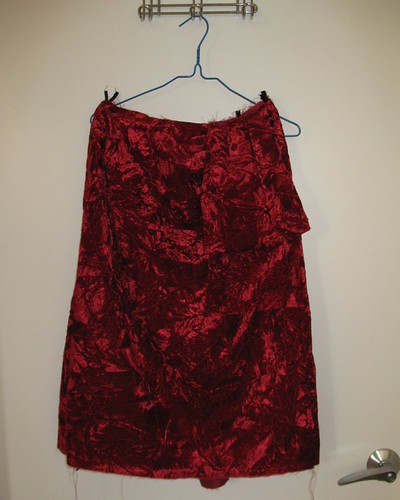
My idea of what the dress was going to look like and the reality were, well, extremely different.  Here is the painful proof.


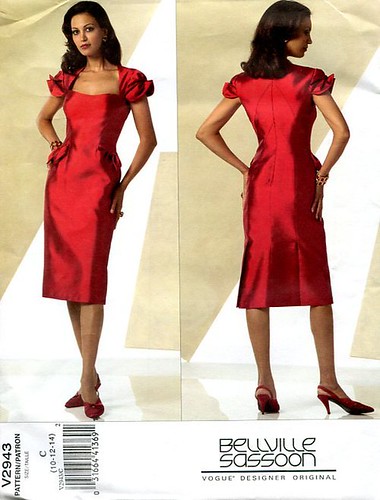
This is/was Vogue 2943.  I had grand plans, really I did. 

Somewhere along the line I lost all interest because the pattern/fit/choice of pocket interfacing just was not working properly.  Oh well.  You just can't win every battle.


I did have a yard of material left, plus some large and small scraps.  But it was not enough for a dress, no matter how clever my cutting layout might be.  A skirt was a possibility, but I really wanted to be completely ensconced in velvet.  


That poor excuse for a dress was going to have to be sacrificed for the cause.  (Can you tell I have been reading Gone With the Wind?)


Surprisingly enough, it was not all that painful to rip the dress apart.  I was expecting a few tears, but it was somewhat liberating to admit that the UFO was never going to be finished.

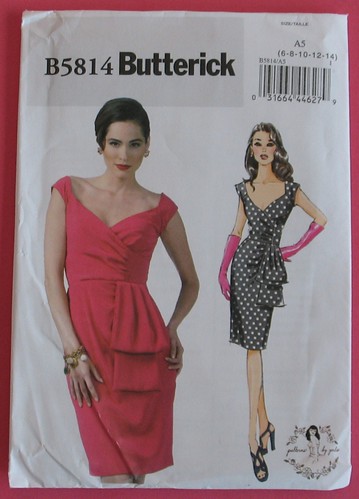
It probably comes as no surprise that I love Gertie’s Butterick pattern line (I sincerely hope we will see more designs in the future).  And the dress pattern should look wonderful in red velvet.


Next step . . . muslin.  With extremely limited yardage, a muslin was absolutely necessary.


And as much as I love a cocktail dress with tiny sleeves, they are not very practical at this time of year.  A sleeve substitution was necessary.  


Of course, the brilliant Gertie has mentioned that she is working on a three-quarter length sleeve tutorial!  But I just could not wait.  (Although I am very curious to see how she goes about adding length to the sleeve.)


I pulled out an old pattern with three-quarter sleeves.  Well, I got very lucky, because the sleeves happen to fit the dress pattern perfectly – almost as if they were meant for each other.


I am just hoping that this fabric is not cursed and that the project will succeed.

So, for now, it is back to the sewing room!

Saturday, December 8, 2012

The Color Red


I will admit it - I am not a huge fan of the holidays. 


I generally only go shopping for food and fabric (the basic necessities of life), but even so, during the holiday months there always seem to be hoards of grabby people everywhere.  Yuck!


But I am not a complete Grinch, and can admit that there are redeeming qualities about the season.  The pretty twinkling lights on trees along the avenue, for instance.  And I do love walking down the hallways and passing a fresh wreath.  The smell of evergreen branches is delicious.


And, of course, any excuse to dress up is excellent.  Time for a new holiday dress!   


And then there is the color red.  Over the years I have realized that I really like the color.


My favorites tend to be of the blue-toned varieties like merlot or burgundy or claret (anyone thirsty?).  But a bright and fiery red-orange can certainly elevate a simple frock.


And then there is red velvet.  It always makes me think of Scarlet O’Hara and that infamous dress.


There is definitely something festive about velvet.  Next project, here I come.


Now I just need these shoes to complete the outfit.


[Images:  1, 2, 3, 4, 5, 6, 7, 8, 9, 10]

Thursday, December 6, 2012

The Original Ceil Chapman Dress!


Oh my goodness!  Look what I just found on Pinterest.  

Look familiar?  It sure does to me!


I have always wondered what the original color was!


I wonder who is now in possession of the dress?  I hope they are treating her well - talk about the perfect holiday party dress!!

Sunday, December 2, 2012

The Rustling of Silk


This has to be one of my favorite dresses.


I wish now that I had purchased more yardage.  But I did manage to get the dress and this skirt out of the purchase.


Is there anything better than rustling about in a silk dress and poofy crinoline?!


The Dreamstress (aka Leimomi) recently discussed a fun term, “scroop.”  This dress is not taffeta, but it does make a rustling sound.  Does that count?  Perhaps it is not a technical match, but it is always fun to learn a new word.


I just pulled out some red fabric for my next project, which made me think of these pictures.  This was something I pulled out for Frosting Fortnight.  Not that I need an excuse to play dress up!


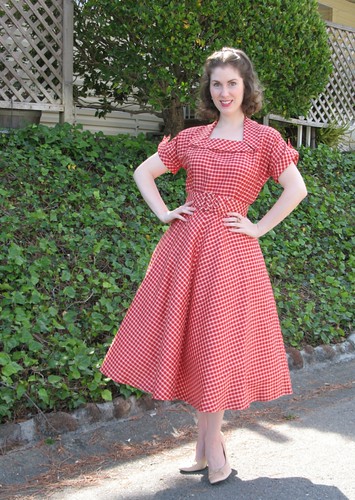
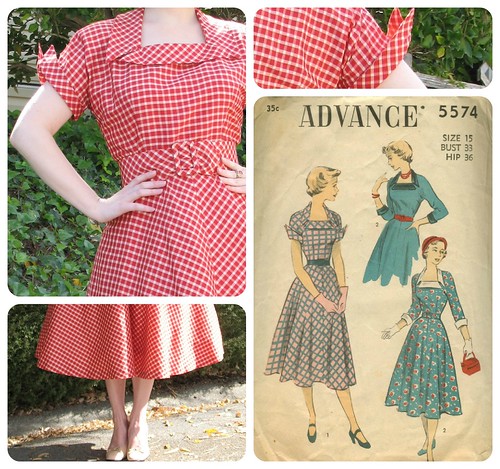
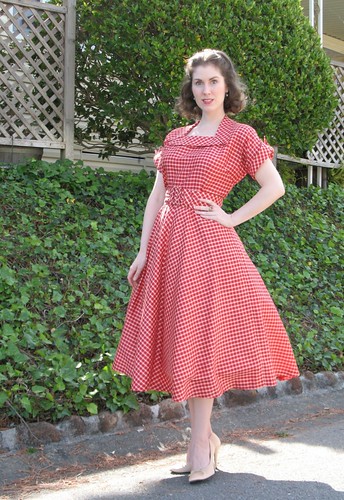
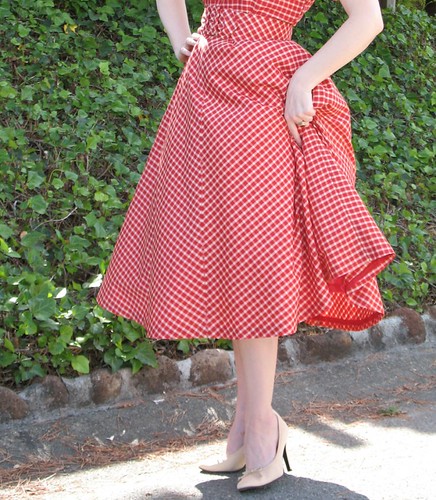
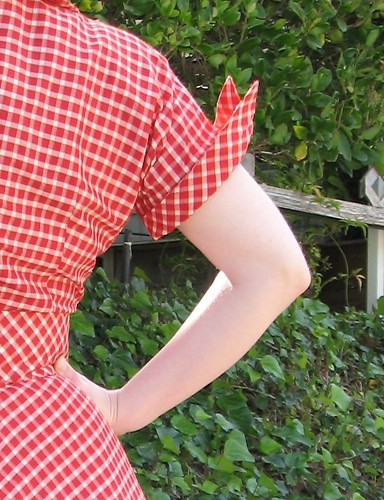
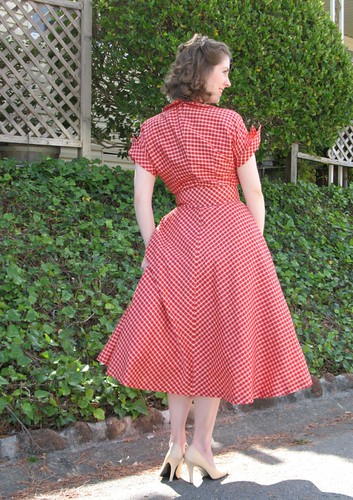
Dress:  Made by me, Advance 5574
Shoes:  Colin Stuart for Victoria’s Secret