In my rush to finish the gown in time for the gala, I
stopped posting specific construction details.
There have been a few questions, so
I will do my best to answer those! And thank
you all for your lovely comments - I feel so lucky to be part of a community
that appreciates all the work and love that went into my gown!
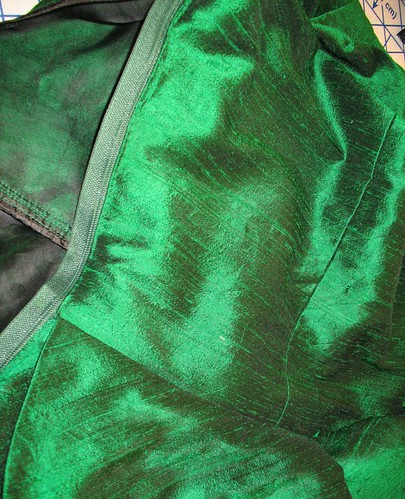
The lapped zipper was hand picked. The more I use this technique, the more
pleased I become – I think all of the invisible zippers in my stash may have to
be abandoned for the moment.
My original plan was to embellish the visible portion of the
front under bodice with encrusted beads.
Well, I could not find the exact beads I was looking for, and to be
perfectly honest, I have never done that much beadwork, so I felt it might be a
bit overwhelming to do with a limited time-table. I also wanted to “sprinkle" beads along the
left side skirt hem but as time was running out, I realized this was out of the
question.
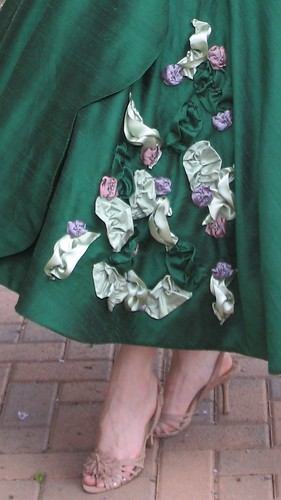
The embellishments I decided to use are a combination of
leaves constructed from satin ribbon and silk dupioni, and flowers made out of
silk dupioni and topped with beads. For the leaves, I was inspired by a recent
blog posting from Eva Dress. As for the
flowers, I sort of make it up as I go along.
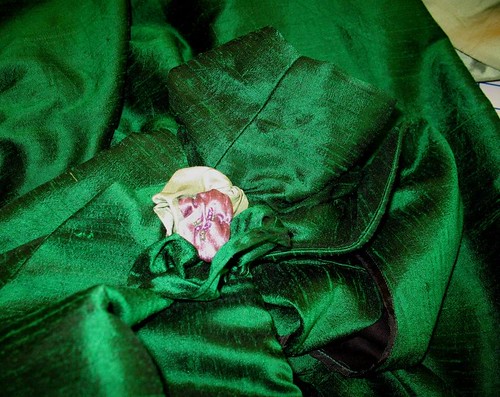
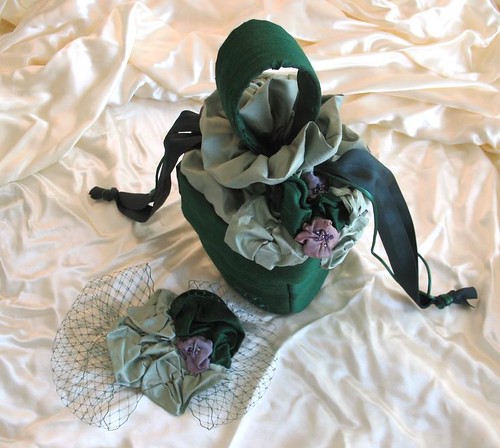
I have used the same idea for a hat and improved on it by adding a small
scrap of fleece to the inside of the gathered square of silk to add extra dimension. I use beads and a few
randomly placed stitches to make the puffy circle look like a flower.
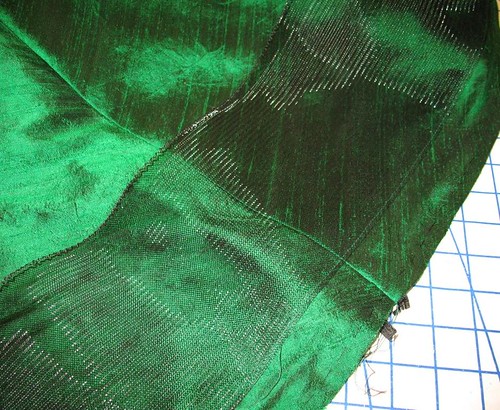
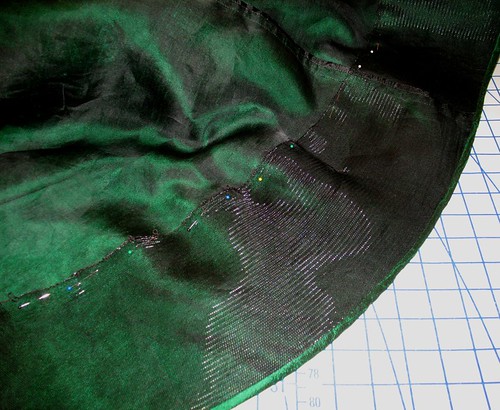
The hem is finished with 6” horsehair braid using Gertie's tutorial. I had never used the braid as
a finishing technique, but rather, always encased it in a hem or covered it
with a facing. However, I am very pleased with the way it turned out. If there is no petticoat
between your skin and the braid, I would imagine it could be a bit rough on the
legs, but it sure does do a great job of giving body to a hem, and you could always cover the braid with a fabric facing after turning it to the inside of the garment.
I first hand basted the braid to the right
side of the skirt, then sewed the permanent seam with the machine. The excess fabric was trimmed, the braid turned to the inside and using the
upper thread running through the horsehair to shorten that edge, I hand stitched it down, being careful to catch only the silk organza
underlining.
About a week before the gala, I remembered I was going to
need a belt for my dress. I like to
finish all of the “extras” required for a dress ahead of time because they
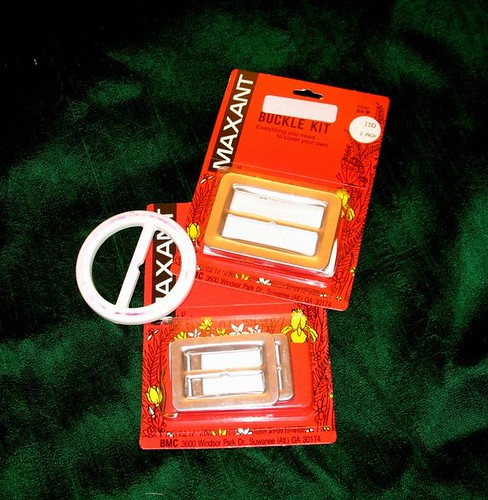
always take a lot longer to finish than I expect them to. I had a funky old plastic circular buckle
that was originally one of those awful t-shirt buckles from the 1990s, and a few rectangular Maxant buckle kits on hand.
Because of the round scallop motif, I though
a circular shape would work better. To
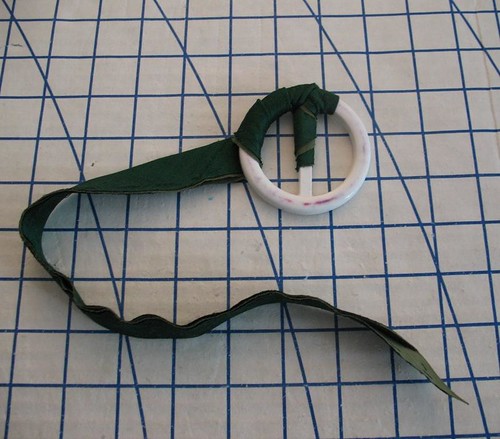
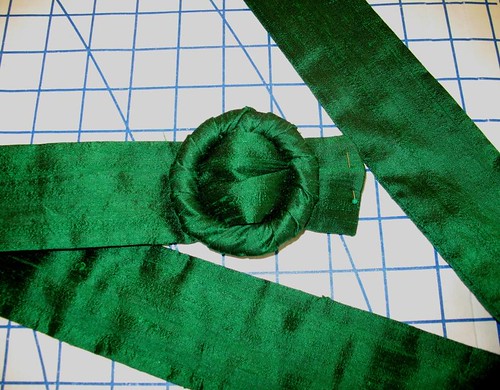
cover the plastic, I wrapped folded bias strips of my silk, underlined with cotton for
stability, around the buckle.
The belt
itself was made of a simple rectangular cut of silk underlined with heavy
cotton. Because the dress had a boned
under-corselette, I did not feel that the belt needed to be super stiff.
I used a Threads Magazine tutorial to add ribbon hangers to
the dress. Because all of the weight is
in the bodice, and I do not want the sleeves and upper-back to stretch out, I
used the strapless version of the tutorial.
The little thread bars at the back and front bodice really work to keep
the dress from hanging open. I will
definitely be using the technique again.
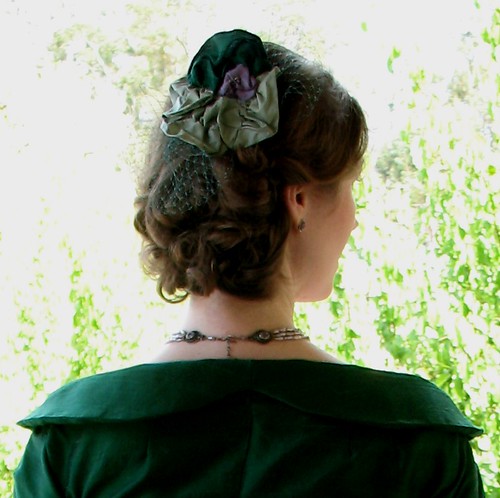
This is what I came up with as a last minute hair ornament. The original idea was to make more of a 1950s
styled cocktail hat. I found a buckram form hat at a local antique shop
that was dingy enough that I would not have felt bad about re-covering with
my emerald silk, but, in the end, it was not quite what I was looking for, and
it would have taken too much time.
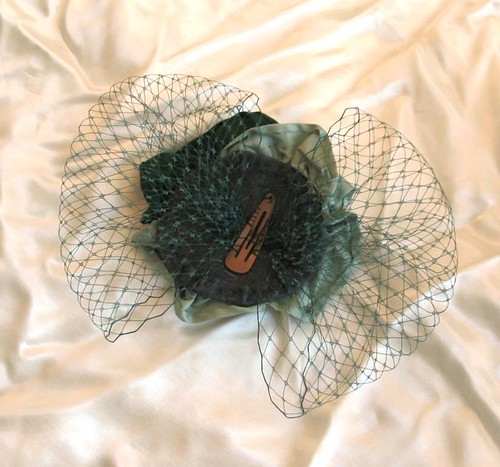
To make a base for the leaves and flower (the same
embellishment used on my purse and dress) I used a circle of wool felt that was
in the stash, cut a length of jewelry wire, taped the ends together in the
shape of a circle, and hand sewed the felt around the wire circle. Luckily, I had a bit of green millinery veiling from Britex stashed away to add a bit of whimsy to the finished product. I secured the veiling to the back of the wool
felt in a figure eight pattern. To secure the
ornament to my hair, I hand sewed a barrette to the back of the felt.
And there you have it.
The dress is now safely tucked away in the closet and my sewing room has
just about recovered from the project (although I do keep finding small pieces
of silk here and there).
Fabric & Notions Used
*Emerald Silk Dupioni from fabric.com
*Lavendar Silk Dupioni from Britex
*Mauve Silk Dupioni from Joann Fabrics
*Mint Silk Dupioni from Discount Fabrics in Berkeley , CA
*Silk Organza from Dharma Trading Company
*Cotton muslin used as a non-fusible interfacing
*6” wide horsehair braid from Vogue Fabrics
*Gutterman silk thread for hand basting
*RIT dye (used on cotton ticking and organza)
*Hug Snug rayon seam binding from fabric.com
*Beads for flower embellishments
*Spiral Steel Boning from lacis.com
*Cotton down proof ticking (coutil substitute) from Vogue
Fabrics
*Needled Cotton Batting from JoAnn Fabrics
*Grosgrain ribbon for waist stay
*Plastic canvas
*Fleece (substituted for fusible interfacing)
*Rattail for drawstring closure
Hair Ornament:
*Wool felt
*Jewelry wire from JoAnn Fabrics
*Hair barrette


I just spent a delightful time on Flickr looking at your photo album detailing the sewing progression of this dress and can I tell you that this is just an absolutely fantastic dress! I love everything about it especially all of the wonderful details. You are so right, vintage pieces offer so much more in the way of details than modern clothing does.
ReplyDelete