
This is not the first time I have worked with this “Deluxe
Marie” fabric from Bella Notte Linens, and it will not be the last.
The fabric is a silk/cotton jacquard and is incredibly sumptuous in
the chocolate colorway. I only have a
couple more lengths of the fabric that I have been hoarding ever since I
saw it at a warehouse sale. Time and
time again I pull the yardage out only to second guess my choice of pattern and put it back. It really is fabulous, and I have found some success with it in the past, so I decided that it
was time to tackle a special pattern that deserved this fantastic fabric.
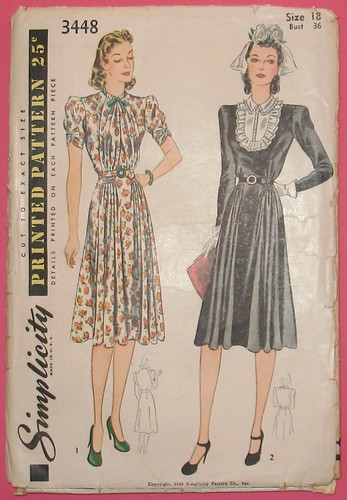
And this is the lovely pattern that Ms. Adey picked out for
me after I won her Surprise Giveaway last year.
In my opinion, the fabric and pattern were made for each other.
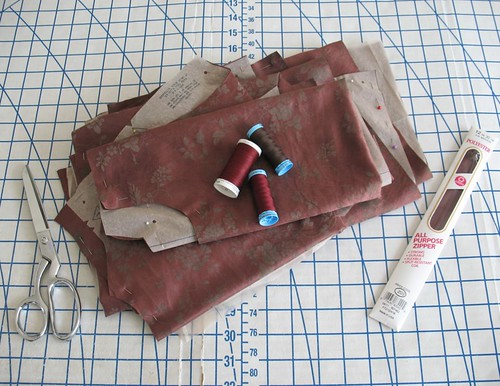
I have a bad habit of choosing fabric in colors that are
impossible to match back to thread and zippers – this is no exception. Seriously, how many hundreds of colors of thread are produced, and yet none of it matches this rich
brown color?! Aargh!
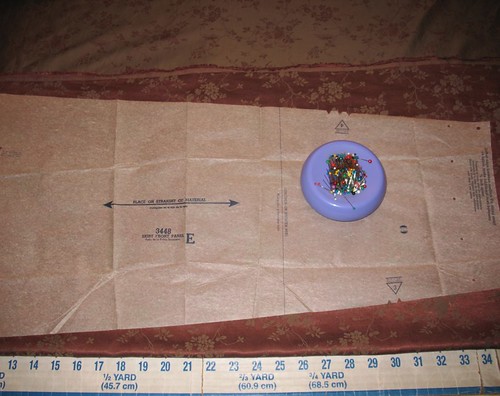
The pattern is a Simplicity Printed Pattern from 1940. The only information not included
on the printed tissue is the number of pieces to cut. And, of course, it is perforated. So, a bit different than a contemporary
pattern, but not much. The envelope
has a bit of wear, but the pattern itself is in perfect condition!
Interestingly enough, the waist measurement for this 36”
bust is 30" - 2” larger than what I was expecting. My Ceil Chapman gown pattern uses a 37" bust and 26.5" waist which matches the 1950s wasp-waisted look. Perhaps
the bias cut trend of the 1930s made the waist measurements not as exaggerated in 1940? I took a quick look at a 1970s pattern and the 36" bust has a 27" waist. What is going on? It seems that an inconsistency in sizing began many, many years ago.
The pattern even has extra built in ease for each side seam
and the corresponding underarm sleeve seam.
Instead of the standard ½” seam allowance used for this pattern, ¾” is given for the side seams to "permit alteration." I have to say this looked really strange to me
as I was putting the dress together - especially since I sewed 1” seams to get rid of some of that extra ease.


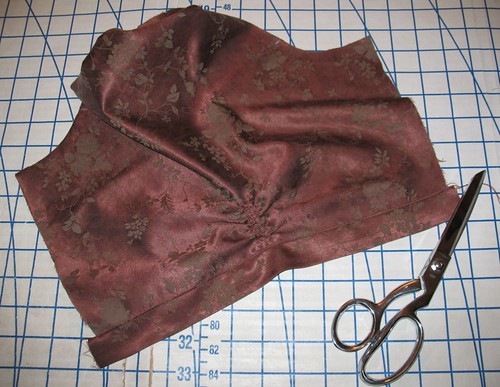
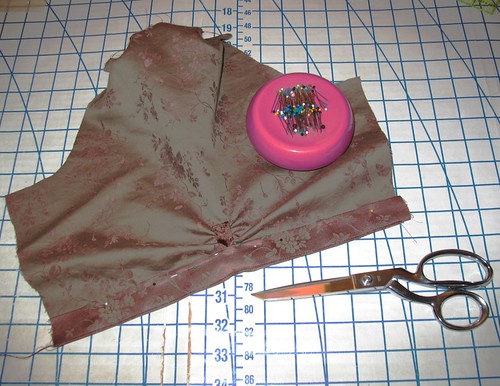
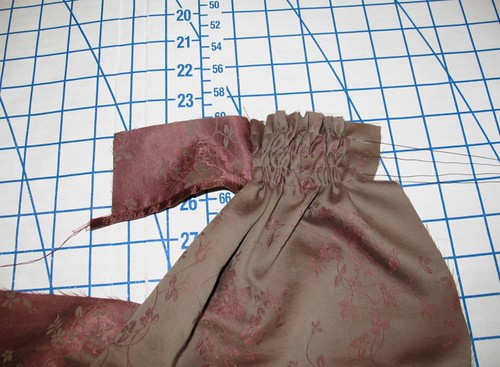
Two of the front skirt sections are gathered at the waistline so they almost look smocked.
The high neckline is trimmed with a ribbon that feeds
through the two front panels. Of course,
finding a matching piece of ribbon was next to impossible, so I used the
reverse side of my fabric (it’s almost as beautiful as the front, just with a
bit less sheen to it).

To get into the
dress, the bodice is slashed open and fastens with a
single button at the neck.

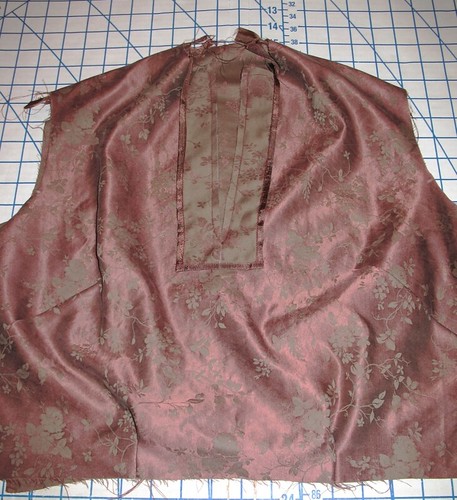
The
instructions suggest using a thread loop.
I made my own bias tubing and basted the loop on the bodice front before
turning the placket.

Not sure how I
managed it, but I put the loop on the wrong side. It is not visible when worn, but I have to
laugh at making such a silly mistake. Oh
well, I can pretend that the dress is made for a man.
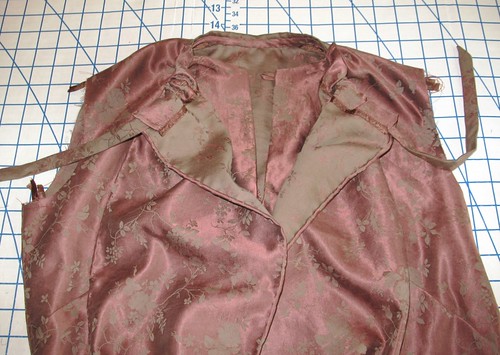
I love the way the round buckle looks on the pattern sketch,
so I pulled out a black buckle and wrapped it with bias strips of my fabric,
once again with the “wrong” side showing to match the neck ribbon.

I even have enough leftover fabric from this project that I
should be able to squeeze a blouse out of it at some point. Yippee!

Pictures of the finished dress will follow!
Well, so far it's gorgeous! Can't wait to see it finished!
ReplyDeleteWhat a really interesting closure/construction at the neck. I can't wait to see how this turns out.
ReplyDeleteI love your fabric choice.
ReplyDelete