
Another Marin Symphony event, another excuse to play dress
up! This time around it was a fundraiser at a country club, complete with a golf tournament.
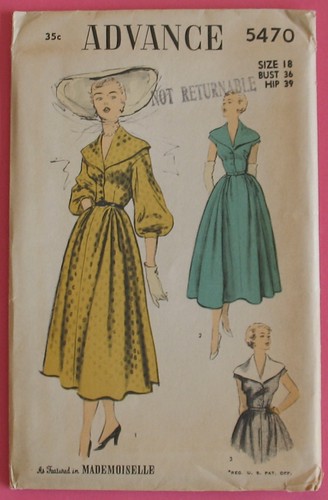
I had plans to make this fantastic pattern up (you may remember
it from the goodies I received from Mr. Male Pattern Boldness) in a cotton
toile with contrasting collar and belt before making a more dressy
version. However, as soon as I heard
about the event, this was the first project that came to mind.
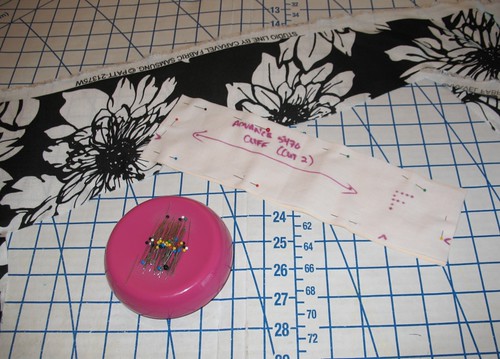
I have been obsessed with Advance 5470 ever since it showed
up at my doorstep (I believe that sending Peter those patterns may be the best
thing I ever did!).

Because I did not want anything to happen to the pattern
tissue, the first thing that I did was to trace all of the pieces on muslin
(except the skirt because I ran out of fabric – however did that happen?).
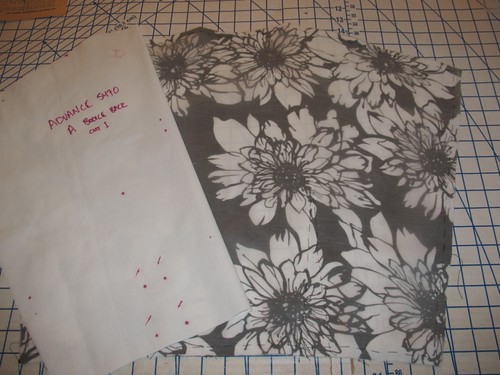
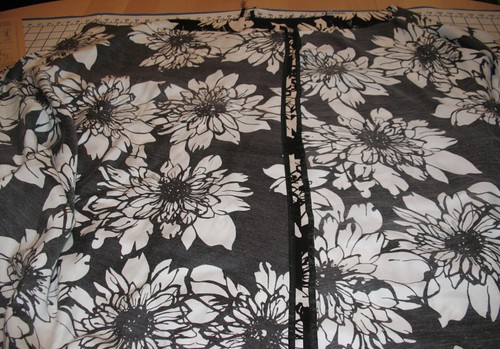
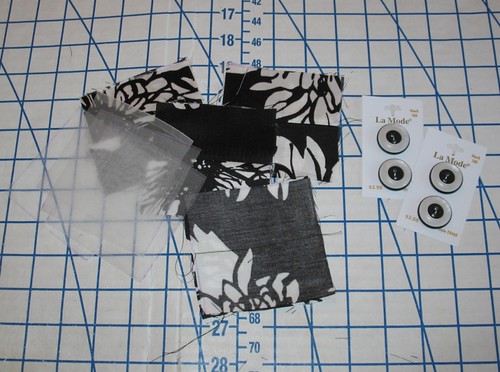
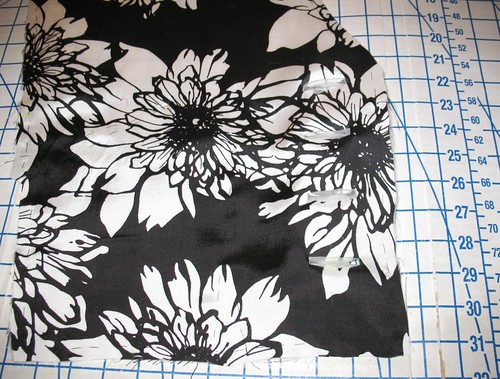
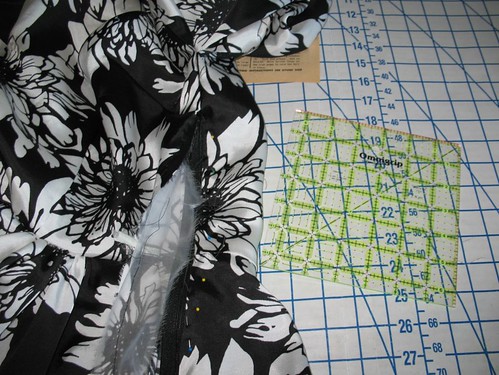
My rayon fabric comes from Fashion Fabrics Club. It was one of those lucky picks. I have had some bad luck and I have had some
amazing luck with my purchases from the company. I have been hoarding this particular print,
and finally decided that I would wait for a formal occasion to present itself
and would pair it with a certain Vintage Vogue pattern. Well, when this somewhat informal occasion presented itself, and with Peter’s pattern fresh in my mind, I
could not help but pull out the bold black and white print.
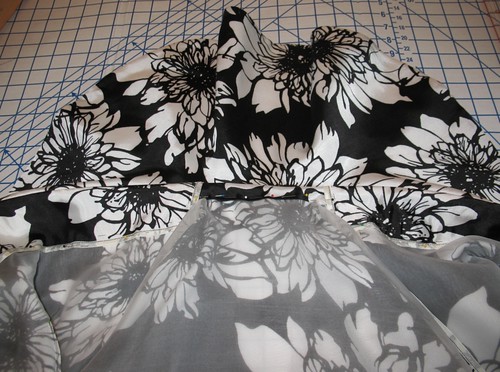
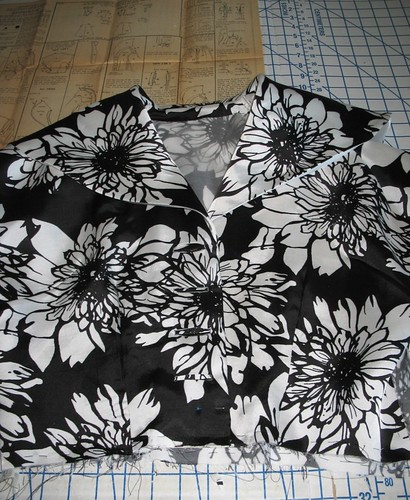
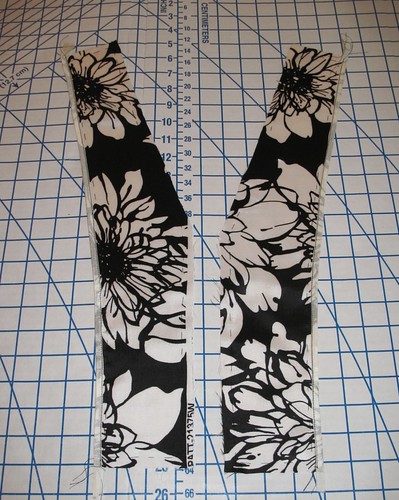
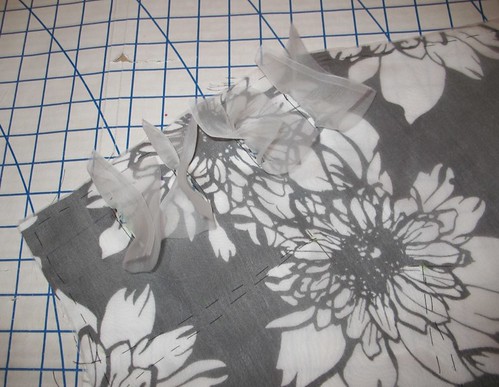
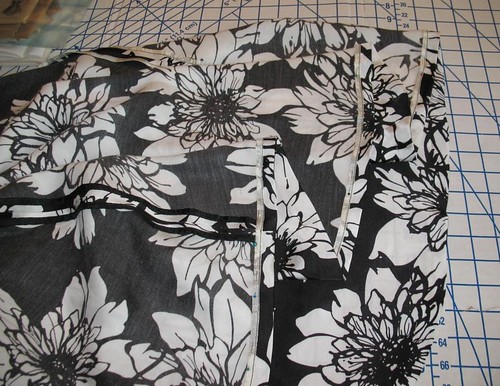
The pattern requires a somewhat fluid material for
the sleeves. However, the bodice, skirt, and collar would work better in a fabric with some body. My solution was to underline the bodice
pieces with silk organza. The skirt was
just going to have to wait for a crinoline to prop it up.

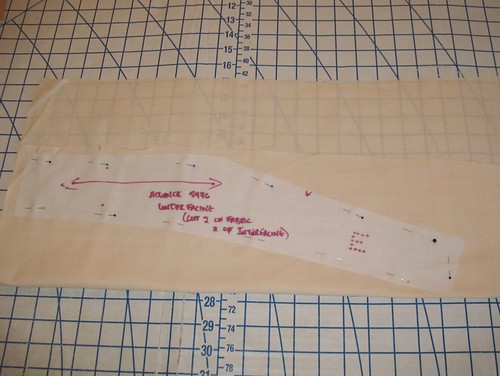
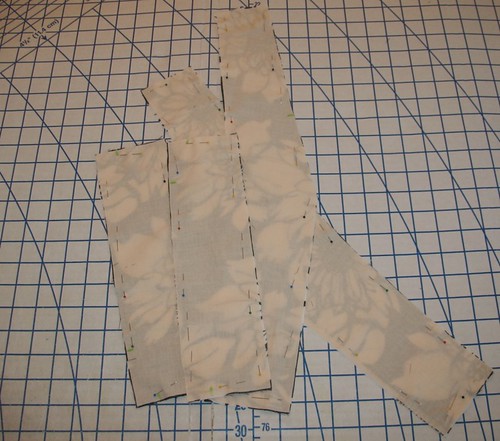
The facings and armbands were underlined with cotton.
I find that it is easier to first cut out a pattern
piece in cotton and layer that piece on my fashion fabric before cutting and hand basting the edges together. Once you move the rayon piece, it is usually
impossible to match that piece back to any sort of interfacing or underlining.
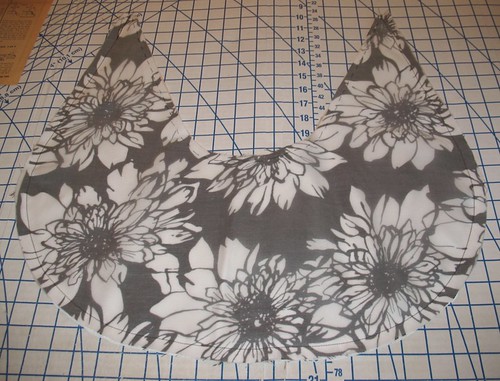
Because I never seem to purchase fabric with a specific
pattern in mind, I rarely have enough, or I end up with too much of my
yardage. This time around, I had just
about 4 yards. However, the sleeved
version requires a little more than that.
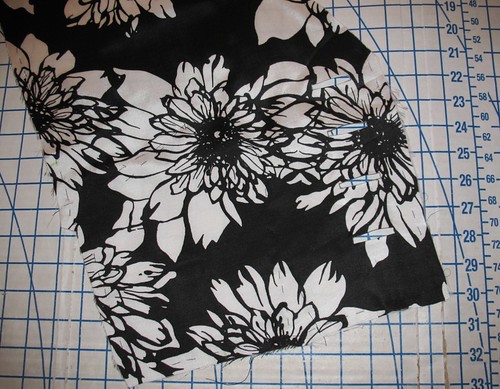
And while my limited yardage did not allow for much
matching, I did manage to cut the center front properly.
To help with my fabric limitations, I used a white
silk/rayon blend for the second cut of my collar. The self-fabric section was lined with my
organza, and the white satin was matched with some cotton.

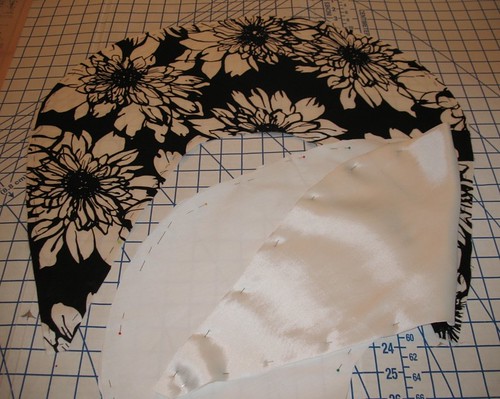
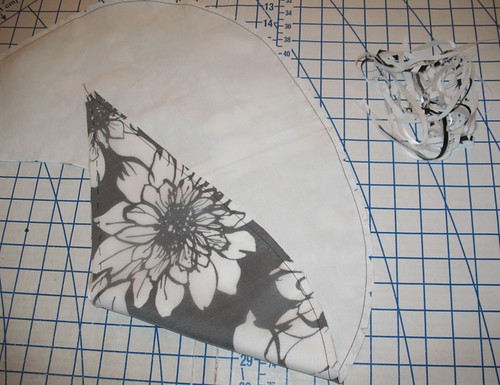

This turned out quite nicely – the collar is
not stiff at all, but it does have a crispness that the original rayon did not
have.
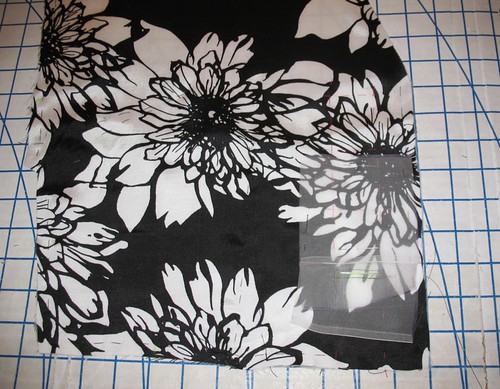
And, of course, my raw edges are encased in seam binding. You didn’t honestly think I would skip that
step, now did you?!
I believe that I have found the secret to bound
buttonholes. It is time – lots and lots
of time and patience. And it really
works. There is something a bit relaxing
about marking buttonhole placement with silk thread.
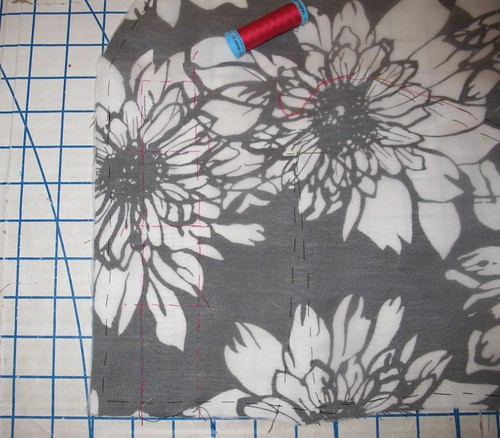
It truly is worth the extra effort so
everything matches up in the end.

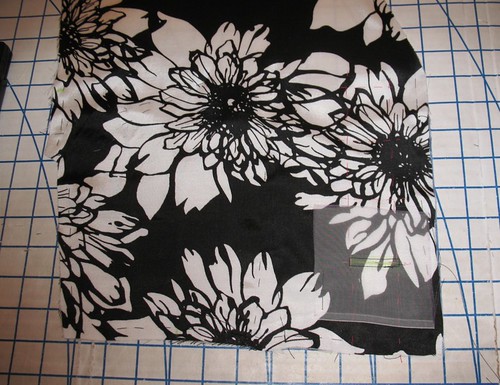
And those silk organza scraps were put to good use as a
stabilizer for my hand-picked zipper.
So another weekend has passed without completing that
massive Spring Cleaning I keep meaning to do.
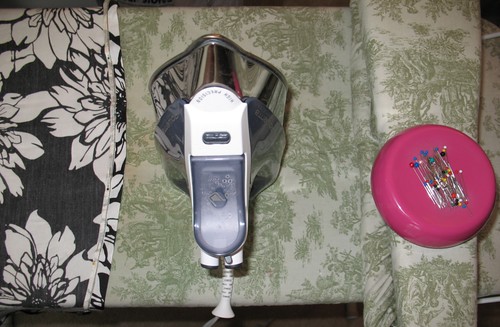
Instead, my sewing room looks like a bomb went off with bits of fabric and pins strewn about - I am not looking forward to the clean-up.
At least I have a new dress . . . finished pictures to come
soon!
Fabric:
Rayon Satin from Fashion Fabrics Club
Silk Organza for underlining
Cotton for interfacing
Notions:
Buttons from JoAnn Fabrics
Silk thread for basting
14” zipper
I loved this pattern too when you first posted about it - I can't wait to see your finished dress. Maybe I need to send Peter some patterns....
ReplyDeleteHmmm, I think I'll have to try marking my bound button holes with silk thread next time. I always have one that ends up a bit off...
ReplyDeleteTerrific fabric - I've always been a fan of black and white florals, and am very eager to see how what the finished dress is going to look like.
ReplyDeleteWishing you a fabulous Friday & weekend ahead, sweet gal!
♥ Jessica
Looking forward to the finished dress , as always but it's good to see the process too.
ReplyDeleteI'm so excited about the 'Hug Snug' seam binding. I just can't find it anywhere in the Netherlands. Can you give an indication how many yards of seam binding do you use for a dress?
ReplyDeleteIt really depends on how complex the design is, or if I am going to line a bodice, etc. I would say that I average 7-10 yards per project, unless there are a whole lot of seams involved! Now that I have a nice collection of Hug Snug on spools of 100 yards, I have stopped keeping track of my yardage.
Delete