
Did I mention that these patterns do not come with
directions?
These days, I do not pay a whole lot of attention to the
given directions, but it is nice to know they are there, just the same. Goodbye, security blanket!
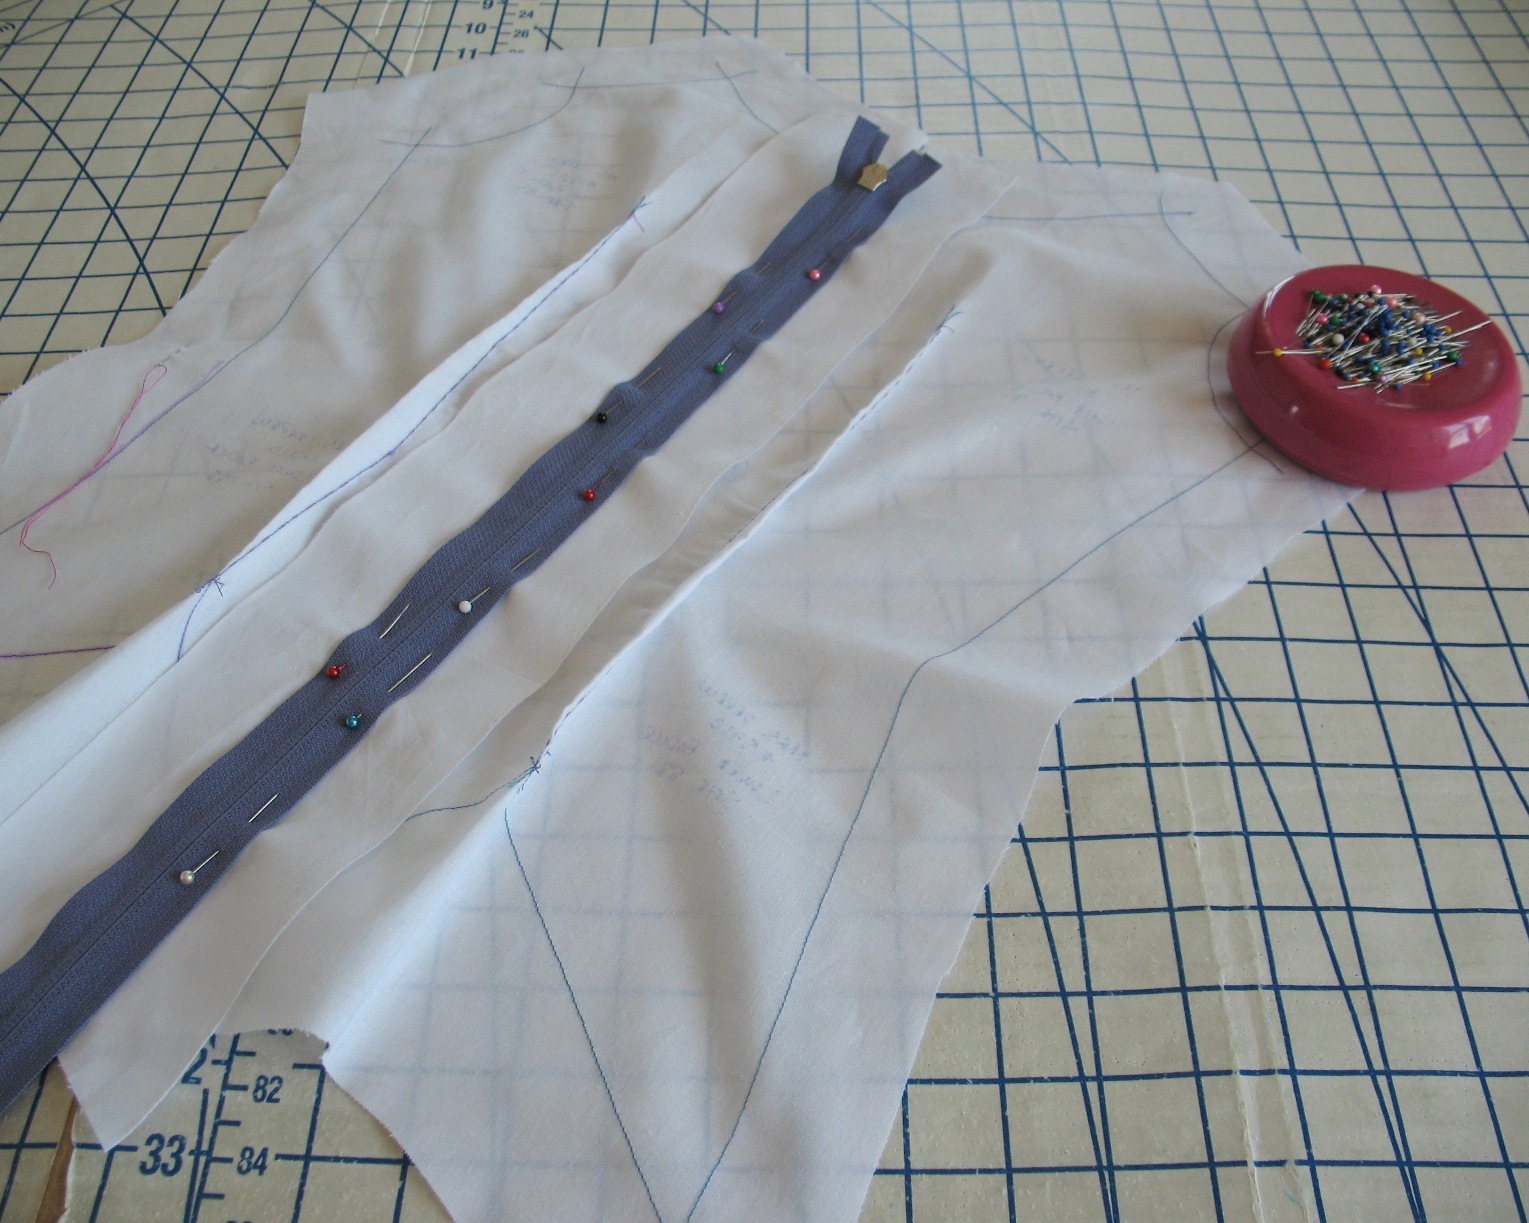
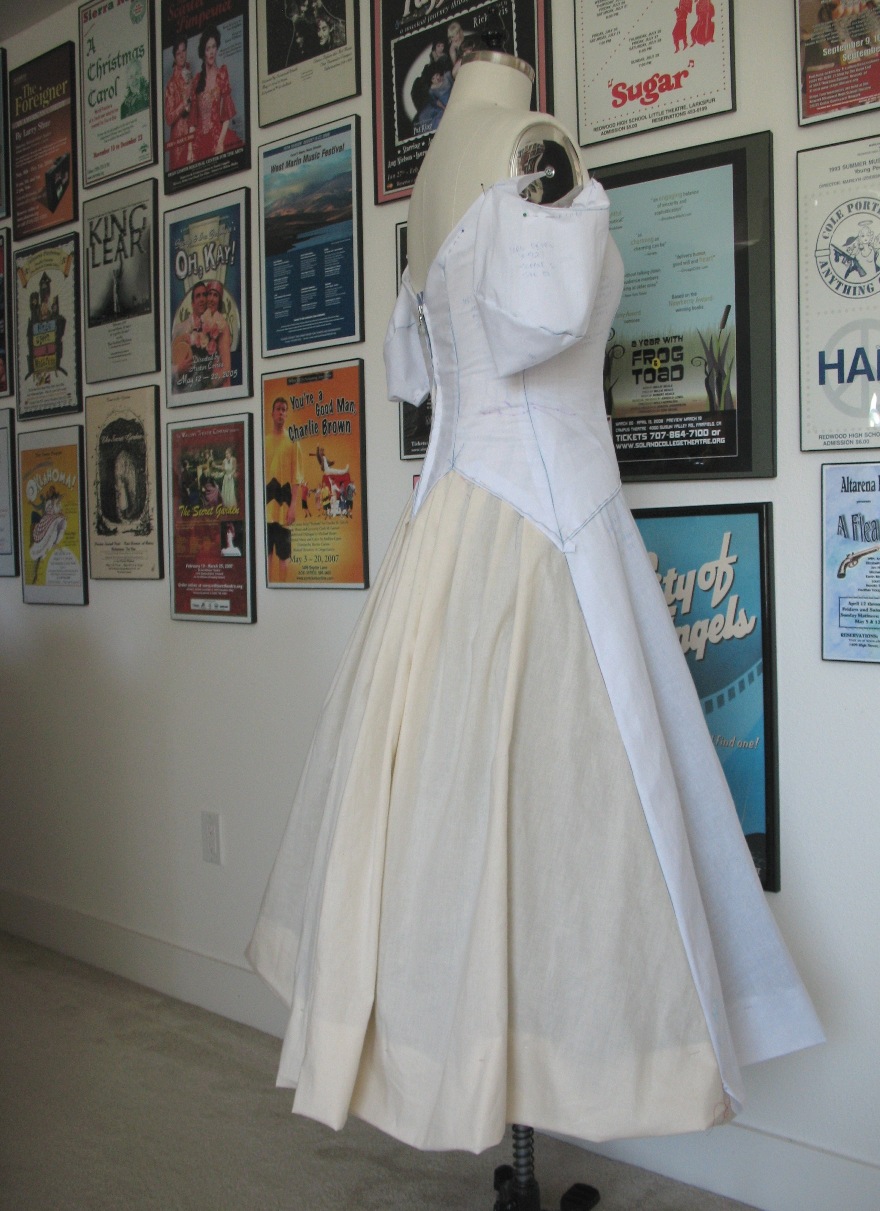
This time around, my muslin was as much a
test for the order of construction as it was for fit. There are hints on the pattern pieces, of course, but I was very grateful for a practice run.
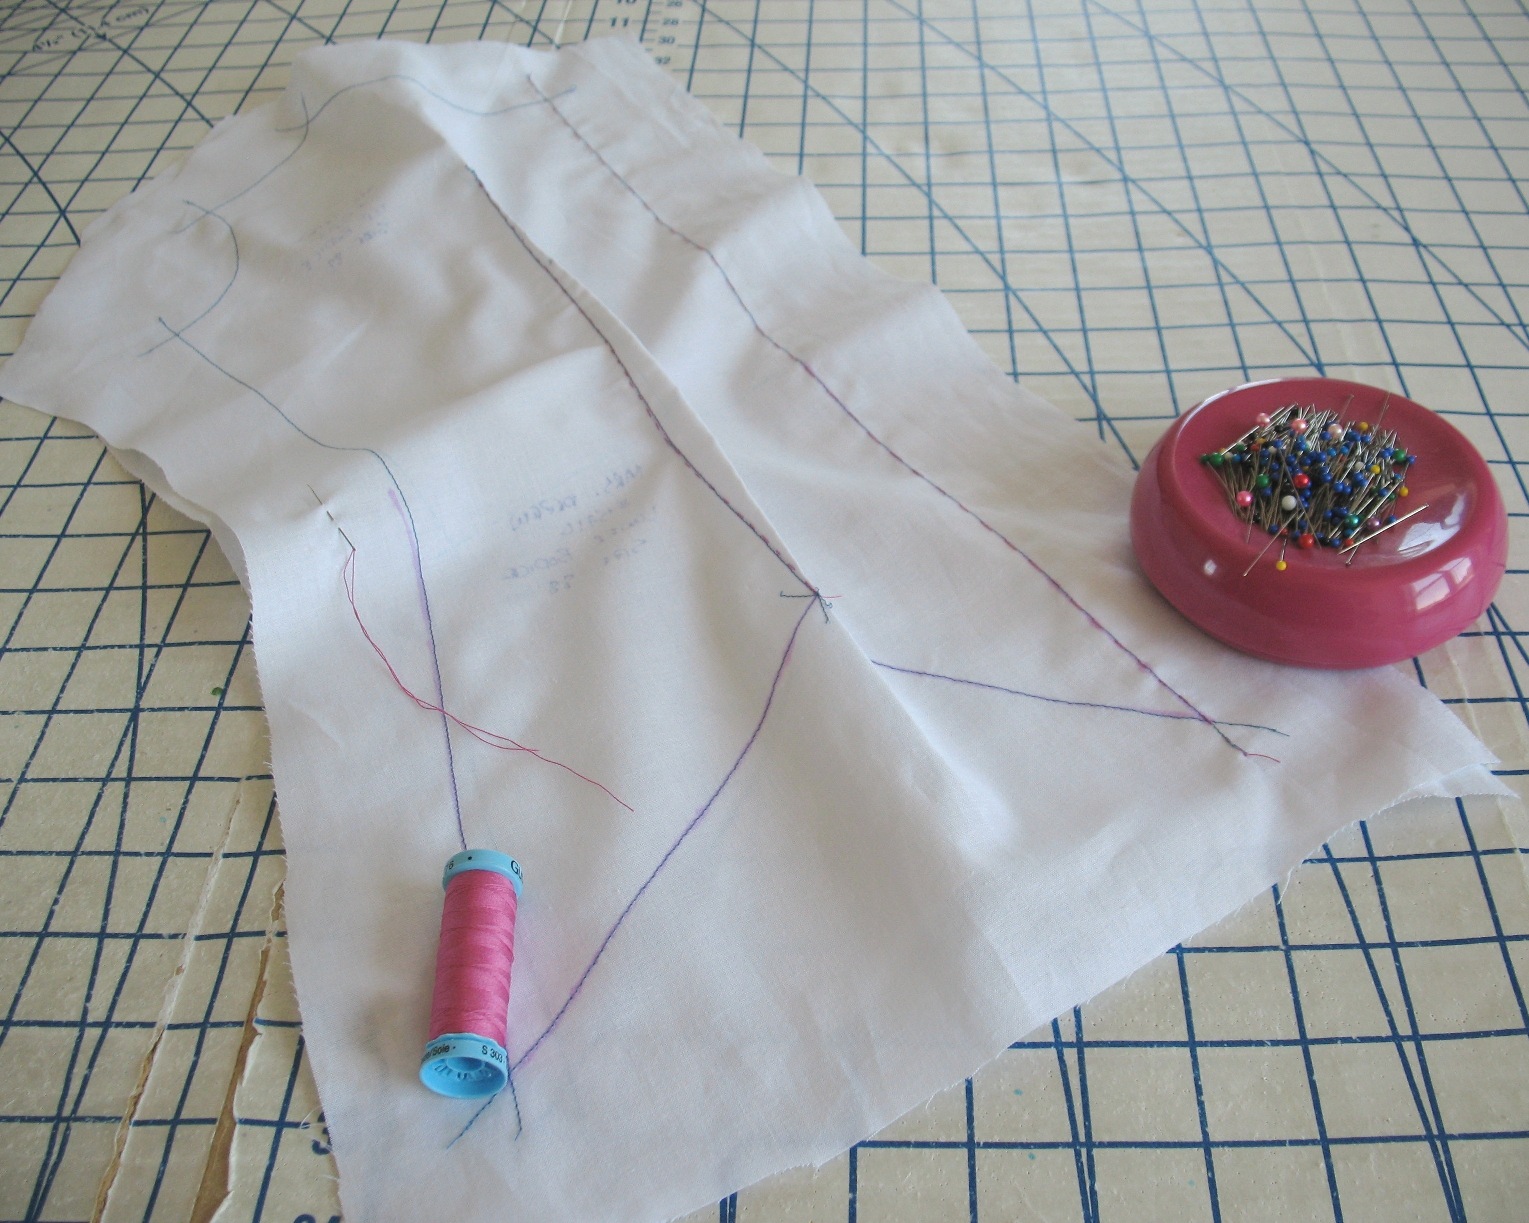
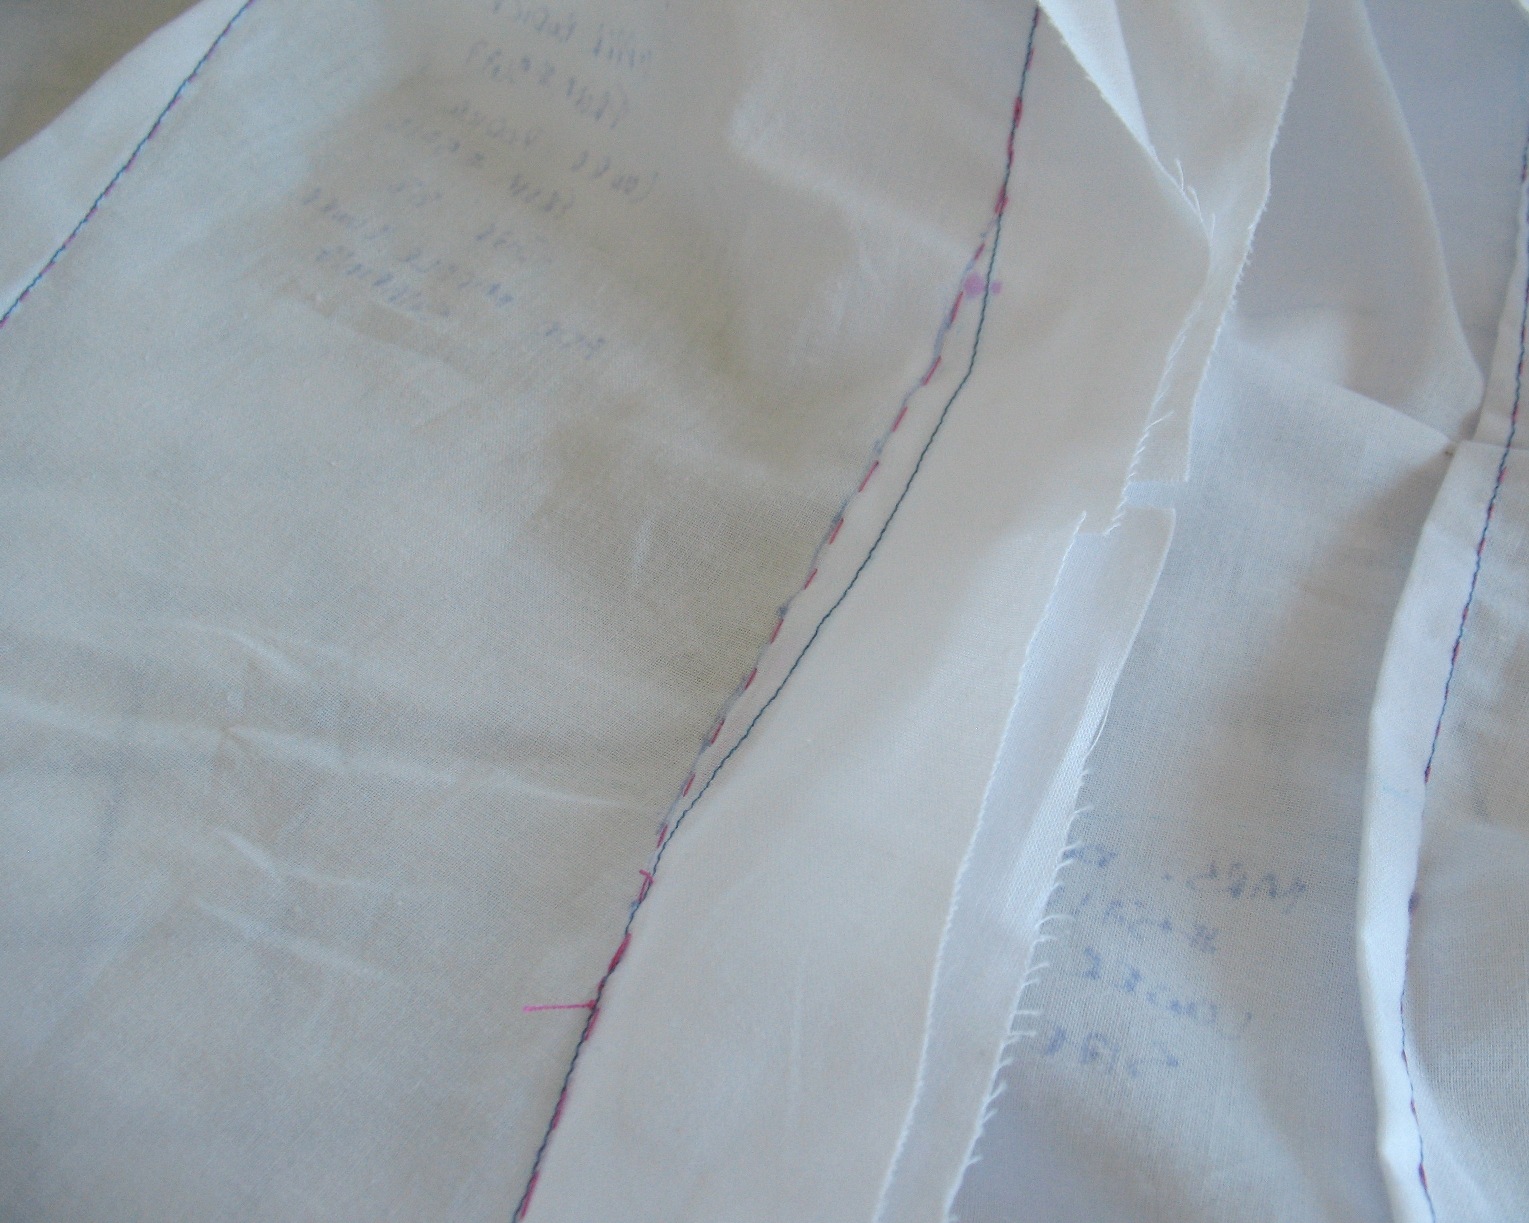
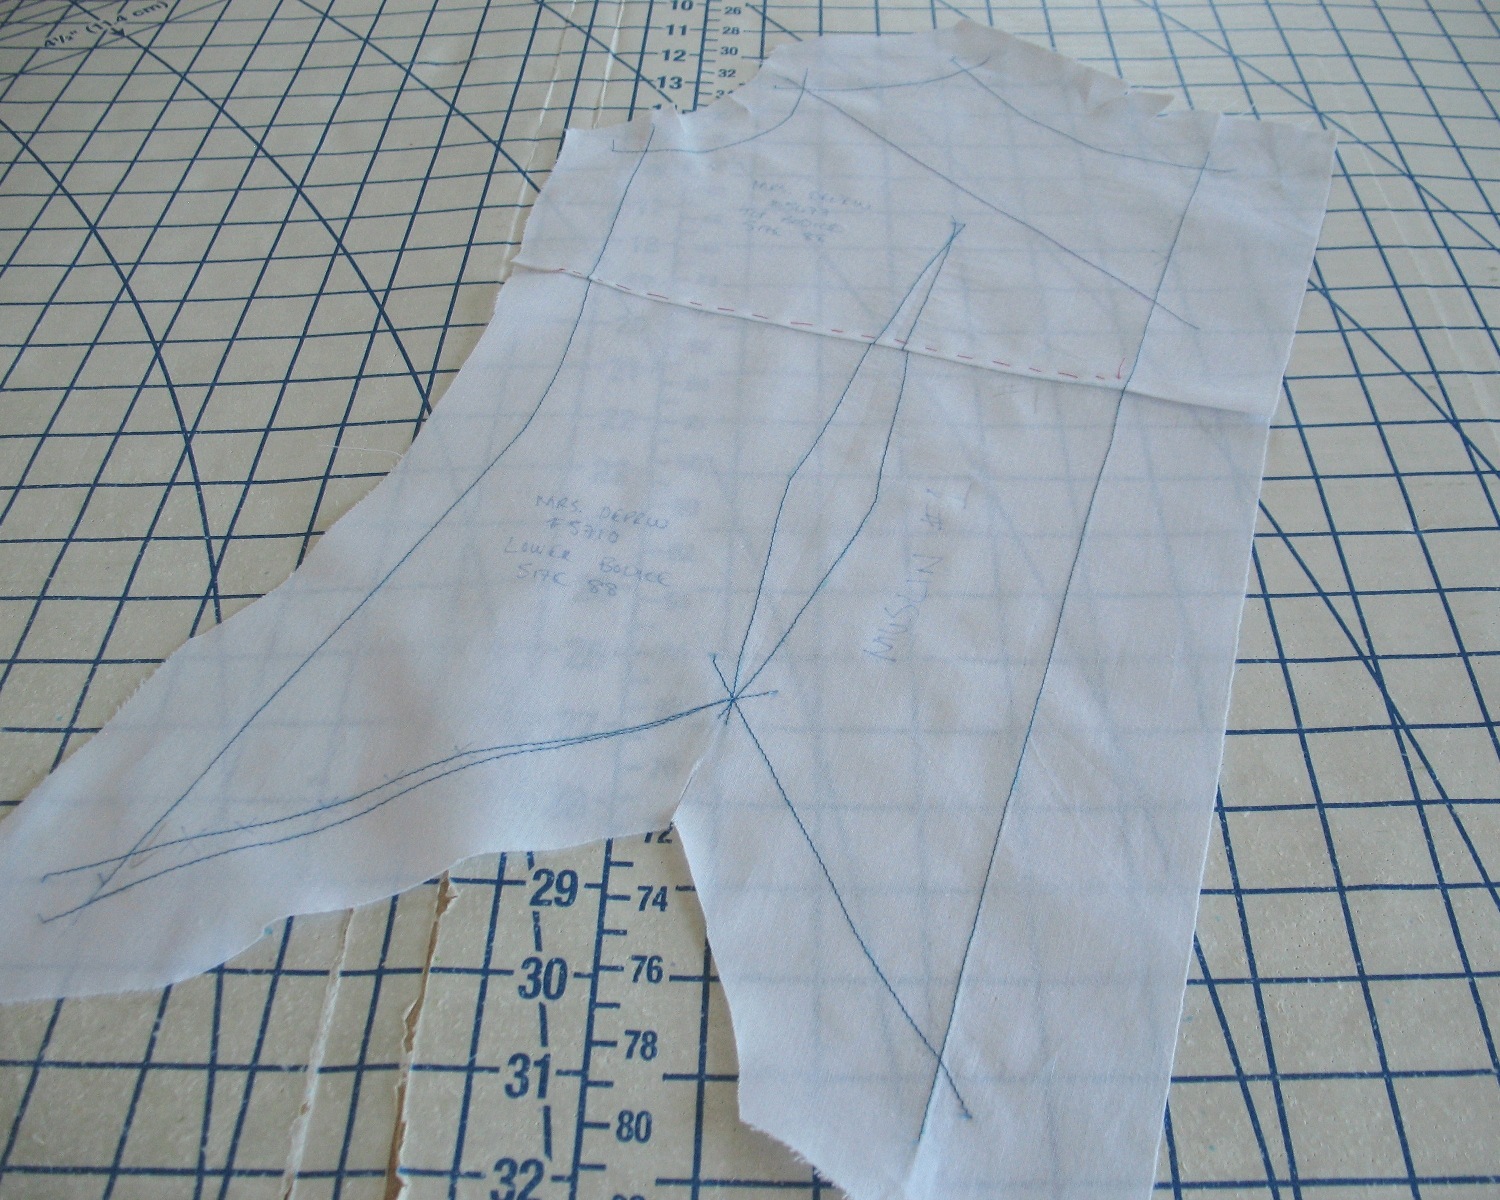
As I mentioned, the patterns do not come with seam allowances,
and I was going to use Susan Khalje’s couture tracing technique. But I just could not bear yet another project
struggling with the tiny sheets of wax-free tracing paper that are easily found at a big box store. The stuff just does not work, especially
with huge pattern pieces.
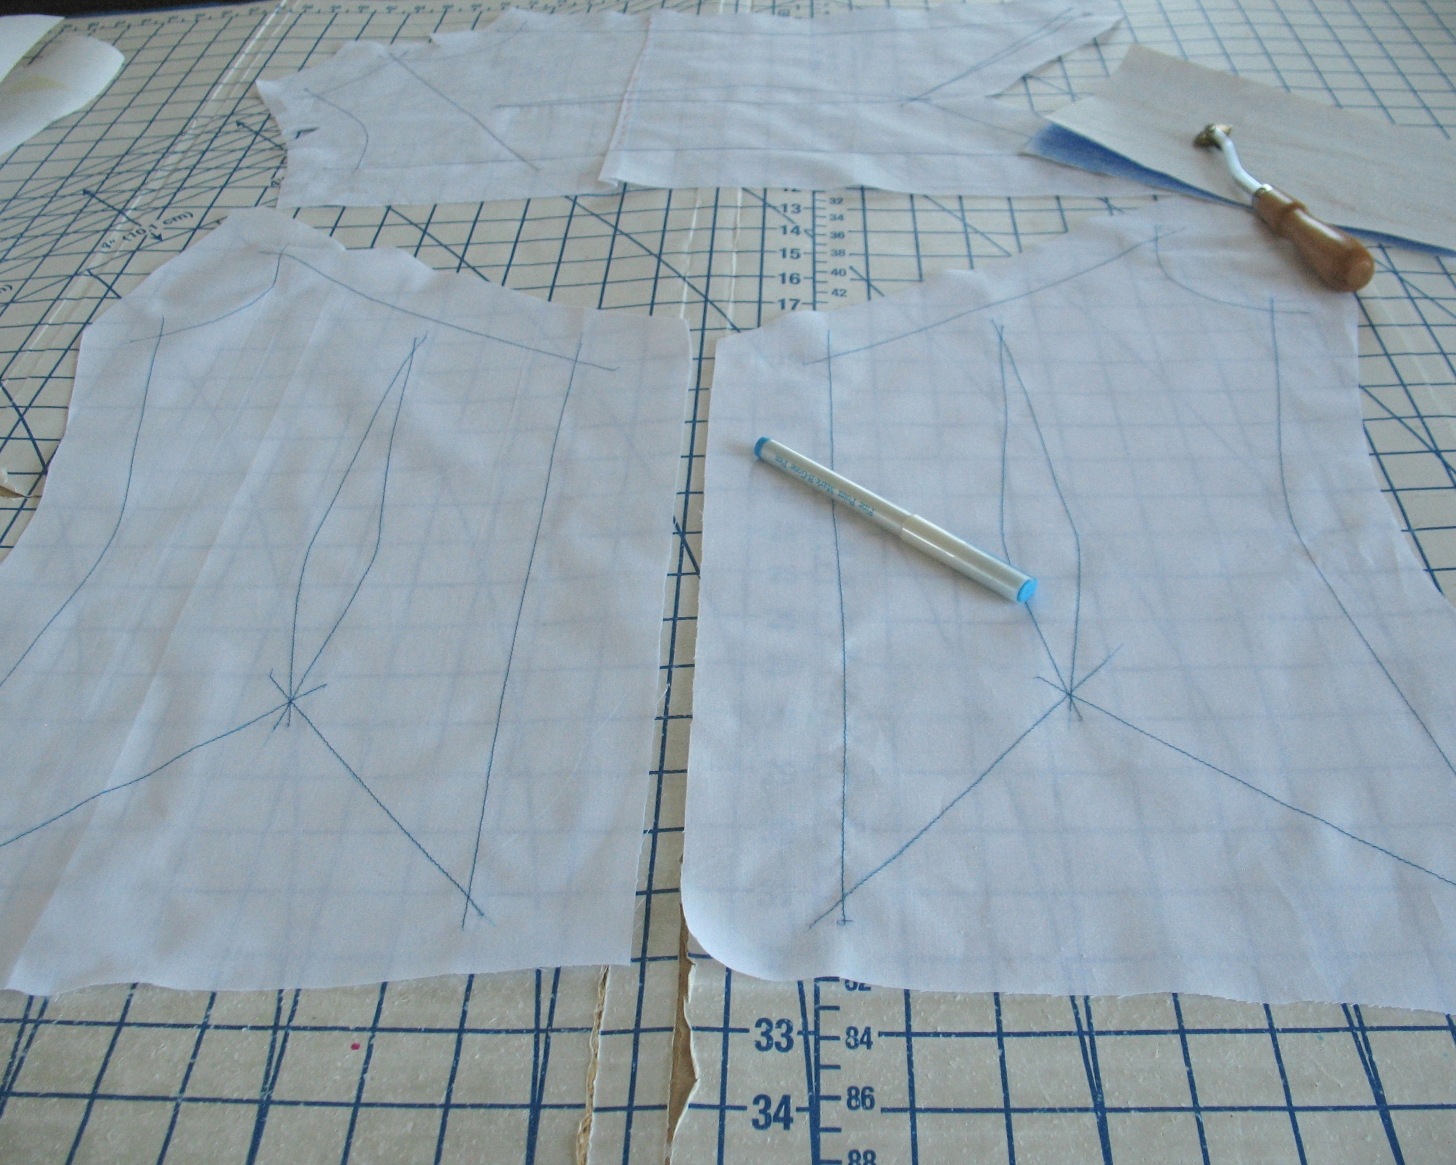
So I called up Richard the Thread (excellent customer
service, by the way) and ordered some of the waxed variety. What a difference! To be honest, I was a bit concerned that it
was going to make a mess, but thankfully, it did not. And now I never have to deal with those pesky
little sheets of the crummy stuff. Whoo-hoo!

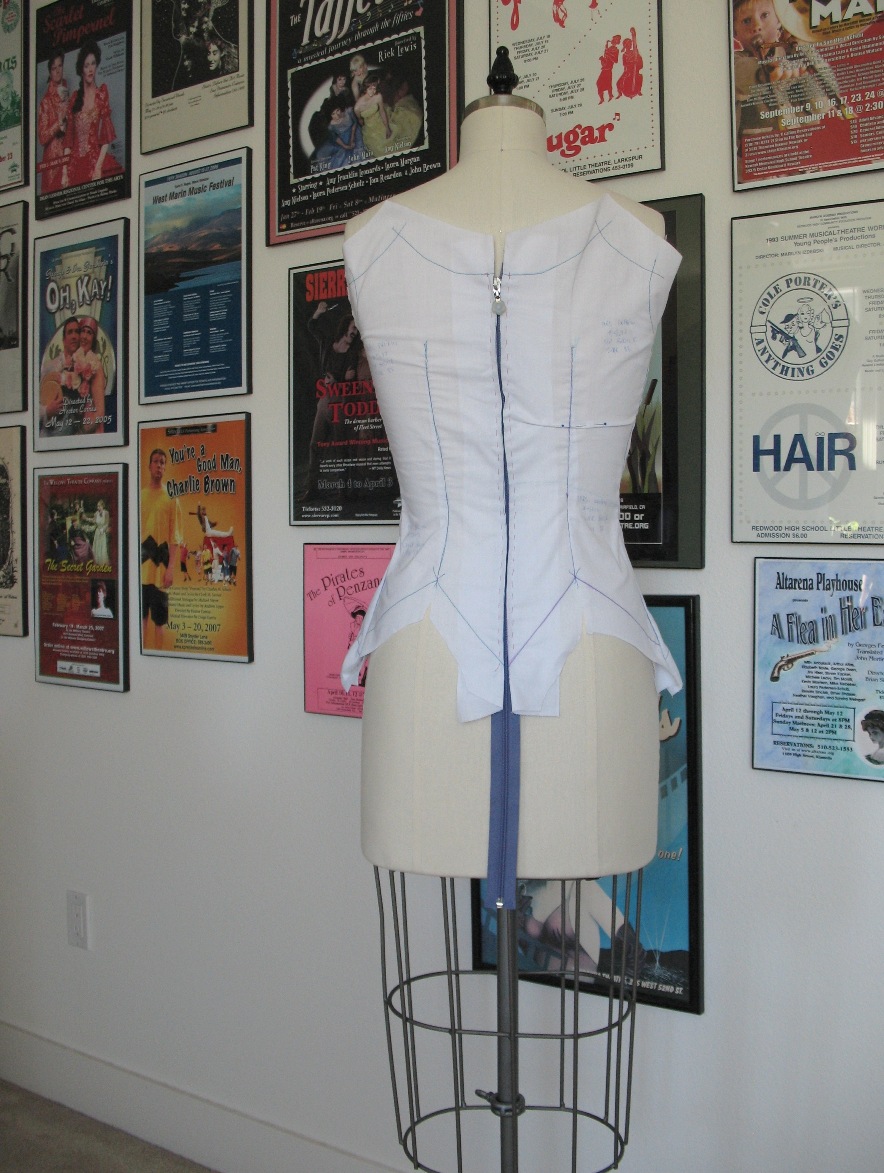
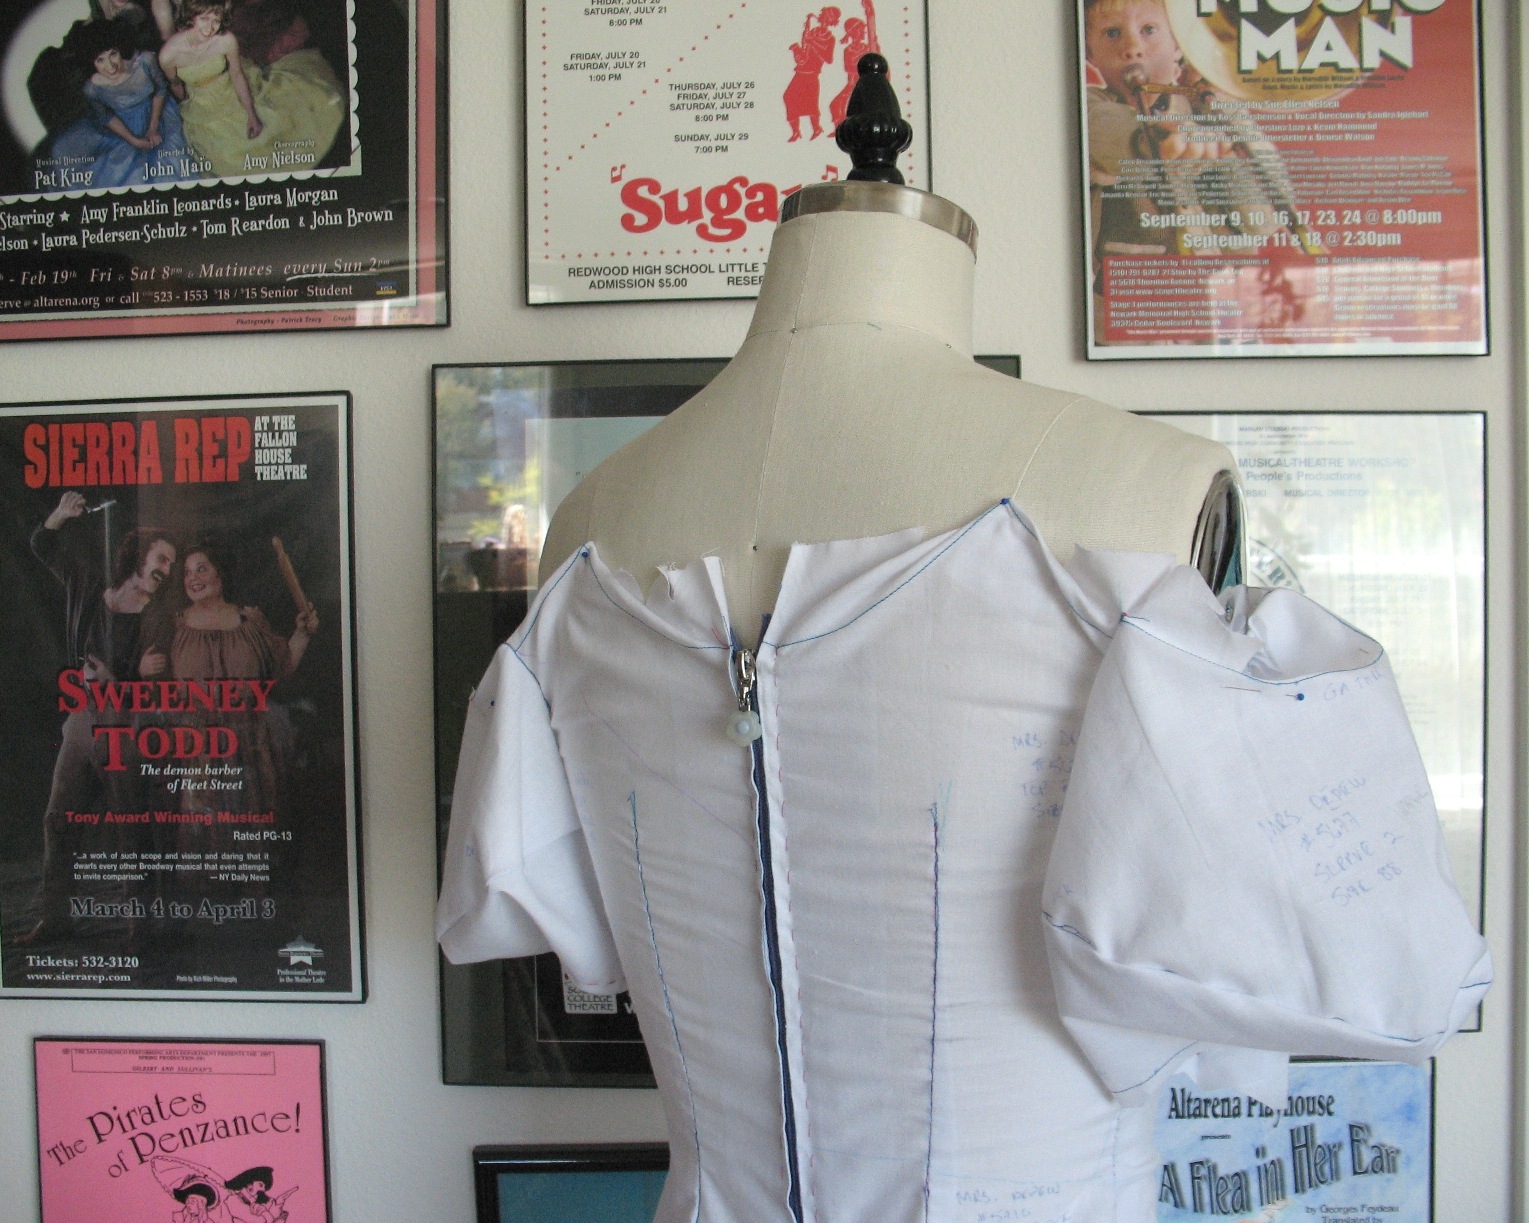
I really like working with the thread-traced stitching lines - it makes it so easy to visualize the finished style lines.
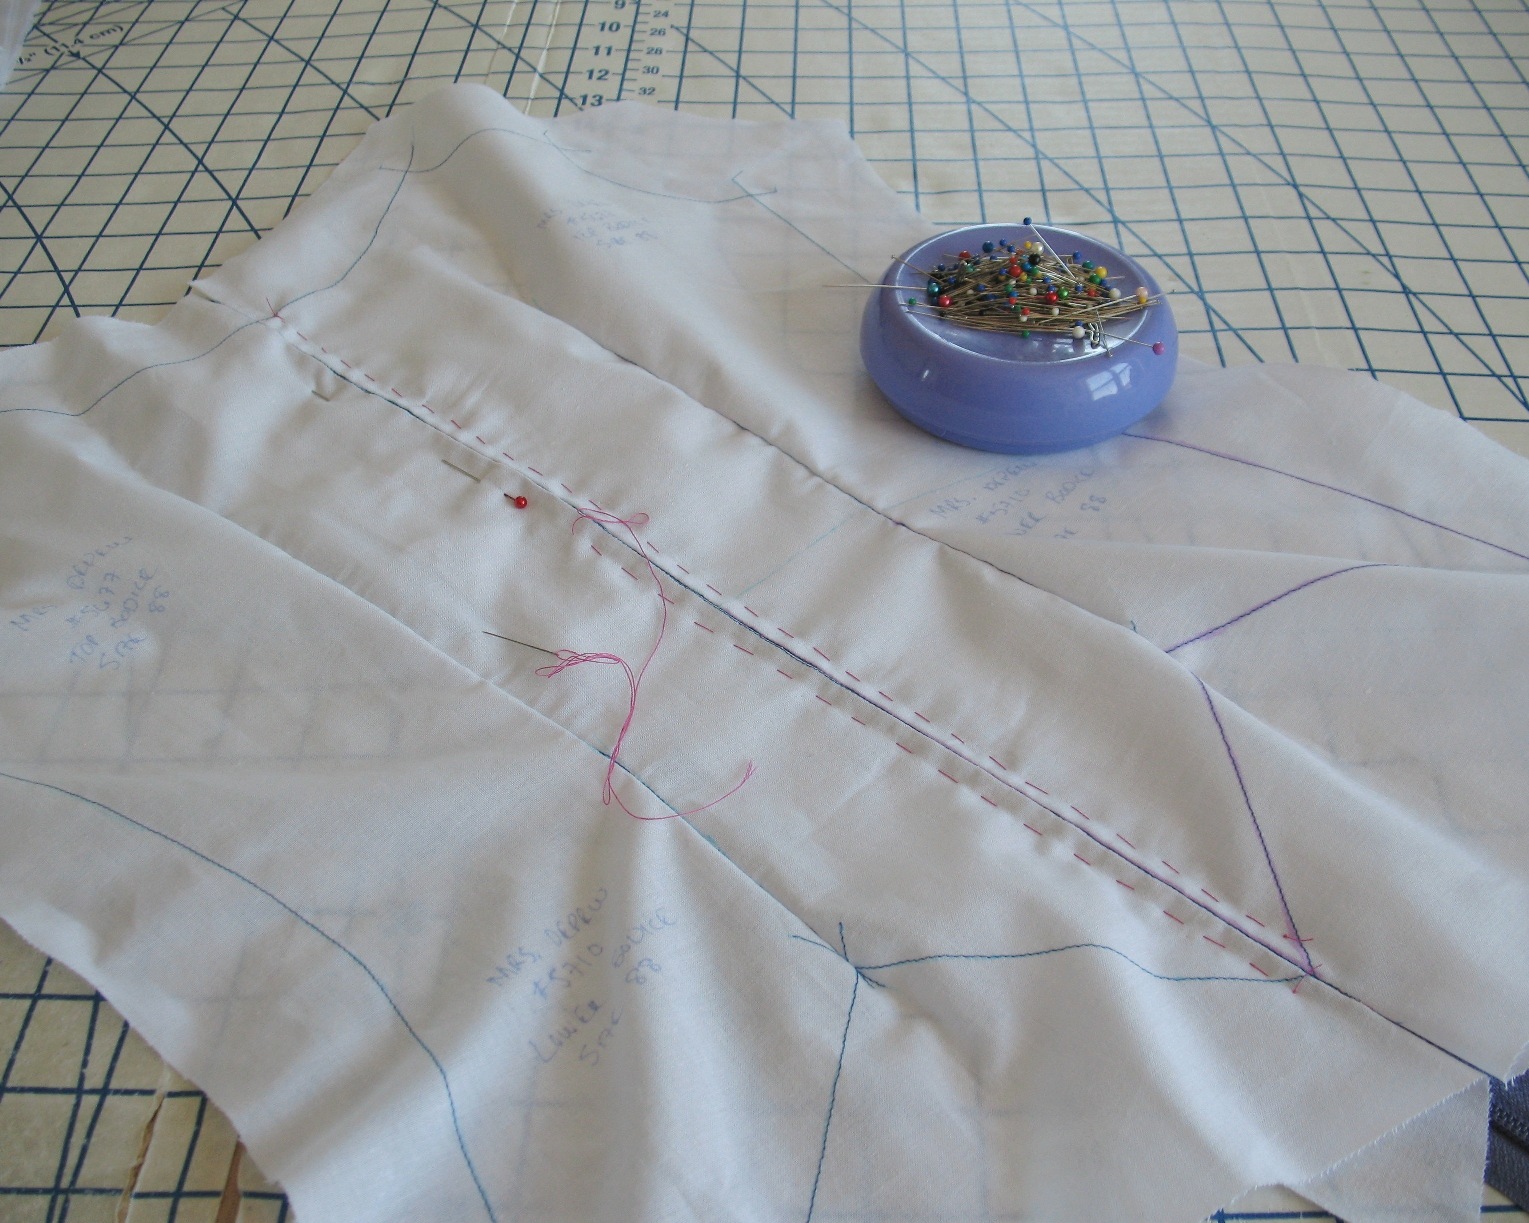
The first muslin had a bit of an issue at the side seam (I am
sure that is my own problem because of the two bodices being joined together).

The upper edge of the back bodice did not look right to me with the added
portion of the lower bodice from the second pattern.
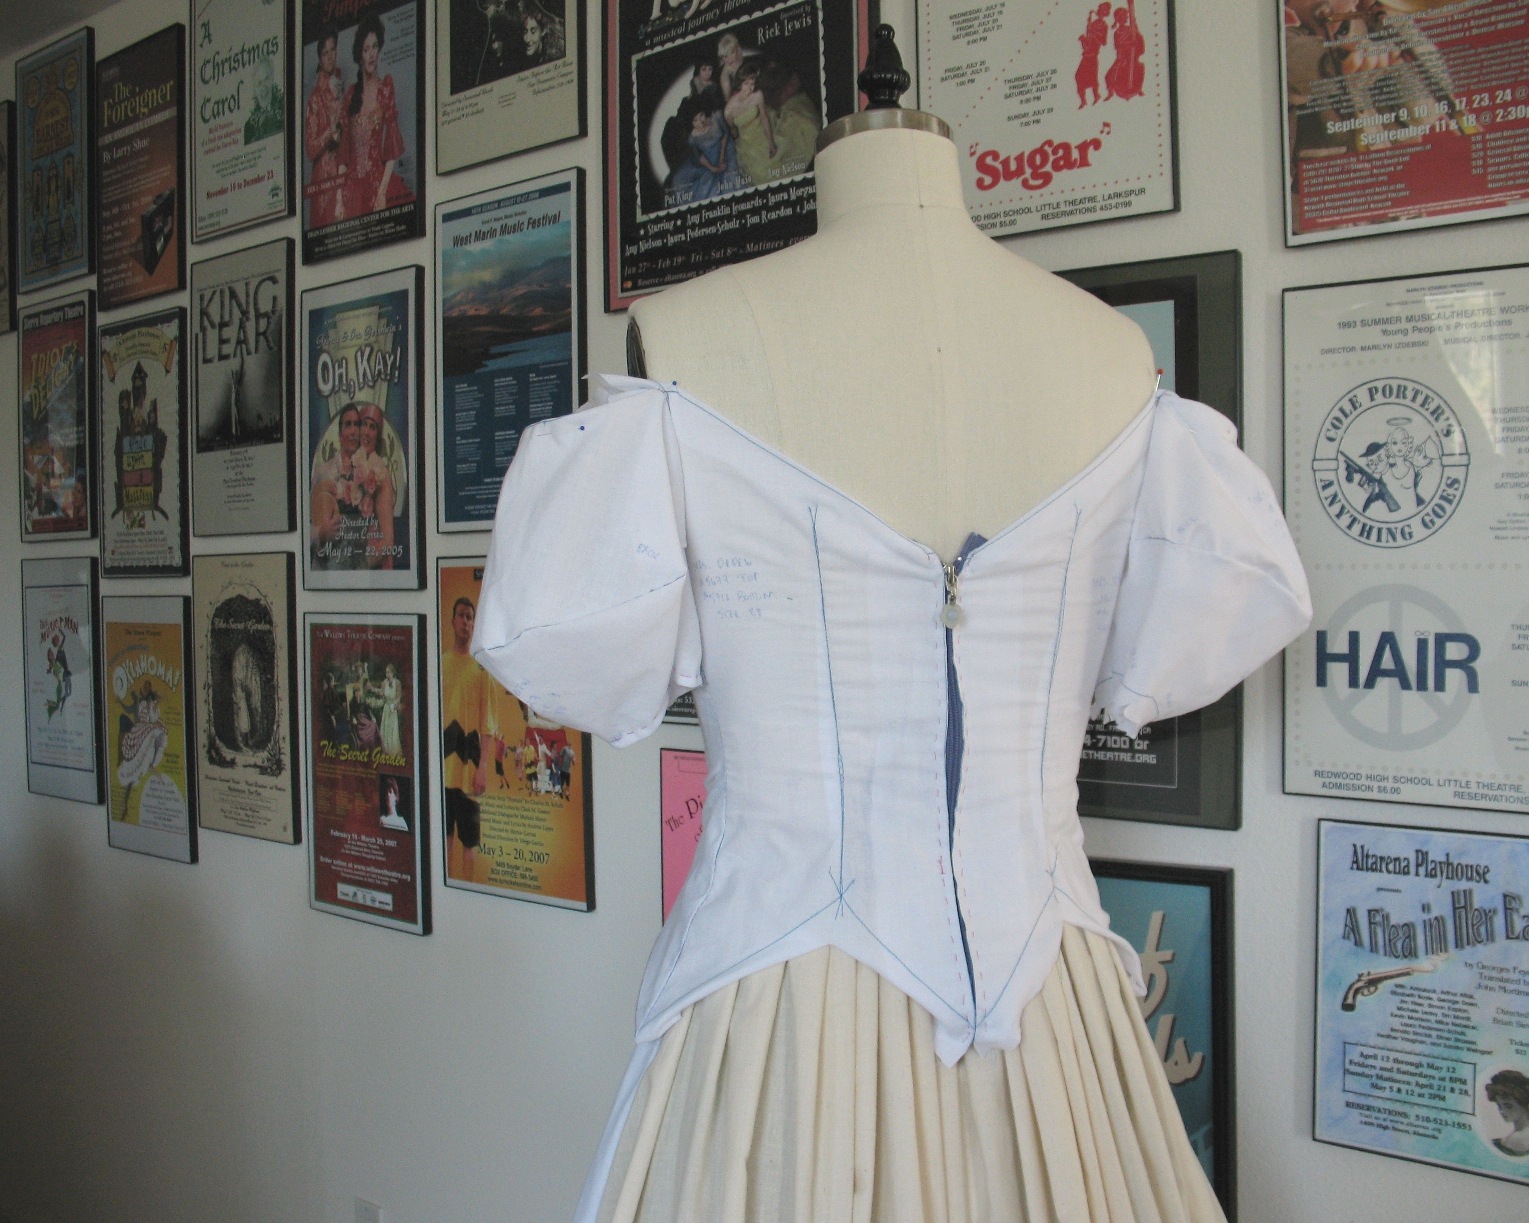
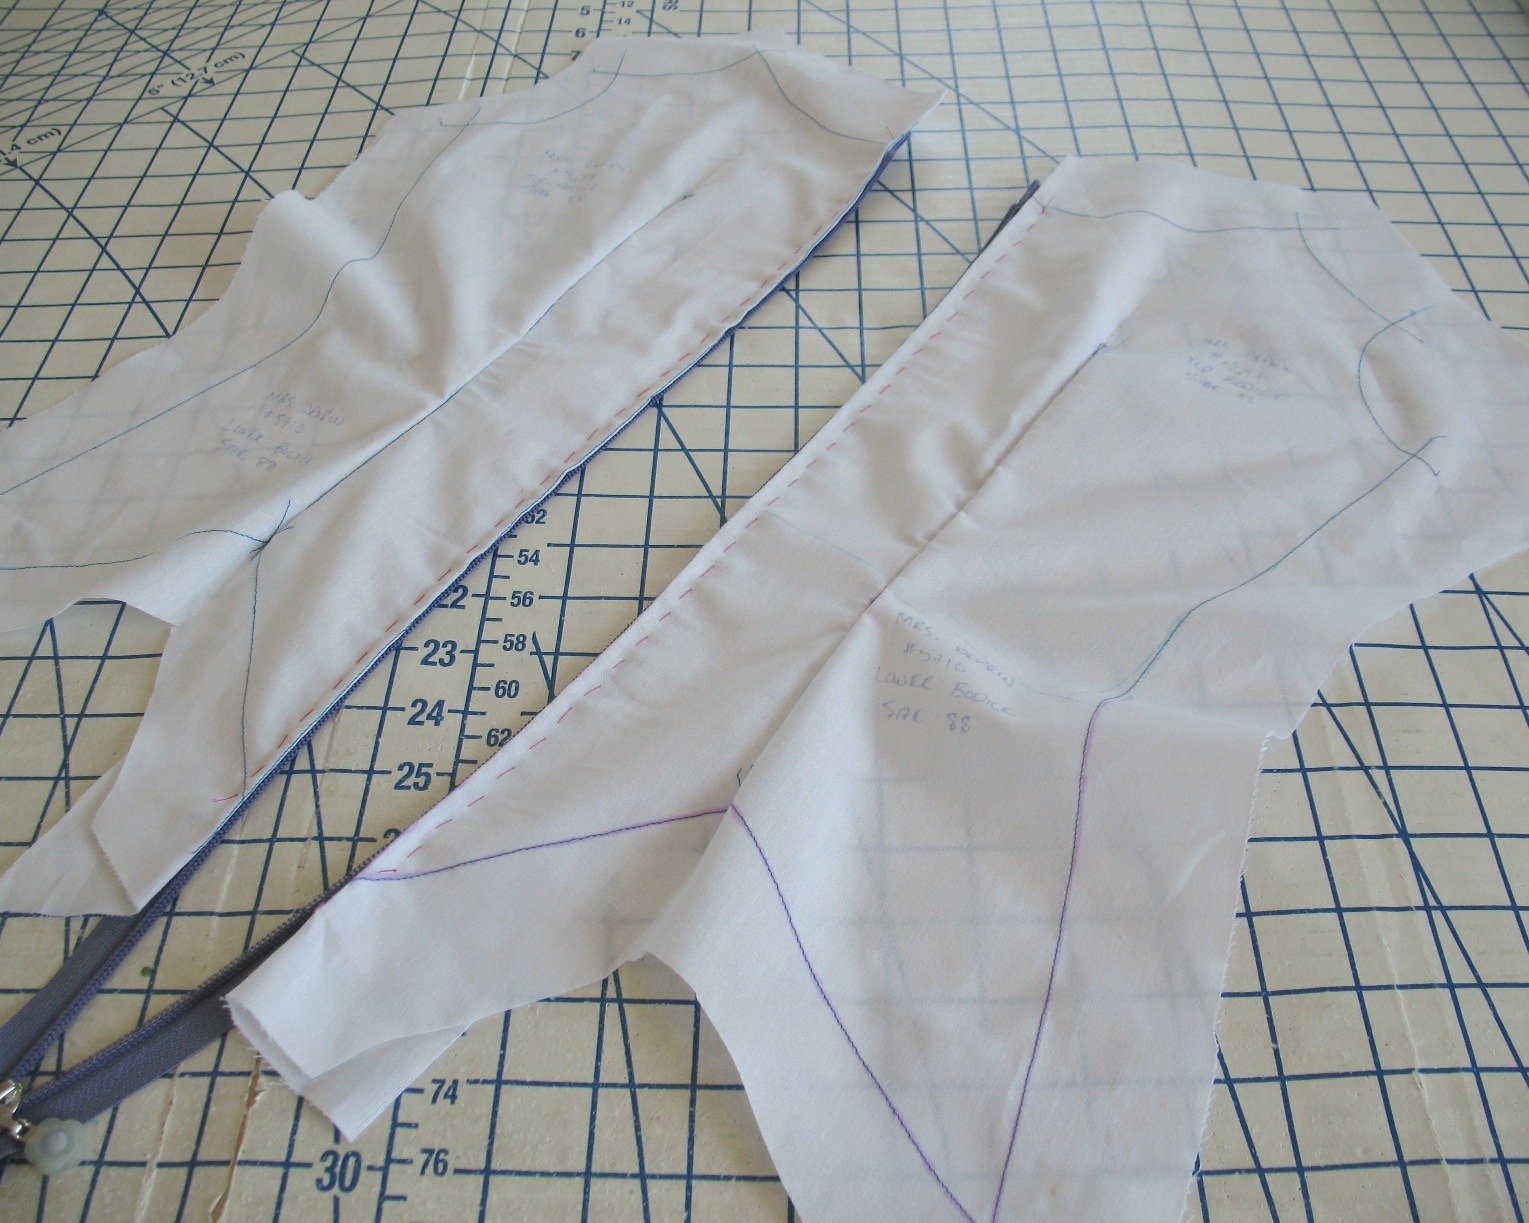
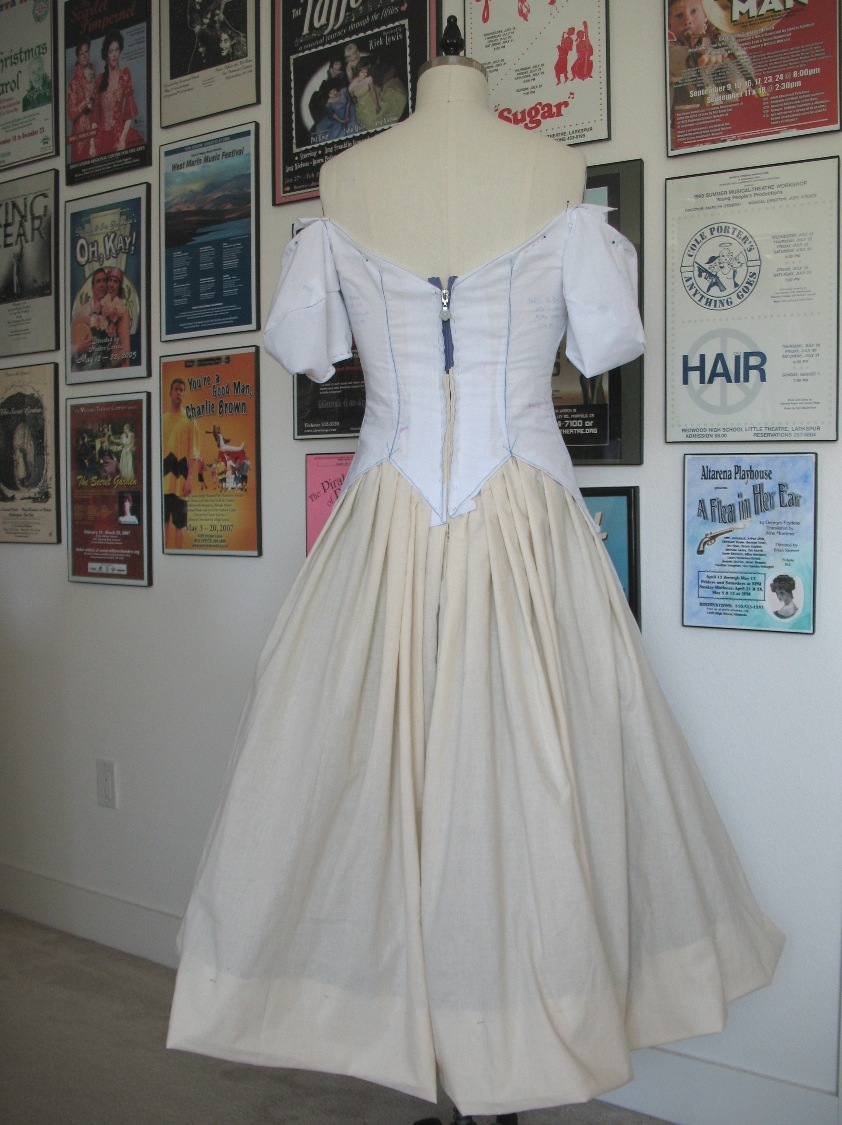
And then I needed to take a wedge out of the back bodice for my flat back.
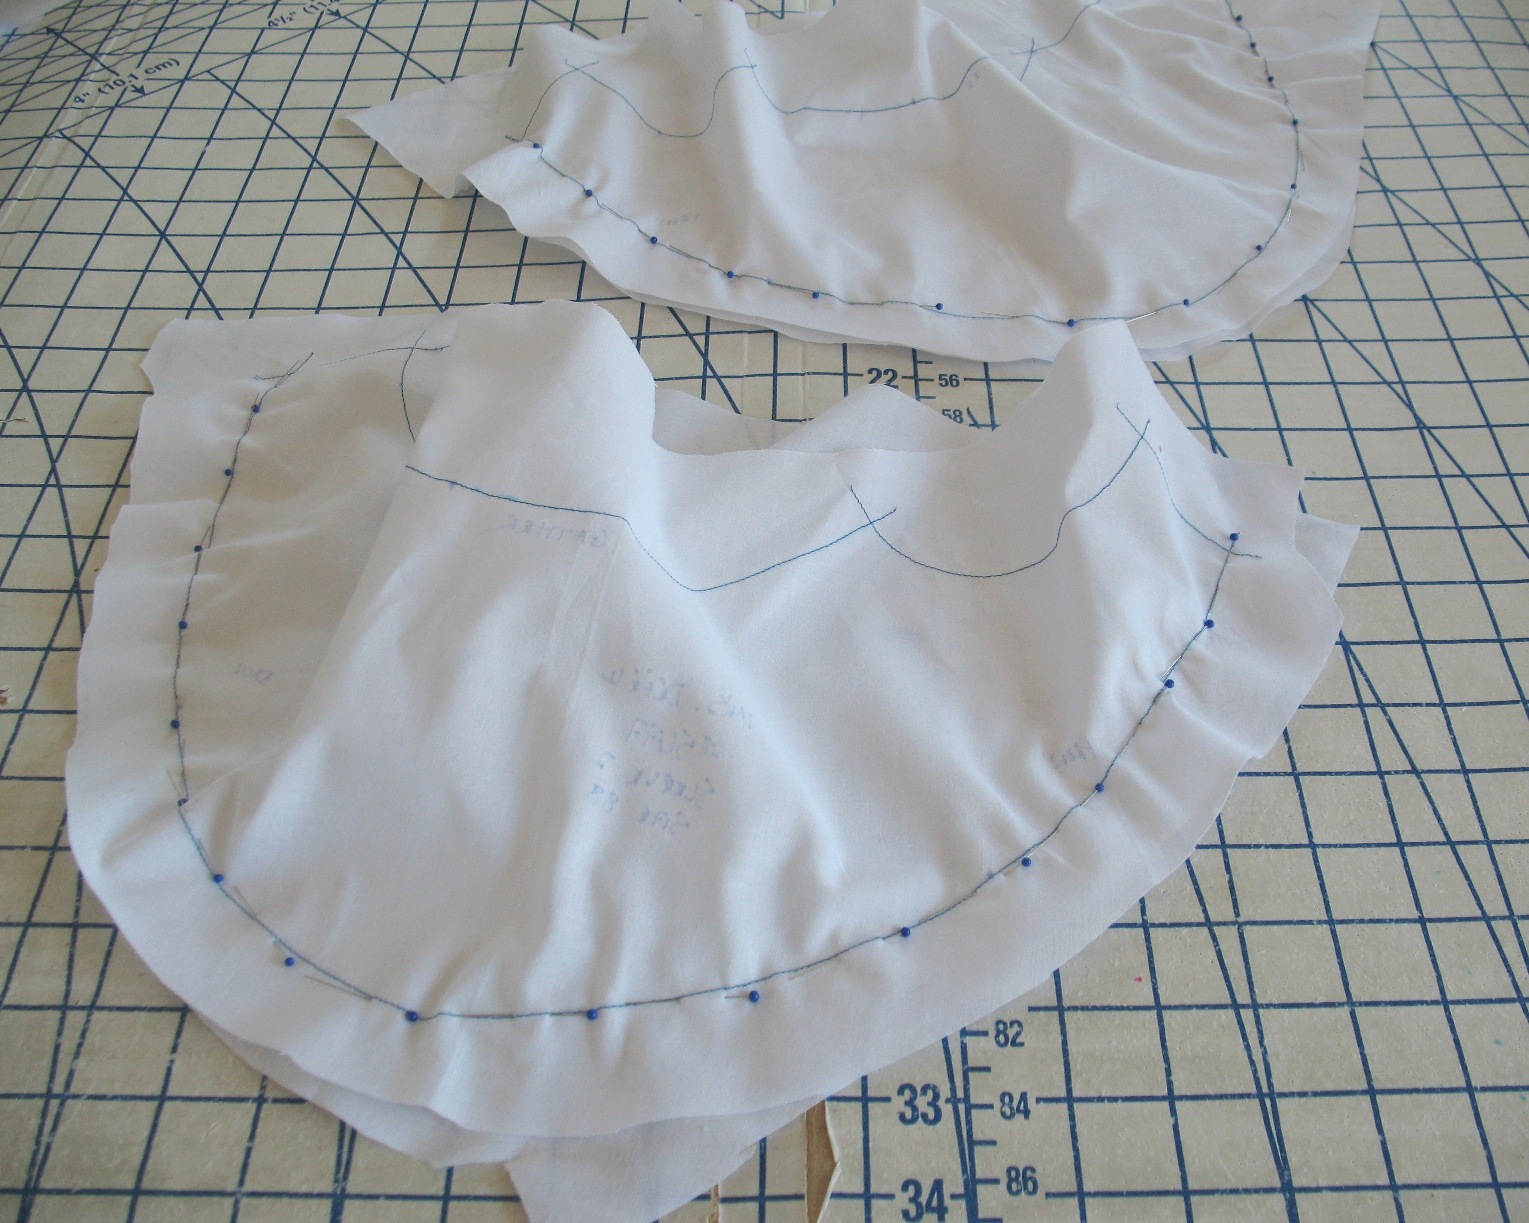
For many projects, I can't bother to make a second muslin. But for this dress, there were enough changes to warrant the time to re-cut the back bodice pieces. (And I just love using my new tracing paper!)
Might as well get it right.

And there was also some fun with pleats, and lots of muslin. I actually ran out, and had to make a trip to JoAnns to get more. This dress is a fabric hog!

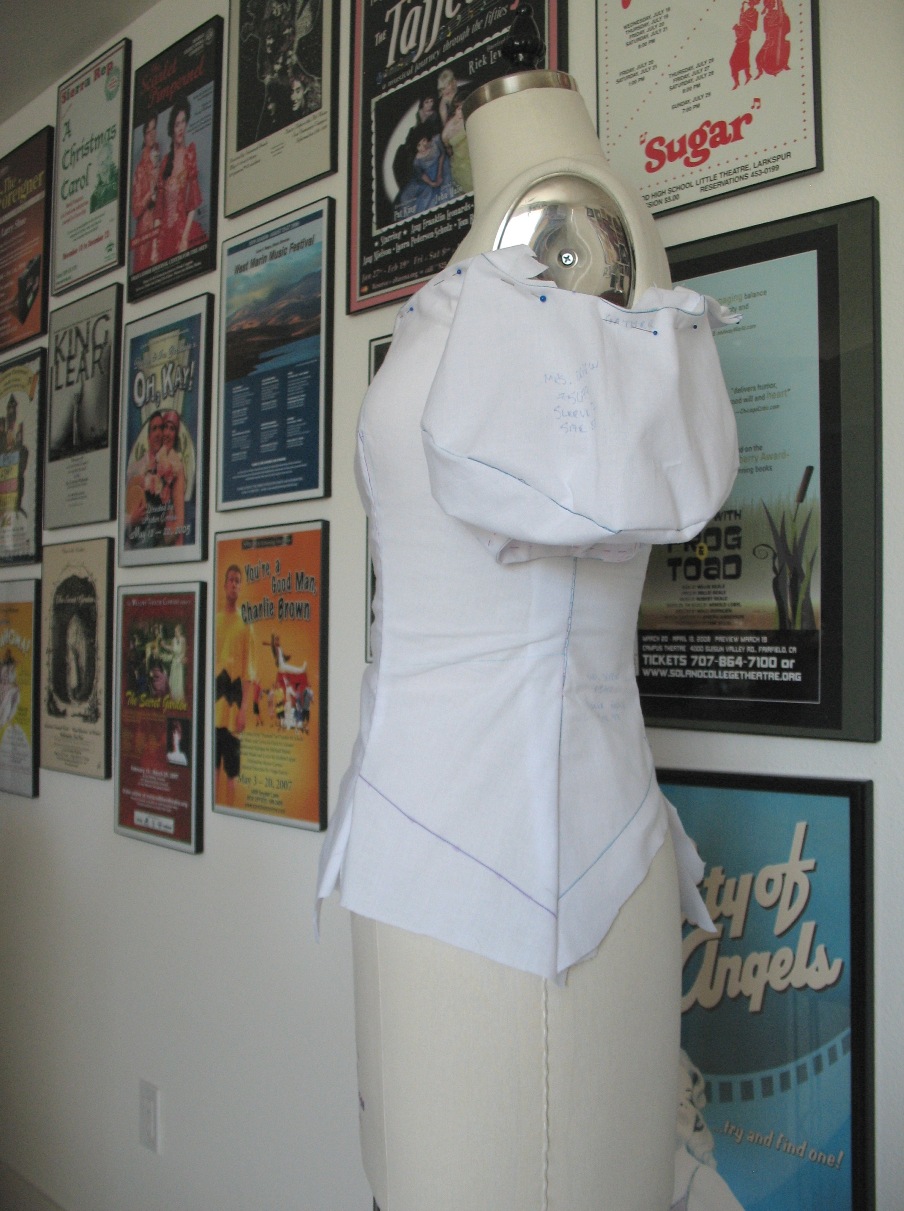
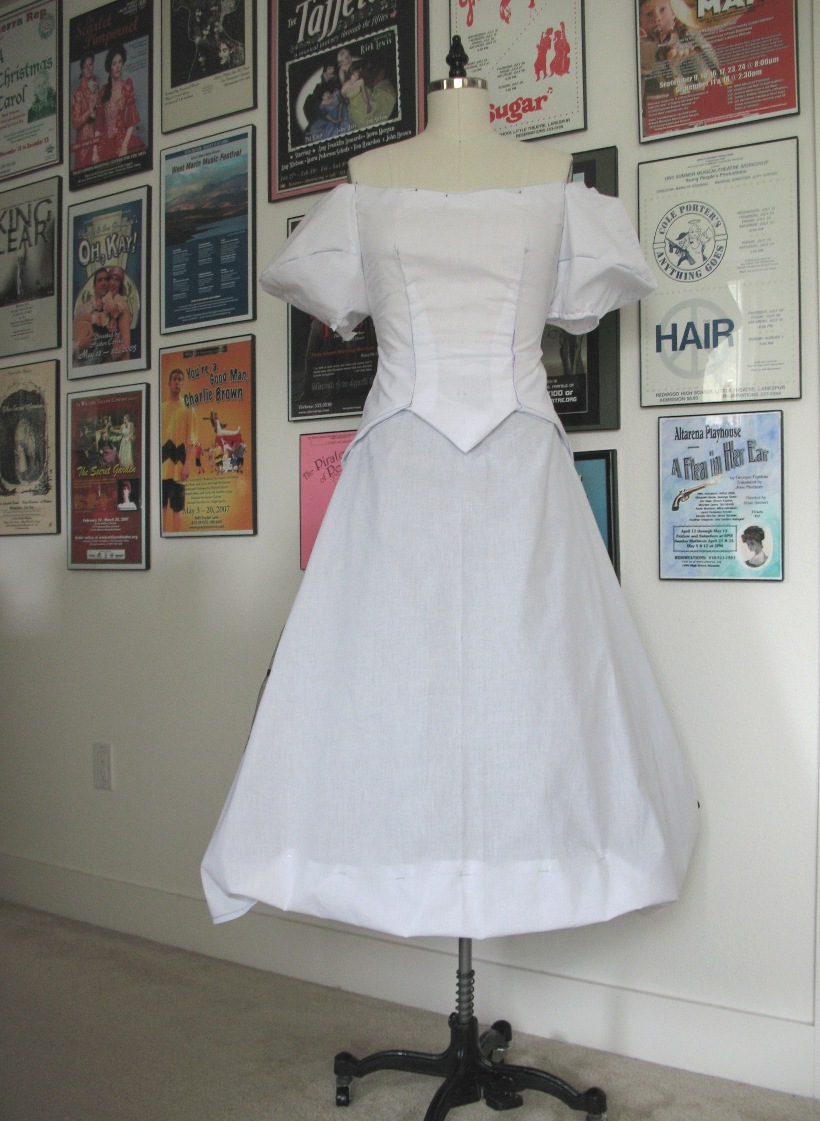
The front skirt piece was also swinging forward, so that
piece had to be widened.
Oh, and I also altered the bottom of the front bodice after sketching a few different options. This is what I came up with.
Time to cut into my underlining!
I just can't wait to see the finished gown!
ReplyDeleteIt's already looking VERY glamorous!
ReplyDeleteIt looks lovely! By the way non waxed transfer paper is way messier and stains the fabric more than the waxed version.
ReplyDeleteThank you so much for sharing these construction details. I find it fascinating. I think I love everything about this "composite" dress - it's going to be lovely and perfectly "you"!
ReplyDeleteYou created a new design. You gave me an idea. I have a Marfy pattern that I have not wanted to tackle and now I see that if I make a muslin and thread trace the seams, then I can try to put the pieces together. Why didn't I think of that since the solution is so obvious? It will be my first Marfy pattern.
ReplyDeleteIt's so much fun to watch this come together - thanks for sharing your process with us!
ReplyDeleteThis is better than television! Thank you so much for taking the time to photograph the steps, thank you for stopping the flow to take the photos!
ReplyDeleteAnd it ends up in that cherry print? "The suspense is terrible. I hope it will last." Oscar Wilde/William Wonka (men who loved a good waistcoat)
Ooo I'm so intrigued, can't wait to see it finished!
ReplyDeleteThis is why we make toilles :)
ReplyDeleteI can't wait to see the finished product. I just love the fabric you bought for this dress. The suspense will make it hard to wait.
ReplyDeleteYour dress is going to be absolutely gorgeous!! I'm loving watching it come together.
ReplyDeleteThat muslin is gorgeous. I can't wait to see what the finished garment will look like. Beautiful I'm sure!
ReplyDeleteThat is absolutely gorgeous! I love the bodice. Wow!
ReplyDeleteI just wonder if the flat panel in the skirt should be a little narrower? To me it looks as if it's too wide for the skirt and would make the wearer look broad beamed. Whereas a narrower panel with the gathers from the back coming around the sides would be more slimming. But what do I know? Look forward to seeing the finished dress!
Wow - it is looking fabulous already!
ReplyDeleteThis dress is looking fabulous already. Thanks for sharing your workings and processes. I'm looking forward to seeing it made up in your lovely fabric.
ReplyDeleteYou are incredible!!!
ReplyDeleteNow that I realised these don't have seam allowances, I'm intrigued! Personally, I never go for a commercial pattern with seam allowances, because they are almost always excessively wide to begin with, and make alterations unnecessarily more tricky. For some reason I find it much easier to work with pieces that I have drawn the seam allowances on myself.
ReplyDelete