
I am a big believer in working on the part of a project that
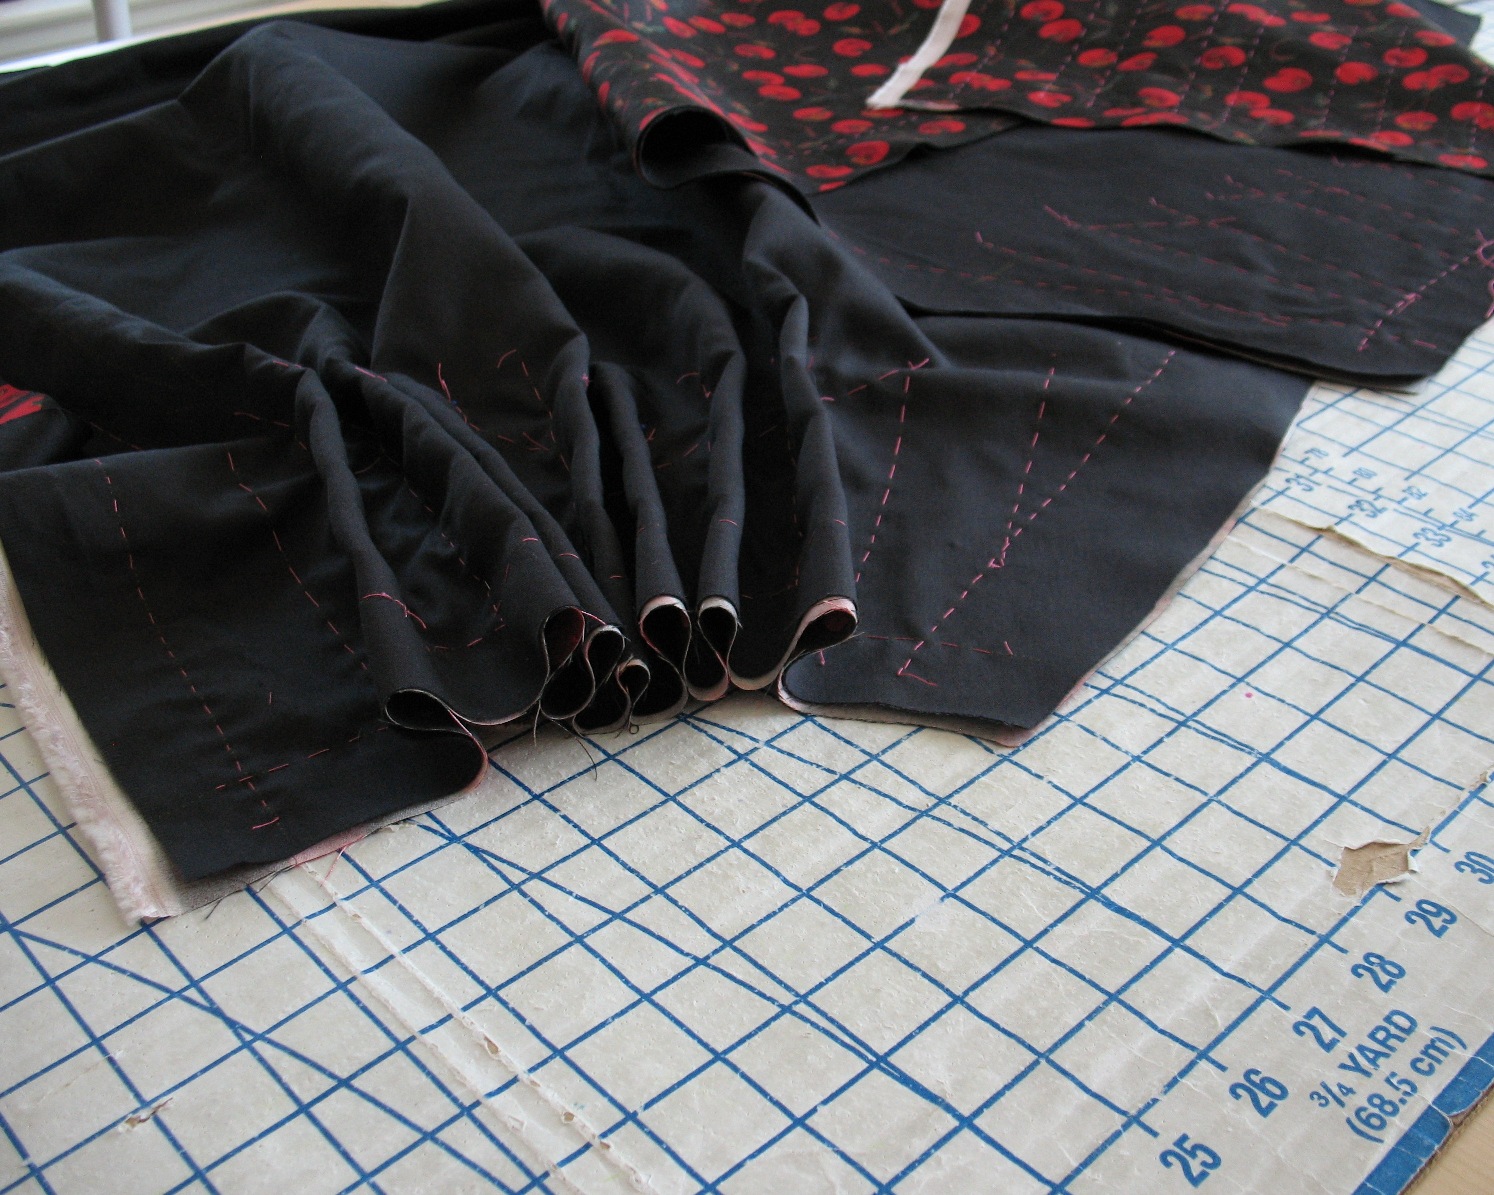
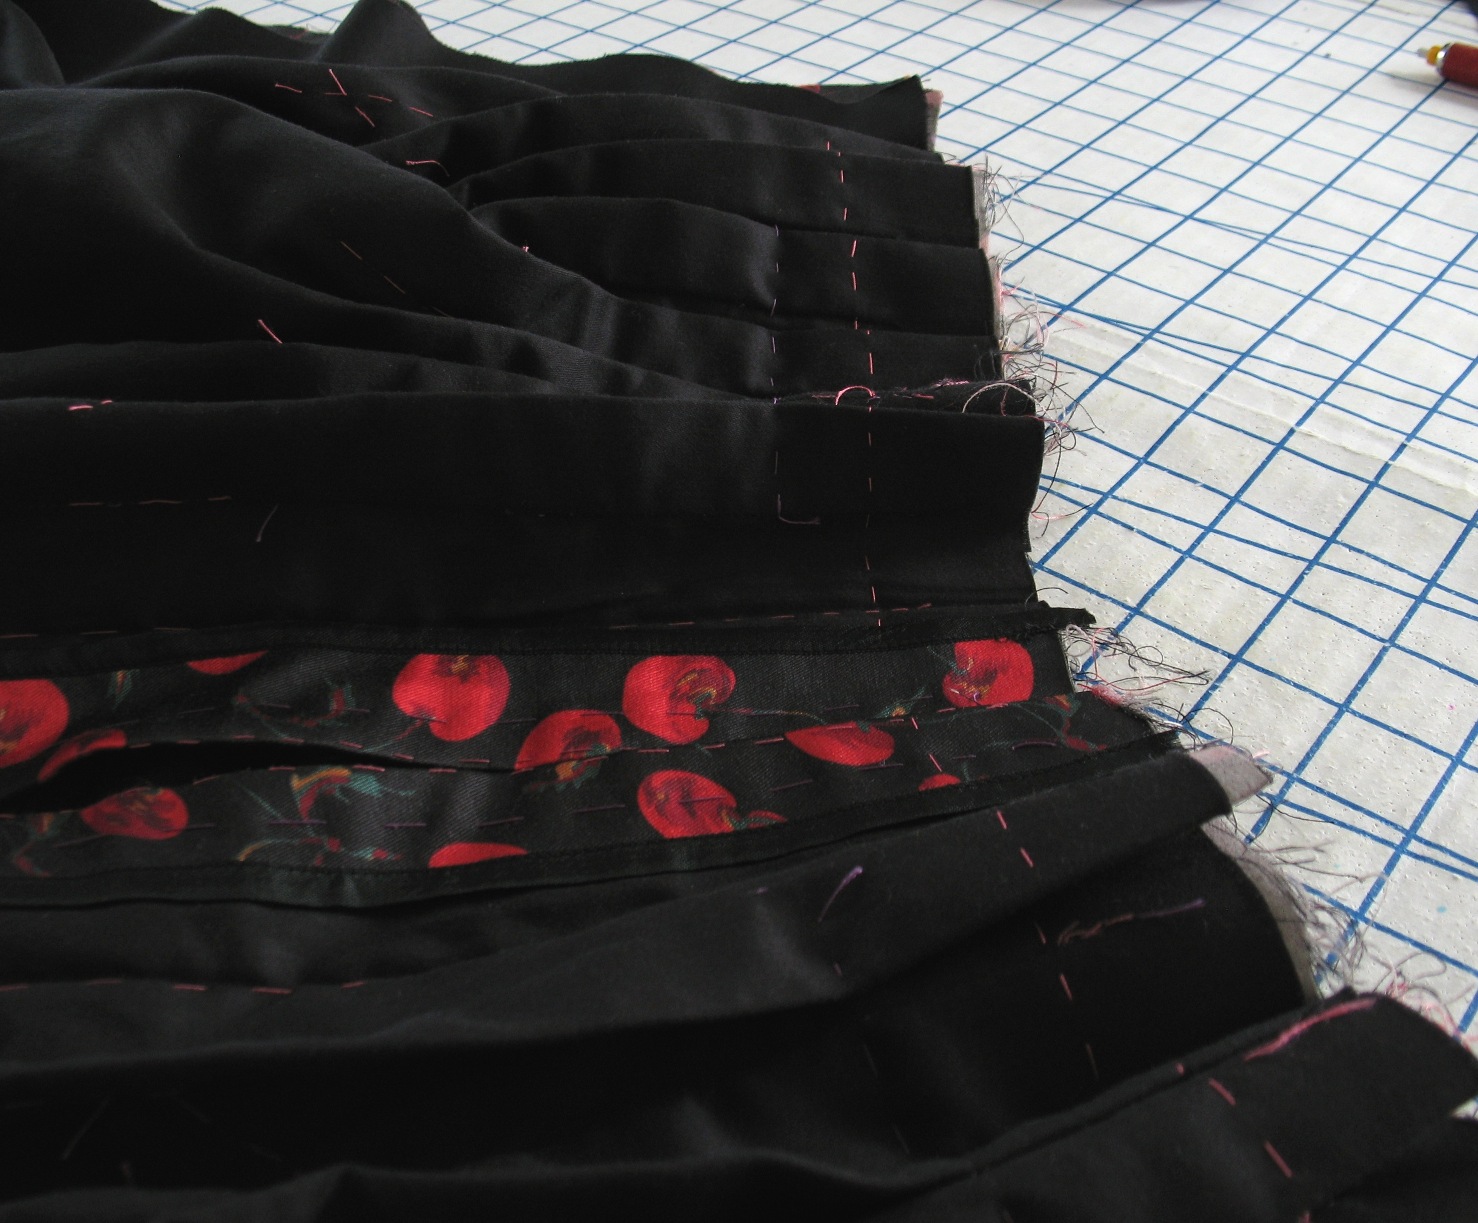
you feel like working on at that moment in time. I have a tendency to bounce around from bodice, to skirt, to sleeve, and back again - it keeps things interesting, and gives me time to mull over problem areas. While I was stitching these pleats together, for instance, I was contemplating exactly what to do with all of those internal corners at the hipline of the bodice.

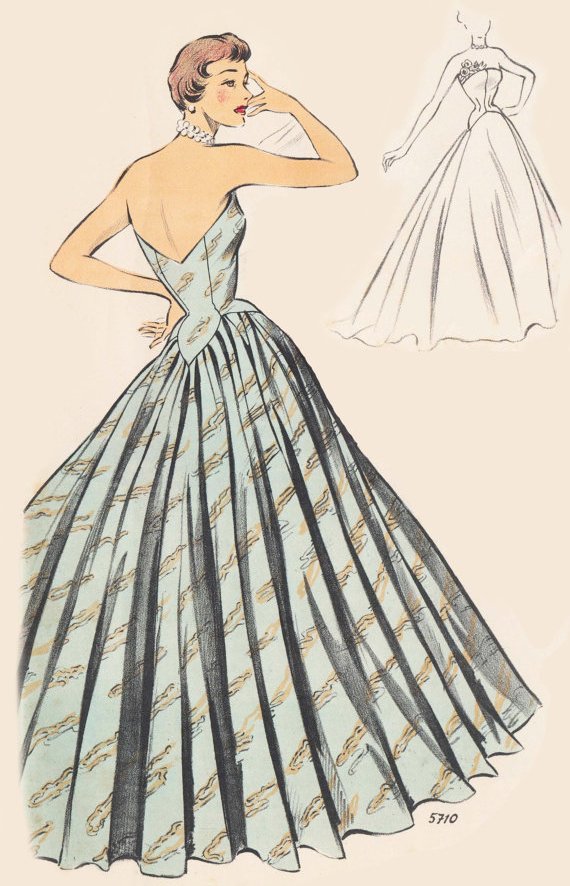
The skirt was pretty straight forward, for the most part. The pattern pieces do not include pleats, although they let you know you need to add some (not very specific). That notation is written on both the front and the back. But after staring at the illustration, I decided to ignore it. It is hard to tell if there is a single pleat at the side of the front panel, but I have a feeling that is just artistic license taken by the person who illustrated the design.
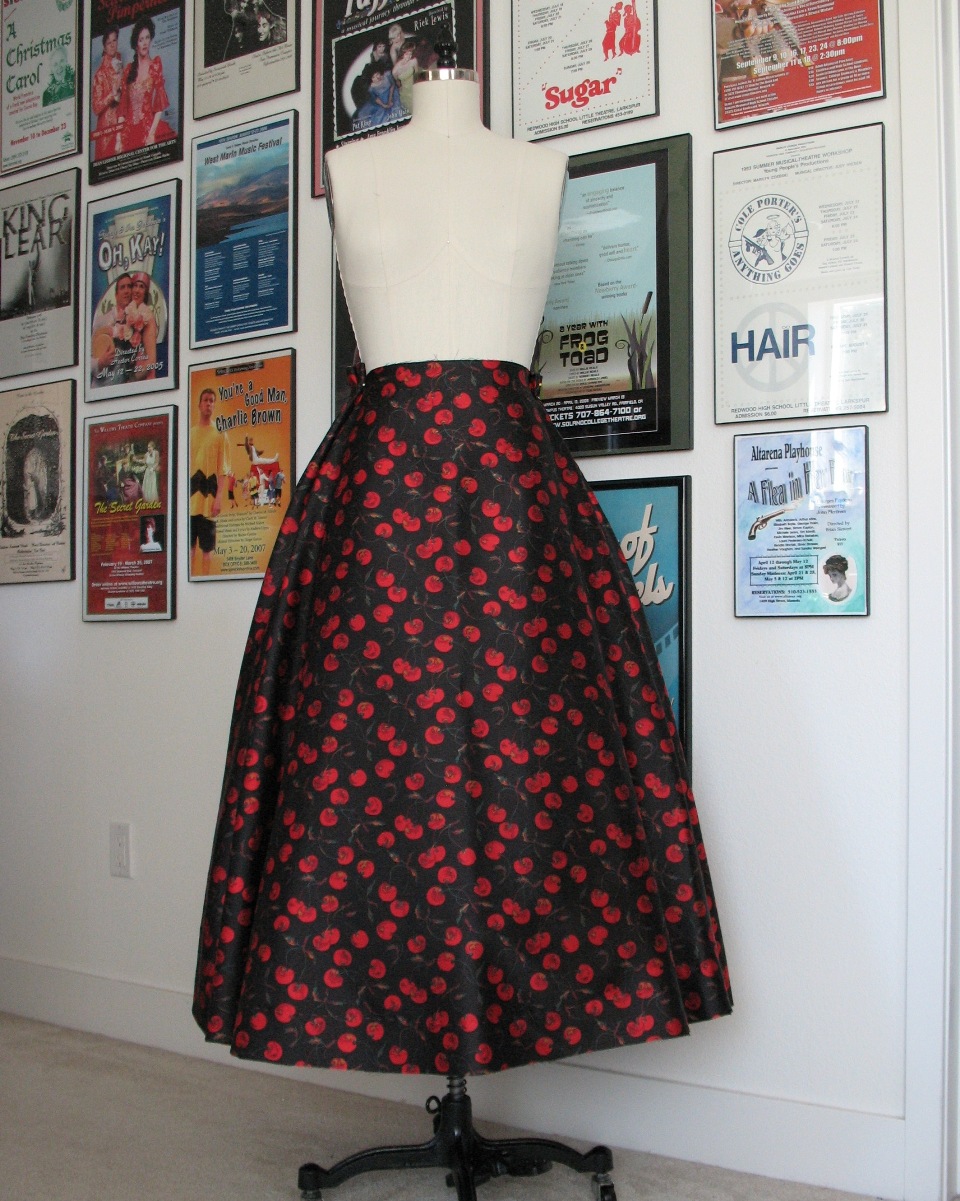
The lower edge of the skirt front was
determined by my fabric width which was about 52" after taking into account the white selvedge. I
squeezed as much as I could out of that which meant that the underlining had to be pieced at the lower corners since it was only 44” wide. That extra width is really helpful for a full-skirted design like this!
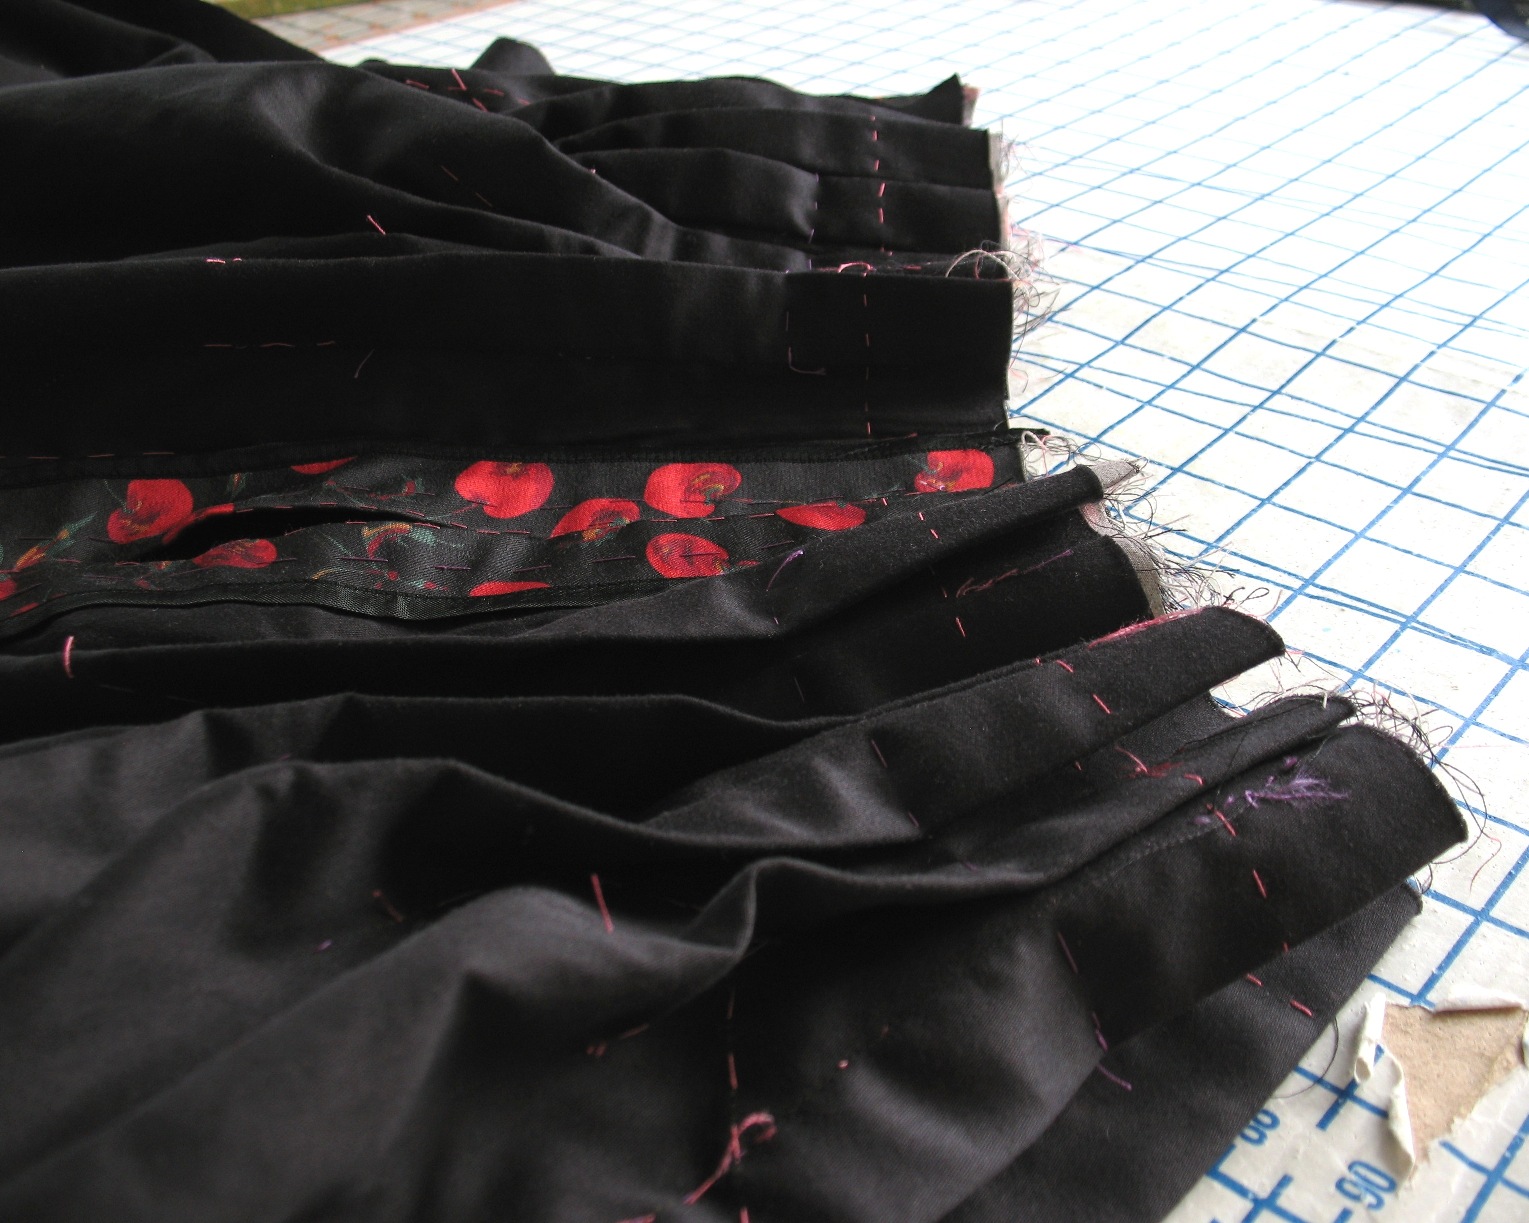
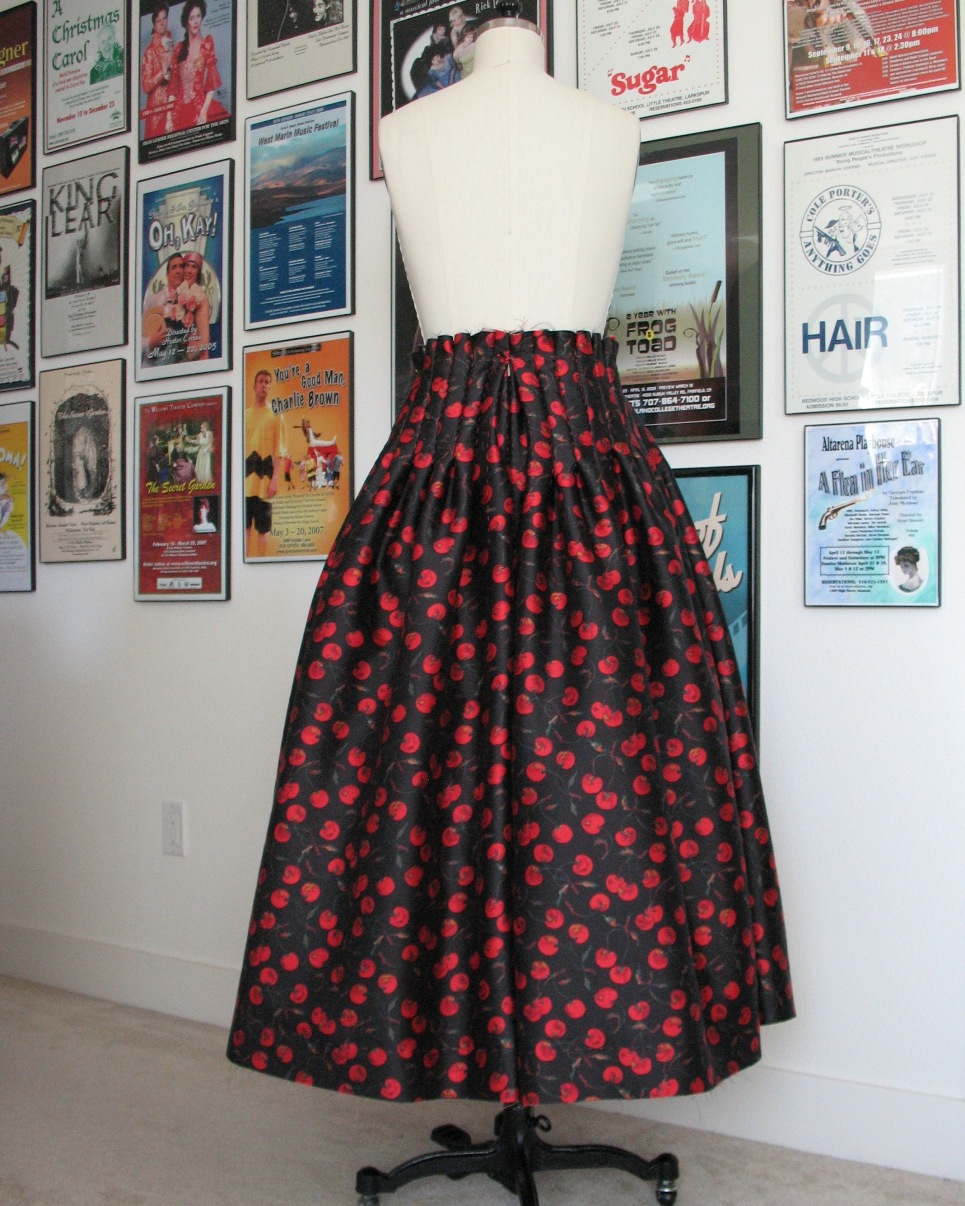
For the back, I worked out most of the pleating on my muslin, but I knew it was going to look and behave differently with my
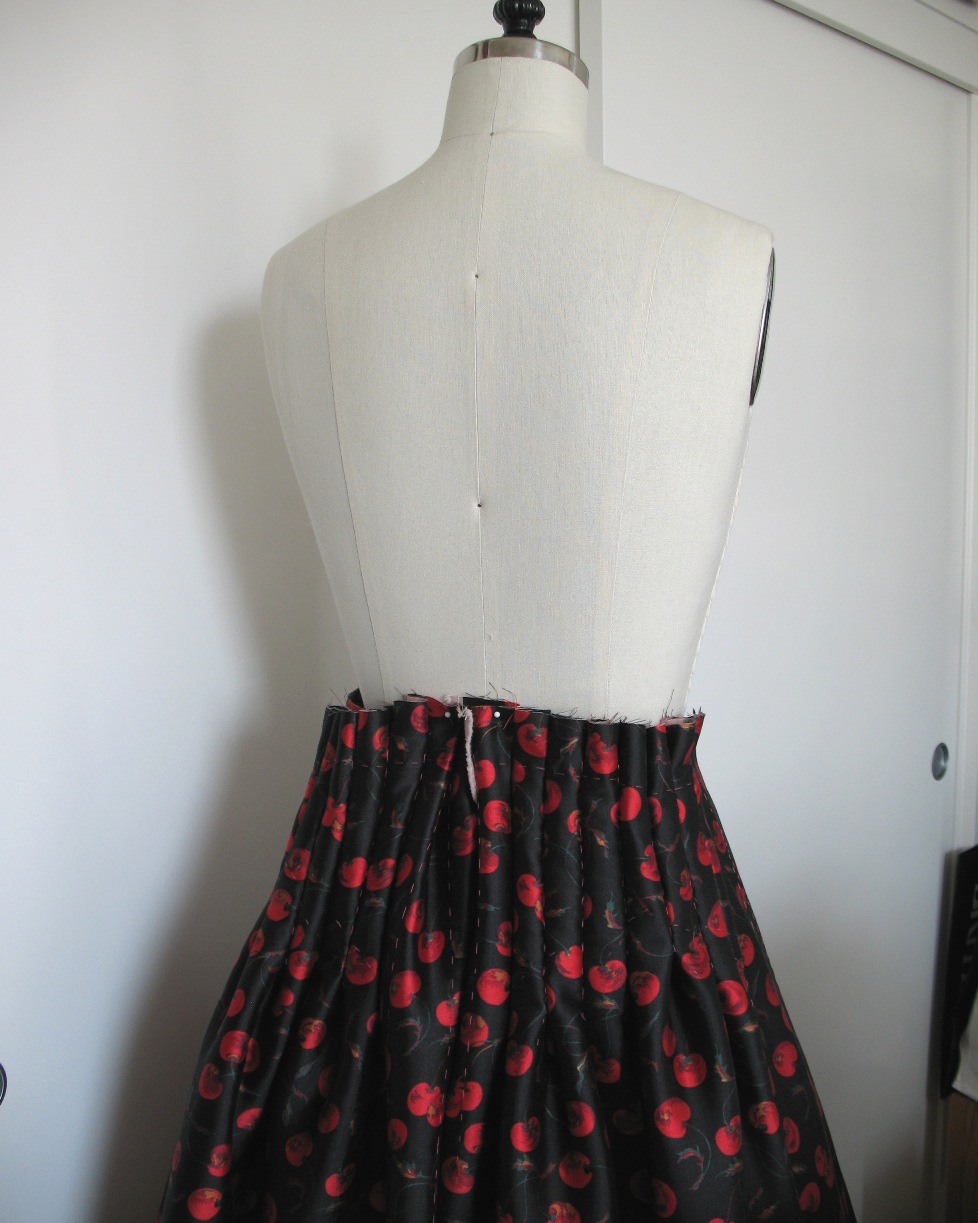
silk/wool blend. Before pressing and setting the pleats, I pinned the skirt pieces to the dress form and worked on something else. Eventually, I decided to go ahead with the original look and deal with any extra bulk later on.
The skirt pieces lived on my dress form for a while – it was the
perfect place to keep them out of the way, and safe from a stray clip of the
scissors. Am I the only one who gets nervous keeping things on the cutting table? It doesn't matter if they are three feet away from my scissors, I somehow envision snipping right through the middle of something important. Paranoid, much?!
Keeping a petticoat on the dressform while I was playing around with my muslin and the actual dress as it was being constructed was incredibly helpful - I am not sure why I have waited so long to try that!
And that is the skirt!
The skirt is beautiful! I look forward to seeing the bodice and skirt together. Exquisite!
ReplyDeleteOn its own, the skirt is a statement piece.
ReplyDeleteLaura Mae, you engineer elegance.
I'm excited to see the finish product. This is simply gorgeous!
ReplyDeleteI've started to work more like that myself (doing a bit here and another there while a problem hopefullt gets solved on its own) but I have to fight my stubborness "This. Must. Be. Done." I love seeing all the steps on the way!
ReplyDeleteThe love and care you pour into making your beautiful clothes is inspiring!
ReplyDeleteWow! This looks gorgeous; the fabric is amazing!!
ReplyDeleteThat skirt is spectacular! Look forward to seeing the finished dress. I also like to work on whatever I feel like, it does help to mull things over I think.
ReplyDelete