

My wool skirt is coming along nicely.

Instead of a back vent or kick-pleat, I decided to add a godet. I
am excited to see how this added bit of shape at the back turns out.
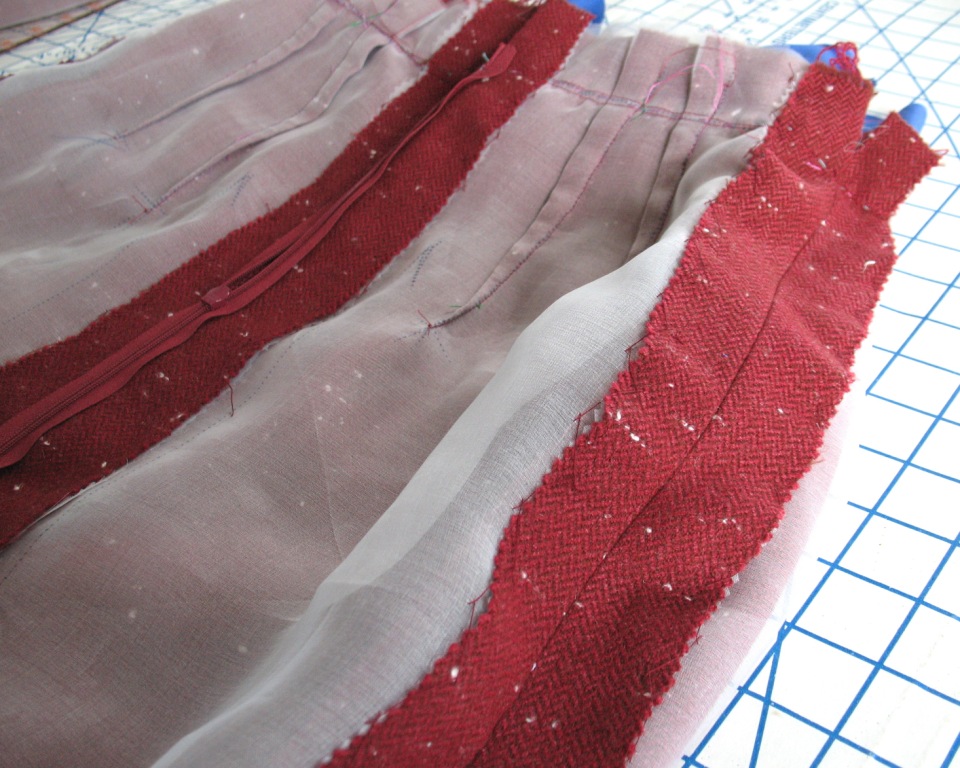
And then there was a whole lot of catch-stitching to do.

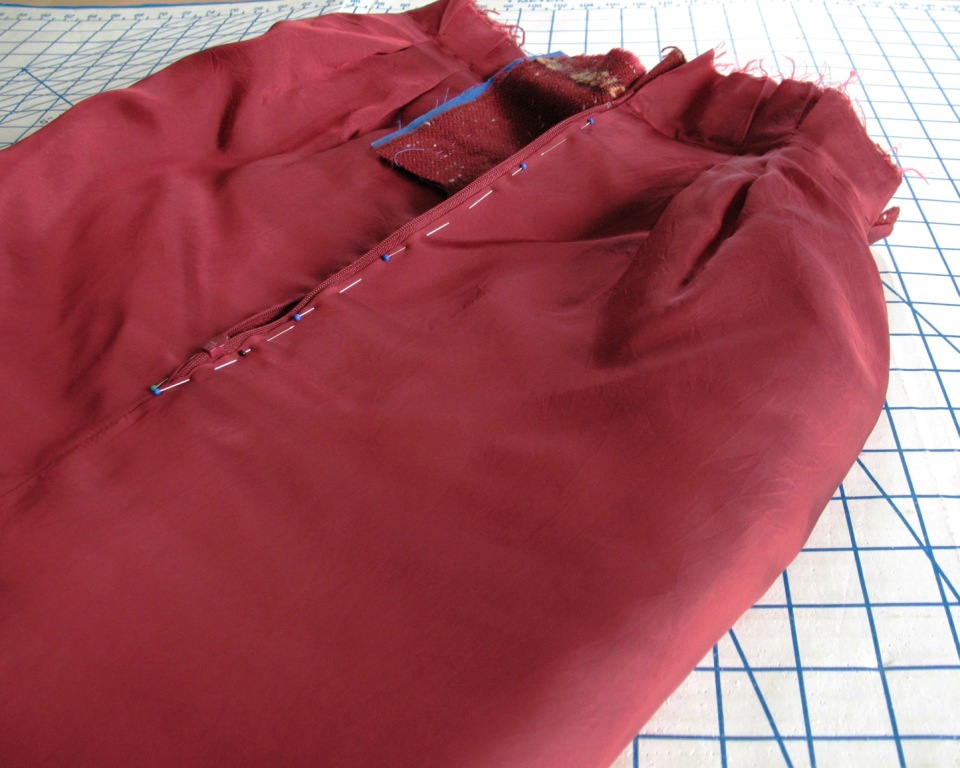
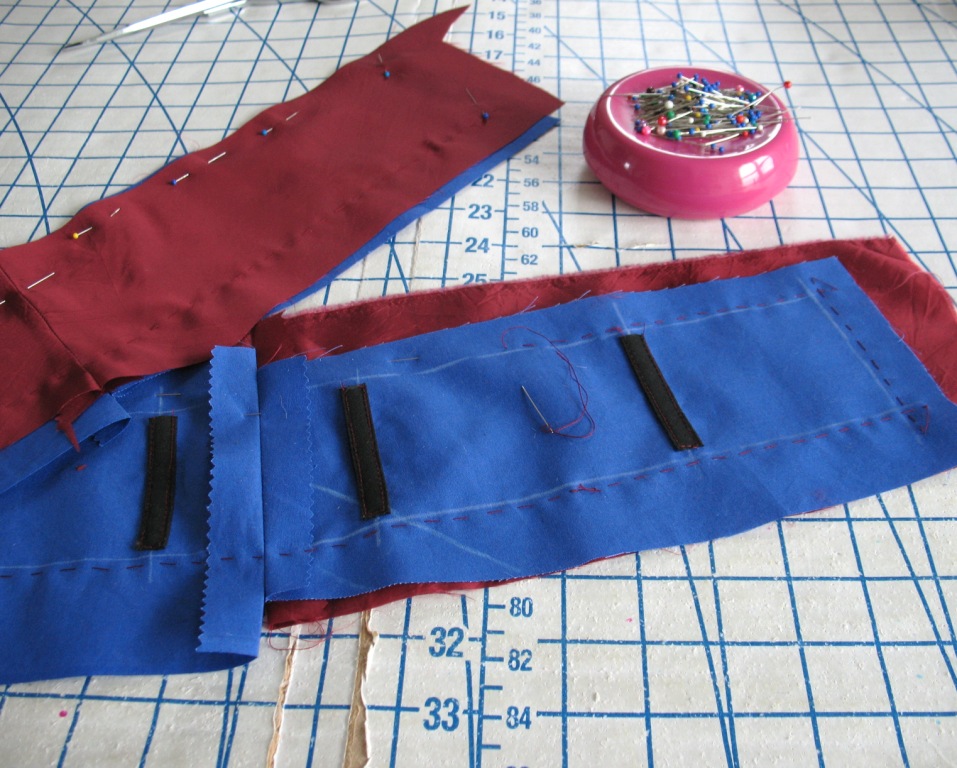
Being a wool pencil skirt, this garment
definitely needed a lining. And I
happened to have some bemberg rayon that is an almost perfect color match to the
wool, which was quite handy.
The waistband is boned to help keep its shape.
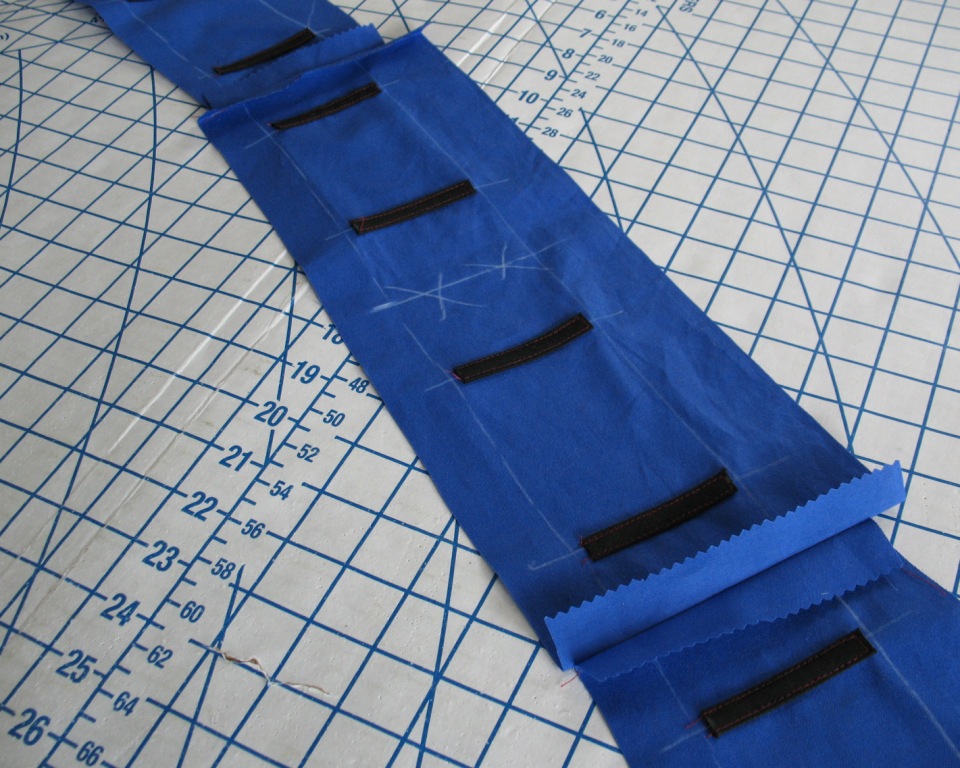
I normally do my best to avoid plastic boning. But when it is only two inches long, and will not extend past the waistline, it works.
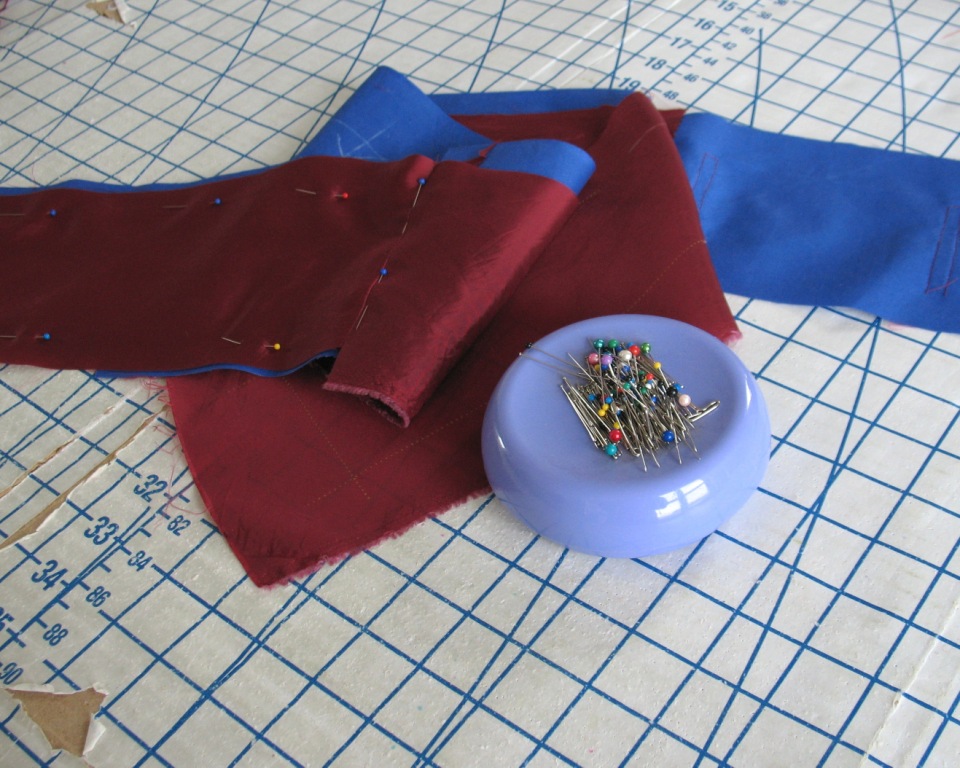
Then there was some more hand stitching . . .

Until all the pieces were put together!
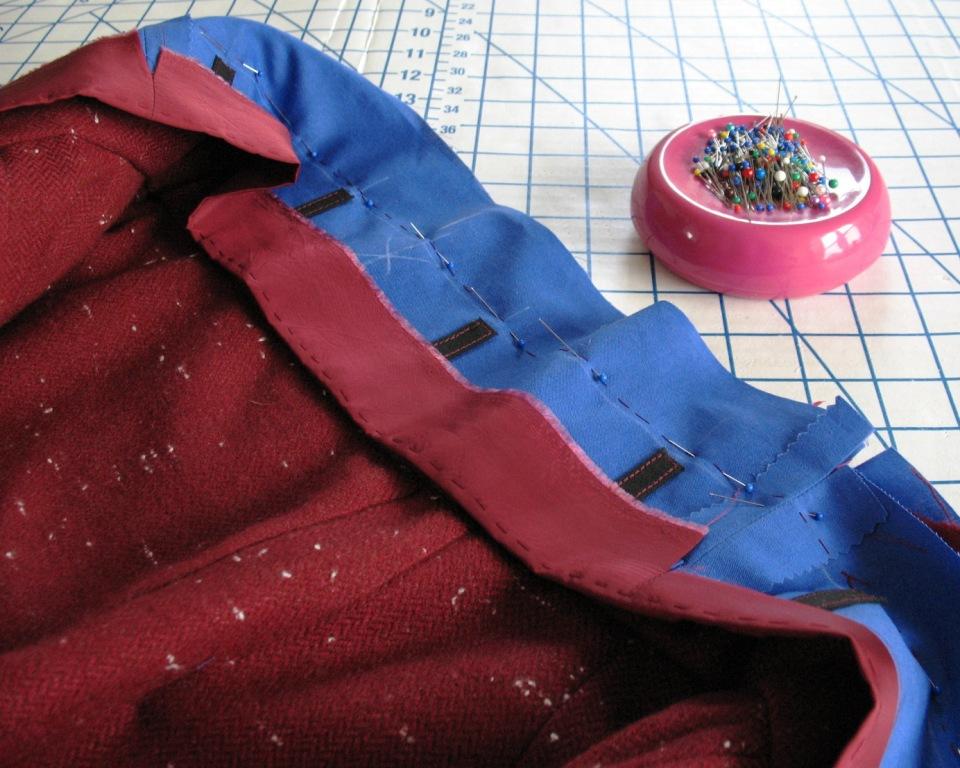
Next, the bulk was graded at the waist seam.
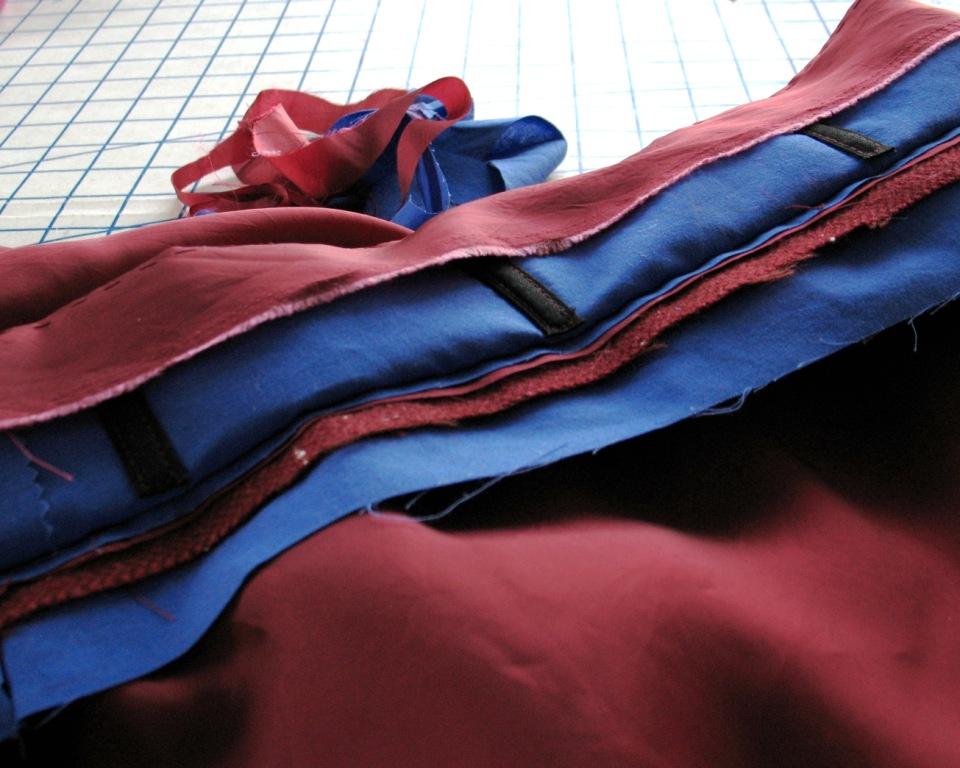
The skirt still requires a hem, but that is for another day.
Hi Laura-Mae,
ReplyDeleteThis is looking to be a great project, so many techniques I'm keen to see how your hard work looks when complete. Particularly interested in your godet, I tried one once and it came out wrong, we all might learn something from you!
Beautifully made! Love the boning at the waistband.
ReplyDeleteI love how you share the details. You are so talented at putting things together and thinking about the intricacies of how things are needed for shape and structure. I also love this flecked wool choice, so Lilli Ann!!
ReplyDeleteThank you, Joanna! I do love a nubbly textured wool, which are so hard to come by these days . . . another reason I love vintage (and Lilli Ann, of course!).
DeleteI love how it's coming together, and all from your stash to boot! I think it's a genius idea to pink the seams, why didn't I think of that when I was working on my wool coat?
ReplyDeleteI don't pink seams as often as I should. But it really does help the shred factor during construction!
DeleteThis is such a beautifully constructed skirt. I look forward to seeing the final product with godets instead of the vent. Your clothes are always so beautifully finished. I love knowing I am not the only one who spends so much time on the inside.
ReplyDeleteThat's an impressive amount of hand-sewing! Looks like it's going to be beautiful.
ReplyDeleteBeautiful work!
ReplyDeleteAlso looking forward to the godet reveal. I have never boned a waistband would that give a better result than petersham?
ReplyDeleteThe main reason I went with boning is because the waistband is so wide. I find that during the day the wider bands have a tendency to wrinkle or fold in odd ways, even when interfaced. The boning will keep the shape. I would say that interfacing is a starting point, petersham is a step up from most interfacings, and boning gives extra oomph to the shape of the pieces and can also help hold things in! But what I choose is most dependent on my fabric choice.
DeleteGreat idea to add boning to the waistband. Thank you for sharing this tip!
ReplyDeleteIt's looking great! So much high-quality detail... I'm beginning to feel embarrassed about my 'normal' skirts ;)
ReplyDeleteBy the way, I hope you did remember to treat the cut ends of the pieces of boning. In my experience, if you don't melt the ends a bit in a candle flame or something like that, the separate strands of plastic will, over time, worry loose and work their way through any amount of fabric covering them.
Hello Laura-Mae, I was wondering what sewers used for boning waistbands etc before plastic? Was it that spiral steel stuff used for corsets? Lovely skirt!
ReplyDeleteSarah