
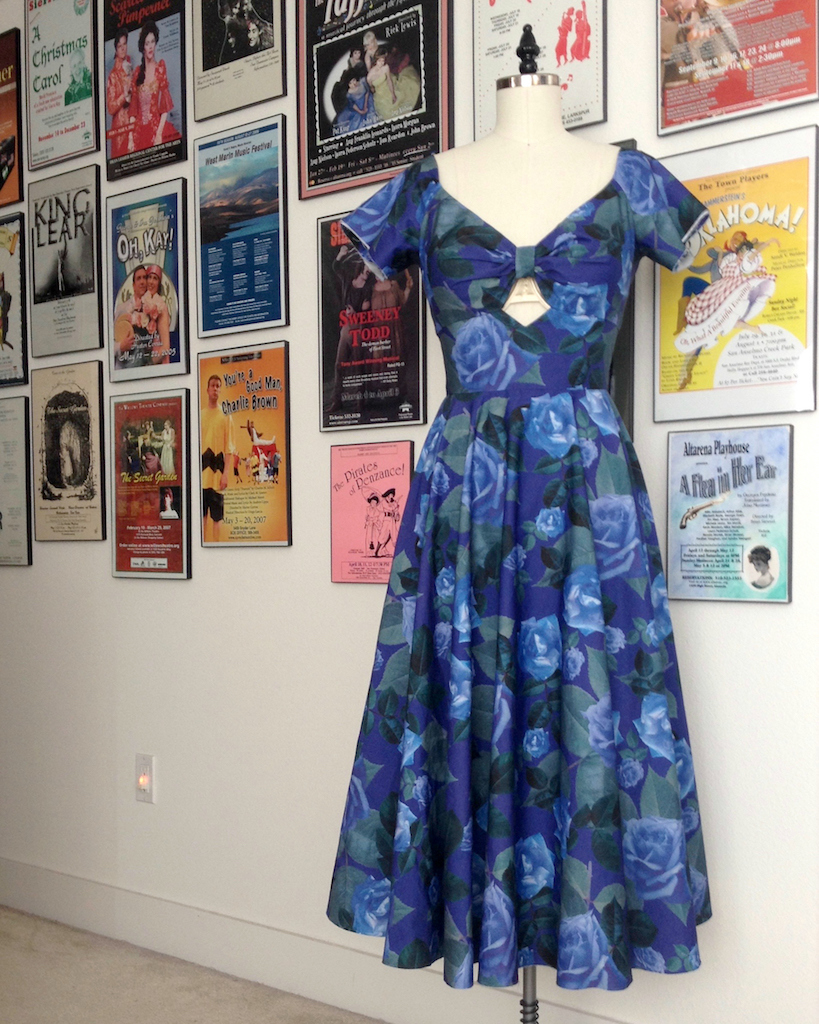
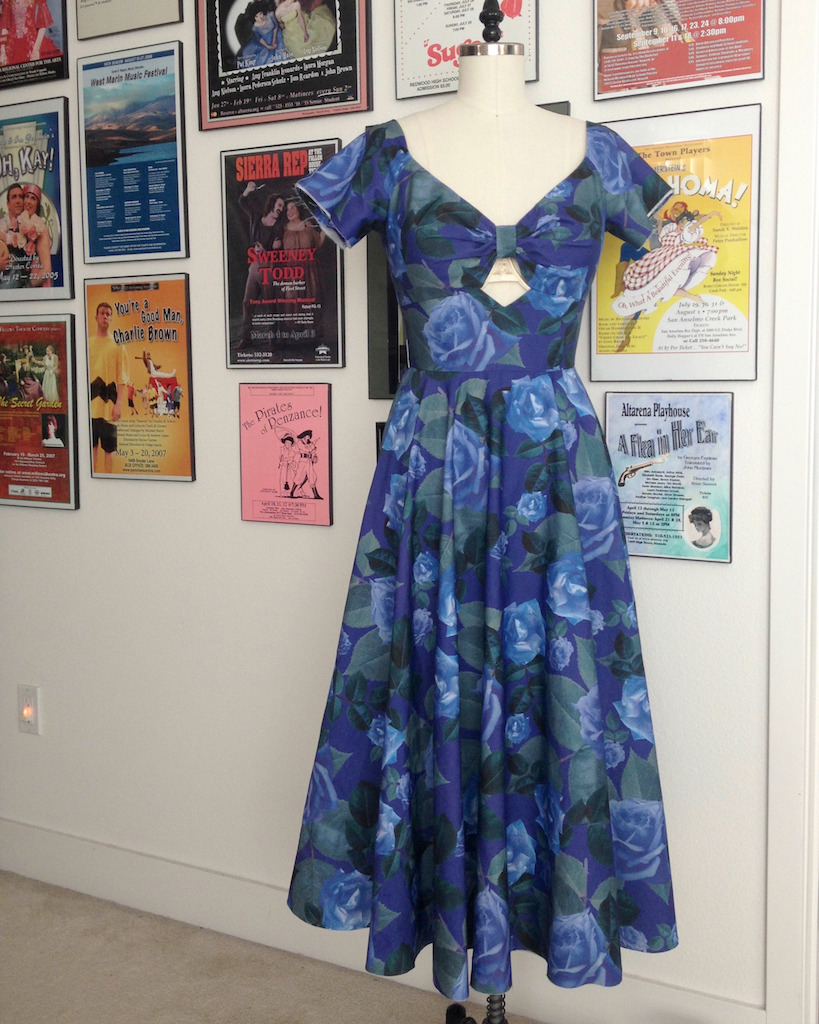
I have not been spending as much time in the sewing room as I would like to, as of late. And I am still unable to motivate myself to deal with the dreaded dropped hem on the full skirt, but I am very, very close to finished with this dress!
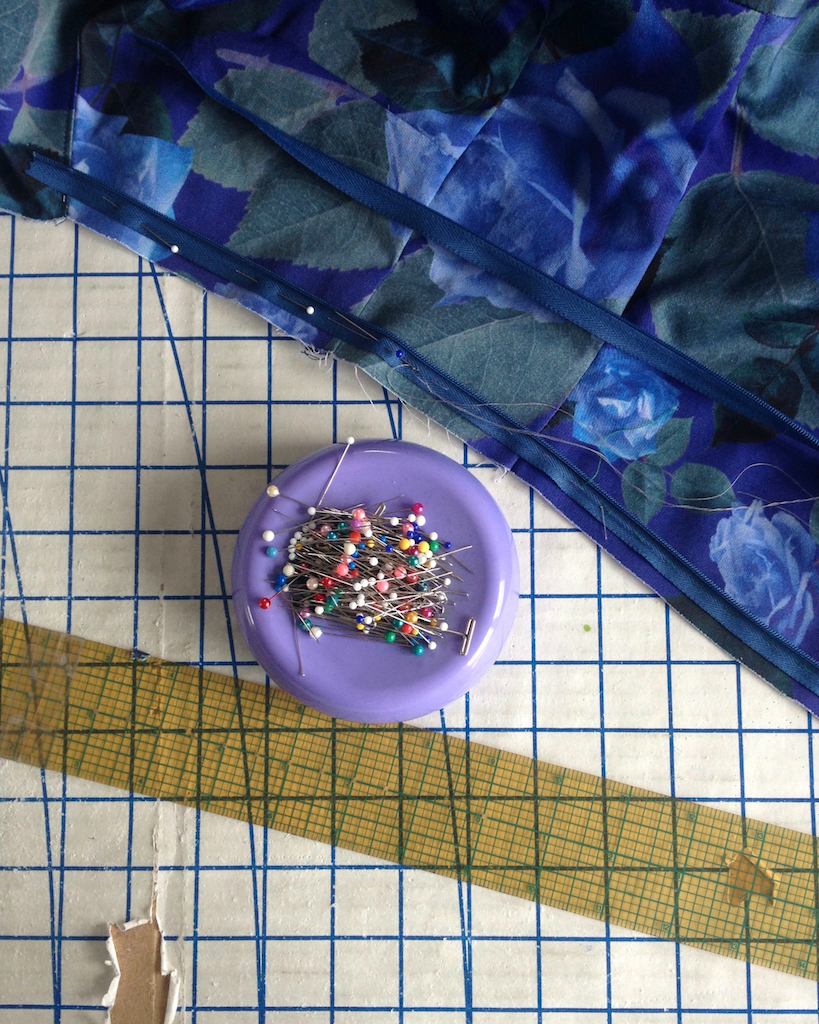
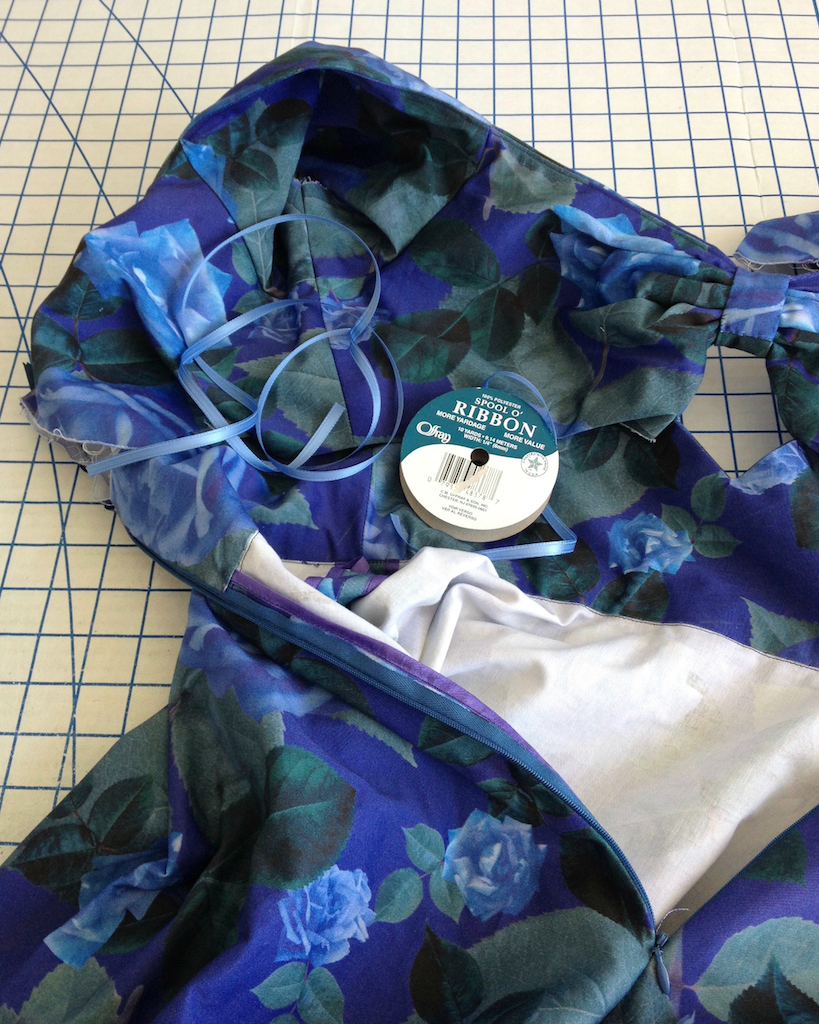
I decided to use an invisible zipper this time around. The design has a definite vintage vibe, but I thought a streamlined approach would work well with this print instead of a lapped zipper. I also had a very good color match in an invisible zip stashed away, so I went for it.
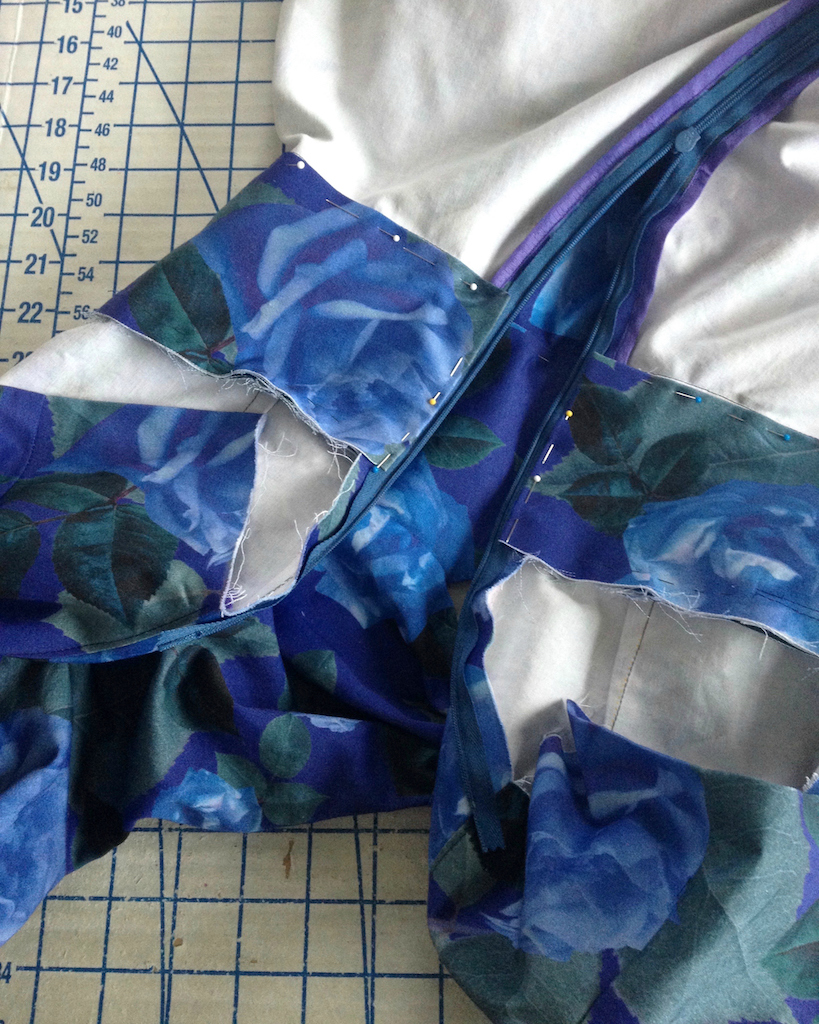
A bemberg rayon was not a suitable choice for this stable mid-weight cotton, and since I had enough leftover scraps of the printed fabric (but not enough to make another garment) I decided that I might as well use it for the lining.
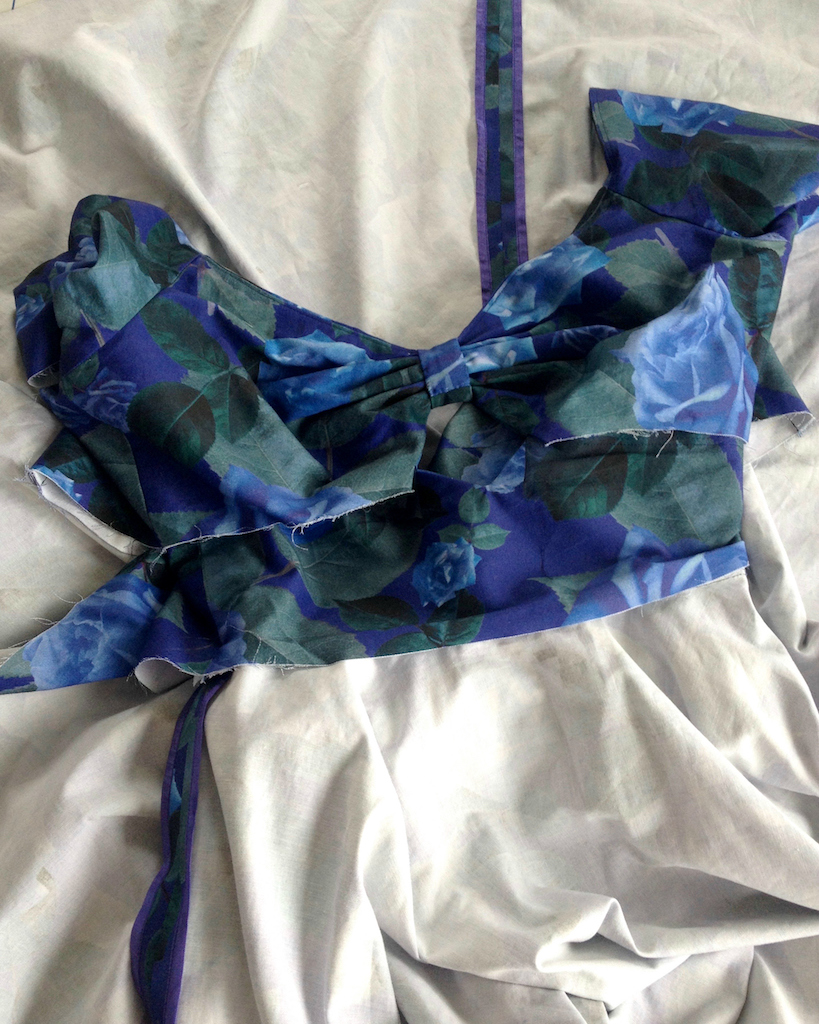
When I posted some of these images to Instagram, I received a lot of questions/comments about the bra situation for this design. It is possible that a bra with a very deep plunge could work. It would also be quite easy to alter the depth of the v that is cut out of the midriff piece if the plunge almost works, but not quite. But as drafted, this will definitely not work with a standard bra.
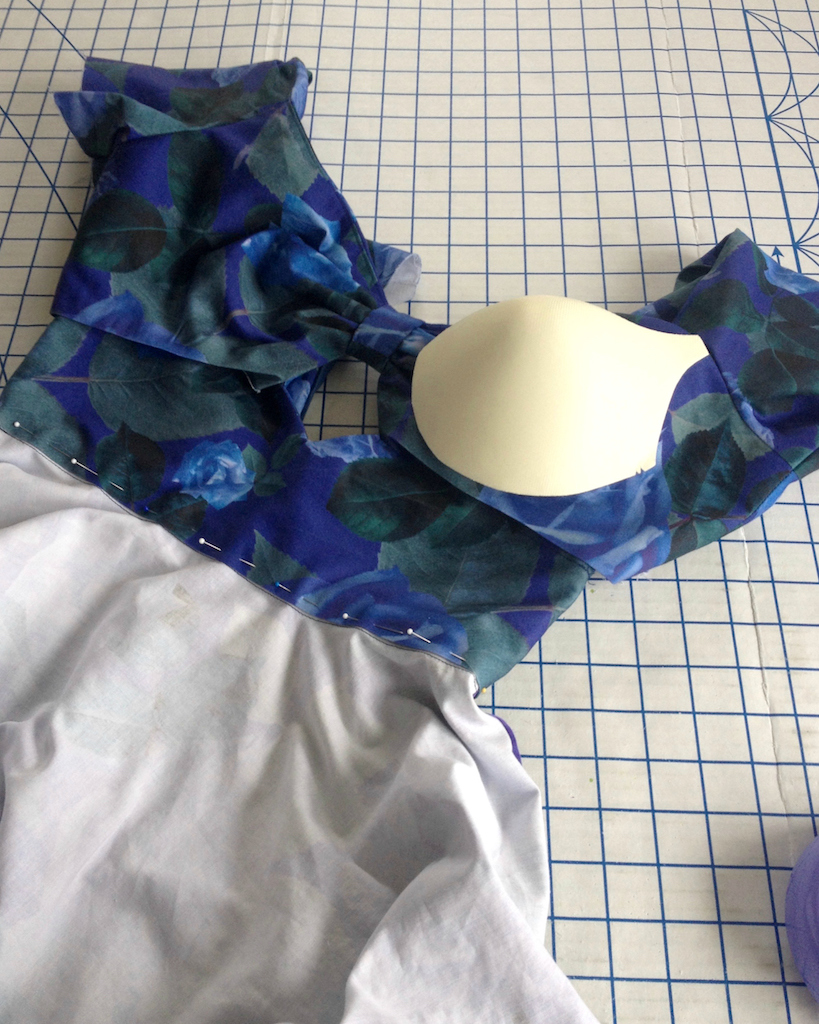
My solution was to add the foundation garment to the dress itself. I have found that I prefer the "soft molded bra cups" to the "molded" ones, which feel a bit like armor. The soft version is quite pliable, and while not as supportive as an actual bra, it definitely makes a difference to the garment's structure, in my opinion.

If the bra cups you find do not reach to the seam allowance, you can stitch a scrap of fabric directly to the cup so that you have an anchor point.

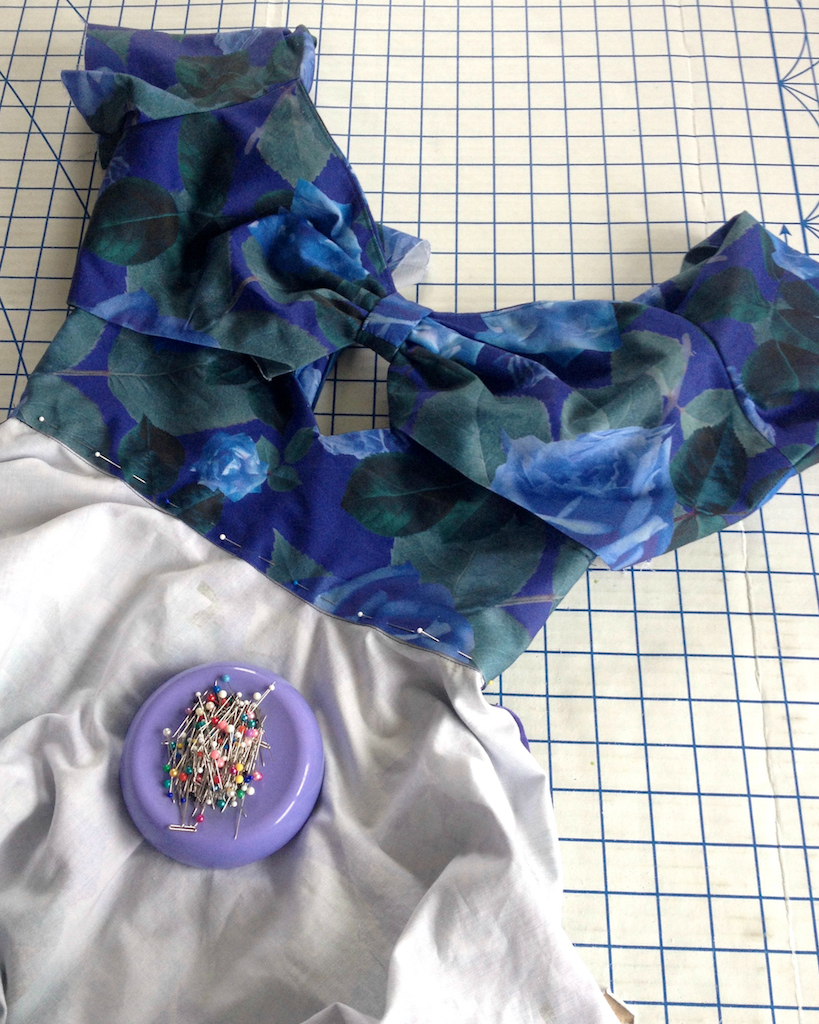
I use a very loose basting stitch or catch stitch to anchor the cups to the seam allowance, and then cover the whole thing with the lining. Just make sure you try the dress on to ensure everything is in the proper place before stitching the lining down permanently!
I also added two ribbon hangers to each side seam since the neckline is very wide. A length of narrow ribbon gets folded in half and stitched to the seam allowance before the lining is stitched down. And this is the step I am most likely to forget on any given project! I cannot tell you how many time I have had to re-open a seam because of this . . . it must have something to do with the fact that the end is almost in sight.
And now I really need to get over myself and fix that darn hem!
[Disclosure: Contrado provided me with this fabric, but the opinions posted here are my own.]
That is gorgeous!
ReplyDeleteWill it be unveiled on April 11th perhaps? :)
ReplyDeletePerhaps it will . . . if the weather cooperates!
DeleteSo, so beautiful! I love the bodice design. But, ugh, ribbons for hanging. I have at least two dresses in the closet now needing them! They are so easy to forget.
ReplyDeleteI love the blue on blue...It's a just enough contrast and so lovely! I completely passed over this pattern quickly when it came out but maybe now I might pick it up :)
ReplyDeleteCan't wait to the see the pictures of you wearing this gorgeous creation!
ReplyDelete