
I am still trying to play catch up with all of my sewing projects.
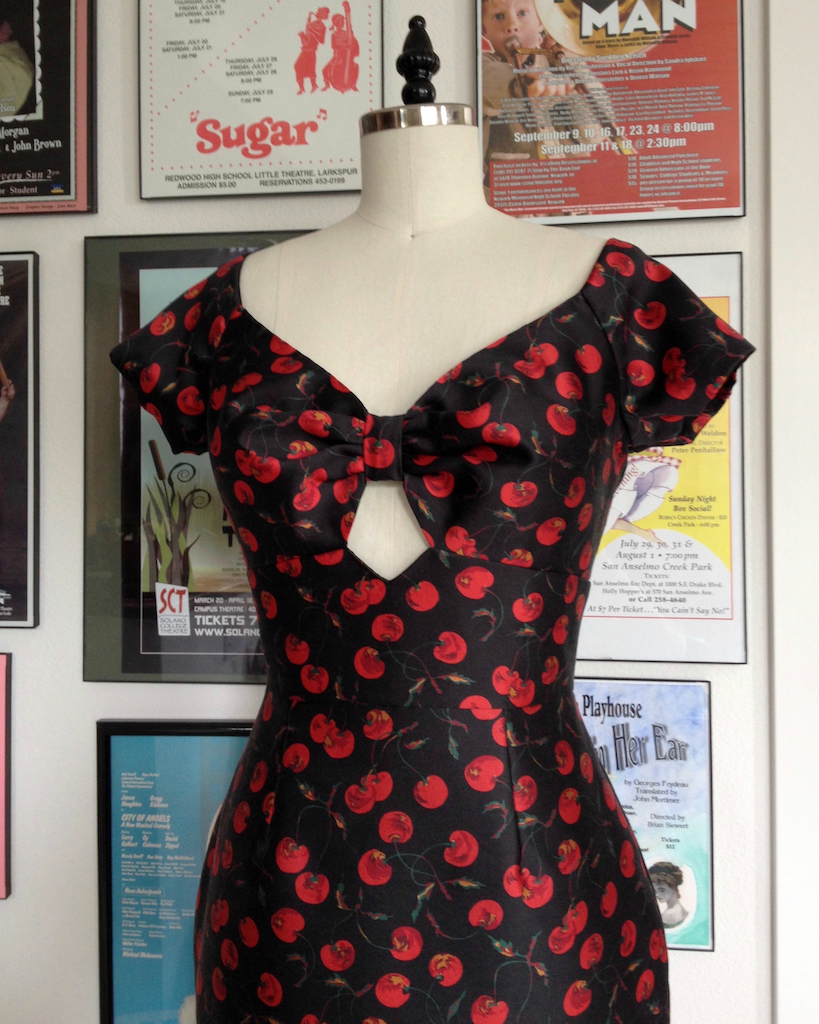
I decided to go all out with the leftovers of this very special silk/wool from my New York trip a few years back which was used for my 2014 Gala Gown.

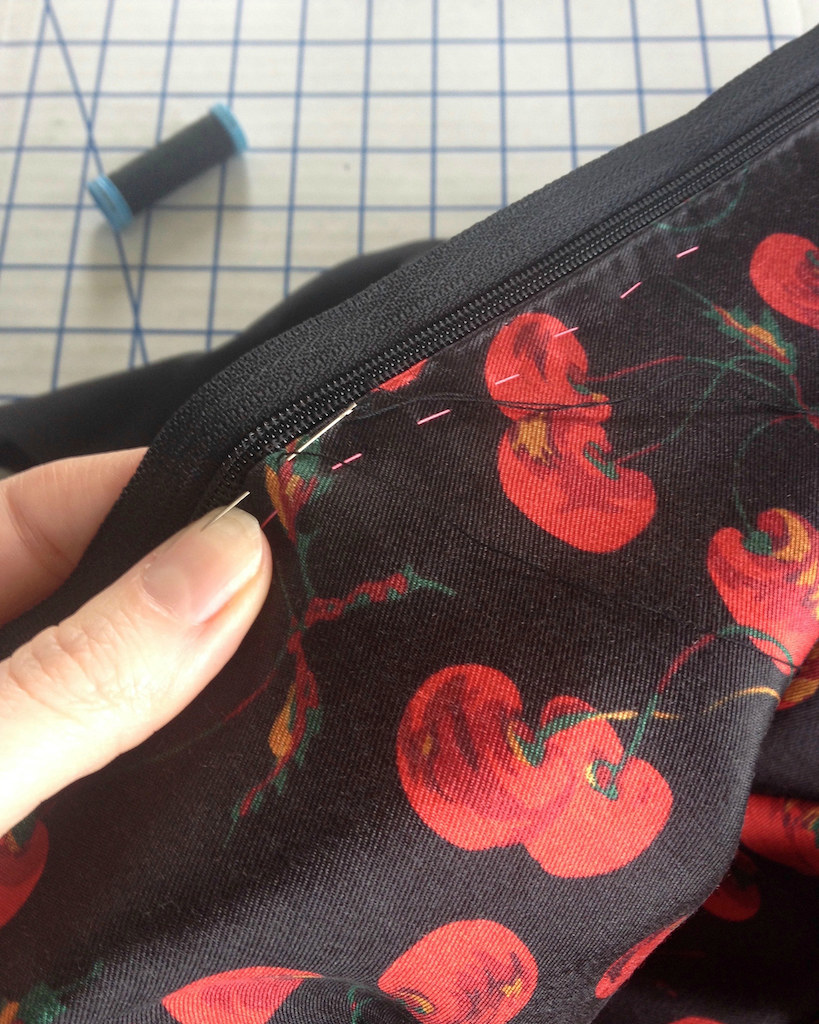
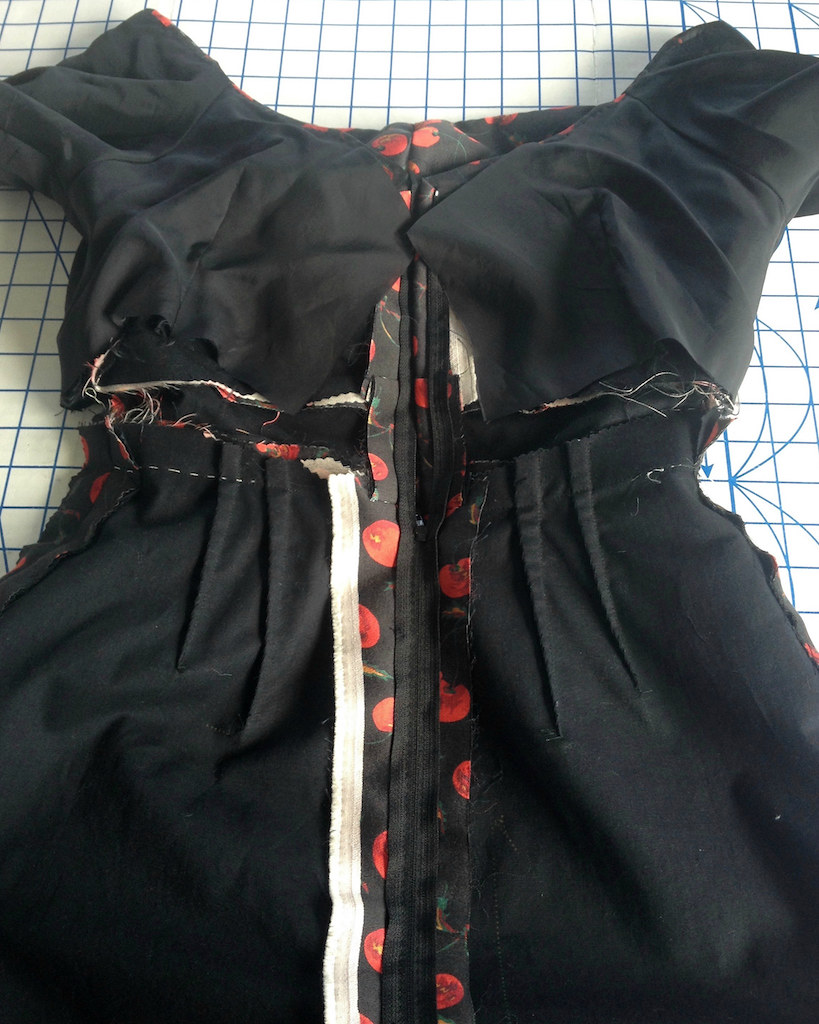
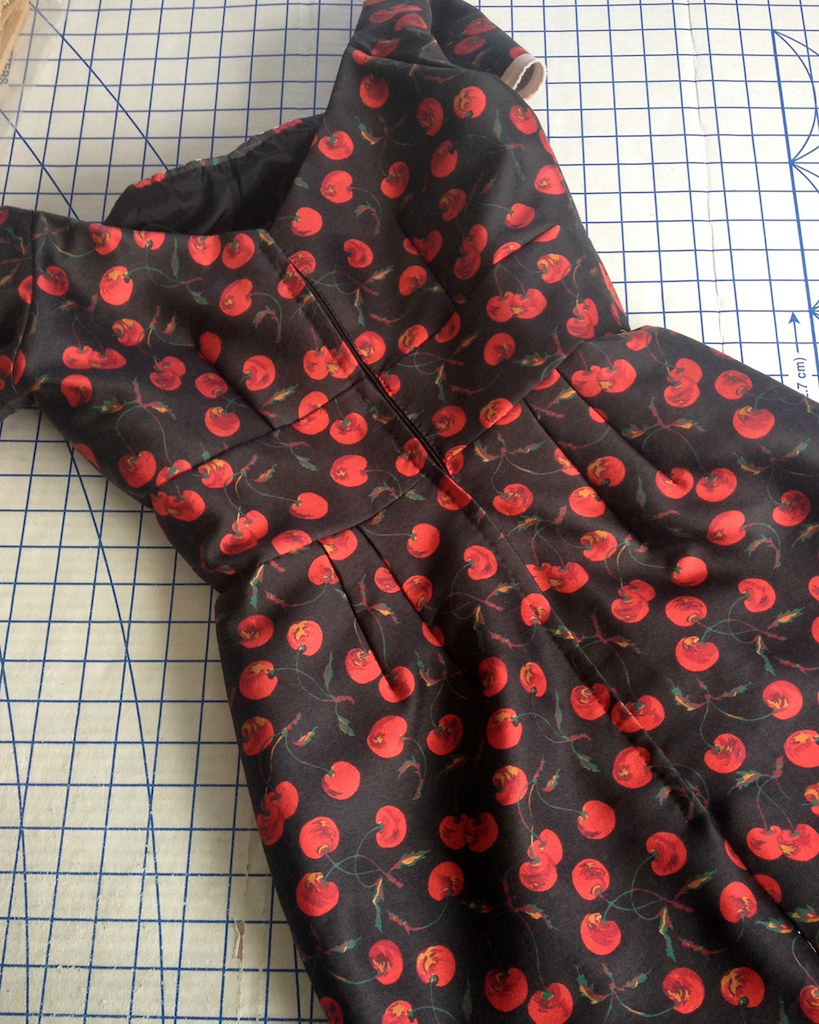
Of course, a hand-picked lapped zipper was the obvious choice. With the underlining and the heft of the fabric, I was not going to chance another invisible zipper snafu.
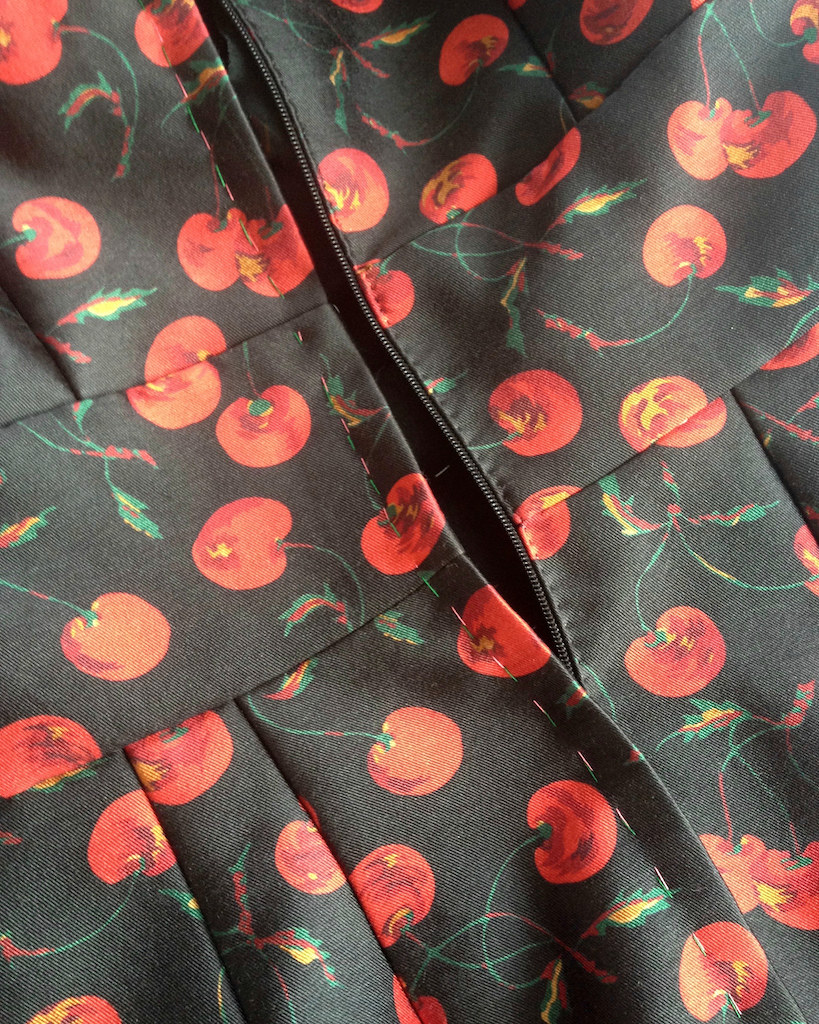
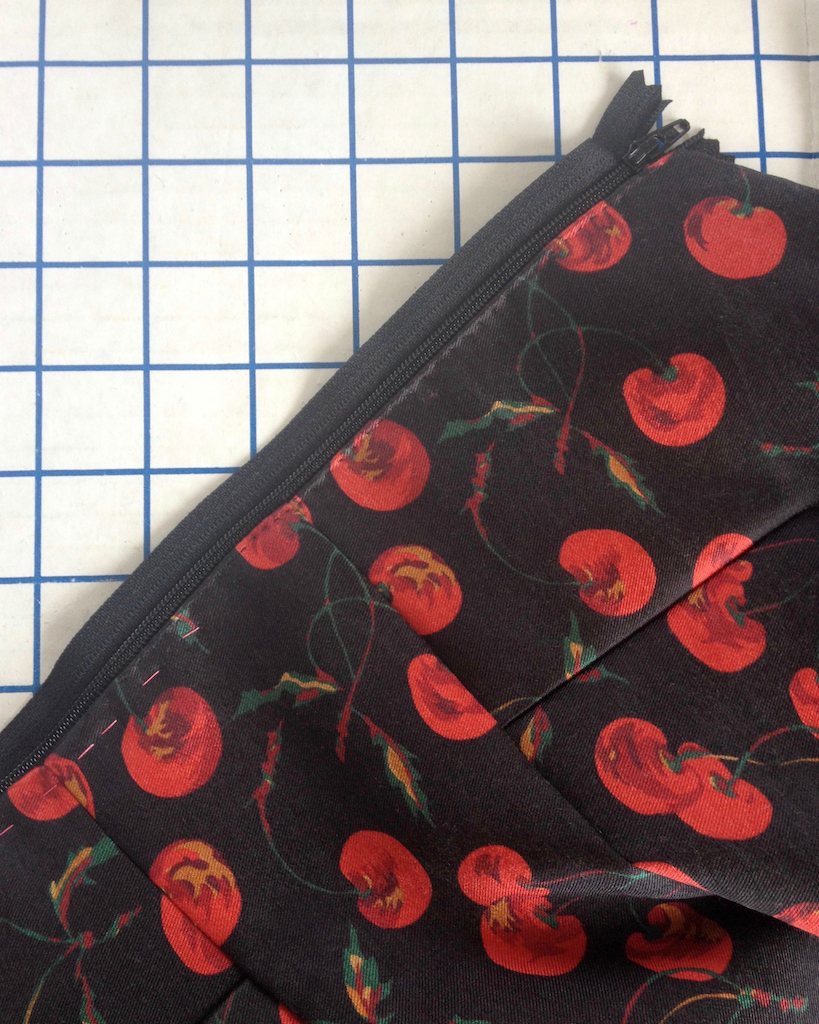
And there is always one seam that does not want to play nice and match up. I won the battle, though.
I did alter the construction quite a bit from the original pattern directions. I don't mind the hand sewing, and adding the lining piece by piece gave me a lot more control over the neckline and midriff opening.
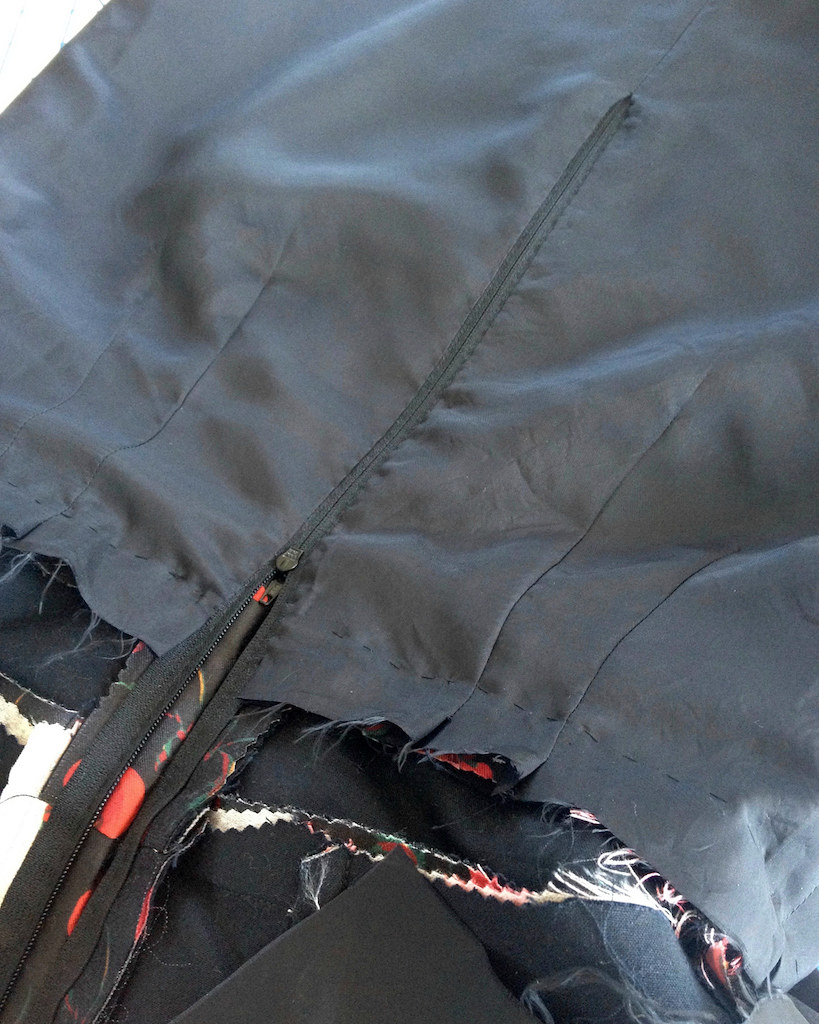
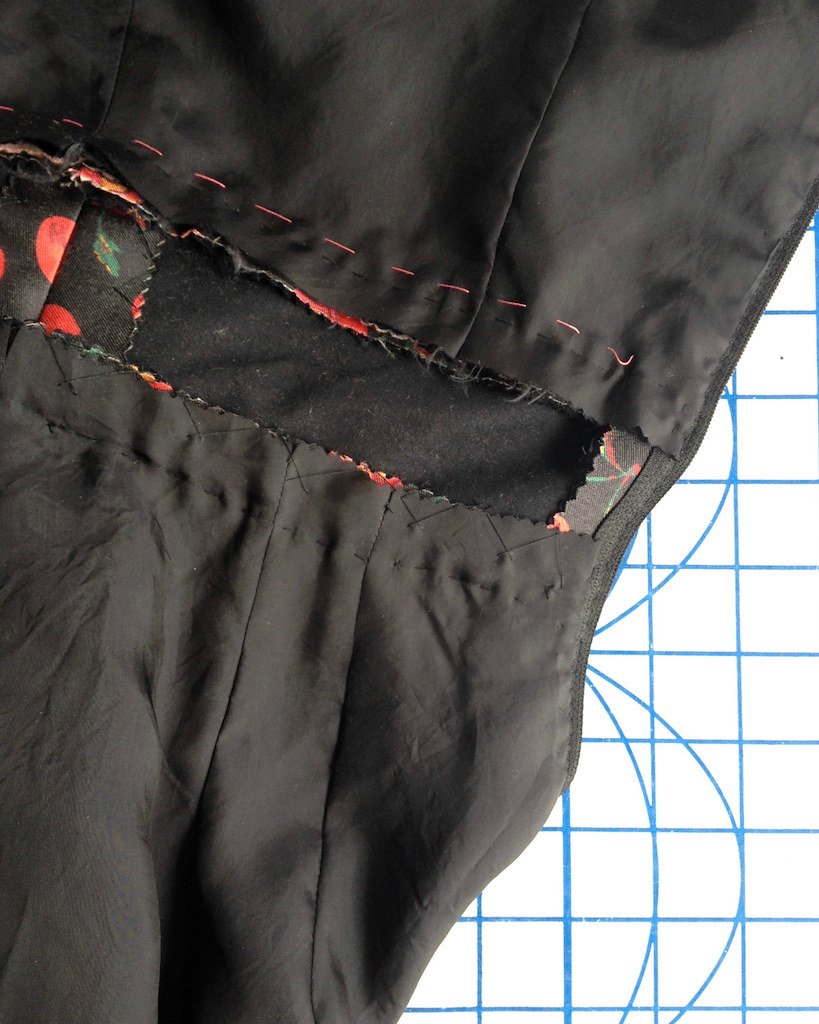
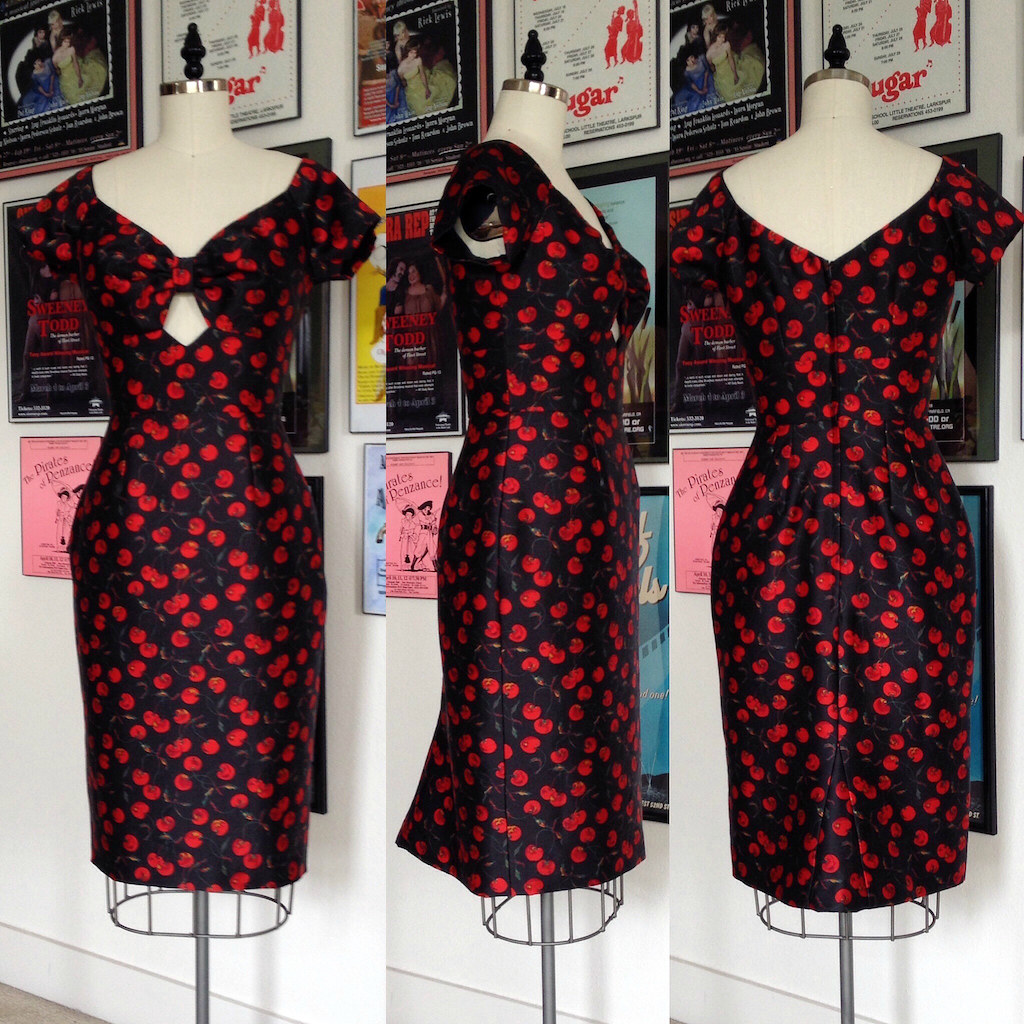
The only real design change I made was adding a gusset to the center back seam. I have mentioned before that I am not a fan of a center back slit. They always wrinkle in odd ways and end up splayed open when you walk, or worse still, ripped all the way up the back to the zipper. (We have all seen that person walking on the street who has no idea that her center back slit has decided to go for broke - I would rather that wasn't me.)
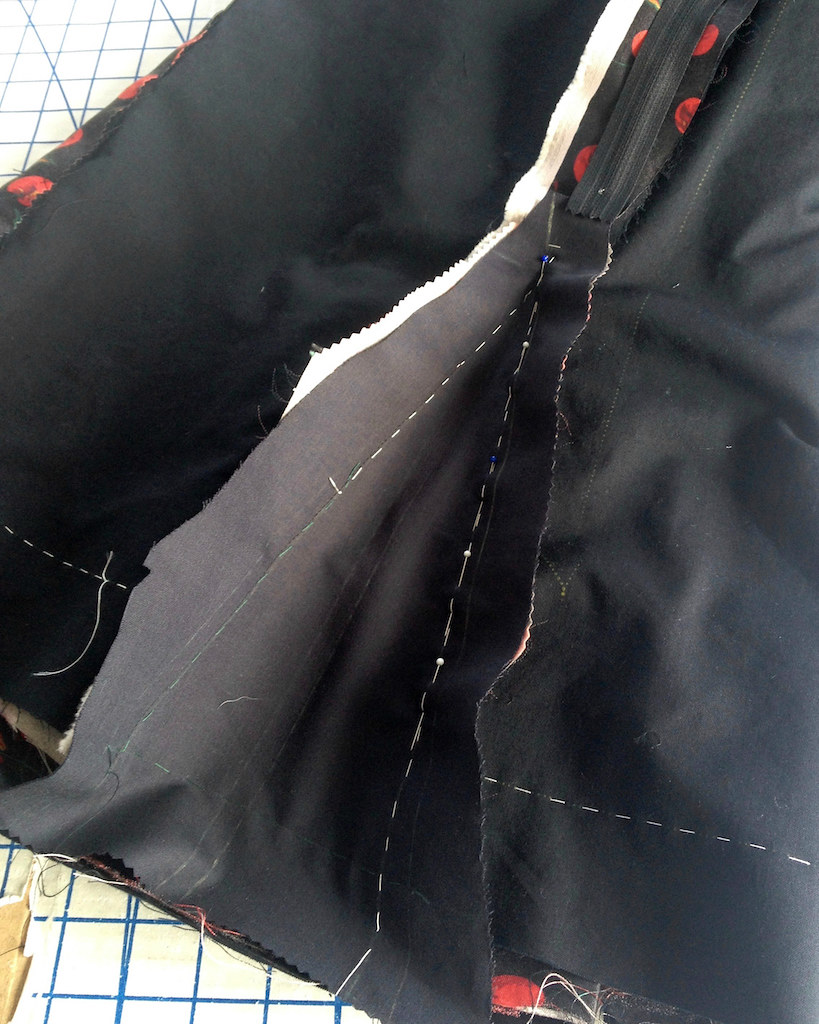
I think this is a much nicer way to go, and it adds a nice swish to the skirt silhouette.
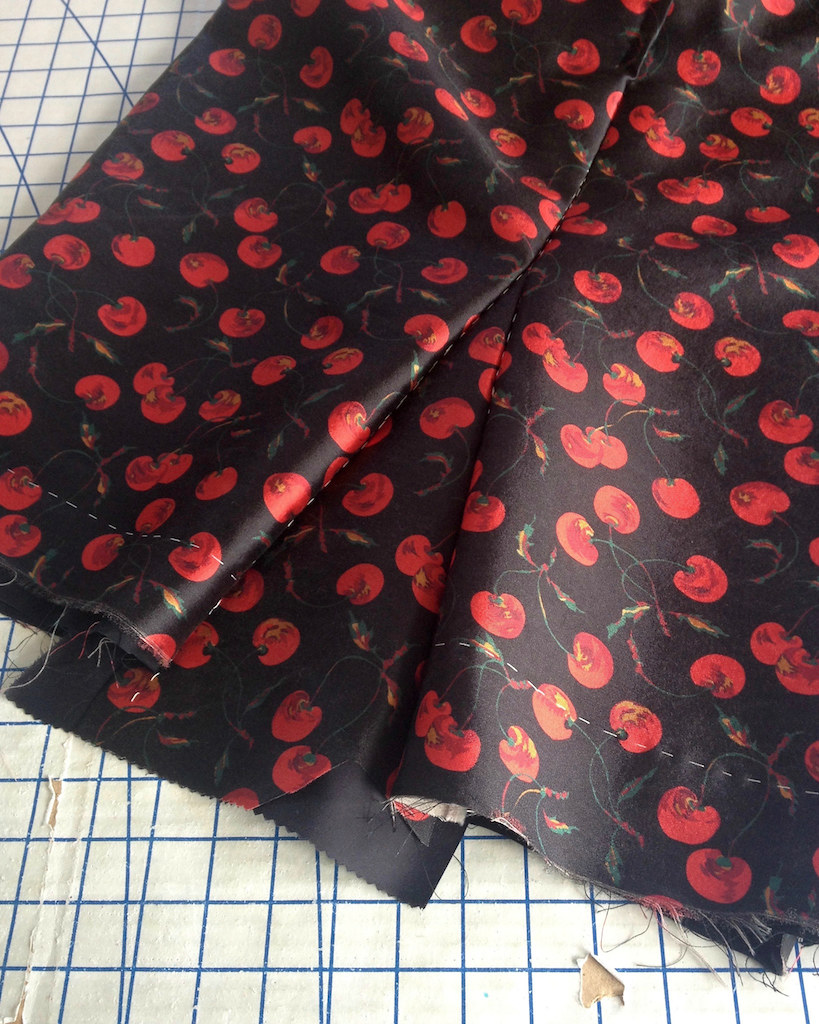
I would have preferred a slightly larger wedge of fabric, but I was working with scraps, and this was the best I could do.
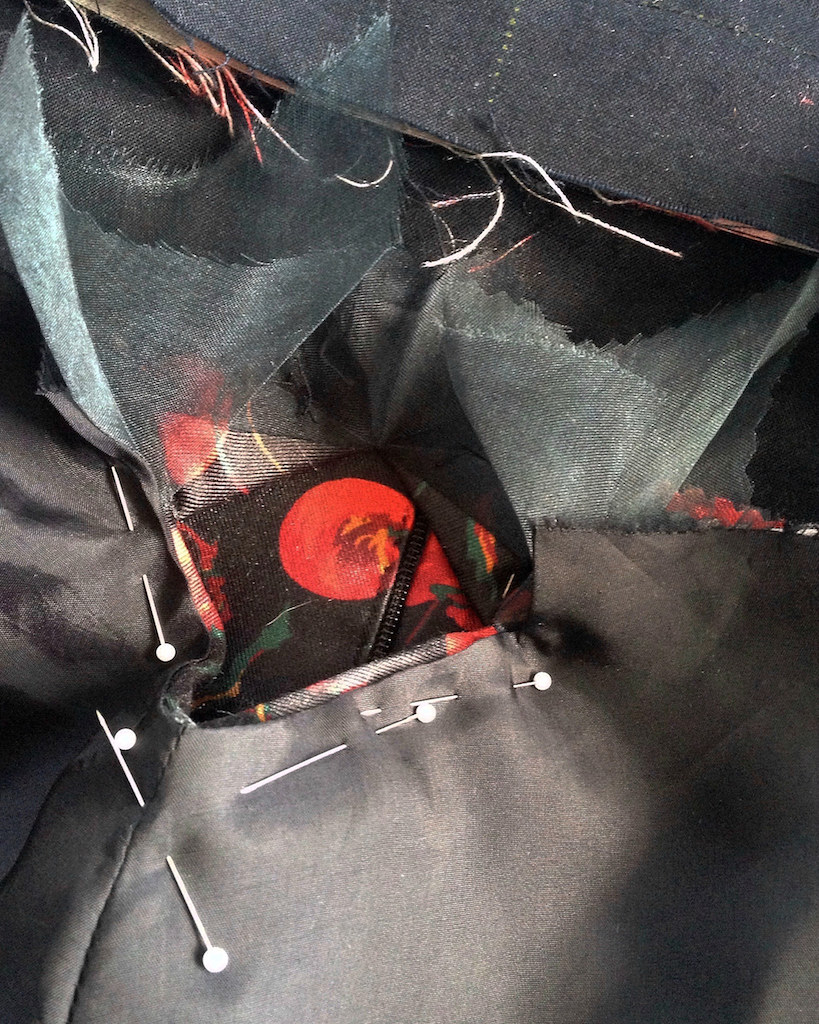
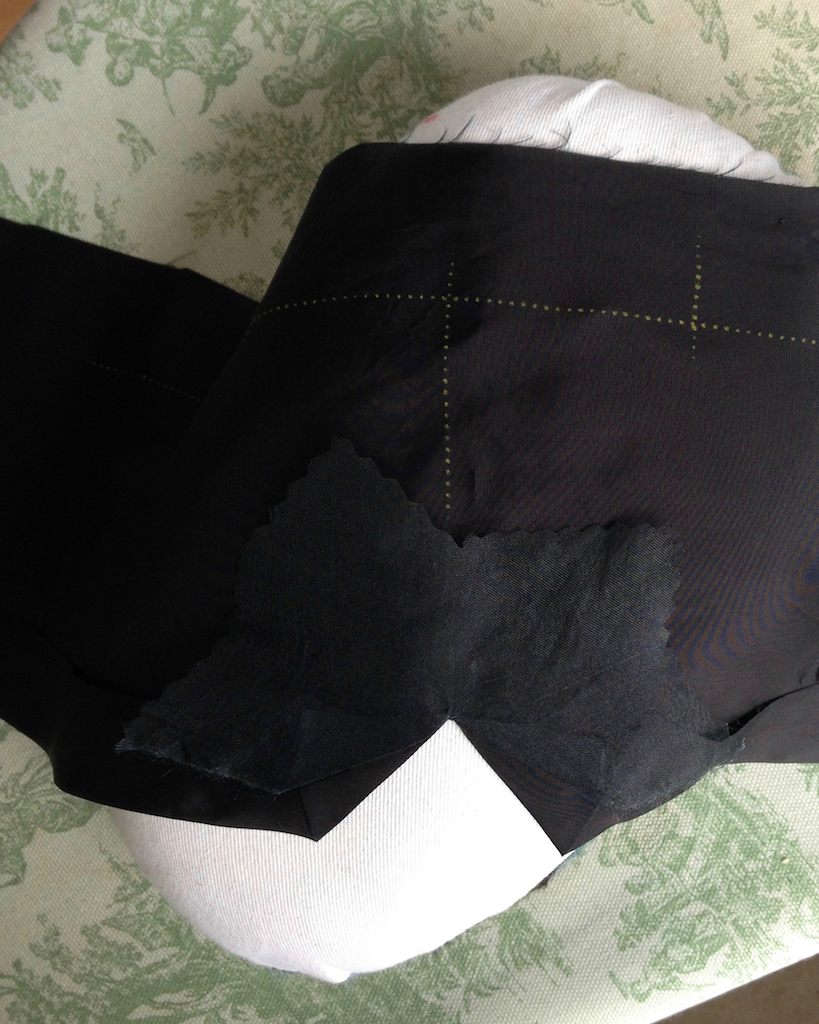
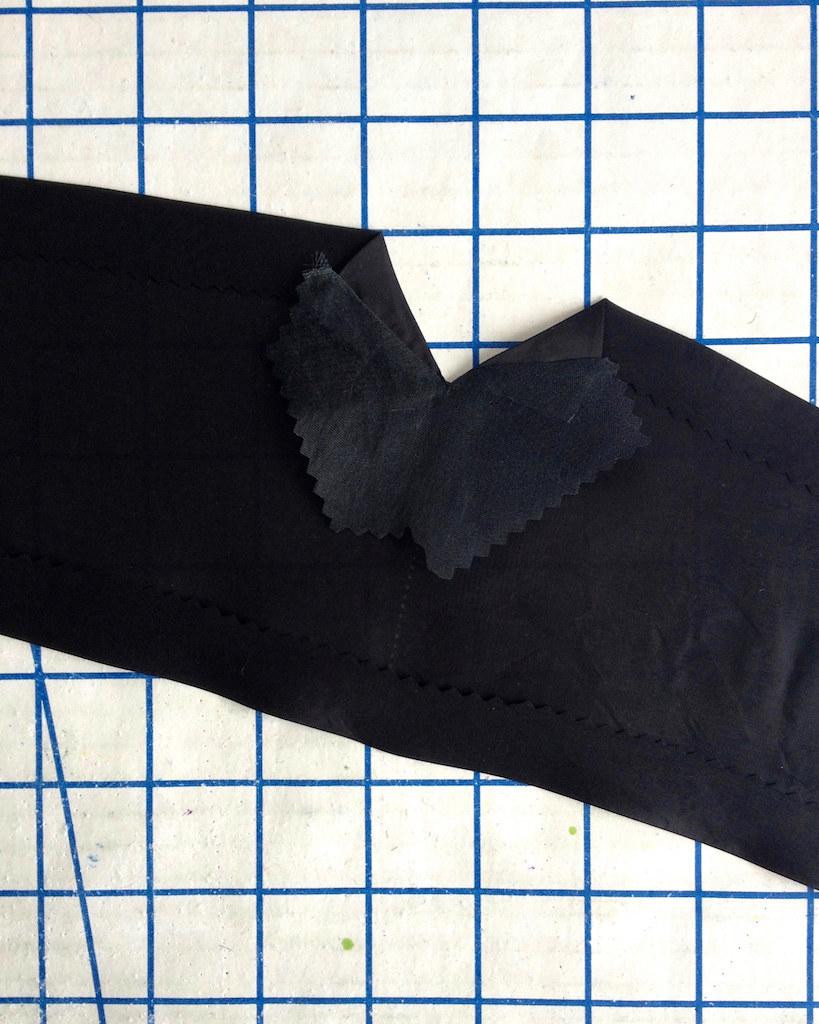
For the midriff opening, I used organza scraps and this technique to protect those points.
And, of course, the skirt was lined. Got to cover up all those catch-stitches!

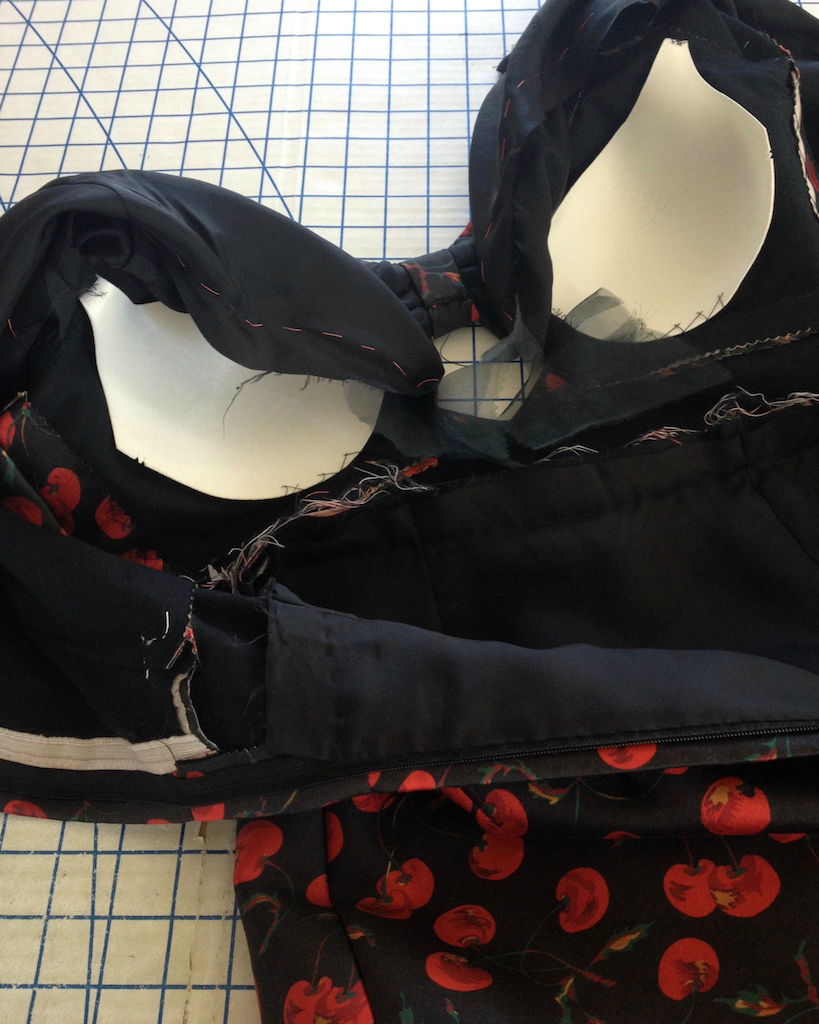
As I mentioned before, this dress does not have an easy bra solution, so I added a pair of sew-in cups. They do not need a whole lot of securing, just a few catch-stitches where there is some seam allowance available for tacking.
The most challenging part of that was making sure the placement was correct and then keeping the darn things stationary while I stitched them in.
I really wish that I had a larger hem allowance to work with, but I shouldn't be complaining - there was barely enough fabric to get the dress cut, so here is where I had to compromise.
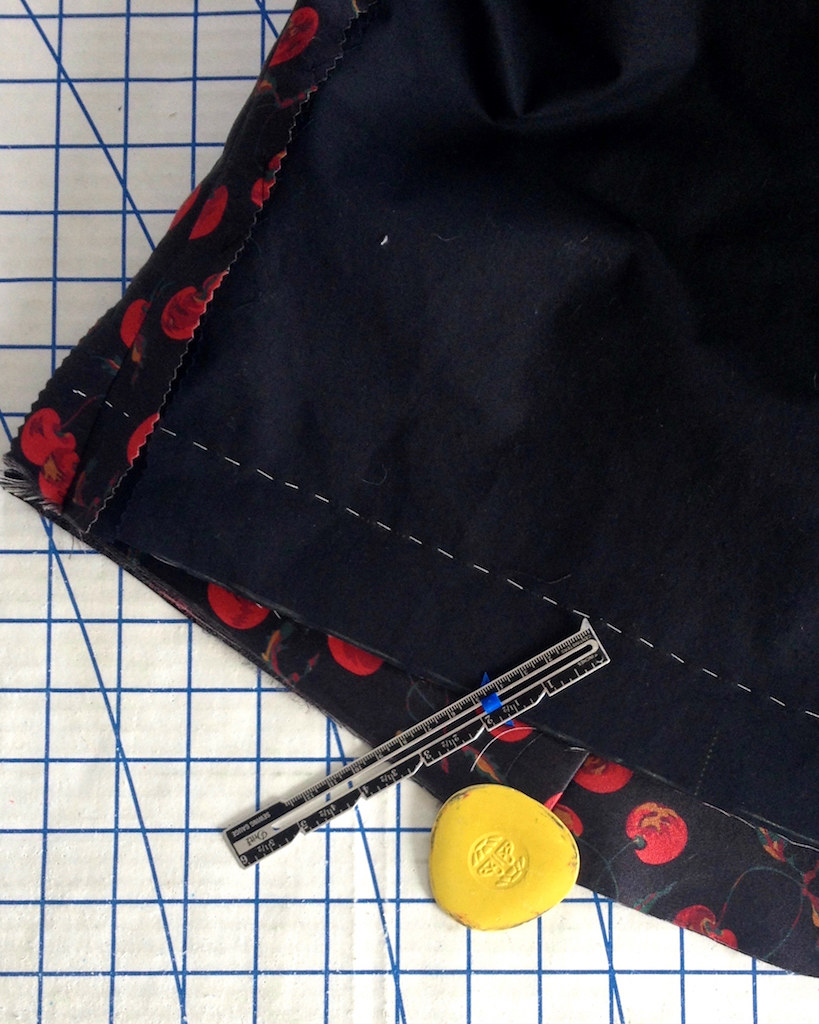
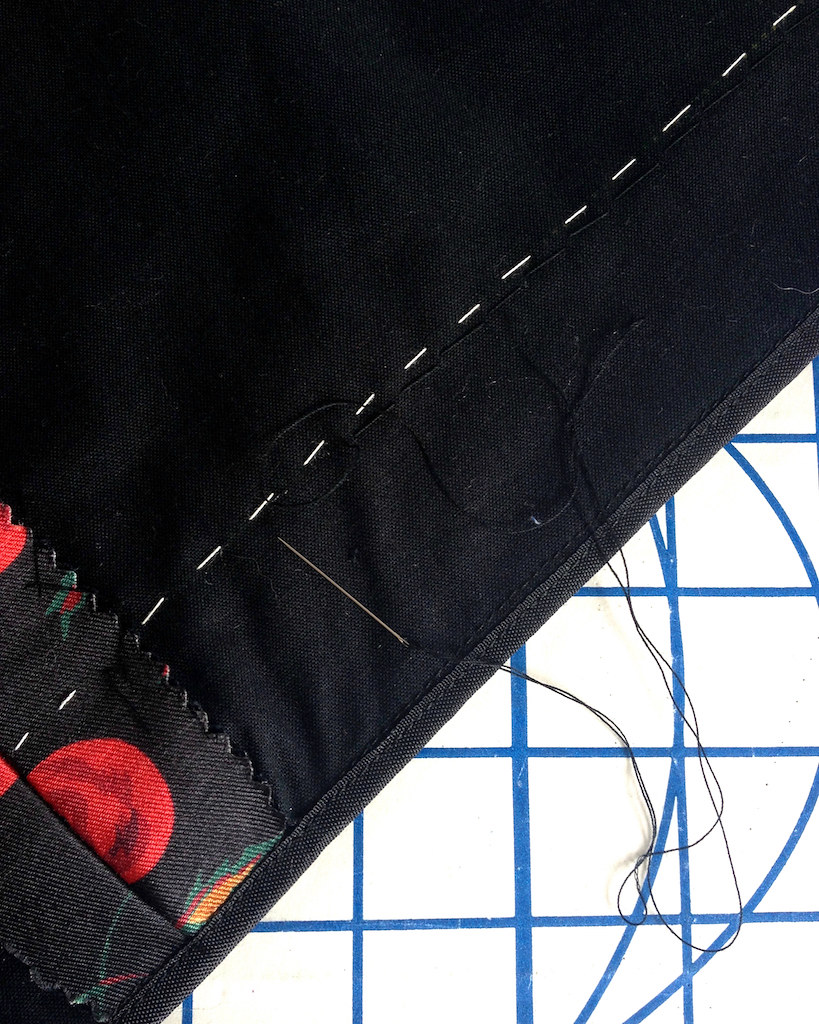
I like to catch the underlining to the fashion fabric just inside the hem so the two layers will not shift over time.
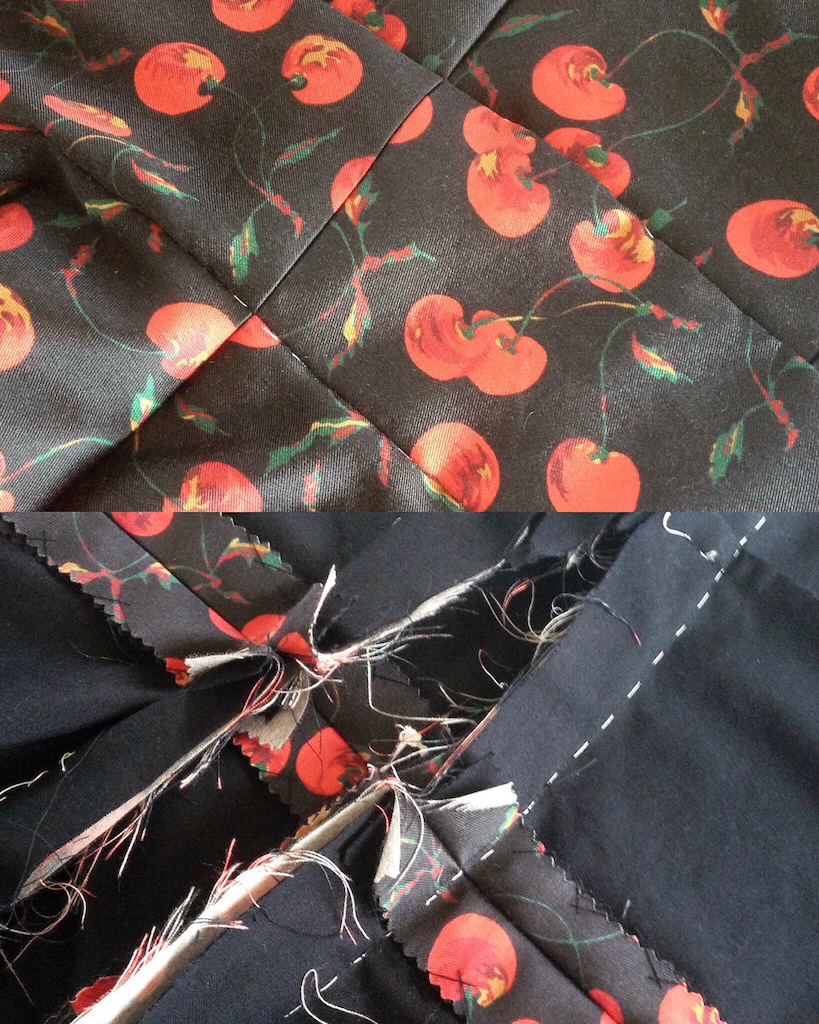
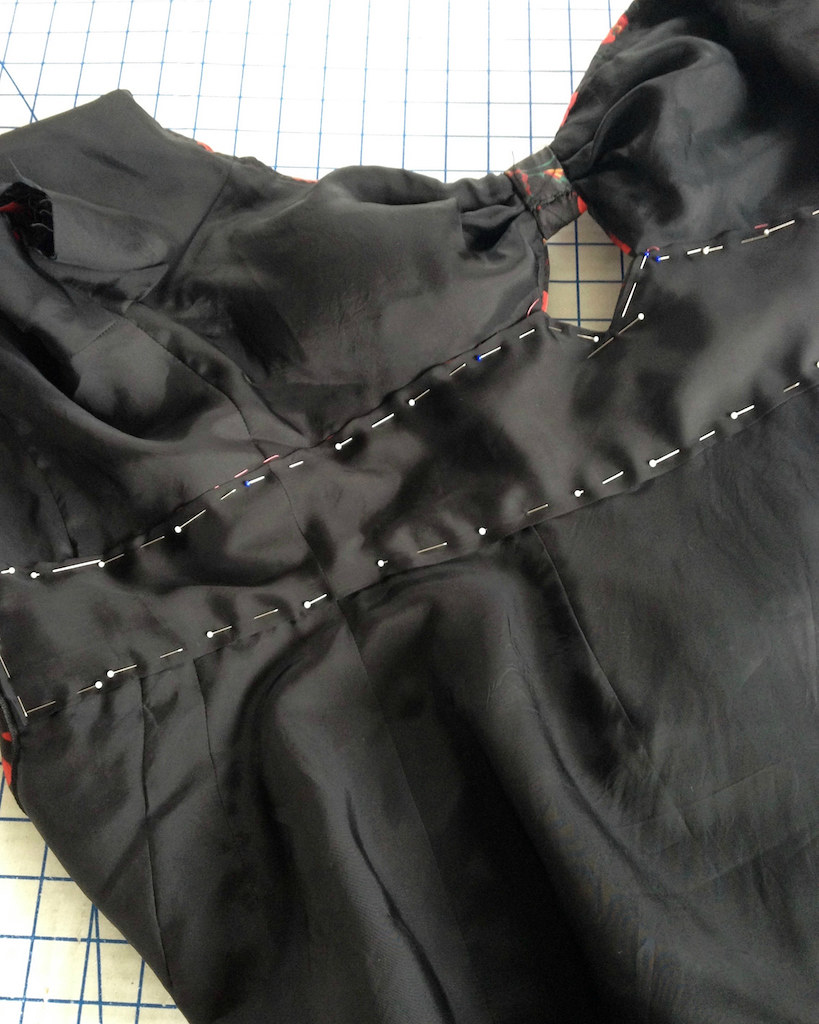
And the final bit of business was hand stitching the midriff lining in place.
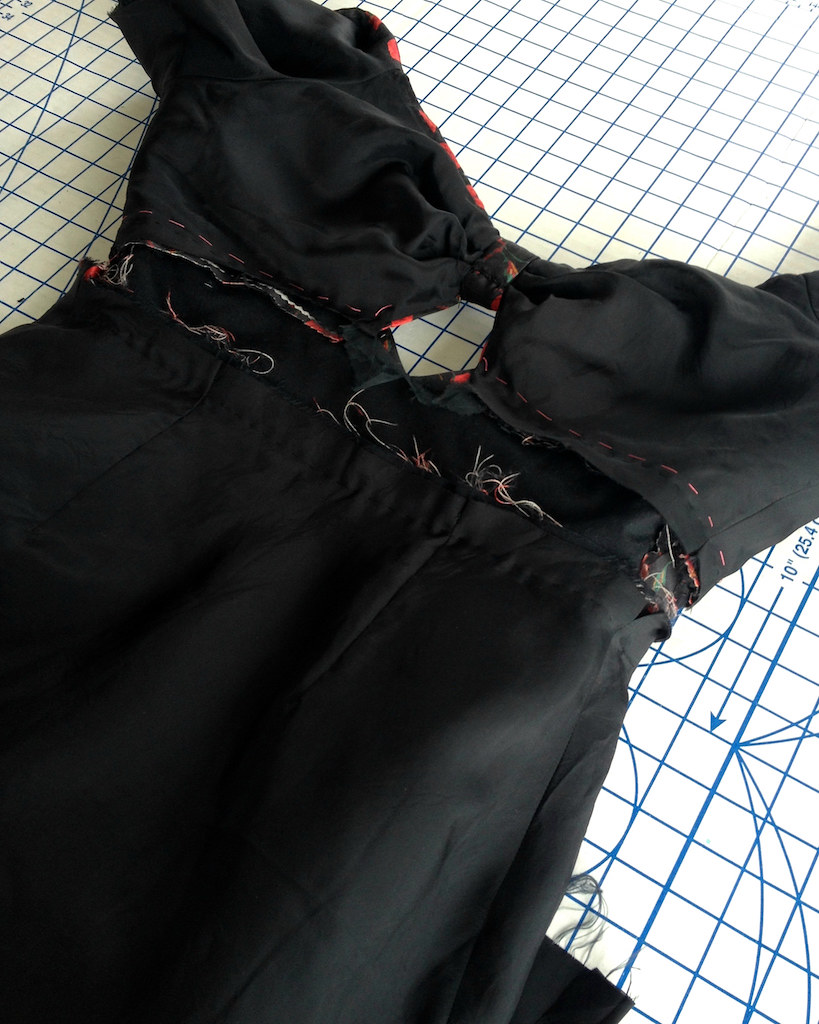
So many raw edges to cover. Actually, I ended up pinking those bits so the raw edges were not nearly as messy as this picture!
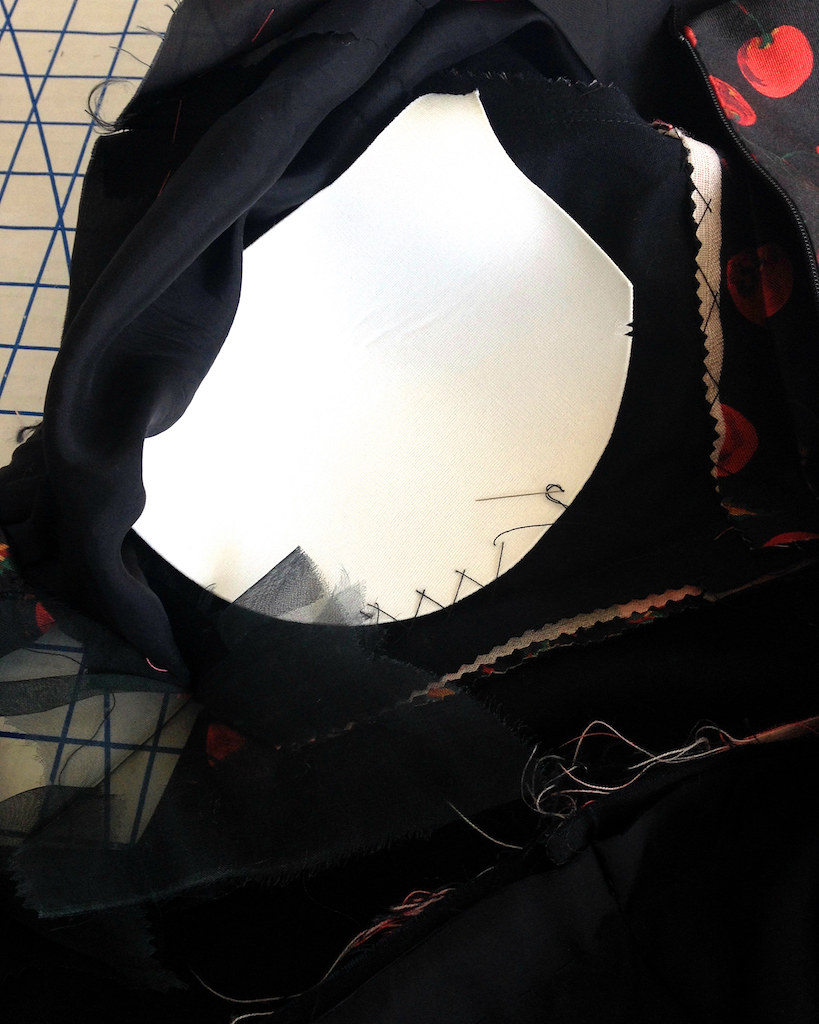
It may be a bit much, but I reinforced the midriff cutout on the lining piece. Might as well take the extra five minutes, right?!
I also catch-stitched the seam allowances to my underlining throughout the piece.
There is a lot of hand sewing in this dress!

Which, let's be honest, is my favorite part.

Fully lined, and almost ready to wear . . .
Almost there, I promise!
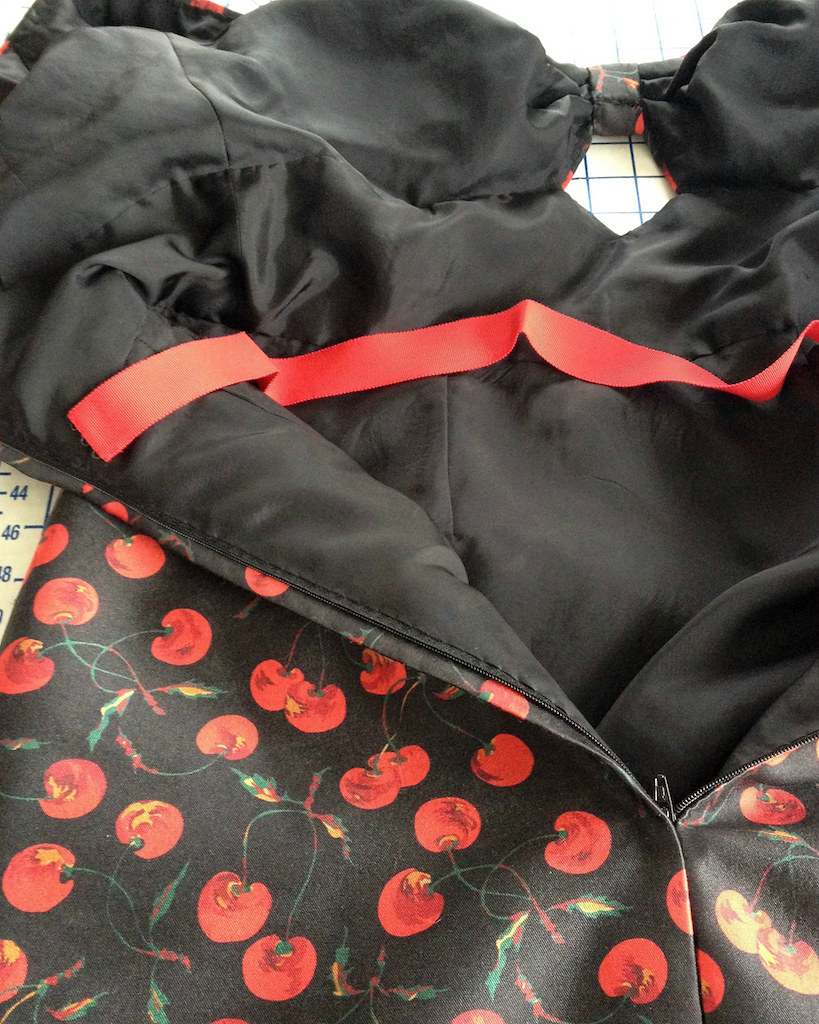
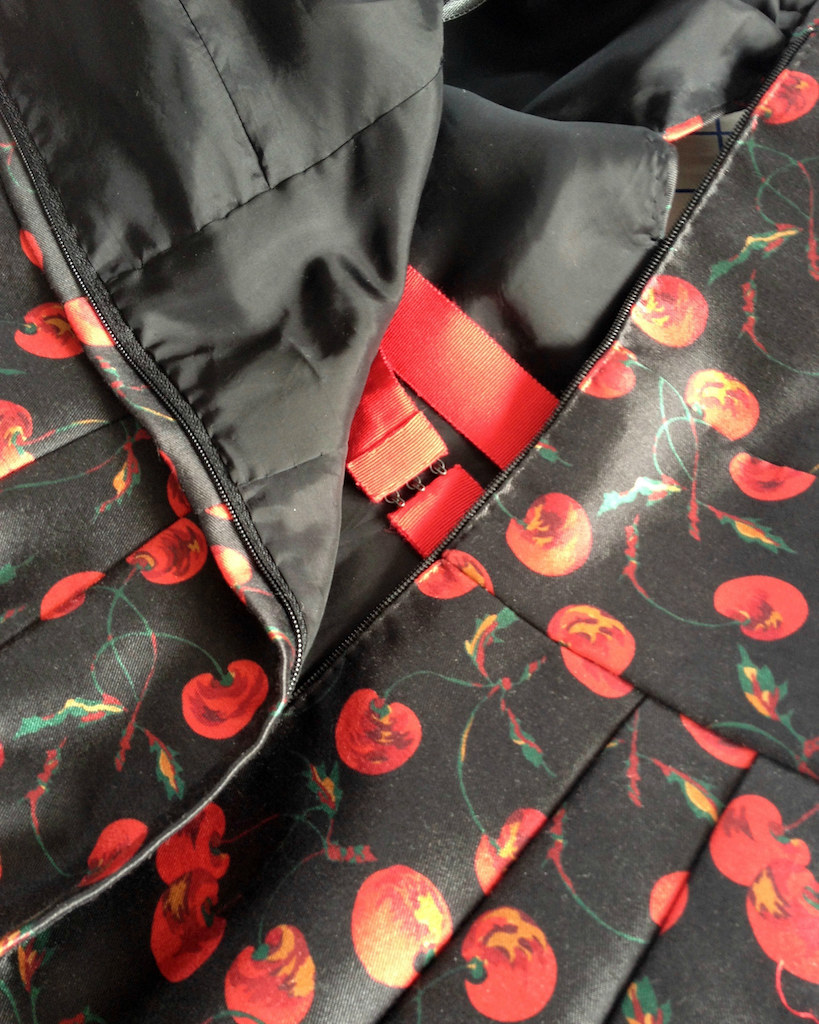
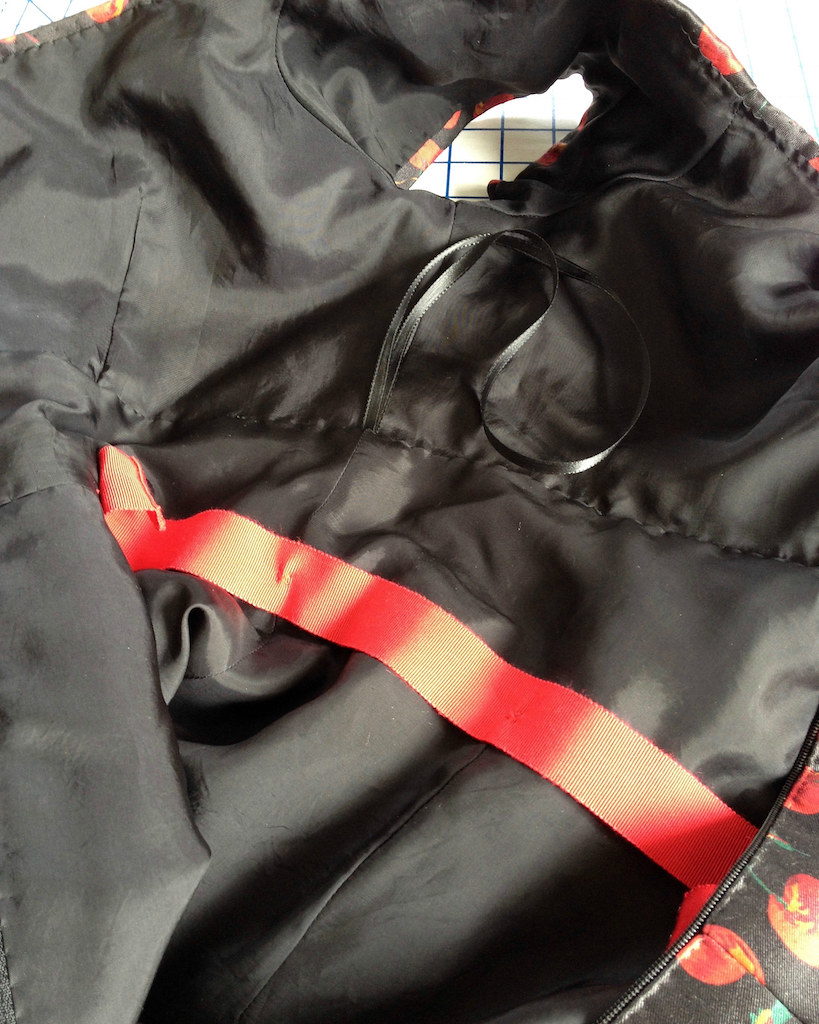
I was out of black grosgrain ribbon, but I did have this red petersham from Britex which I thought was a fun surprise on the inside of the garment.
A couple of ribbon hangers . . .
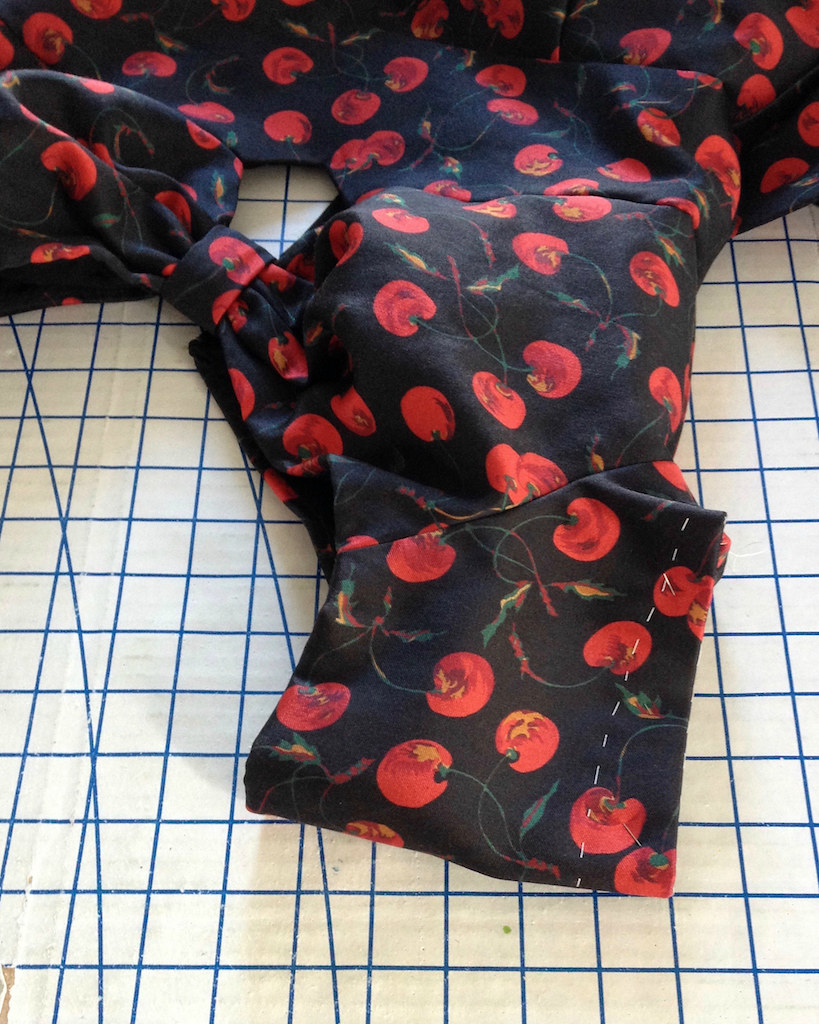
and some sleeve hemming (with very little hem allowance to spare!) . . .
and a thread tack or two . . .

and we are finished!!
Wow~thank you for documenting your sewing experience! It's lovely. Would love to see you model the dress :)
ReplyDeleteSo appreciate all the construction details! It's a stunning dress!
ReplyDeleteSo beautiful. Great job.
ReplyDeleteI love seeing the techniques you use for your interiors. This is a beautiful dress!
ReplyDeleteLove this dress--and the fabric! The red cherries(?) just seem to glow! Can't wait to see you model it.
ReplyDeleteGorgeous and perfect.
ReplyDeleteThat fabric is so fantastic, and works great for this pattern! I also love seeing all of the hand-sewing details.
ReplyDeletevery glam!
ReplyDeleteStunning!
ReplyDeleteI love your gusset idea and seeing the care that you give to making the inside of the garment as beautiful as the outside. Great show and tell lesson that is full of valuable information.
ReplyDeleteA beautiful dress!
ReplyDeleteWow, this is a beautiful dress, thanks for documenting your make! I too would love to see you model it! :)
ReplyDeleteThis is a great tutorial! Thank you! The dress is stunning!
ReplyDeleteWOW!!! The back neck line, the profile of the skirt, and the enchantment of the fabric, never you mind that cut-out - all from left over yardage!!
ReplyDeleteOne wonders what you could make out of lint and stray threads.
Sincerely awaiting your modeling of this creation. Laura Mae, this dress is a grand slam (style, resourcefulness, innovation, and once you post photos wearing it, feminine jiu jitsu!).
So beautifully done!! You so deserve that grand prize! Enjoy and thank you for sharing the details of your construction. Love!
ReplyDeleteCan you lift your arms in this dress? I made my own version and have trouble lifting my arms all the way up... I'm a bit of a novice when it comes to fitting, and can't figure out if that's just because of the design of the sleeves or if it's too tight somehow.
ReplyDelete