Tuesday, April 23, 2019
Making a Muslin
When we last left off with my Haslam System of Dresscutting project, I had drafted the pattern pieces in paper. I cleaned up those shapes and recut a new version of the pieces out of paper. Of course, these pieces have no seam allowances, which is the proper way to draft a garment. And since I was unsure what kind of ease was allowed with the Haslam draft, I wanted give myself a fair amount of seam allowance to play with.
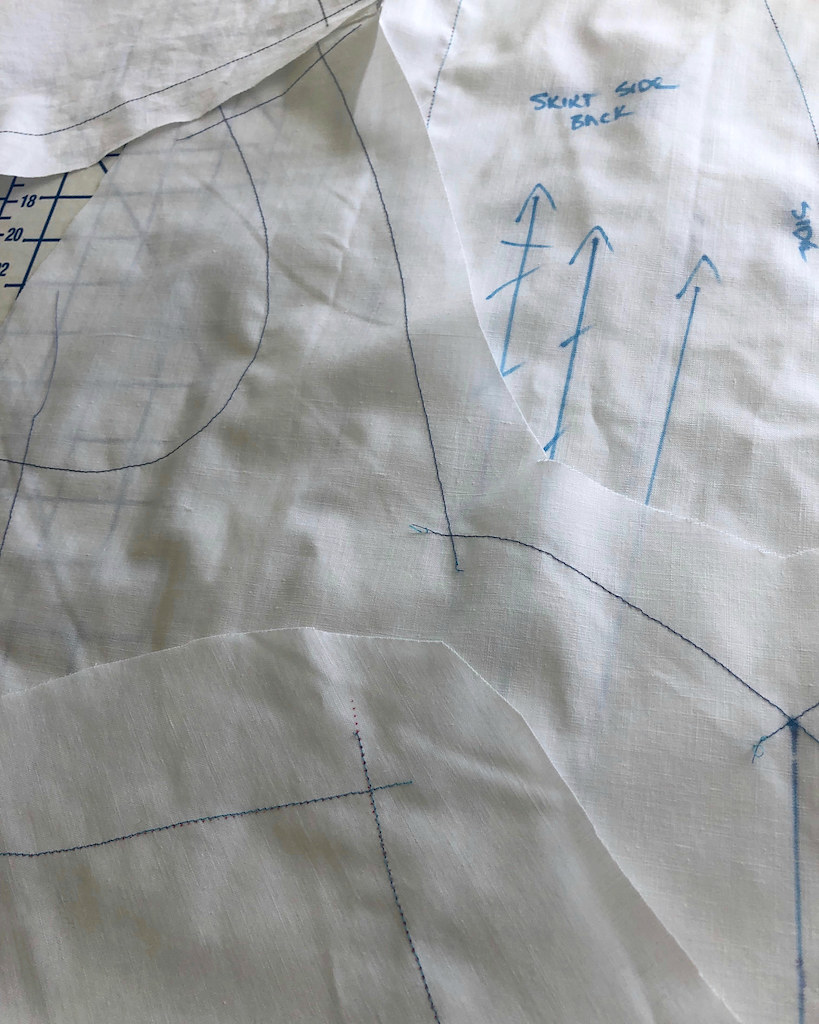
What I came up with was marking the stitching line (the outside of the paper pieces) with a tracing wheel and wax transfer paper on muslin. I then gave myself about one inch of seam allowance to play with around all of the edges, figuring that should be enough.
That was done with all of the pattern pieces.
And then it was time to put everything together.
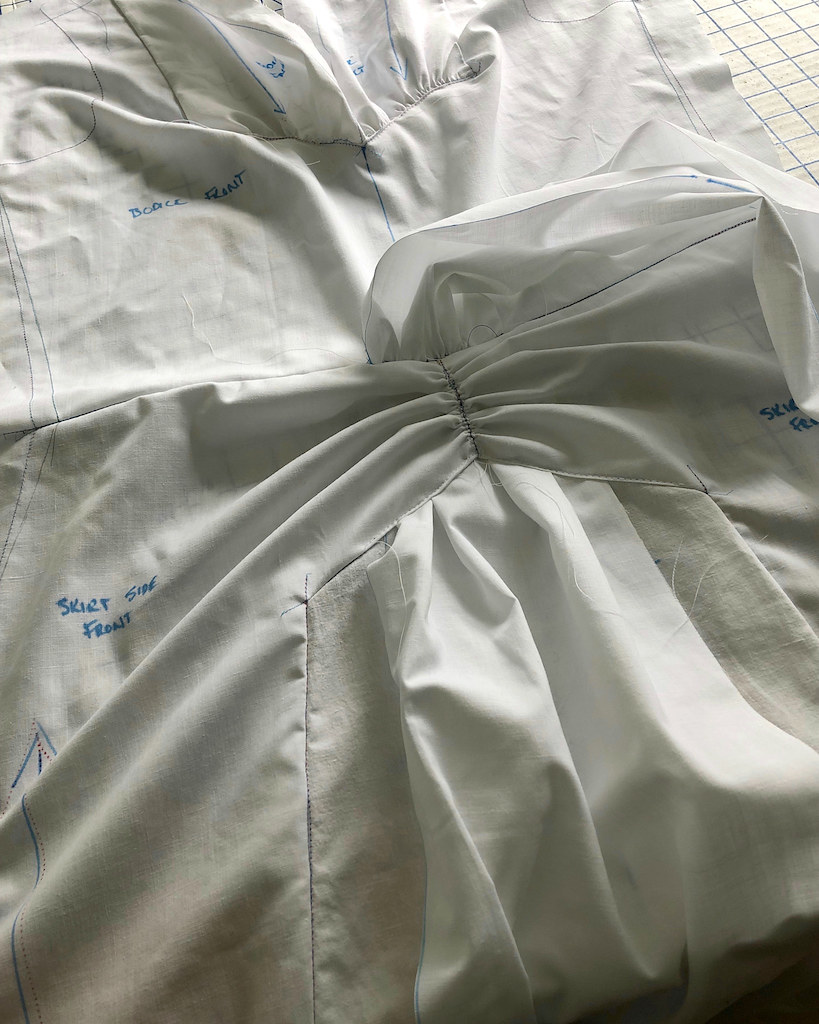
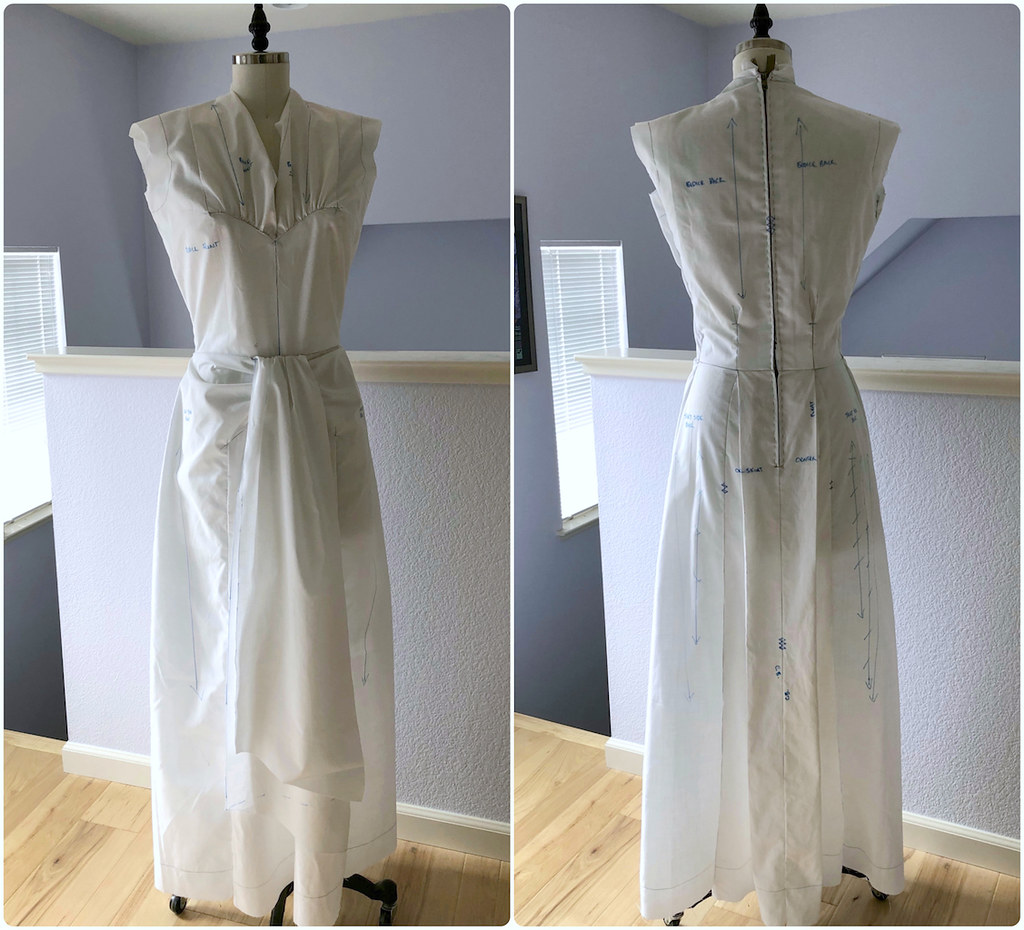
Since the instructions given with all Haslam patterns are extremely limited, I was pretty much on my own as far as construction goes. I ended up completing both the front and back as separate pieces, before stitching the shoulder and side seams together. I was inspired by this 1940s reproduction pattern, as a similar construction order is used.
My first time through I forgot about adding the front drape - which is another excellent reason to make a muslin, especially when there are no directions included!
I did cut the drape without any seam allowance so that I could see how I liked the proportions.
Next up, the sleeves!
I ended shortening the curve of the sleeve head in order get it to fit into the armscye properly. I made a second version of the sleeve to make sure I was happy with the result.
Surprisingly, the dress ended up rather large through the waist and hip area, but not the bust. I believe I removed almost two inches of ease in the waist, and probably a little more through the hips. This seems rather extreme, and while I cannot be certain it was not user error, I really think I did follow the diagrams correctly. I will have to remember this next time I draft one of these designs and see if I have a similar result.
Once I was happy with the fit, I trimmed my pieces so they had a 5/8" seam allowance. I will not be using an underlining, so I want a standard seam allowance to work with.
The only major alteration I needed to make (besides trimming excess ease through the waist and hip) was an erect back alteration, which is standard for me. Even using my actual measurements did not save me from this one! But I didn't have to add length to the torso, which is a first for me . . . except for that weird Cynthia Rowley pattern for Simplicity that was way too long, even for me. But I digress.
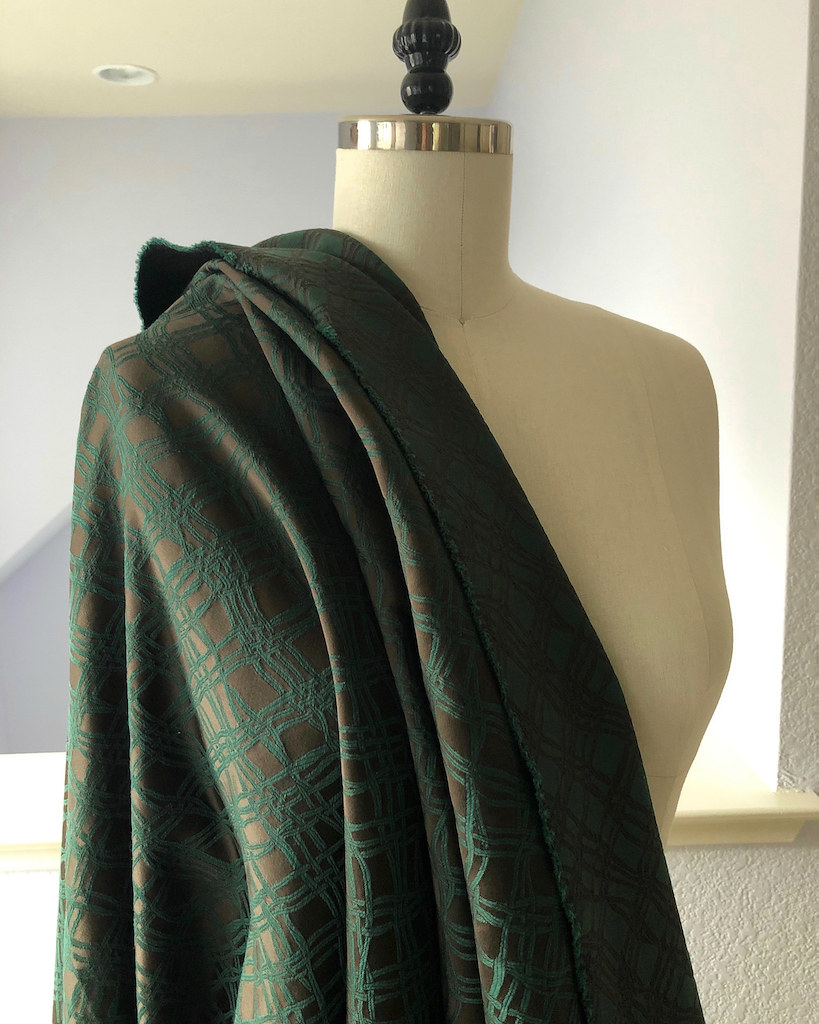
Up next is cutting into my fabric! And here she is, an Ellen Tracey brocade from Elliott Berman Textiles.
Subscribe to:
Post Comments (Atom)


Over three weeks of waiting...for THIS!
ReplyDelete(hiss of a *sigh* through clenched teeth)
Thank you so much for this informative blogpost. It will be a big help for me when I try out my first effort at the haslam system. Thank you.
ReplyDeleteAnother great and informative post. Thank you.
ReplyDeleteWow can’t wait to see the finished dress!
ReplyDeleteGreat post!
ReplyDeleteWow, it's really coming together! I've got a couple of old books with a similar system to the Haslam System, but the lack of instructions has put me off giving something a go. Especially when the dresses I want to make are the most complicated looking ones! When I do pluck up the courage though, I will definitely be referring to your blog posts about this current project :-)
ReplyDeleteThis dress is absolutely gorgeous and I'm sure it will be worth all the hard (but hopefully enjoyable) work you are putting in. I always admire your attention to detail and pride in your work - I can't wait to see the finished garment!
You have put in your usual amount of hard work & attention to lots of detail! All that drafting is VERY time consuming, not to mention you need to know what you're doing! I know the final dress will be amazing, as all of your makes are! I just finished a dress that took 100+ hours to do, so I am in total awe of your efforts & have an understanding of the dedication involved!
ReplyDelete