
About those buttons . . .

Buttonholes just didn't seem right for this project. So not only did I need to cover a whole lot of buttons, I also needed rouleau loops. This gave me a chance to use up some of the oddly shaped scraps leftover from cutting out my dress.

And Shams bobby pin turning method is the only one that doesn't make me want to tear my hair out!

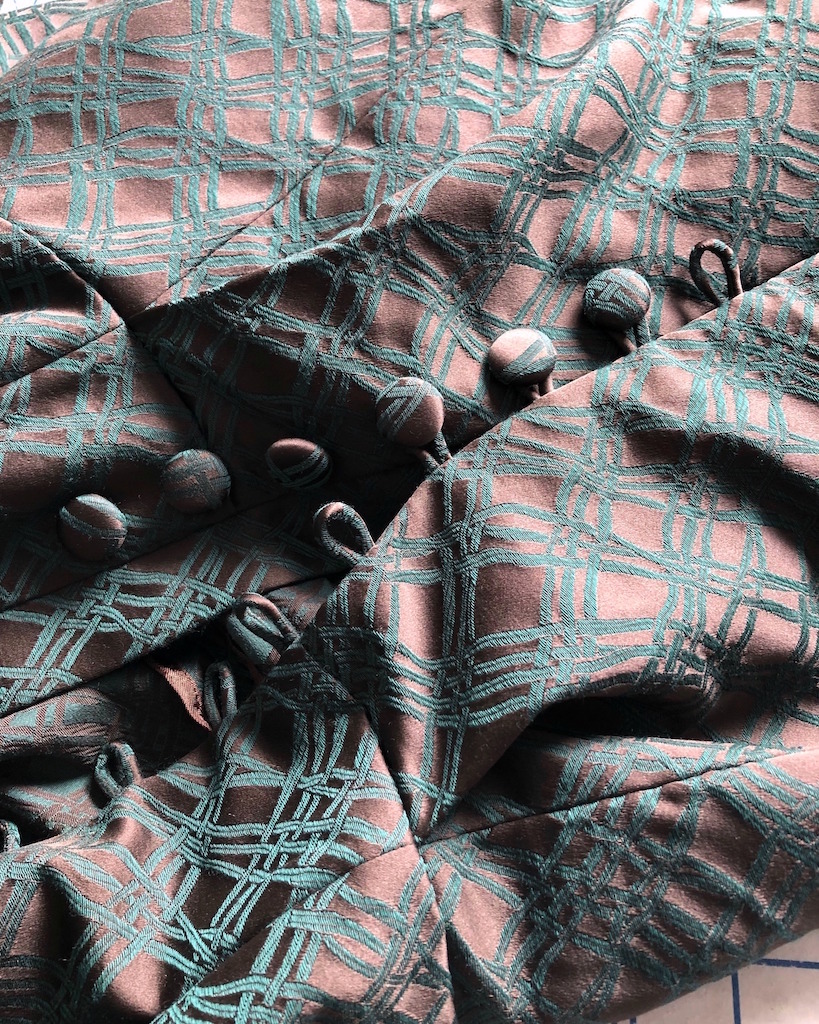
Once that was accomplished, I needed to cover my buttons.

My preferred covered button kit is one that has teeth on the upper portion of the mold that grabs the fabric and a bottom portion that snaps into place. I have never had an issue with that type of covered button kit. But the only option available in the size I wanted was the other kind where the back gets pressed into place. I have had numerous buttons pop off, often as I am putting a garment on. Granted, they are usually the smaller sized buttons, but I don't like the thought of my button top falling off, never to be found again. Also, to add insult to injury, I have been scratched by the remaining piece that is stitched into place since the inside of that piece has rough edged metal were the shank is inserted.

What I have discovered is that the real trick to making these covered button forms work is glue! I know, I hate using glue on fabric and avoid it at all costs, but in this case, it really is necessary. Wrap the upper portion of the button in your fabric, place it in the mold, push the excess fabric toward the center and drop a bit of glue in the center. Then put the back piece into the mold and push it into place using the stopper (I like to use an old thread spool to help keep enough pressure to get that back piece all the way into the button form). Pop the covered button out of the mold and let it sit for a bit until the glue dries.

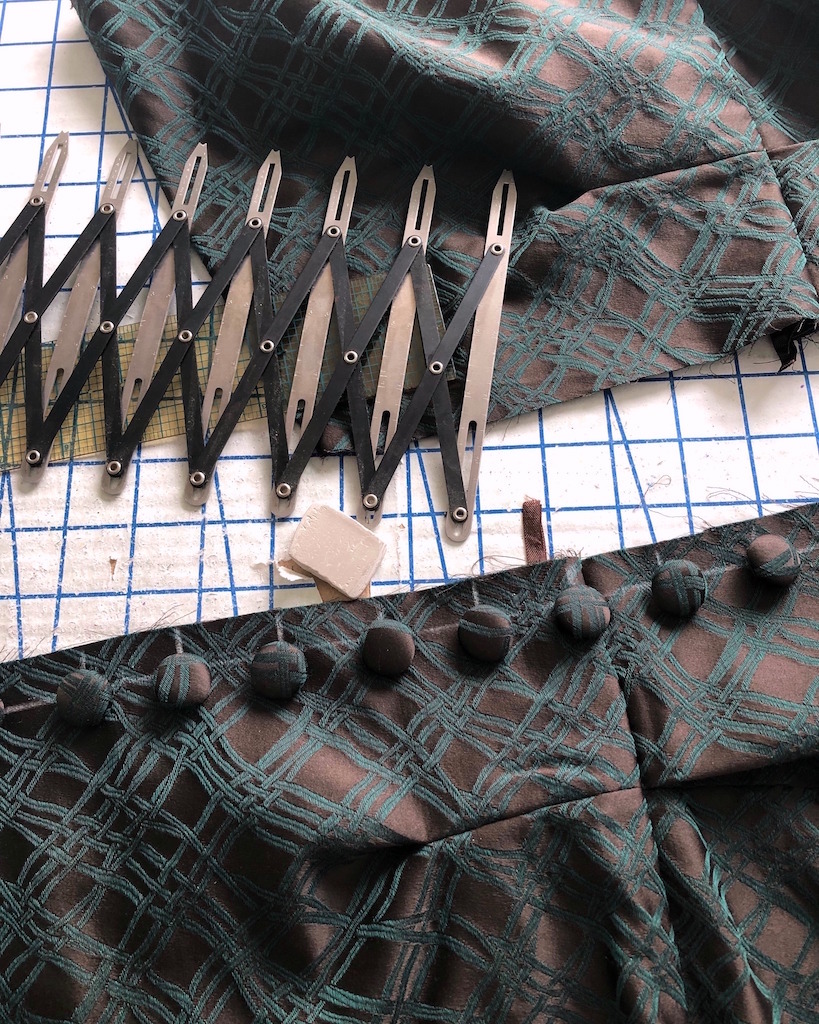
Now that I had my buttons, I used my new-to-me simflex sewing gauge to evenly space my button and rouleau loops.
You can apply the bias loops to the garment in a long serpentine manner, which I often see done.

I choose to apply individual piece for a couple of reasons. Number one, I hate turning the bias strips right side out, and the smaller the length, the easier that step tends to be. Second, it saves fabric if I can use small little scraps for individual loops instead of worrying about finding a bias piece of fabric long enough for my entire opening. Third, I think this makes it easier to make sure they are all uniform in size.

And then I needed to figure out some kind of placket. Again, no instructions included with the Haslam System of Dresscutting; this usually doesn't present much of a problem, but it does make me put on my thinking cap. And when I want to be sure something is going to work, I pull out some fabric scraps and try it out. Better to mess up with scraps than have to pick something apart in my good fabric!

For the back shield piece, I cut straight of grain pieces of fabric.

Those pieces were applied to the center back opening edges.

The raw edges were encased and then turned under.

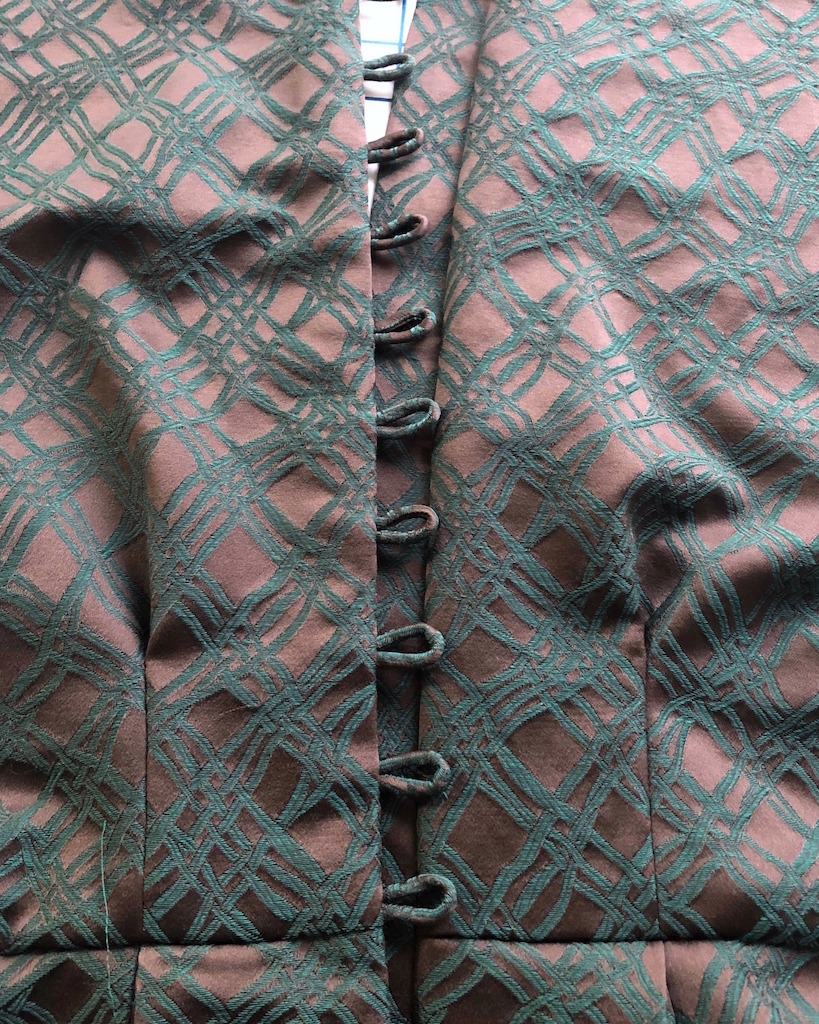
I also edge stitched like any other facing. This keeps the facing from peeking out, but also secures those loops with an extra line of stitching.

Which gives me a finished opening. For the button side of the opening, that facing was cut wider and it extends past the seamline to create a shield.

And now all that is left for the center back opening is to stitch a whole lot of buttons into place!
Looking great -- and I'd never heard of that bobby pin loop turning method: I must try it out!
ReplyDeleteYour skills are AMAZING!
ReplyDeleteLovely! Thank you for sharing such great work
ReplyDeleteThe wait was worth it, you found the perfect the pattern for this fabric.
ReplyDeleteThe Bernina edge stitch guide did you proud - that loops alone look as if you were showcasing something Paramount clad the queen of the lot in.
Born too late? Nope. The Internet would not be half as much fun without your contributions.
You are quite amazing with your skills and determination! I will look forward to seeing the finished product modeled!
ReplyDelete