

Have you ever had a sewing project that needed a time out?

This was one of those for me. And it's going to be a bit of a saga because there was a lot of construction involved in meshing three different pattern together, and I took a lot of photos of the steps along the way!

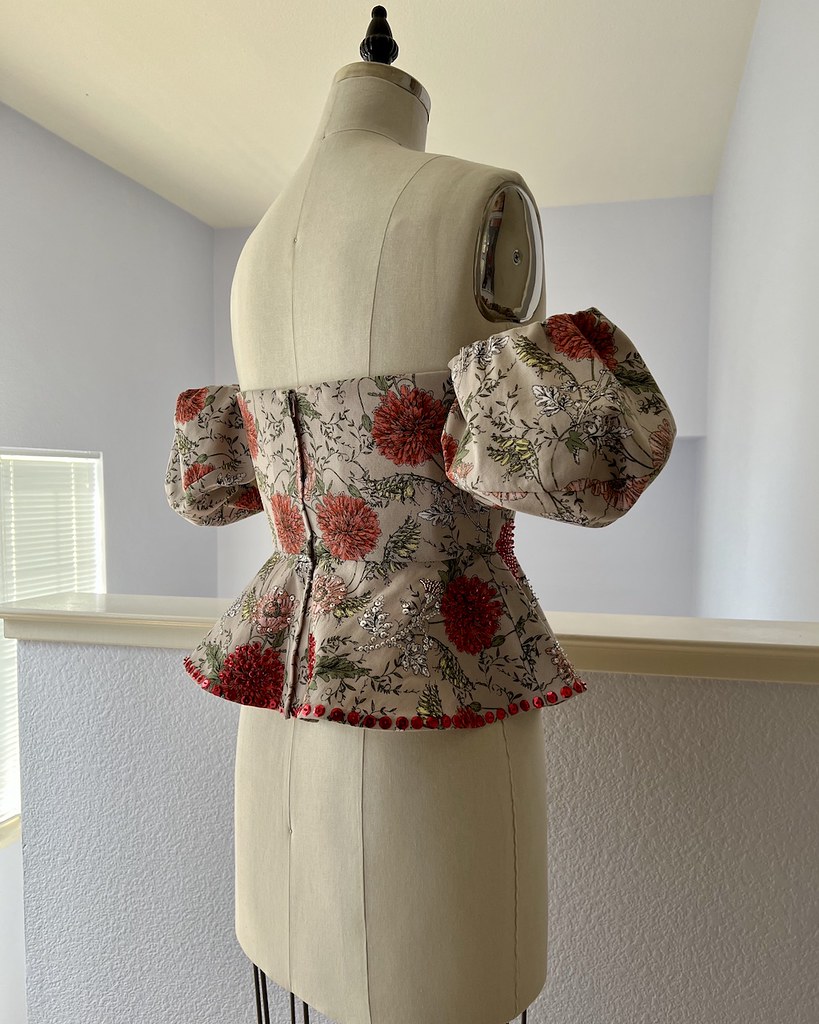
It all began when I realized that I had plenty of leftover fabric from my sequined circle skirt to make a matching top.

I did make a muslin, but what I failed to think about was the fact that two layers of cotton twill was considerably thicker than one layer of muslin.

So after spending many hours embellishing the peplum and stitching everything together, I went to try on the garment. And, horror of horrors, the two front bodice ties were too thick to tie a knot. Which is something that is required of this particular bodice.

I had not inserted all of the boning in at this point, but the sleeves had enough weight that they were falling down and taking some of the bodice with it, too.

Well, I had a bit of a tantrum, and moved the project from off of my sewing table to a bin.

Out of sight, out of mind, right?!

I did have a hand knitted sweater that was a great pairing with the skirt, so all was not lost, but I was still sore about all of the time that I had spent thinking that I was going to have a lovely matching outfit.

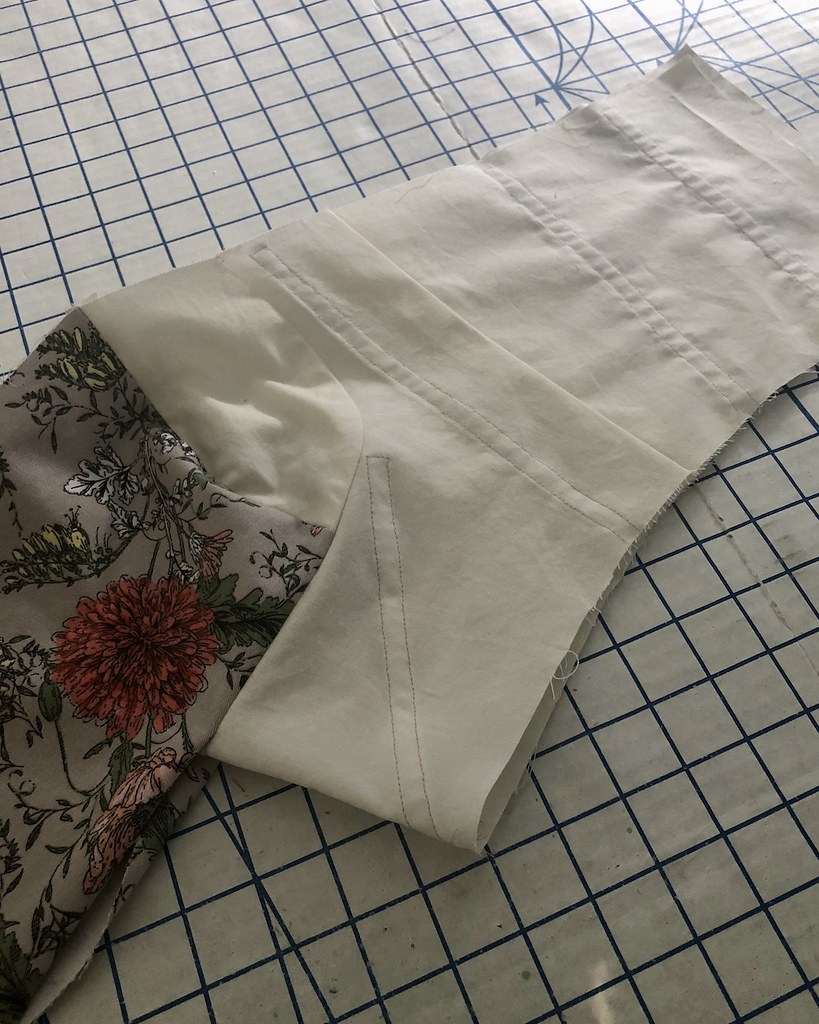
But back to the actual construction . . . I had an idea of exactly what I wanted: it was to be a combination of the peplum portion of McCalls 7929, the bodice of McCalls 7937, and a pair of fabulous lantern sleeves from my Cherries Jubilee gala dress from 2014.

I added boning to the lining.

This boning pattern works well for me, so I went with what I know.
And there were also plenty of sequins and beads to be added.

For this garment, I decided to limit the embellishment to the peplum.

This mirrors the sequin pattern on the circle skirt, as the majority of the sequins are on the lower portion of the skirt.

And I really like the way it turned out, which was the major reason that I was so frustrated when I realized the fit of those ties weren't going to work as drafted.

I also spent a fair amount of time on the construction.

I continue to find uses for my scraps of silk organza, and this project was no exception.
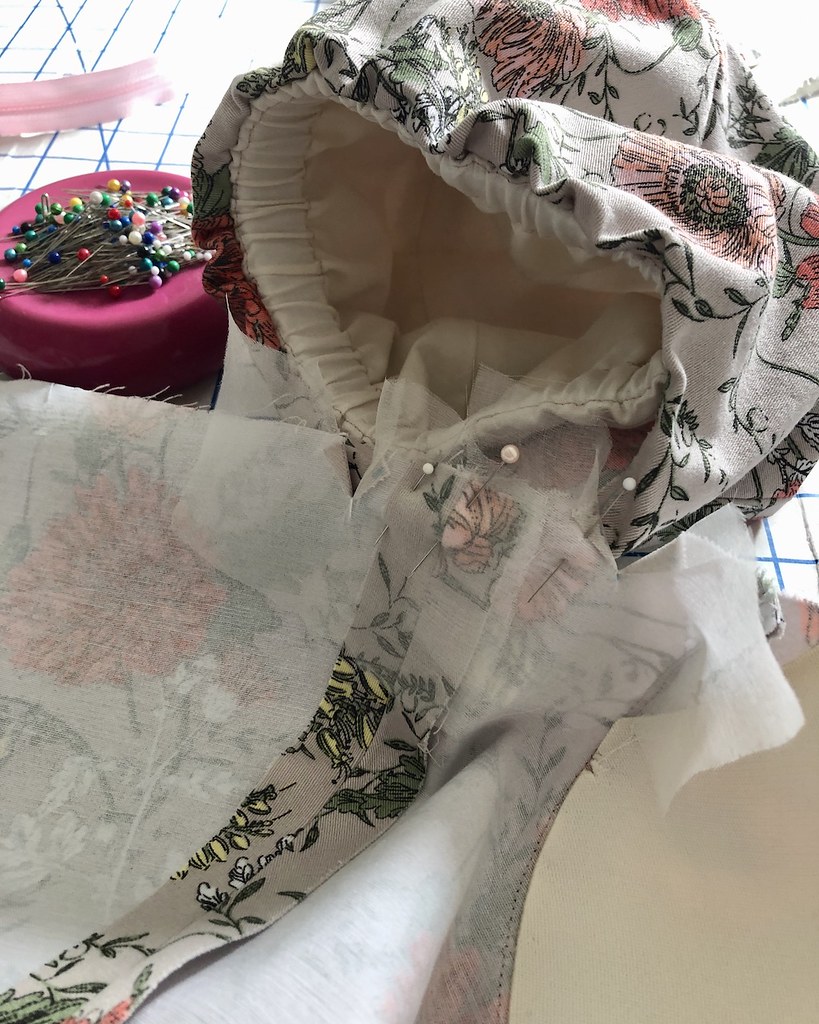
I get paranoid about clipping corners, but if I wrap the clipped portion with a small piece of organza, it feels so much more secure.

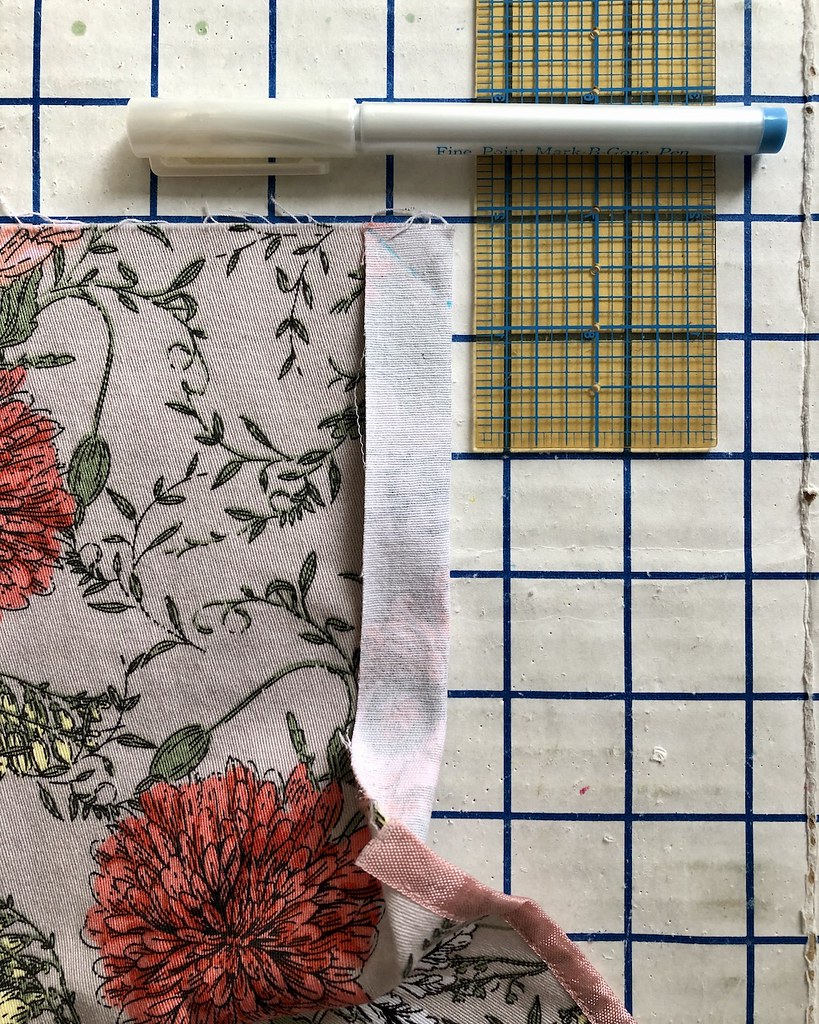
Seam edges that were unlined were finished with rayon seam binding.
And here is a peak at my favorite way to finish the upper edge of a lapped zipper.
Because I like to have a fairly deep overlap, there is an issue with a normal facing.

Since the raw edge cannot be faced beyond the zipper teeth, I stitch a diagonal line from the seam allowance to the upper edge.

This gives me a finished edge so that the facing or lining is clear of the teeth on the lapped side of the zipper.

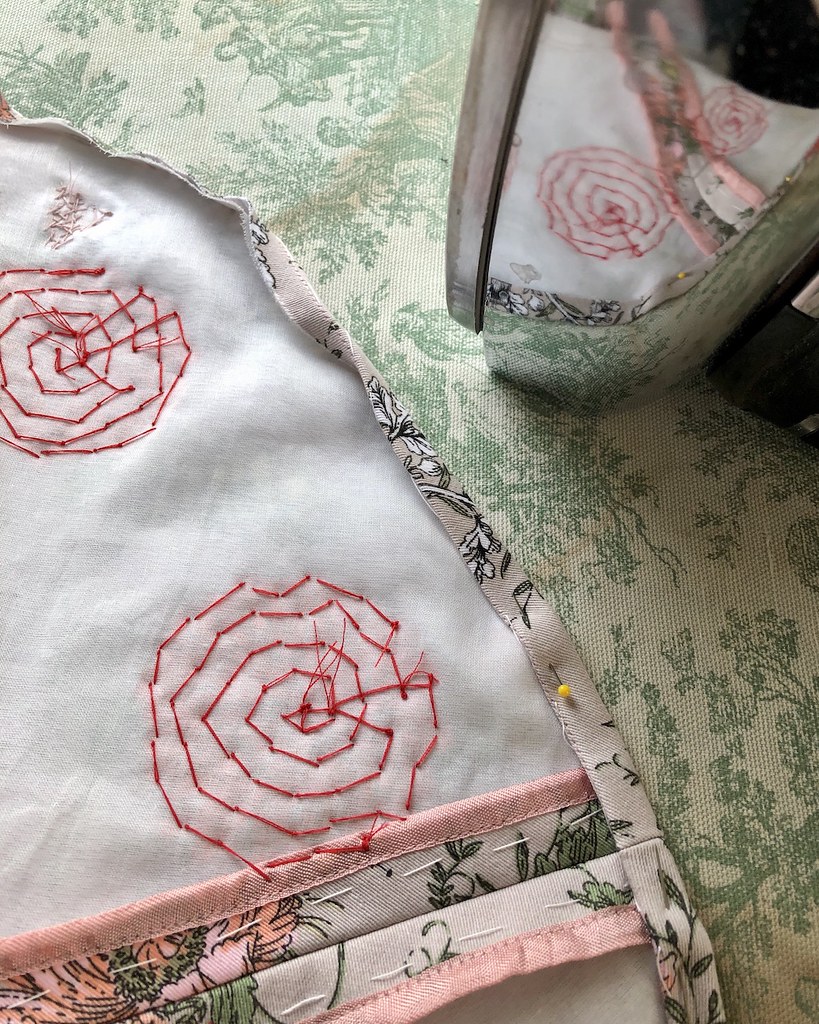
And I did stitch a few extra sequins onto the bodice since the floral motif matched up so that the two separate flowers on the peplum and bodice looked like a single blossom.

Because the sleeves fall off the shoulder, an elastic casing was added to the top and bottom of the sleeve.

The upper edge was stitched into a casing in the sleeve lining, but the lower portion is held into place with a number of thread loops.

And here comes the scary part. As I have already mentioned, the ties and the sleeves were causing some fit issues. But like many garments, it's quite difficult to know exactly how something is going to work and/or fit until the construction is almost completed. And those ties were just too bulky and short to close. I thought of a couple of options (including wrapping a separate rectangular piece of fabric to create a bow), but in the end, I took a deep breath and stitched a new line and cut a section of each tie right off.

I had previously added bra cups to the bust area, but they still wanted to collapse after the ties were knotted together. To add further structure to this area, I catch-stitched a length of horsehair to the lining at the bust seam.

And for even more added structure, I hand tacked a small piece of boning at the outer edge of each side bodice.

The lining was hand stitched in place once again, and I tried it on one more time hoping that the removal of those two wedges of fabric would save the garment. And it did!

I had left some extra room through the waist because it needed to go over the waistband of the circle skirt that has a large button at the waist opening. So in addition to a waist stay, I thought I would add an elasticized stay under the bust.

I have seen this type of stay in interior photos of haute couture pieces and I thought I would give it a try. The elastic was inserted into a fabric casing approximately twice as long as the elastic length. The stay is kept in place along each piece of boning with a thread loop (similar to the sleeves).

A hook & eye closes the stay just to the side of the zipper opening.

As for the zipper, I don't like to see bulky separating zippers on anything other than a hoodie, so instead, I fold up the excess length of a standard dress zipper. That extra length is necessary to get the garment on over my head, or to be able to step into it since my waist is significantly smaller than my bust and my hips. If the zipper closed at the waist, I would never be able to get into the top. That extra length of zipper allows the center back seam to open wide enough and tucks away while the garment is on the body.

I also added a waist stay for good measure.

Both of those stays keep this (essentially strapless) garment on my body.

And as a final touch, I added the same sequined border to the hemline as I did with the circle skirt.

I am happy to say that all's well that ends well with this project.

I am very glad that I left it alone long enough to come up with a decent solution to the issues that cropped up because of my fabric choice.

It's also a good reminder to think through potential problems when using a fabric on a mock-up that is significantly different than your fashion fabric.

And here is a look at both pieces paired together.

It may have taken more time than expected, but I am going to call this one a success!
It's amazing! All the skills you have learned through years of experience, brought together in this garment not least of all the patience to let it sit while considering how to save it!
ReplyDeleteBeautiful! and a great creative way to solve a problem!
ReplyDeleteCongrats! There's always a way & you certainly found it = Showstopper!
ReplyDeleteYour garments are exquisite and your sewing is impeccable! WOW!
ReplyDeleteYour sewing is amazing, it's beautiful
ReplyDeleteYou need to take a picture with you modeling it
Thank you for sharing
Anxious to see it modeled?
ReplyDeletececi
I have photos, I just need to find the time to go through them!
DeleteThis is simply gorgeous. Thank you for sharing your amazing work.
ReplyDeleteThe structure you built into this garment is impressive. I would not have thought to add horsehair braid at the side of the bust or an elasticized stay under the bust in addition to the bodice stays and waist stay. I know you will feel confident wearing that couture garment.
ReplyDeleteYou're engineering skills are formidable, and you share the kind of things one just don't find other places.
ReplyDeleteAwaiting the modeling session...of course as your wanna-be director of photography, could you wear this frock to a setting you haven't already utilized? Such as a small airport with one of those round pieces of luggage beside you, or looking astonished directly into the camera as the doors to a BART car are wide open. Surely this effort deserves the pizazz of an urban setting, or a rocky beach seen where you are carrying the shoes.
scene
DeleteWhat wonderful pieces you have put together! I thought I was the only person who puts different parts of different patterns together. Your work is perfection and I do love your style.
ReplyDelete