
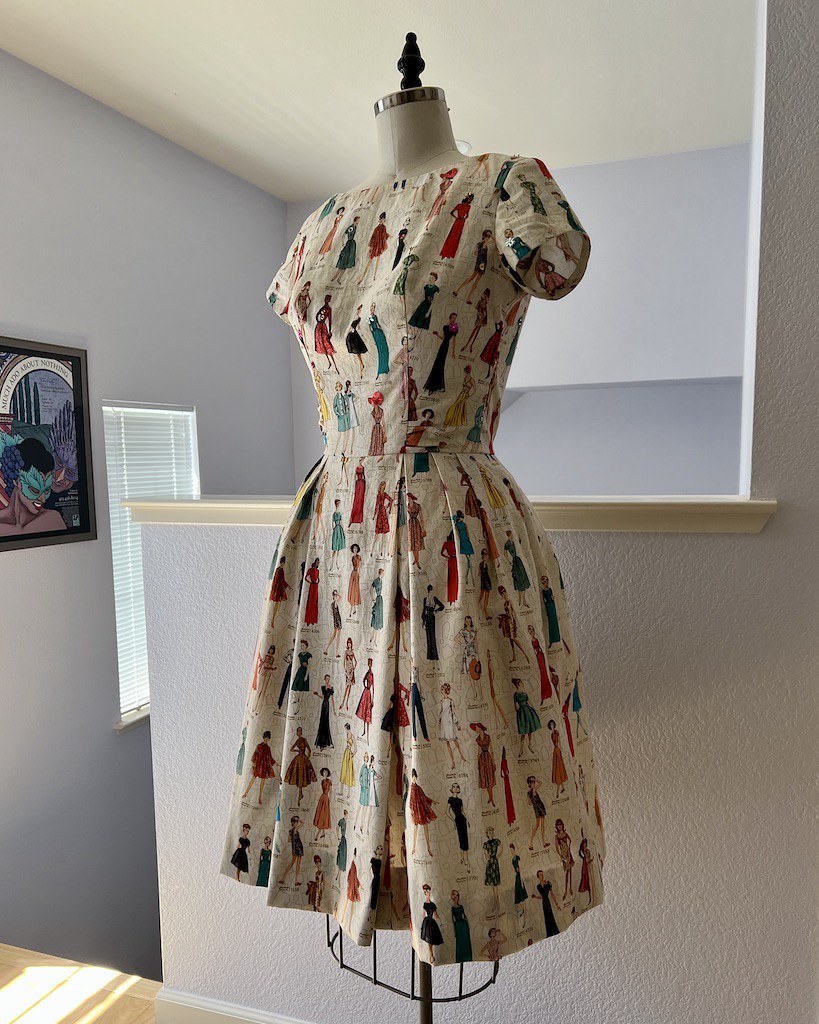
One fine day while perusing the fabric aisles in JoAnn Fabrics, I happened upon this print. I already have a few of these novelty prints from Simplicity, but they always catch my eye, so I pulled this bolt out because it looked promising.
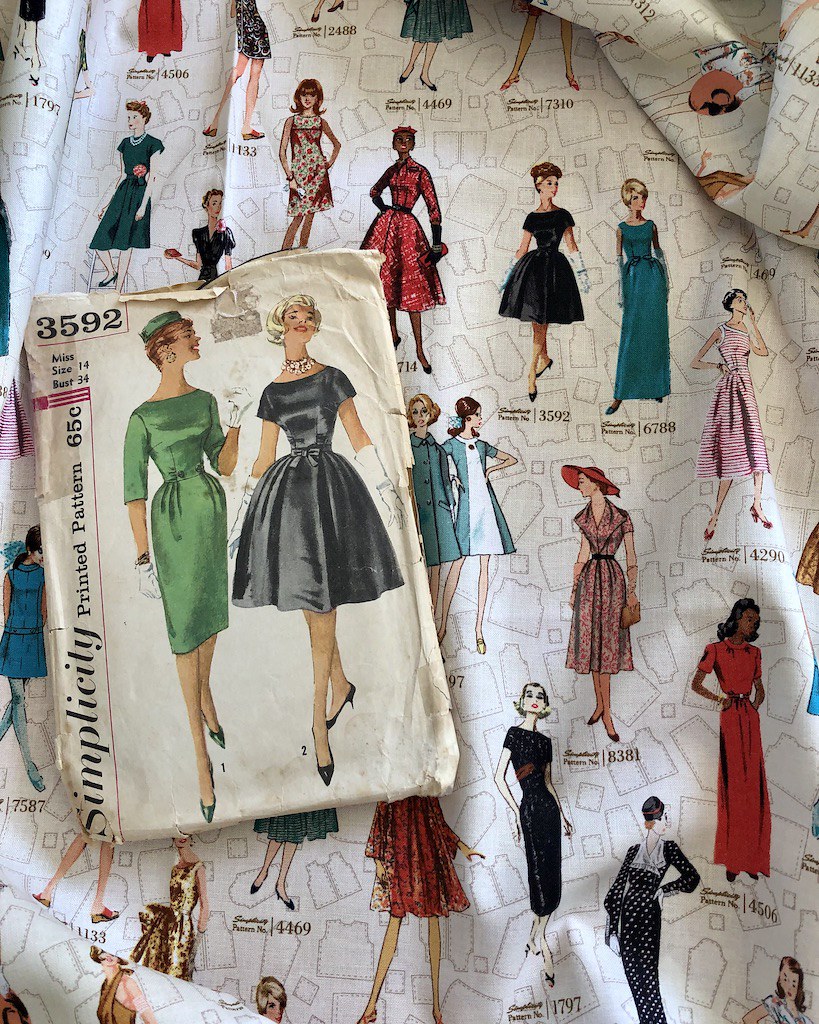
Upon closer inspection, I spotted an illustration of a black 1960s frock that looked very familiar. Although I didn't have the pattern in hand, I was pretty sure that it was a match to a vintage Simplicity pattern that I had been meaning to make for a couple of years . . . I was just waiting for the perfect fabric.

A quick google search confirmed that Simplicity 3592 was indeed the pattern that I had pulled out of my pattern stash time and time again. Well obviously, the fabric search was over!

It also pushed this pattern to the front of the queue. Because I needed a dress that illustrated that very dress on its fabric, and I needed it now!

At some point, I had an idea that the addition of a smattering of sequins to each of the pattern ladies might be a fun touch. (I may have become slightly obsessed with sequins in the last couple of years.)

After thinking about placement, I decided that I would only embellish the bodice and sleeves - and a belt, but that comes later!

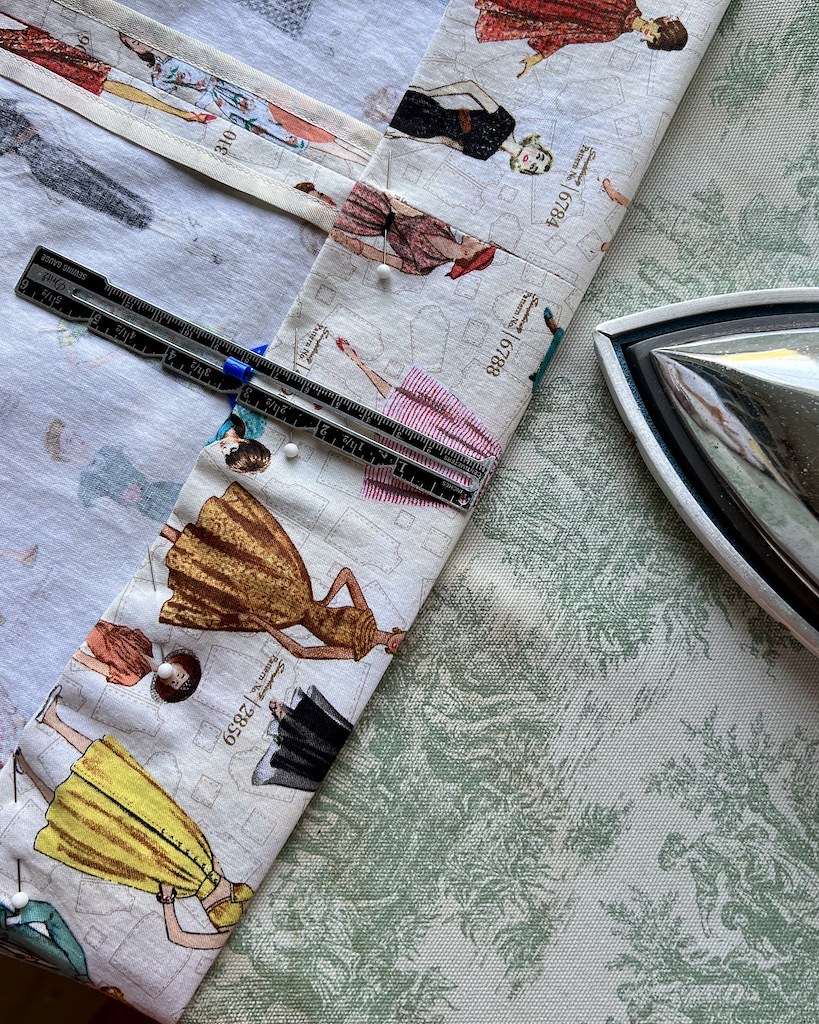
So I pulled all of the sequins out of my stash, along with a few beads. Each lady was given a sparkly accessory, a brooch here, a hair accessory there, or perhaps some sparkly buttons.

I kept the seam allowances clear until the pieces were stitched together. After the dress was constructed, I went back and added a few more sequins to those spots which were very close to the seamline.

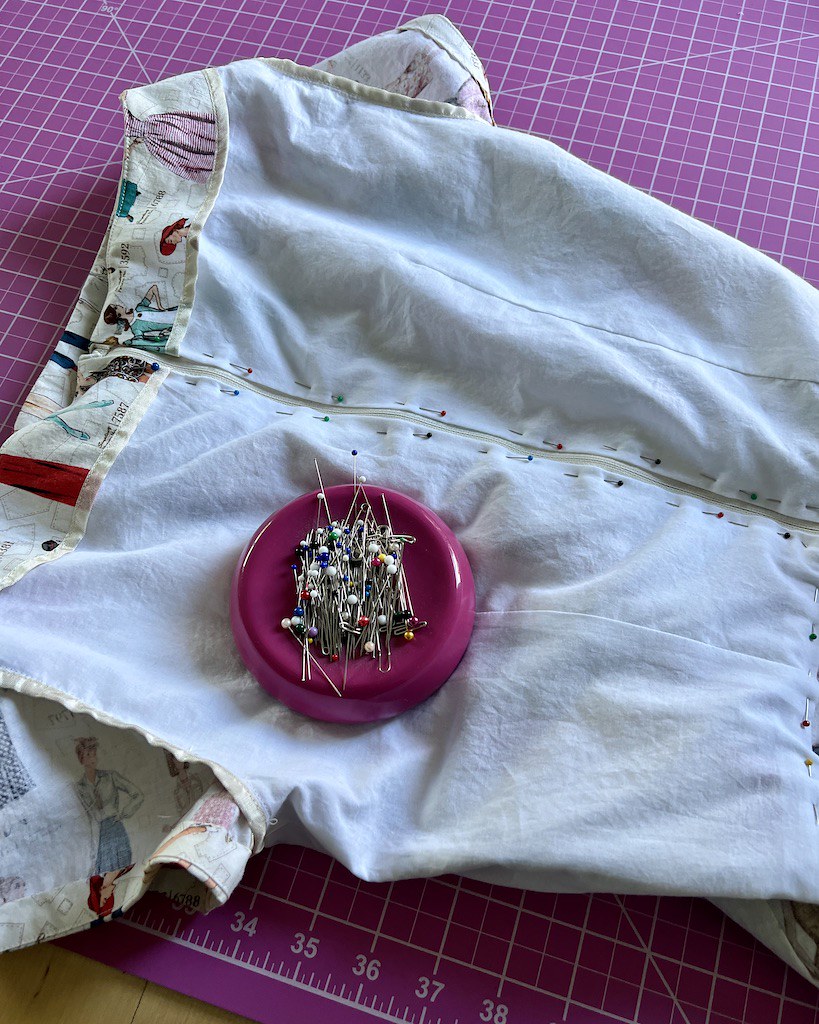
This pattern is drafted as an unlined garment, and includes a neck facing. I didn't think about a lining until after the majority of the construction was finished, but as I looked at a bunch of little thread knots on the wrong side of the bodice, I thought it might be more comfortable to cover those bits with a lining.

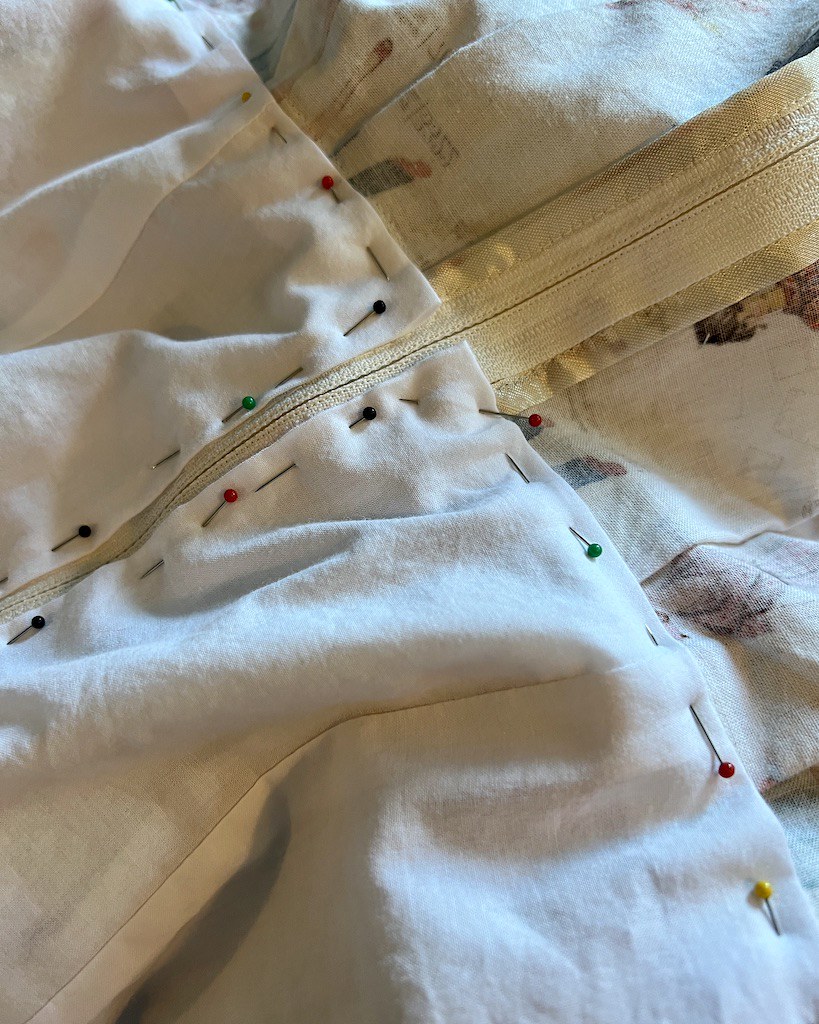
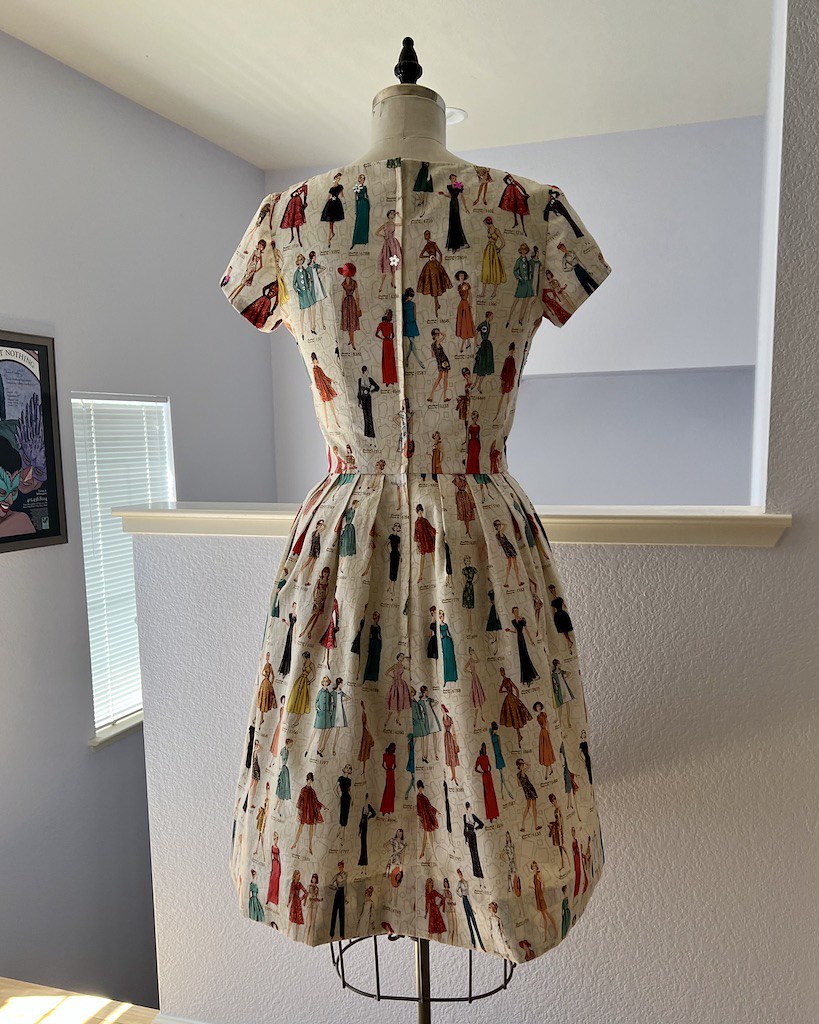
The zipper was installed by hand, with a lapped application.

Yes, it's still my go to technique for applying a zipper, but if it ain't broke, don't fix it, right?!

I did not have a perfect off white match for the lining, and instead of purchasing more fabric, I used a cotton voile that I had on hand. That was machine stitched at the neck and armholes, and hand stitched in place along the center back opening and waistline.
The unlined skirt seams were finished with seam binding.
I would normally add a full bodice lining to a dress like this, but since I had already finished the hem edge of the sleeve with a length of bias, I opted to leave them unlined.

This just meant that I had to finish the armscye with more rayon seam binding, which was easy enough.

This pattern includes a whole lot of excess length in the skirt. I didn't think much of it until it was time to hem it and realized that the skirt is slightly shaped (meaning it's not a basic rectangle/dirndl). I love a deep hem on a squared off edge, but 6" is just too much to fold in on itself when there is shaping involved! Next time around, I will remember that I can cut the skirt pieces a bit shorter.
The neckline on this pattern is deceptively wide, and since I hate worrying that bra straps are showing, I added a set of lingerie guards.

I make my own with a length of ribbon and a snap.

When I first came across this pattern, I had hoped that it would be a great pattern that I would want to use over that over again. And it is! I have a black cotton pique that I have already decided would make an excellent second version.

For an added bit of fun, I made a matching mask for my new dress.

And I am very pleased with the whole thing.

The fact that the novelty print is spectacular is just the icing on the cake!
Irony you can wear!
ReplyDeleteLaura Mae, you have, yet again, outdone yourself.
Fun dress! Do you think the hem was originally shaped to allow for a fluffy petticoat that would give it the fullness seen on the pattern envelope?
ReplyDeleteThese 1960s shapes have more poof at the waist and a pegged hemline instead of the more triangular shapes of the 1950s, so I’m not sure about the shaping,
DeleteHow truly awesome! And so much fun! Love it!
ReplyDeleteGosh, your construction techniques are superb! Thanks for sharing. The dress is incredible!
ReplyDeleteThe beading gives the print a 3D look as if the ladies are moving about.
ReplyDeleteI love that take on it!
DeleteFantastic combination of fabric with pattern. The lined bodice gives a much better outline and the discreet beading is the icing on the cake!
ReplyDelete