

And so begins the saga of McCalls 4425.

I found this pattern at an estate sale not too long ago. I had seen images of the design online for years, and was thrilled to come across a copy, and not only that, it was in my size! Strangely enough, this was the only sewing pattern in the entire household that I could find in a small hallway closet with some other sewing notions. These days, I generally find 1990s patterns, and maybe a few 1980s thrown in for good measure, so to find this design was pretty special. This project also utilizes other finds from this very estate sale, but I will get to that later.

It has been some time since I did a full muslin for a project, and I though it would be a good idea to do that with this pattern since the skirt is somewhat fitted.

At this stage in my sewing game, I feel fairly confident about doing a couple of quick measurements and determining if a bodice on a pattern is going to fit. I tend to choose full skirts, so the lower portion of a garment isn't too important when it comes to fit, so long as the waist measurement works.

This pattern was going to be a bit tight through the hips. I added a bit of length through the torso and left myself some extra room to play with along the side seams.
I left off the front drape on my muslin since it wasn't going to alter the sizing at the hipline and I didn't have very much spare yardage of plain muslin, so the mock up looks a little askew. But it did its job with regard to fit. I get nervous about designs without a waistline because the fit gets complicated for me at the back of the garment, but this one worked out better than expected.

My little guy snuck into a couple of these photos. Tino likes to be included in everything these days, and does not enjoy being left downstairs alone anymore since his hearing is not so great and he likes to keep me within view.

As you can see, he is very helpful!

After adding some width to the hips and making a slight swayback adjustment, I was pretty happy with the fit. This fabric repeat is rather large, and I didn't want any unfortunate placement of the motifs, and the overlapping pieces needed to be somewhat matched, so cutting everything out was a process! I did purchase slightly more fabric than I thought I would need for this very purpose, and thankfully, it all worked out.

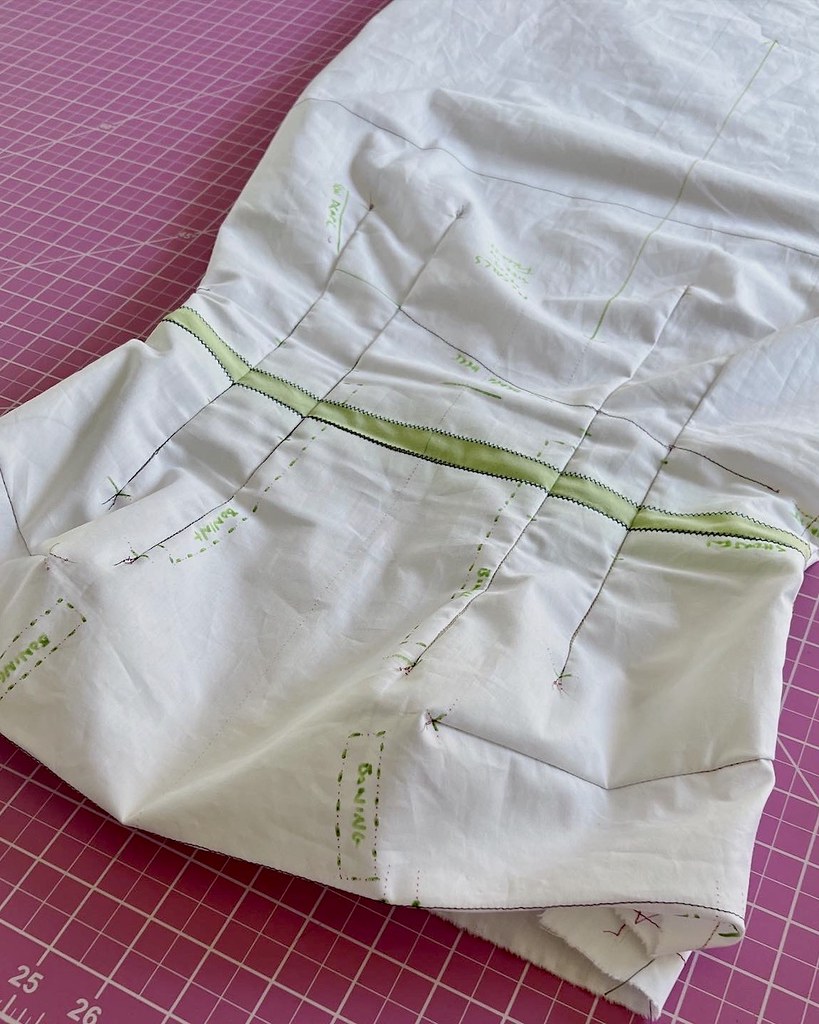
Once that was accomplished, I cut out my underlining and transferred the pattern markings to that layer.

I generally prefer lining to underling, but in a case like this, it sure makes things easier. I was able to trace the lines of the darts directly on my underlining, which always feels slightly naughty. Basting stitches that are within seam allowances are also left in place on most of my projects which feels rather lazy, but since they aren't seen on the outside of a garment, I let them be.

Next, the fabric and underlining were joined together just inside the dart stitching lines.

I also thread traced the placement line for the drape, which definitely came in handy later on.

Because I was using a muslin as my pattern and I had marked both my cutting and stitching lines, I decided to leave extra fabric at the top of the bodice. While trying on the muslin, it seemed like the neckline was rather low and I wasn't able to determine if it would be necessary to add more coverage until after the bodice boning was in place. Also, I figured that this would make it impossible for that edge to stretch out since it had not been cut.

I used a scrap of organza to reinforce the clipped edge where the drape is attached to the front of the dress.

This is one of my favorite things to do when corners need to be clipped. I no longer trust a simple line of stitching - I figure wrapping those edges with a tightly woven piece of fabric will do a much better job in the long run!

And that completes most of the work on the front and back of the dress. But this over the top print needed something extra, in my mind, and so next up is the fun part . . . the embellishments!

Laura Mae, this pattern's journey reads as if the universe itself were smitten by you. A confluence of the most preposterous possibilities, and yet, the best possible outcome (hasn't that been your floorplan for living all along?).
ReplyDeleteKnowing how to elevate novelty prints into high art is rare ability. Undoubtedly, raucous patio scenes await you in this dress.
Are you going to wear this with a headband (of your own making)?? Or a flower behind your ear?
Since you're living with an elder statesman, perhaps he can accompany you in your next photoshoot? Just a notion, as he has his own fans.
As for me, if you could return to showcasing completed garments in more theatrical referenced situations (it makes it easier to grouse, gripe, and bemoan - I have my own fan to tend to, and while DNA evidence has not been collected, one believes she may be related to you).
For the corner, did you stitch the organza to right side or wrong side of the garment? Thank you!
ReplyDeleteRight side to right side, then the cut is made, and the scrap of organza is folded to the wrong side and pressed.
DeleteLove this so much! Wear it with a smile.
ReplyDeleteBRAVO! I love how these fashions come back, and the fact you are using this vintage pattern. Since older patterns seem to have a different fit (than todays patterns) it is always a smart thing to make a test garment in order to see if the fit is correct. I love the choice of fabric your finished dress is made from! (Would have loved to seen it on an actual live body!)
ReplyDeleteI love, love, love this dress and seeing how you are putting it all together. Thank you for sharing!
ReplyDelete