

Well, now I've gone and done it! I made a pair of pants in December. The idea popped into my head last Fall, and I finally got around to it a few months later.

To be fair, I have made myself two other pairs of pants over the last 20 years, and while they were vintage reproduction patterns, they just didn't turn out as well as I had hoped, and they really don't see any wear.

This time around, I decided that I would give an actual vintage pattern a try to see if I had more luck.

One of the main issues I have with pants is that I have a long torso, and this affects the fit. I have heard people complain that the rise of vintage pattern is way too long, so I figured that would be perfect for me. I also suspected that the fit through the hip might be more generous, which would also be helpful for the extra fluff that I store in that area. Of course, the only real way to see if this pattern would work is to make up a muslin, which I did.

In the end, I added 1" of extra length between the waist and legs. The only other modification was to remove a small wedge from the waistline at the center back for a slight swayback adjustment since I notice a bit of folded fabric there on the muslin mock-up.

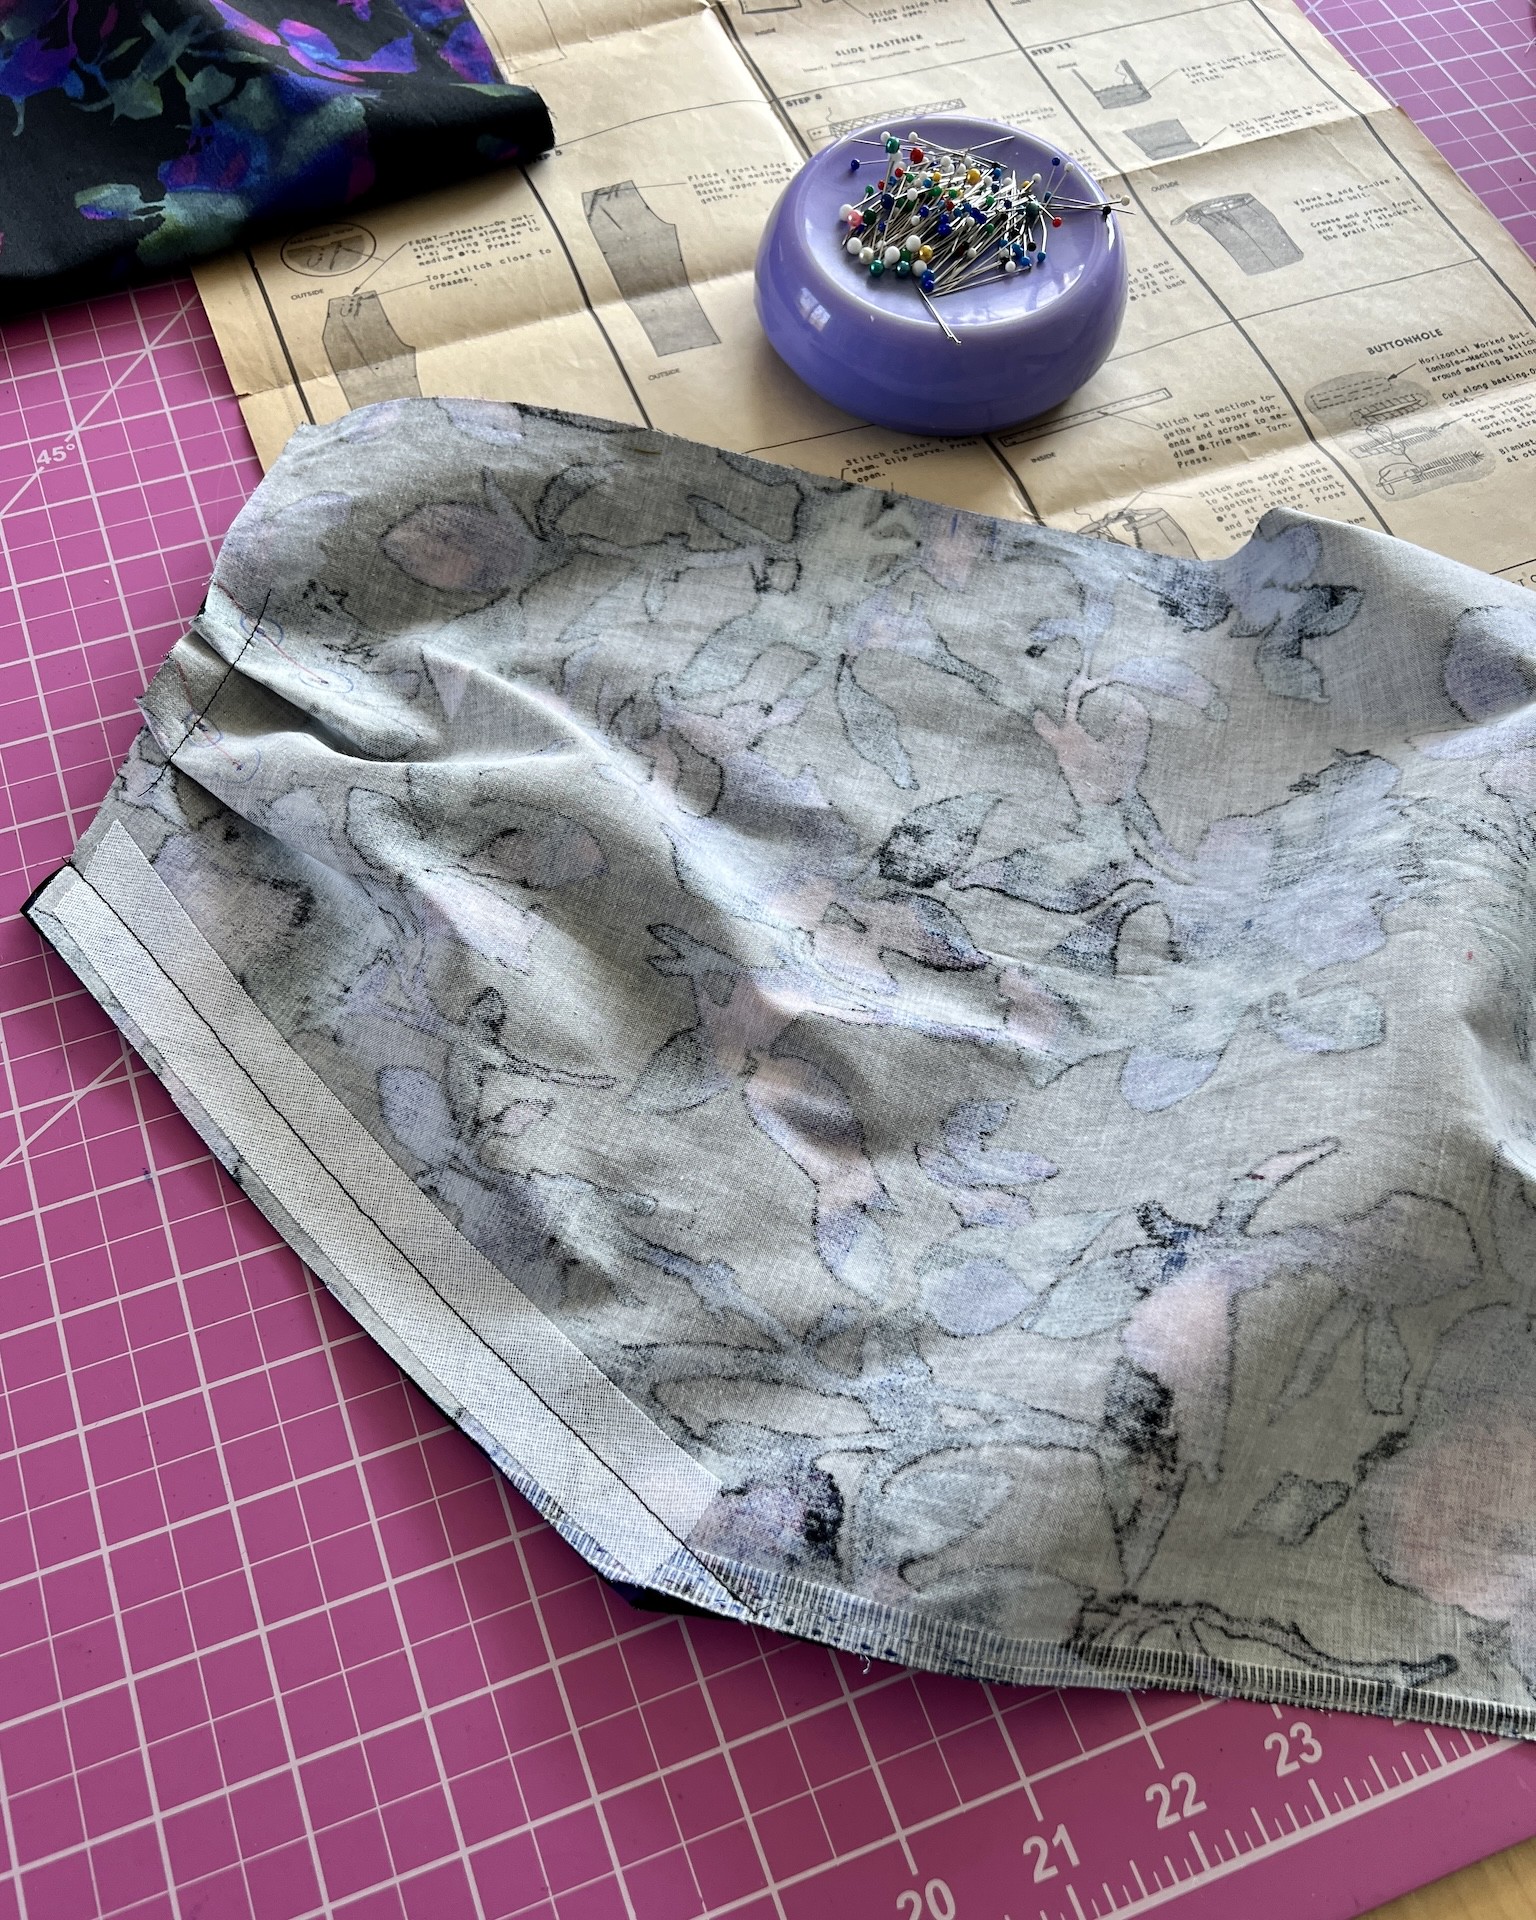
I decided to stabilize the pocket opening on the front pieces since they are cut along the bias. The cotton sateen with spandex has fairly good recovery, but I figured that this wouldn't hurt anything, so I went ahead and added it.
I found it interesting that the pattern suggested opening the seam allowances. I am so used to seeing pants with a serged edge, and I thought that I had seen instructions suggesting reinforcement of the crotch seamline with an extra line of stitching. Of course, these are more of an easy fitting pant, so that's probably not necessary.

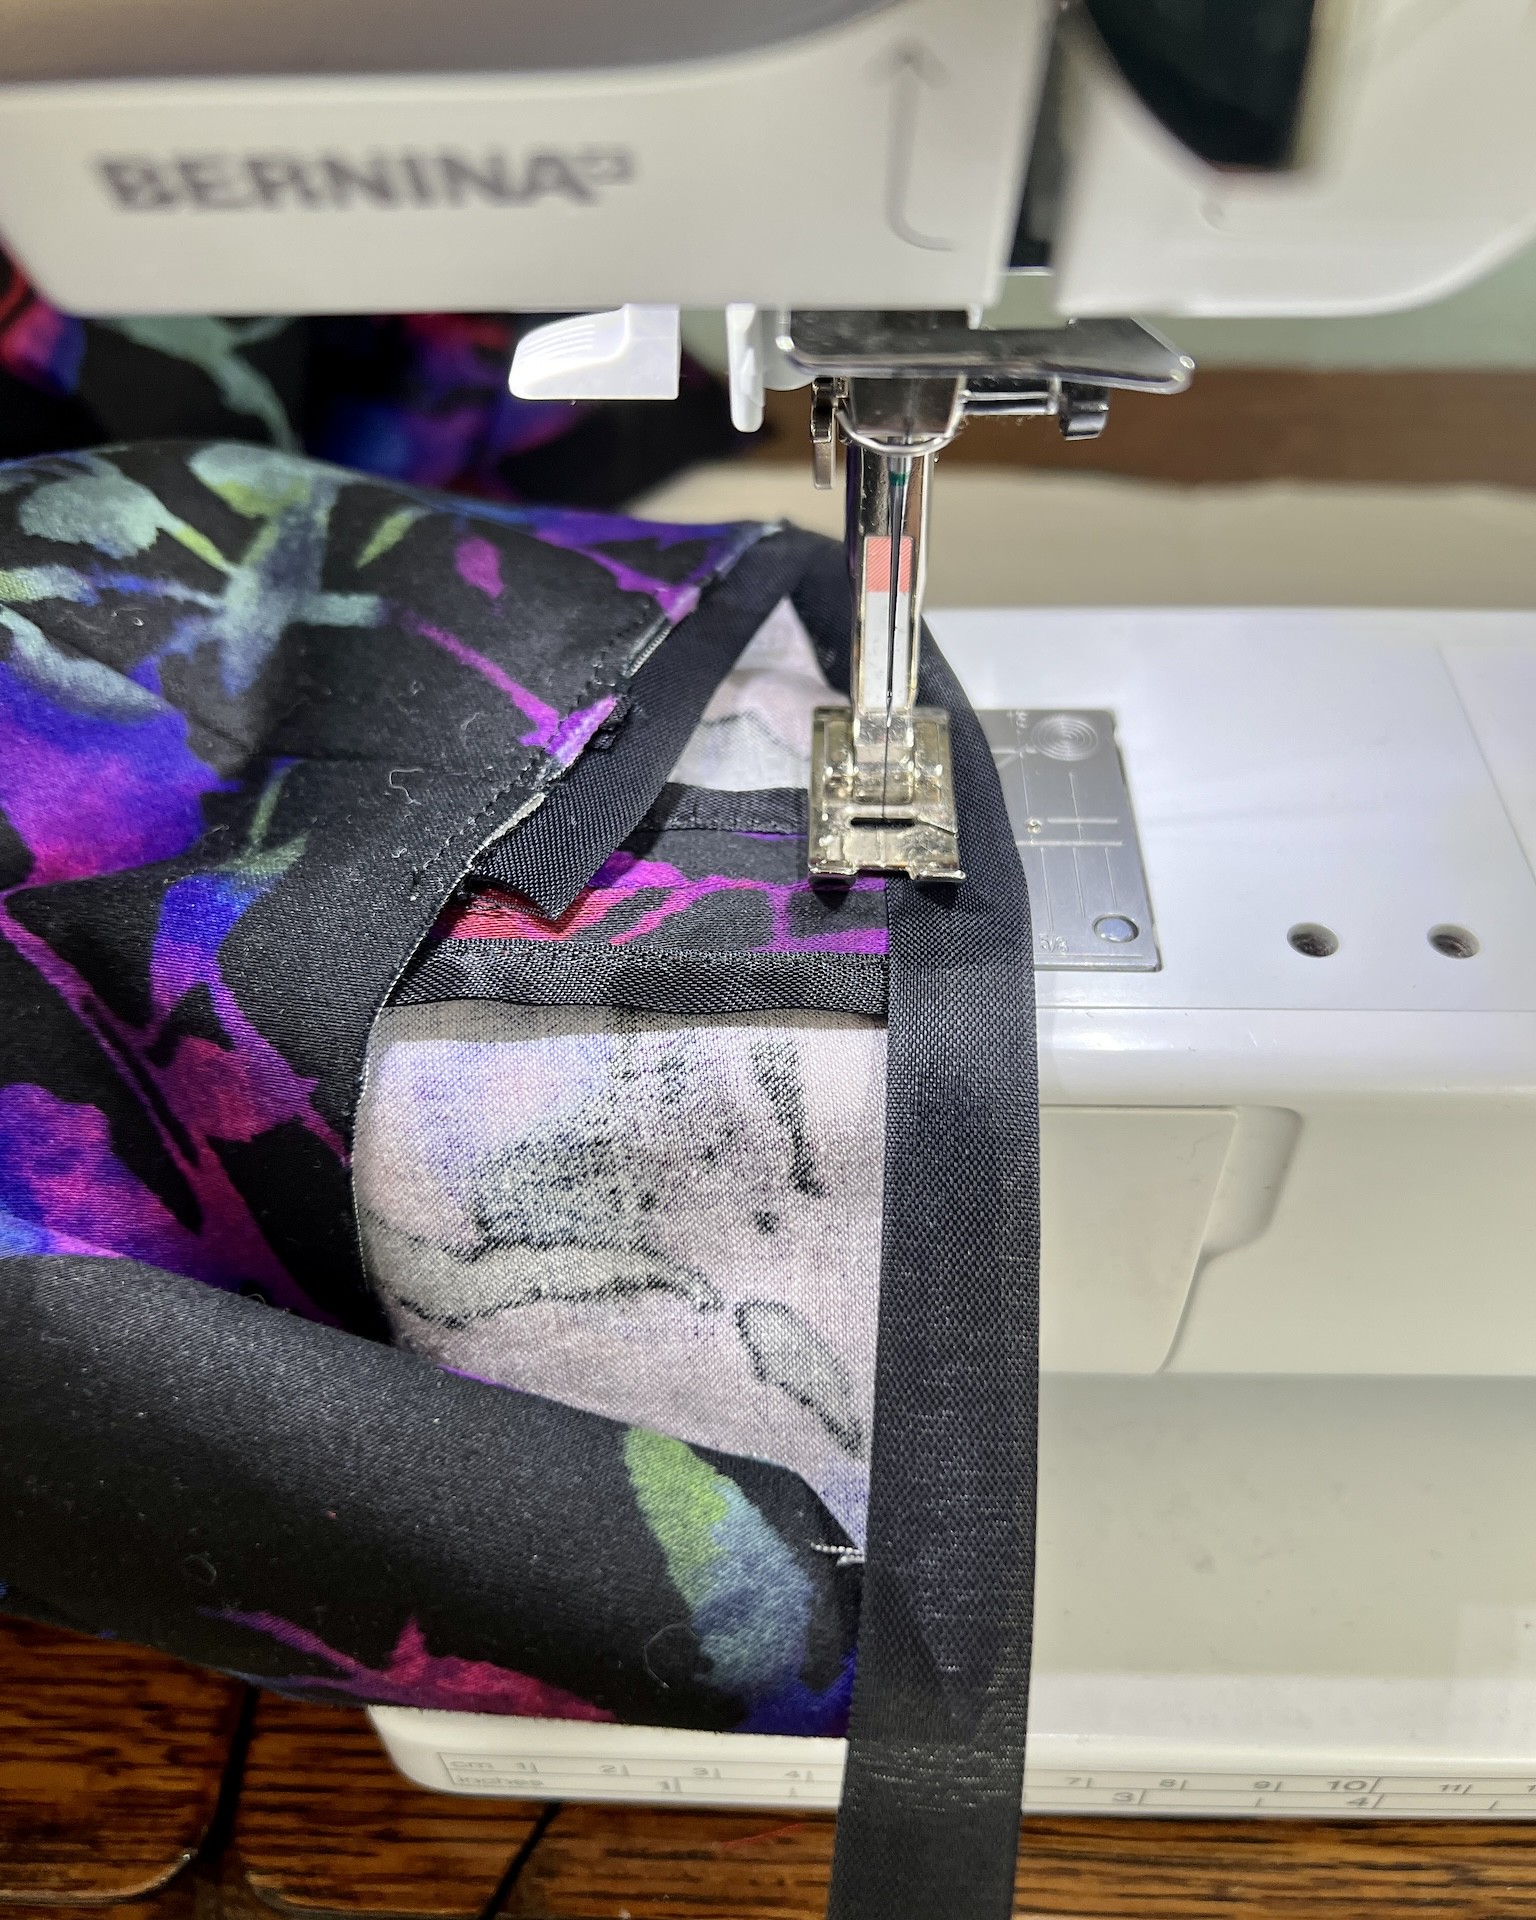
I did finish my raw edges with seam binding. These cotton spandex mid-weights always surprise me when the edges start to fray.

As for the hem, I had just under two yards of this fabric, which was not quite enough. I decided to move forward with the project anyway, and had to cut the hem along the foldline instead of the cutting line.
Well, the pants turned out to be plenty long. It probably had something to do with the extra inch that I added to the length up at the top of the pattern pieces. But anyway, I got lucky that my minimal yardage worked out fine in the end.

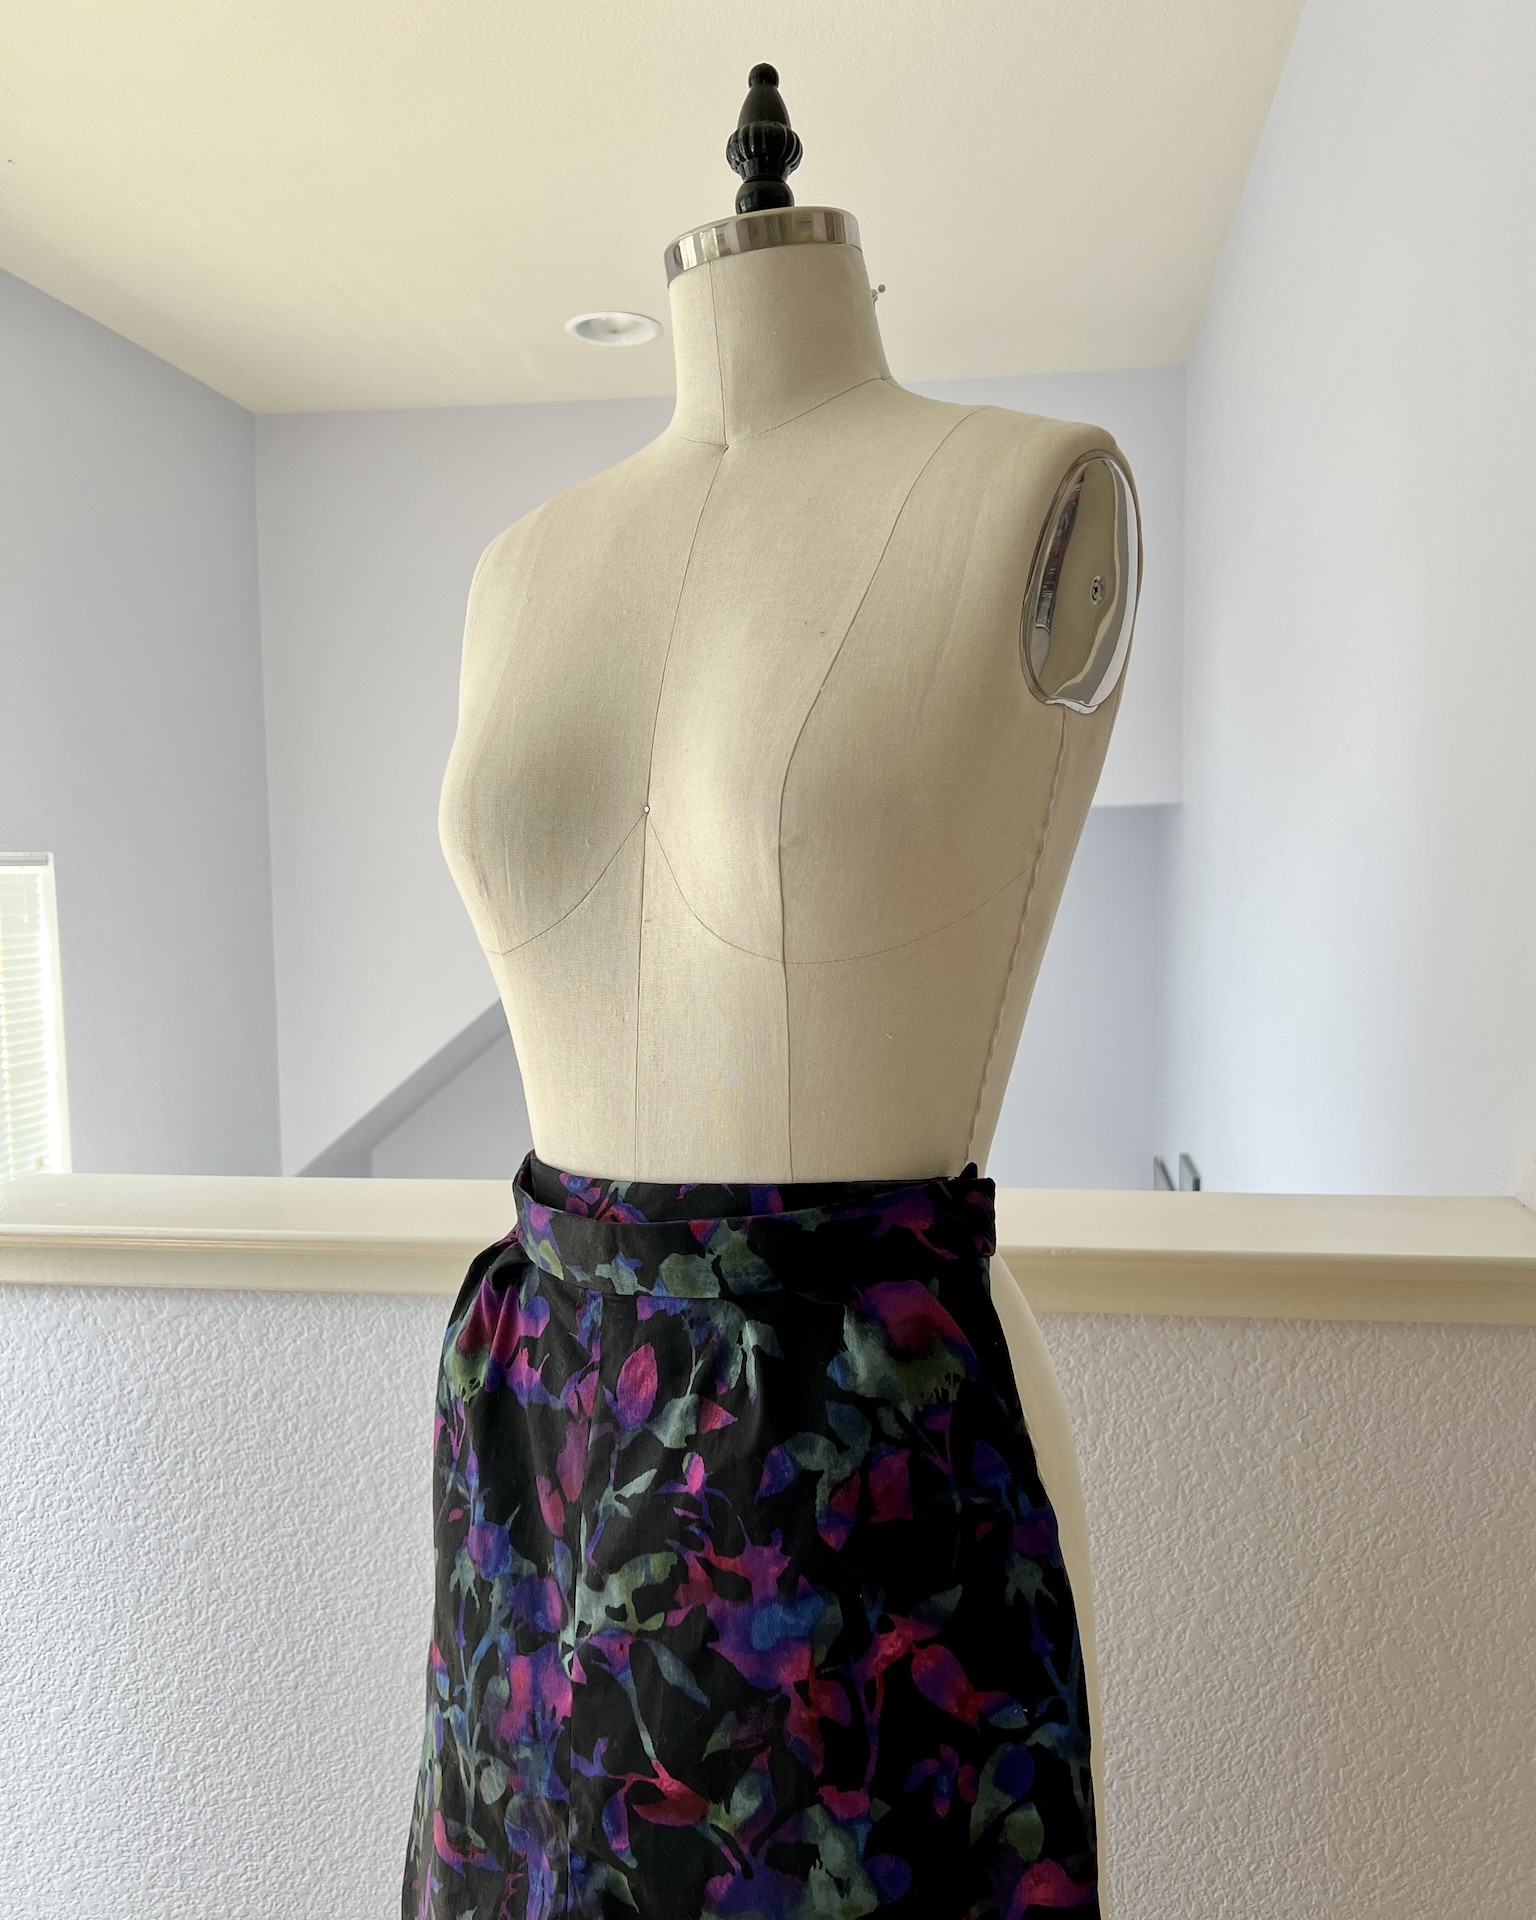
The waistband went together easily. And while side zippers are not usually my favorite option, I decided to go with it, and this particular side zip isn't bothering me as much as I anticipated.

After a bit of hand finishing, the only thing left was the buttonhole.

The directions suggest hand working the buttonhole, but I went with my vintage attachment.

If I use this pattern again, I think I will try out a hand stitched buttonhole. I haven't done one of those in a while, and it would be good practice.
Has this pattern convinced me to start wearing pants on a daily basis? Not quite. But I am glad that I stretched myself a bit and tried something completely different. I do think that I will try this pattern again using a wool suiting to see if I like the silhouette a bit more in a drapey fabric.

Beautifully finished, gorgeous make.....I used the fit of a vintage pants pattern as a base for my trouser block as I prefer the higher waist line....personally I go for a fitted waist as front pleats don't quite work for me!
ReplyDeleteThey look fantastic and will be a complete new look for you. I hope that you do a post wearing them soon!
ReplyDelete