Showing posts with label Butterick 5747. Show all posts

Friday, June 24, 2016

"What you up to with Miss Ellen's portieres?"


Scarlett: You're gonna make me a new dress.  
Mammy: Not with Miss Ellen's portieres. Not while I got breath in my body.
Scarlett [grabbing the curtains and tears them down]: Great balls of fire! They're my portieres now. I'm going to Atlanta for that three hundred dollars and I've got to go looking like a queen. 
Mammy: Who's goin' to Atlanta wit' you? 
Scarlett: I'm going alone. 
Mammy: That's what you think. I'se goin' to Atlanta with you. With you and that new dress. 
Scarlett: Mammy, darling....
Mammy: No use to try to sweet talk me, Miss Scarlett. I'se known you since I put the first pair of diapers on you. I said I'm goin' to Atlanta with you and goin' I is.


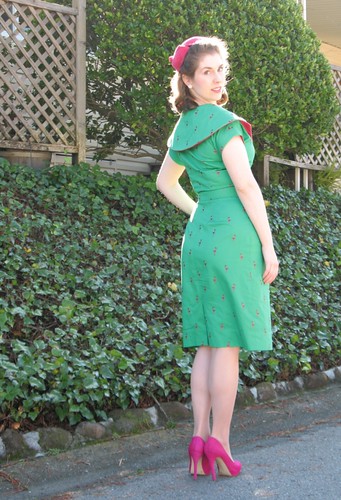
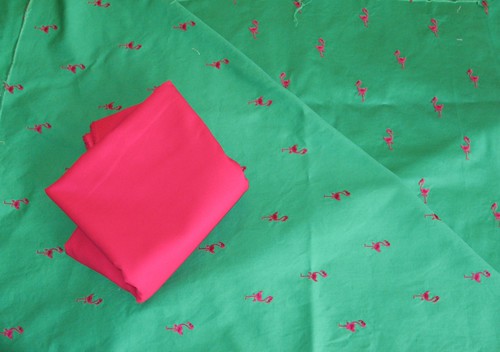
Last year I travelled to Pennsylvania with my Mom to help empty out and sell a family condo.  In the basement, there was a bedspread, four curtain panels, and a valence made from this fabric that once belonged to my Grandmother.  I am not sure if she made the set herself, or if her sister did.  The fabric was too heavy and bulky to fit in a suitcase, but I expressed interest in the textile and it was eventually mailed to California.


My initial idea was to make a tea length circle skirt, but this was before I had actually looked at the yardage that was available.  The valence was quite discolored and very narrow.  The four curtains were in pretty good condition, although three of them had a few stains and/or imperfections that needed to be avoided.  And the bedspread was very worn at the corners, although the ruffle was in usable condition.  That meant that a circle skirt was out of the question.  


I started pulling out patterns because I wanted to do something with this fabric that would keep it from heading back into storage for another decade or more.  About the same time, while rifling through my closet, I came across this dress.  I really love the design, and had wanted to make the full skirted version ever since the pattern was released.


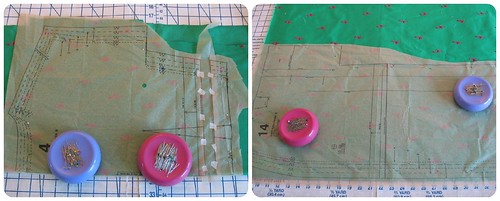
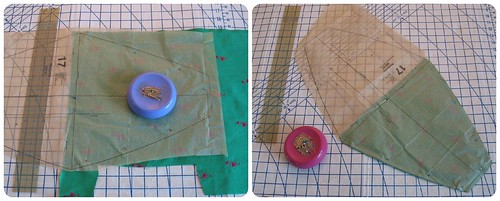
The four skirt panels fit perfectly on the four curtain panels while also managing to avoid all the flawed bits of fabric!  That left me with a bodice and collar to fit on the bedspread, and I felt like that just might work.


Then I had to deconstruct everything.  To be honest, I was not looking forward to this step.  I really try to avoid a seam ripper whenever possible!  


Turns out, the fabric is in great shape, but the thread did not fare so well over the years.  A tiny snip at one end of a seamline and the thing tore right apart.  I would have been rather upset if I had intended to use the bedroom set for its original purpose, but in this instance, it was a fantastic time saver!


And now I have a new dress, made entirely from stashed items.  It may not be as fancy as Scarlett's amazing creation made from some green velvet drapes, but I am very pleased with my results.


Now that is my idea of repurposing!!


Dress & Belt:  Made by me, Butterick 5747
Headband:  Made by me
Petticoat:  Made by me, Vogue 4203
Shoes:  Remix “Babydoll”
Gloves:  Vintage
Necklace:  Made by me
Purse:  Harvey’s Seatbelt Bags

Wednesday, November 28, 2012

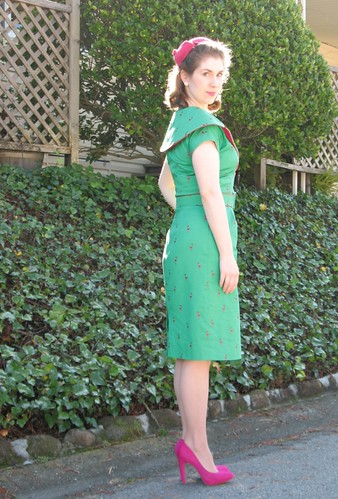
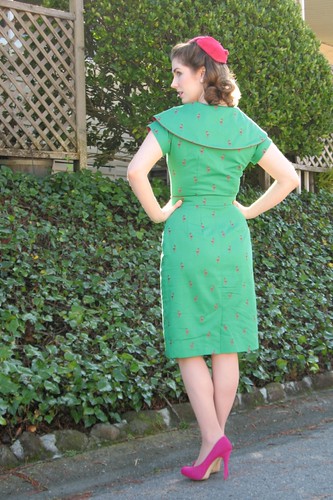
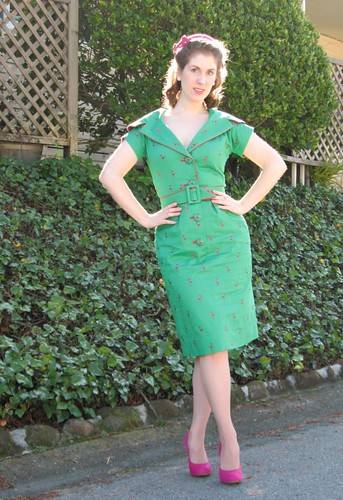
Pink Flamingo


It is finally finished!


I had my doubts, and my frustrations, but it turns out I am very pleased with the finished dress.  Which probably has more to do with the fabric than anything else!


Flamingos are fabulous!  And I just love the green and pink color combo.


When I started, I absolutely believed that this pattern was going to be a one hit wonder.  I was curious enough about the style to give it a try, but also convinced that I would not want to make another.  After wearing it around for the day, I think that it would make a lovely wool frock (and much more suitable for Fall/Winter weather!).  So perhaps I will have to make another at some point.


The hat is something I found at a local store.  It does not have any label inside, and I cannot decide the proper way to wear it.  Some days I wear the buckle/bow to the front, and in this case, I decided that the embellishments should face the back.  Any thoughts on the “correct” way to wear the hat?


And it turns out that the dress works with or without the dickey.  A day to evening look, if you will.  And more proof  that the fabric really makes the dress!


Dress:  Butterick 5747
Hat:  Vintage
Earrings:  Vintage
Shoes:  INC

Sunday, November 25, 2012

Standing on One Leg


Thank you for all of your suggestions for coping with my frustrating machine buttonhole experience.  It is probably going to be some time before I pull out that particular foot again, but we shall see . . .  And it is further proof that they just don’t make things like they used to if all those owners of vintage Singer machines are to believed (and I do believe!!).


I have had this fabric for quite some time.  So long, in fact, that it was tucked away in a plastic storage bin that has been untouched for years.  But it was so memorable that I was continually making plans for it, if only in my mind.  My original idea was a pleated bodice with halter strap and full skirt.  I wanted to add some fuchsia contrast – perhaps a ruffled petticoat?

Over the years, the idea morphed as I came across suitable patterns.


And then came Butterick 5747.  I immediately thought of my pink flamingos.  


But how was the contrast color going to work?  (Because I really felt that the fabric needed a bit more pink to bring out those flamingos.)  

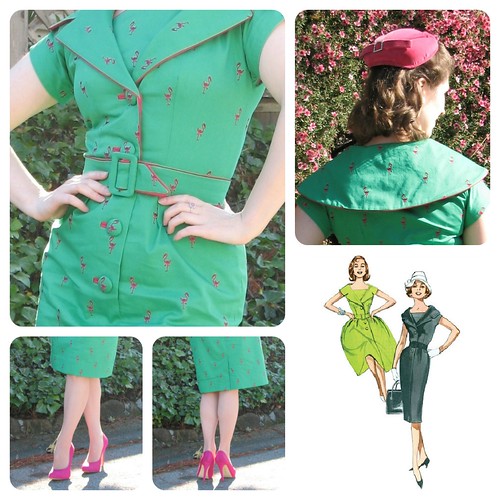
And, to be perfectly honest, I am not a fan of the yellow example of the pattern produced by Butterick, so I was concerned that the pattern might not be as fantastic as the illustration. 


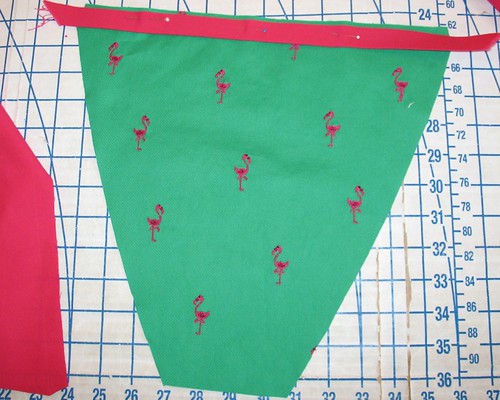
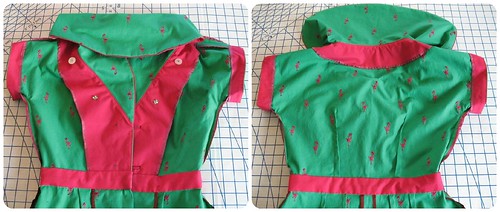
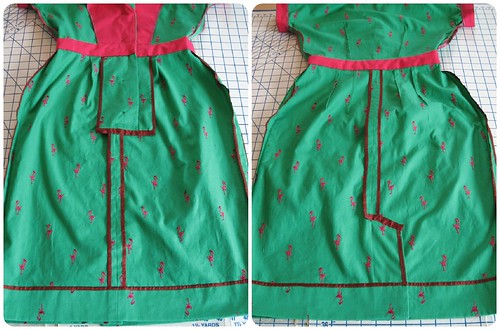
Piping was the first idea that I came up with.


I did not bother adding cording or yarn or any fill to this particular piping because the contrast color was striking enough on its own (and is a bit easier to work with!).


Then came the question of where to place the piping.


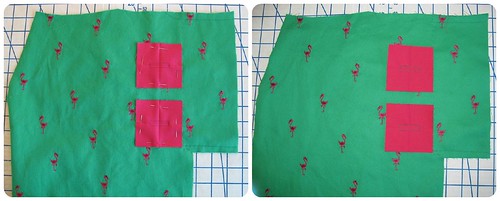
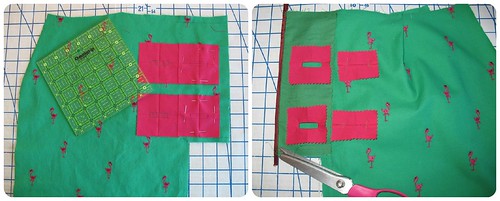
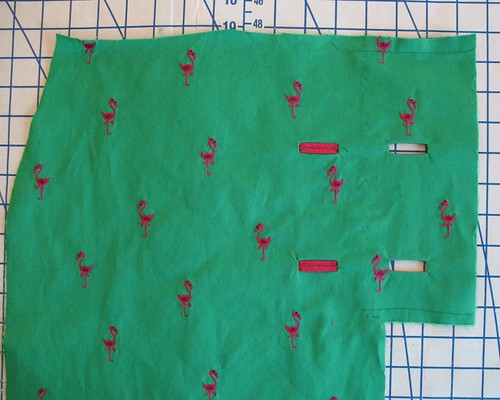
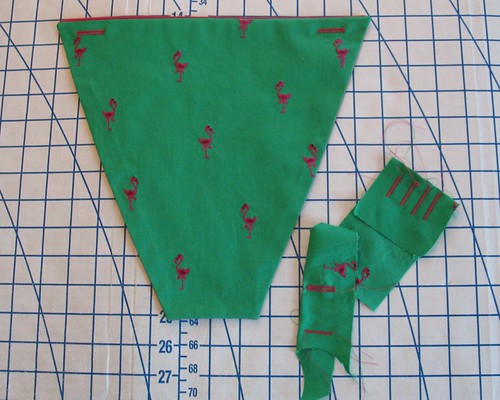
Instead of waiting until the dress was constructed, I applied bound buttonholes at the beginning of the process. 


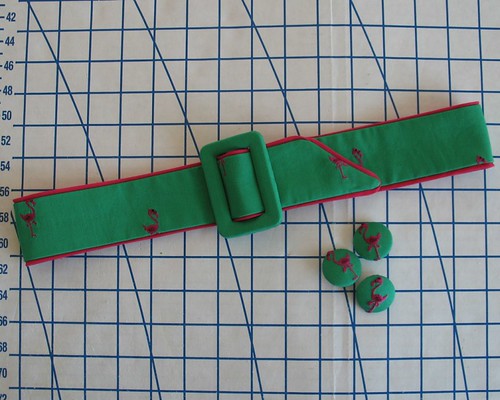
I happened to have a couple of packages of 1 1/8” covered button kits, so my buttons are a bit over-sized.  But the flamingos barely fit as it is!


The pattern places a button at the waistband which is rather ridiculous considering the belt that is included.  I decided that the fourth button should be moved up onto the bodice and a hook & eye would take care of closing the waist (and it does not interfere with the belt).


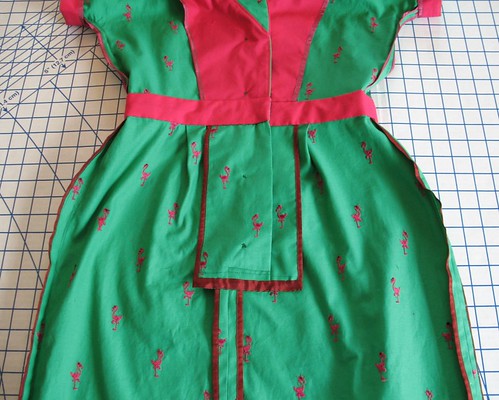
The insides look a bit crazy.  I ran out of rose colored seam binding, and ended up finishing the spool of wine as well.  


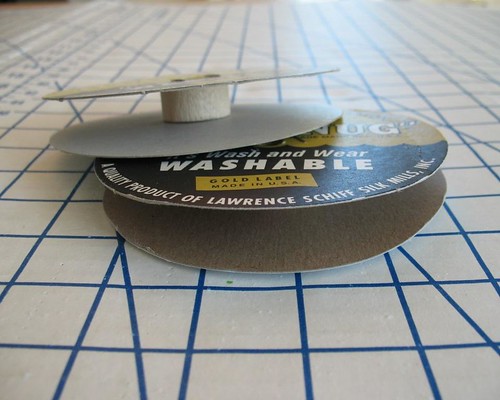
Two more spools of Hug Snug have bit the dust; which takes the total to well over 300 yards of the stuff used in the last couple of years – I am an admitted addict, and rehab is inevitable at this point.


Instead of using the embroidered fabric for a facing and dealing with ironing issues with the extra bumps, I used the pink cotton that was used for the piping.  So that is rose, fuchsia, and wine mixing it up on the inside of this crazy dress.


But flamingo fabric is quirky to begin with, so mismatched colors add to the fun factor (at least, I think they do!).

Saturday, November 24, 2012

Machine Buttonholes are Evil


I am extremely grouchy at the moment.  Baby Bernina has let me down.  When I picked her up, the dealer told me how much I was going to love the buttonhole feature.  Well, ha-ha joke was on her – I cannot remember the last time I used a machine to make a buttonhole.


However, the project I am currently working on has two interior buttonholes that will not show, and I thought this would be the perfect opportunity to use the fabulous buttonhole option on my lovely machine.

Trusty Bound Buttonholes

Turns out, the joke is on me, because my machine will NOT make an automatic buttonhole.  I have watched online tutorials and read the instructions, but no matter what I do, that silly little “A” does not appear on the screen after I stop and press the Quick Reverse Button -  the machine cannot seem get past the reverse straight stitch to make the second leg of the buttonhole. 

I turned it off and back on, hoping for the best.  It still will not work properly.

I am so frustrated that I just used the Quick Reverse Button each time I came to the end to complete the buttonholes.  It works, but so much for ease of use and consistency with the automatic buttonhole attachment.  I would scrap the whole foot, but no other option was included.


This is why I do not trust machine made buttonholes.

Has anyone else come across this issue?  I decided to step away from the machine before I do something that I will regret, like slap her silly.

I really do not enjoy when machines do not do what they are supposed to do.  Aargh!!


Have you ever had one of those weeks?  I would really like to finish the dress, but I am afraid to touch anything else at this point.