Tuesday, May 17, 2022

Make, Sew and Mend

I cannot exactly recall when I first came across Bernadette Banner's YouTube Channel, but it was soon after the first Covid lockdown happened.  I spent days pouring over her lovely videos, eagerly anticipating the next.  It may have began as background noise in the sewing room, but I will admit that I became distracted by the wonderful story telling and did not get a whole lot of sewing done while those videos were playing. 

Part of the draw was memories of my early days of garment sewing, focusing on much more historical silhouettes than I do these days, though my attempts were much more costume-like than historically accurate, I will be the first to admit.

So when I was approached by Page Street Publishing about Bernadette's new book, Make, Sew and Mend:  Traditional Techniques to Sustainably Maintain and Refashion Your Clothes, I was excited to see what she would have to say, especially with her general emphasis on hand sewing.

And the book does a wonderful job of running through the basics, from choosing fabrics, to the importance of pressing (I will second that!).  But the book also includes information on things like clappers and needle boards, some basics on tailoring, and reminders not to get bogged down in obsessing over perfection at each step.  So whether you are a true beginner, or a pro who wants to add another reference guide to the library, I think that this book is an excellent choice.

The inclusion of directions on darning and the most beautiful examples of patching that I have ever seen is a testament that this book successfully leads you from the creation of a beloved garment all the way to caring for and maintaining that item - which is exactly what is promised, right there on the cover of the book.

There are also some wonderful photos of antique clothing innards, which I always find fascinating.  Sure, the photos of Haute Couture gowns are glorious, but show me the insides!!  I want to see how it's all put together!

I would have loved to have this book in my library as I was first delving into apparel sewing many years ago.  Bernadette makes it clear that you can begin your sewing journey with little more than needle, thread, and cloth (and an iron, of course!).  The only reference to machine stitching is found in an image on the Dedication page, an antique hand cranked sewing machine which I believe is the very machine I have seen Ms. Banner use in some of her videos.

Congratulations to Bernadette on her first book!  I would highly recommend Make, Sew and Mend for beginners as well as highly experienced sewists that will be reminded of the joys of taking things slow and enjoying the process while paging through this book.  

Bernadette's enthusiasm is infectious, and I am going to do my best to take her advice to keep up with my mending!  Why is it so very difficult to find the motivation to secure a single button on that purchased cardigan?  I have also been reminded that cartridge pleating has been on my to-do list of techniques to try . . . will this finally be the year?!

[A review copy of Make, Sew and Mend was sent to me, but the opinions expressed here are my own.]

Wednesday, May 11, 2022

Sweaters & Sequins

I love when two completely unrelated projects end up being a perfect pair!

I was working on both the sweater and stitching sequins and beads on the skirt at the same time, and it eventually occurred to me that the colors were a perfect match when I saw both items laying next to each other on the same table.

And while I was not finished making the matching top for the skirt, I decided that I could not wait any longer to wear the skirt. 

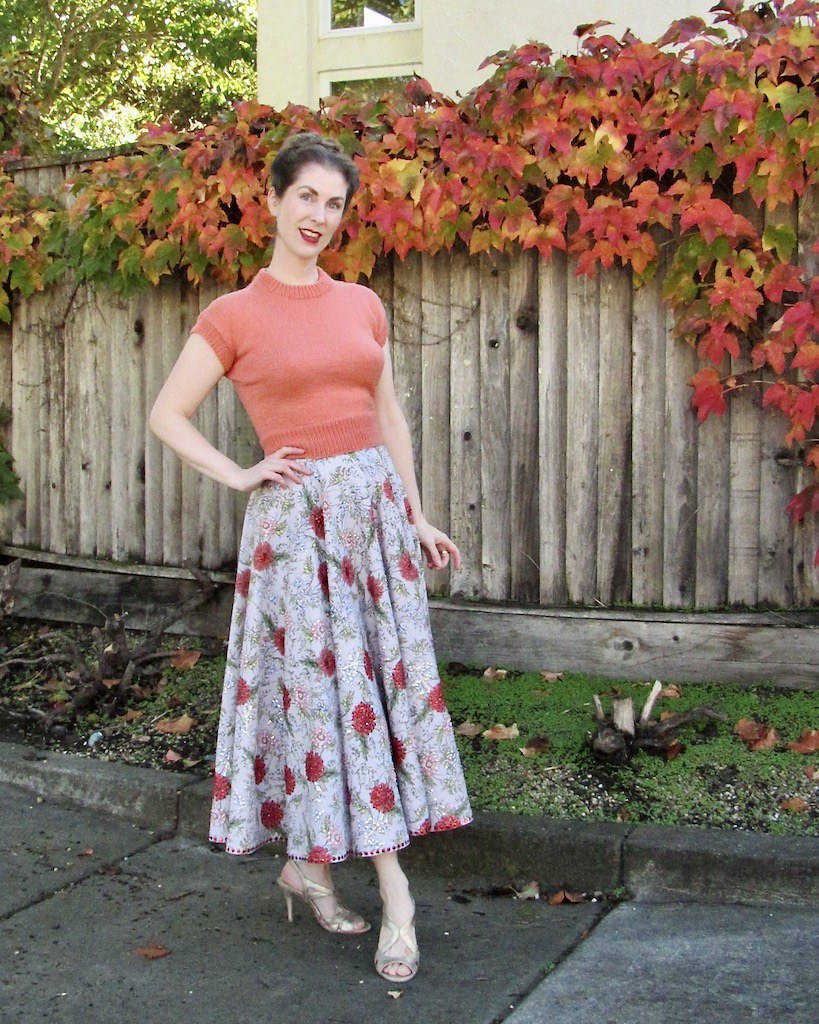
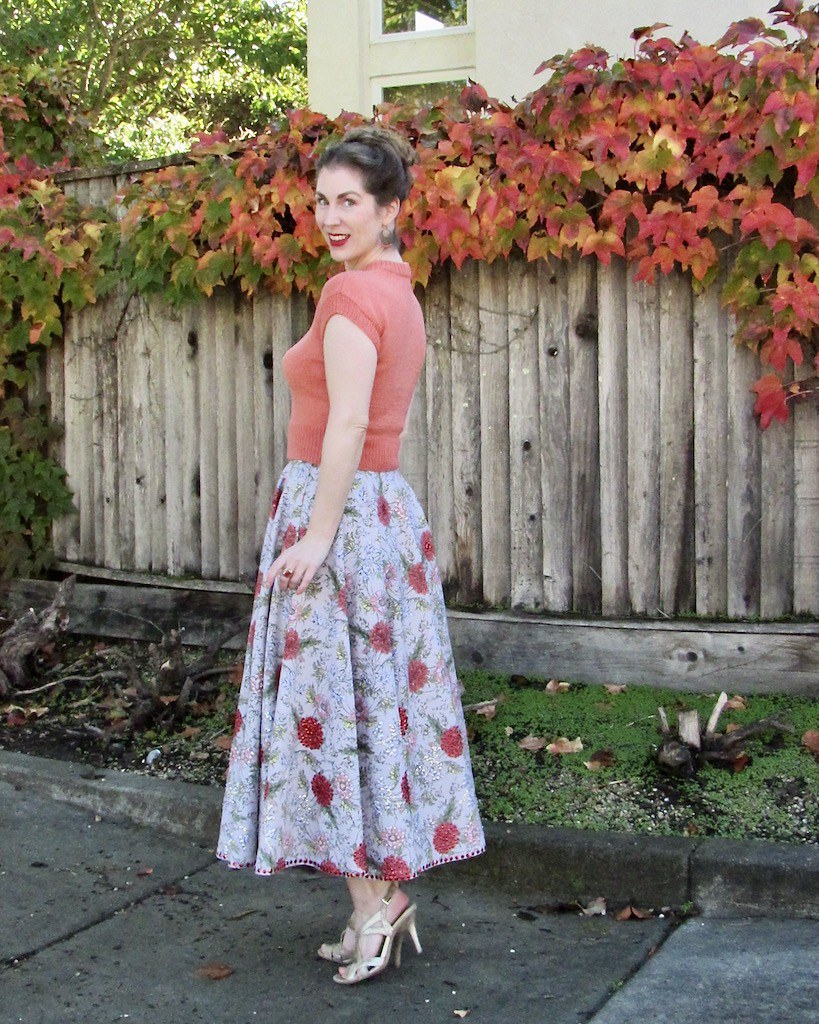
So in the Fall of last year, while the leaves were turning, I donned this sweater and skirt.

And I had a whole lot of fun wearing this skirt!

Circle skirts are definitely one of my favorite silhouettes, especially tea length circle skirts.

The sweater has become a staple in my closet (I liked it so much that I made another), but the star of this particular show is the skirt.

It is difficult to capture the shimmer of the sequins in a photo, but in the sunlight it catches the light beautifully.

While finishing the matching top, I had to find the leftover yardage to make a matching mask for attending the Symphony two weeks ago.

I did not realize just how much fabric I still have stashed away.  So there may be another matching blouse in the sewing projects queue.

I figure, I might as well get as much wear out of something that I spent so long making!

The only question is, to sequin, or not to sequin . . .


Sweater:  Made by me, "Jailbird Blouse" by Poison Grrls
Skirt:  Made by me
Shoes:  Nine West
Earrings:  Express
Ring:  Grandfather's high school ring

Tuesday, April 26, 2022

Sequins & Spangles

This was one of those projects that was started in 2020.  I wanted something that would keep me busy . . . for a long time.

I have wanted to make a sequined circle skirt for YEARS, and this seemed like an excellent time to begin.  Of course, choosing a motif to sequin was too much work for my brain.  Instead, I decided to choose a print that I liked and embellish from there . . . so much easier!

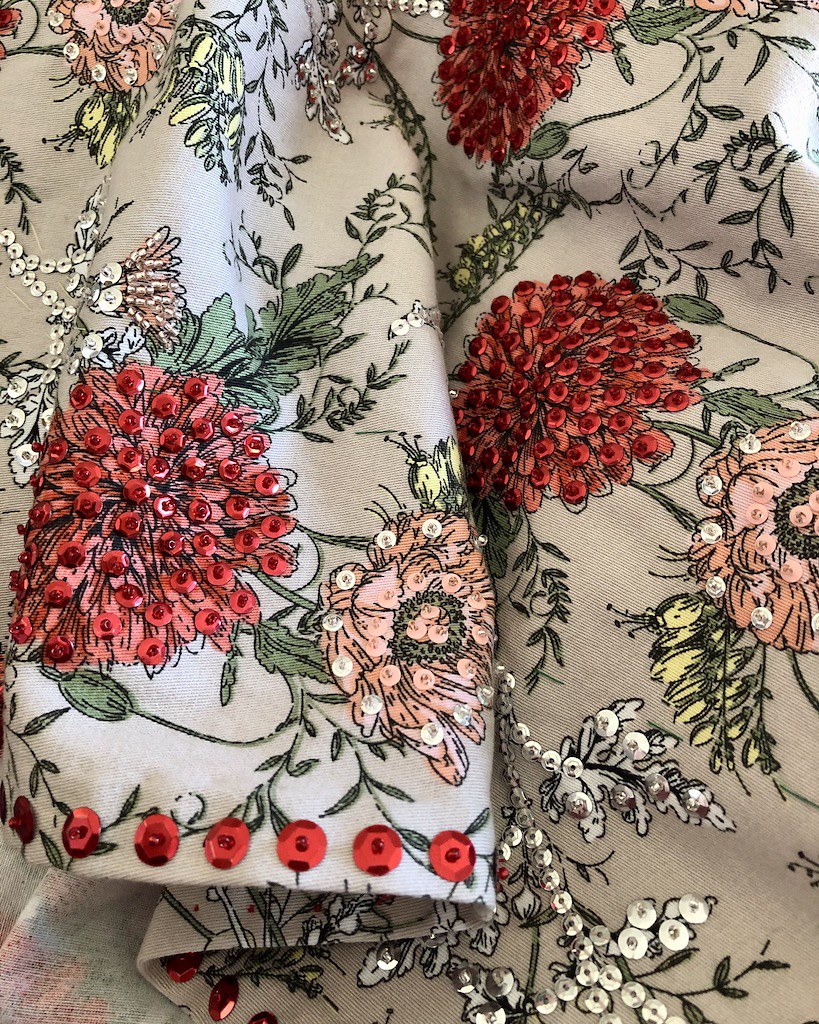
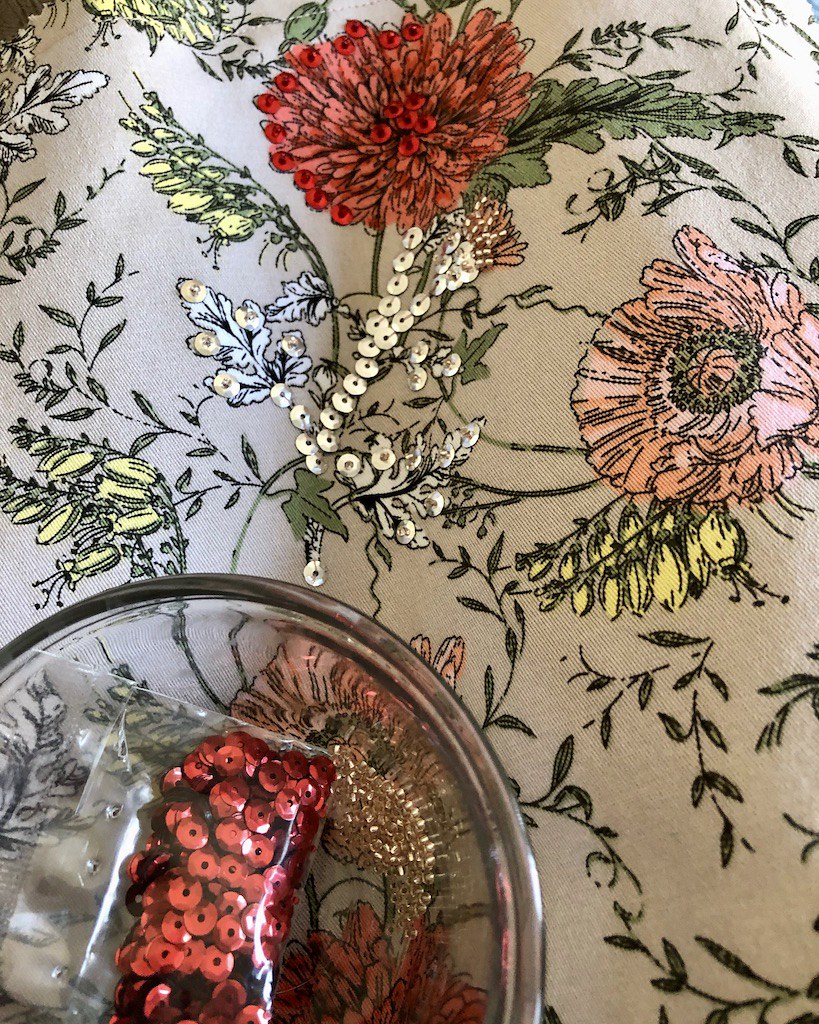
My first thought was to outline each flower plus an added smattering of sequins at the center.  Then I added on a stem and a few beads for good measure.  But the stem didn't look right with the large silver sequins, so I had to find something slightly smaller.

And as for placement of those sequins, they were originally meant to sit along the hemline, perhaps skipping every other floral motif.  I interfaced that portion of the hem with some organdy that I had on hand to support the sequins and beads by hand basting it into place.  This also made the hemline stand out, which was fine.

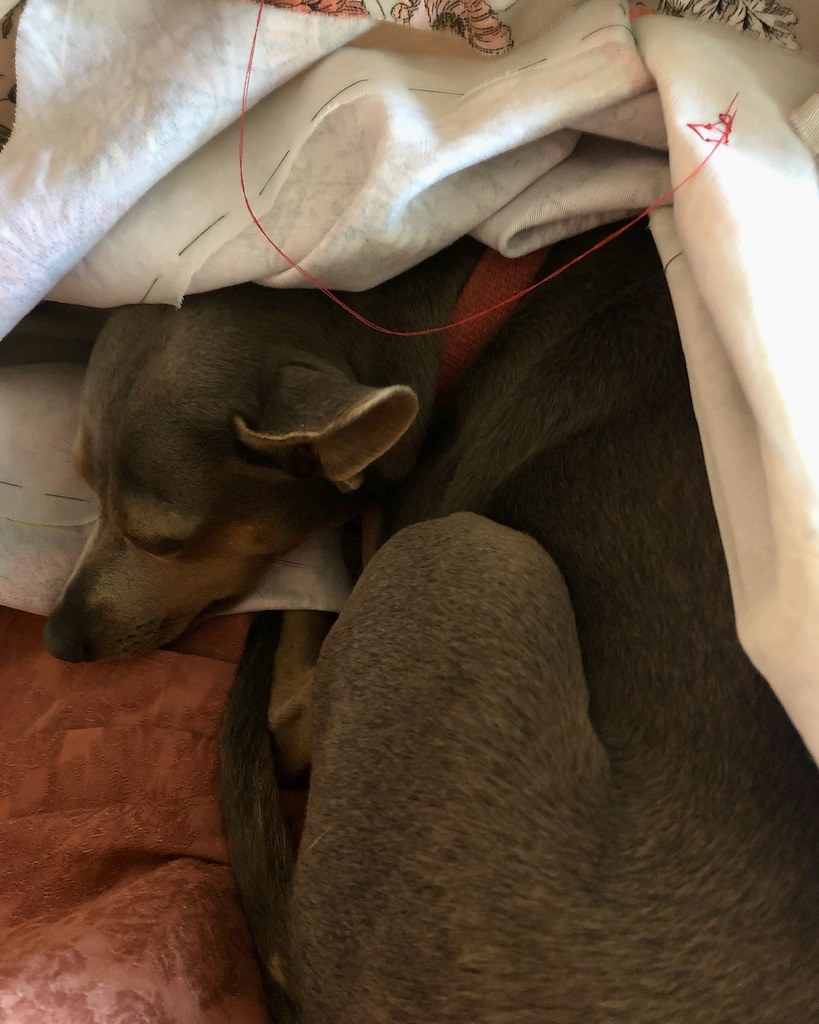
And look, it's my little "helper."  Larry was visiting and decided to be a cuddle bug, which doesn't happen all that often, so I worked around him.  Unlike Valentino, he is not put off by me reaching or moving slightly.  If he has decided he wants a lap, there is little to dissuade him from remaining right where he is.

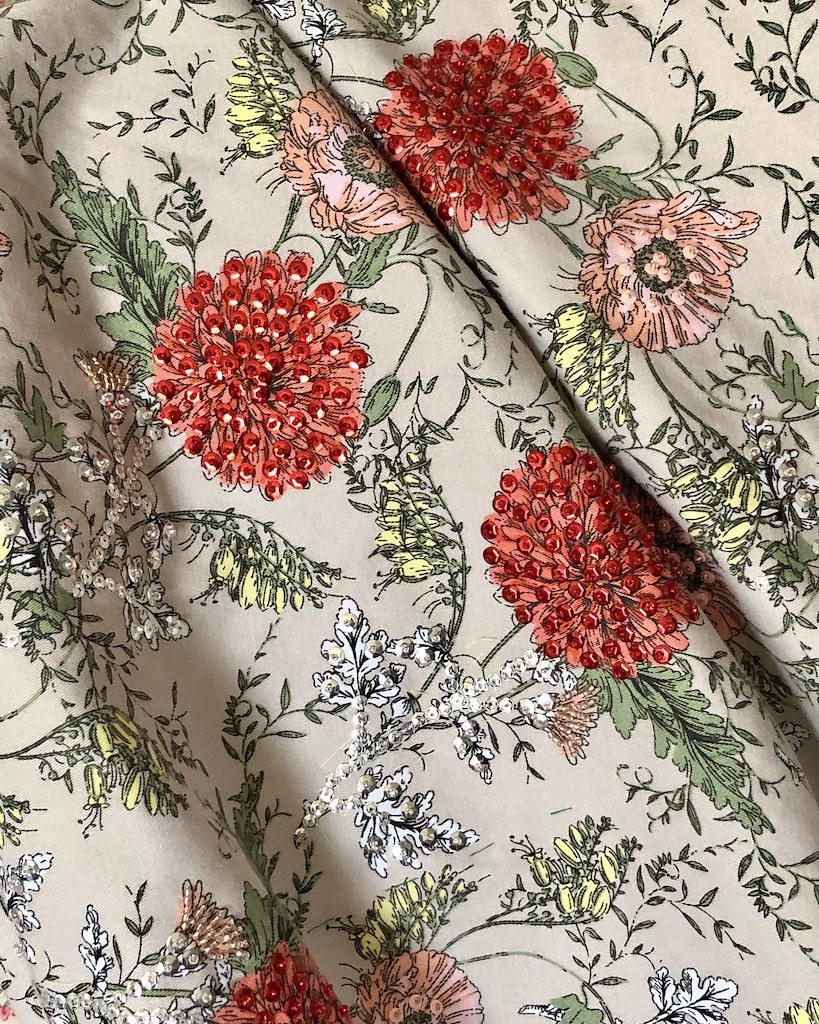
The placement of sequins also morphed into a full out explosion since I was having so much fun playing with sequins and beads.

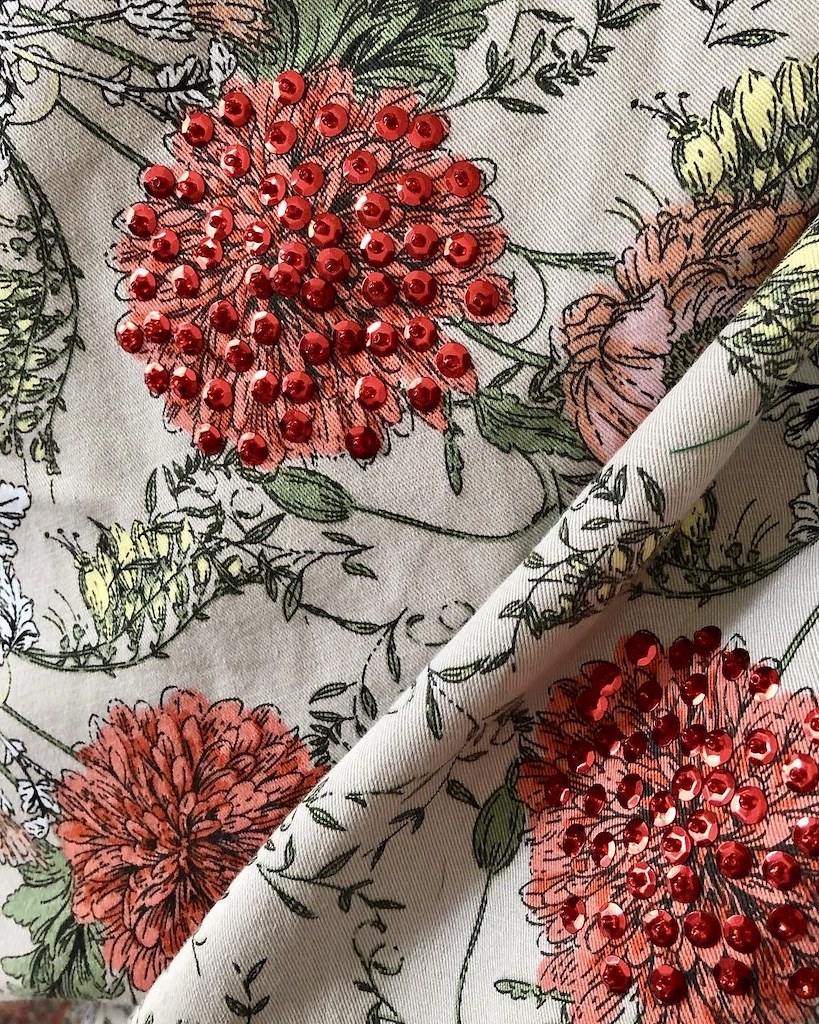
Each cup sequin was applied with a bead to hold it in place and knotted off at the back.  This will keep most of the embellished bits in place should one get snagged or pulled.  I would love to learn more about tambour bead and give it a try, but the thought of being able to release an entire line of beads with a single pull is not very exciting.

From there, I just kept going . . .

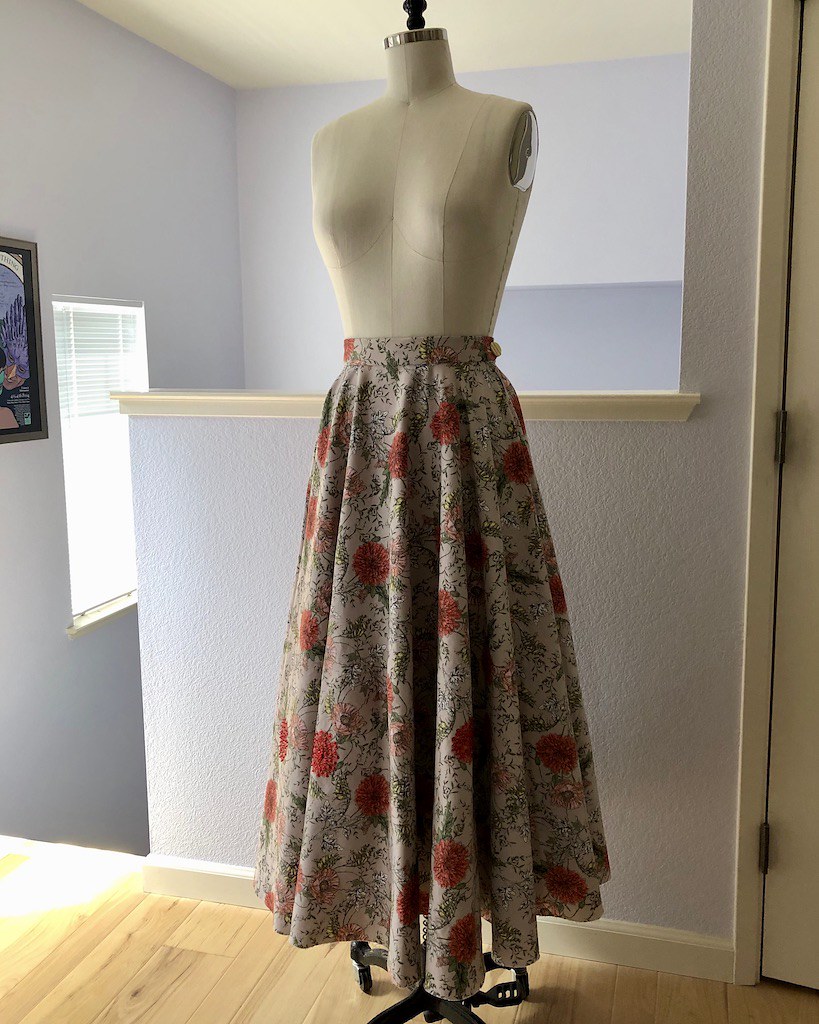
When I wasn't having fun hand sewing sequins, I let the skirt live on my dress form so that the hem could drop.  I also figured out that the flowers that I had chosen to embellish were getting lost in the folds of the circle skirt.  Whoops . . . I guess I should have put the skirt on the form before getting started with the sequins. 

 So the only logical thing to do was to put sequins on ALL of the flowers!  And honestly, that was just fine.  This process was rather addicting.  I decided that the fabric was sturdy enough not to require any interfacing for the upper portions of the skirt, and I think that was the right decision.  In the end, I cut around the motifs that had organdy underneath so that the drape of the skirt was not effected.  Once all of the sequins and beads were in place, I thought that the organdy made the hemline area a little too stiff.

While searching online for smaller sequins for the stems, I found pink ones in the same size, so the little pink flowers were also adorned with sequins.

I thought about adding yellow beads, but didn't end up liking the way they looked.

And while the bulk of the time spent on this project was sewing each sequin on, one at a time, there were a couple of other things to take care of on the construction of the skirt itself.

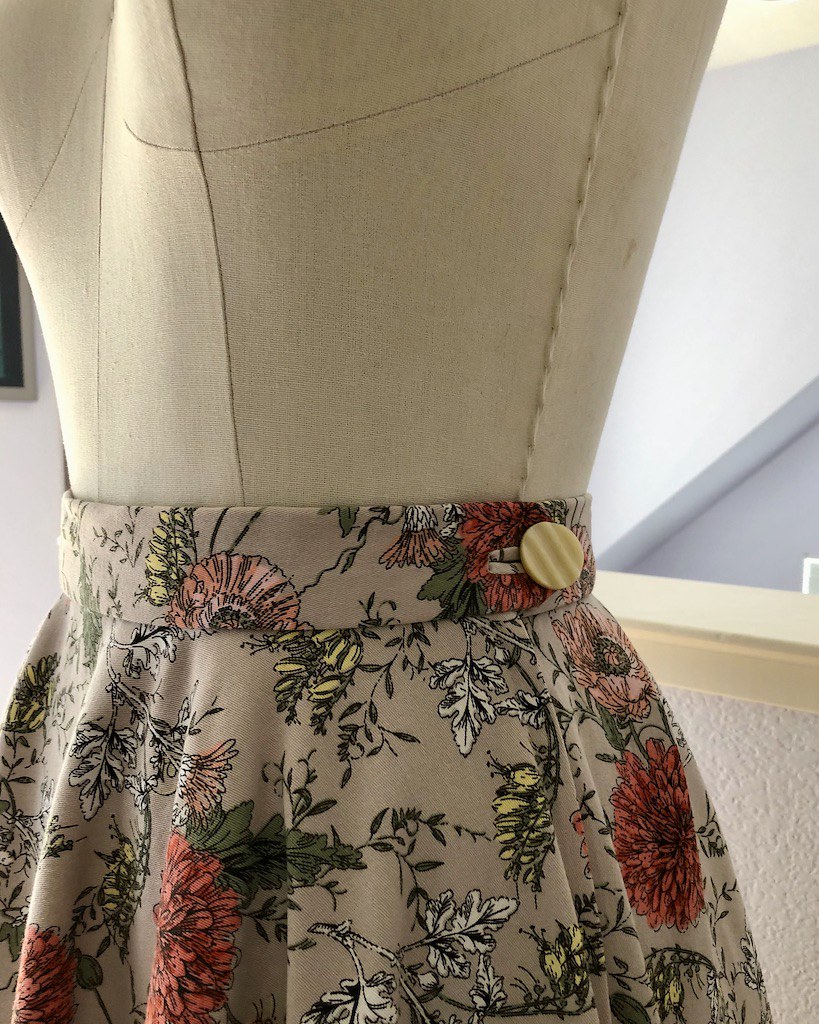
I usually like to have my zipper openings at center back, but for this skirt, I decided that it would be easier to work with two panels instead of three.  I also found a single button amongst a collection found at an estate sale that was a perfect match to the print, so instead of my standard hook & bar closure, I went with a button.

And there was some seam binding involved, obviously!

And while I can't find any photos of the process, I also added a few bones to the waistband to keep it from collapsing.

I have to say, I loved working on this project!

I have mentioned before that I find hand work to be therapeutic, and this project definitely fit the bill.

As a finishing touch, I used a larger sized sequin along the hemline.

I think it does a nice job of finishing the look.

And the skirt obviously needed a couple of hanging loops.  I didn't think that a ribbon would be enough to support the weight of the skirt, so instead, I used two bias tubes of fabric.  Since the zipper opening is on the side seam, I put the hangers at center front and back.

And that, I think, is about all there is for this skirt.  It was a labor of love, and I have to say, it is quite fun to wear!


Thursday, April 14, 2022

A Cozy Quilt

This quilt really was a labor of love.  I cannot remember exactly when I started piecing (probably around 2013), but I am very proud to say that this is the first quilt that I have managed to finish! Well, except for that square that I noticed the other day that I somehow missed - whoops, will have to go back and fix that when I get a minute.

And each and every stitch was done by hand, which is exactly the way I wanted it.

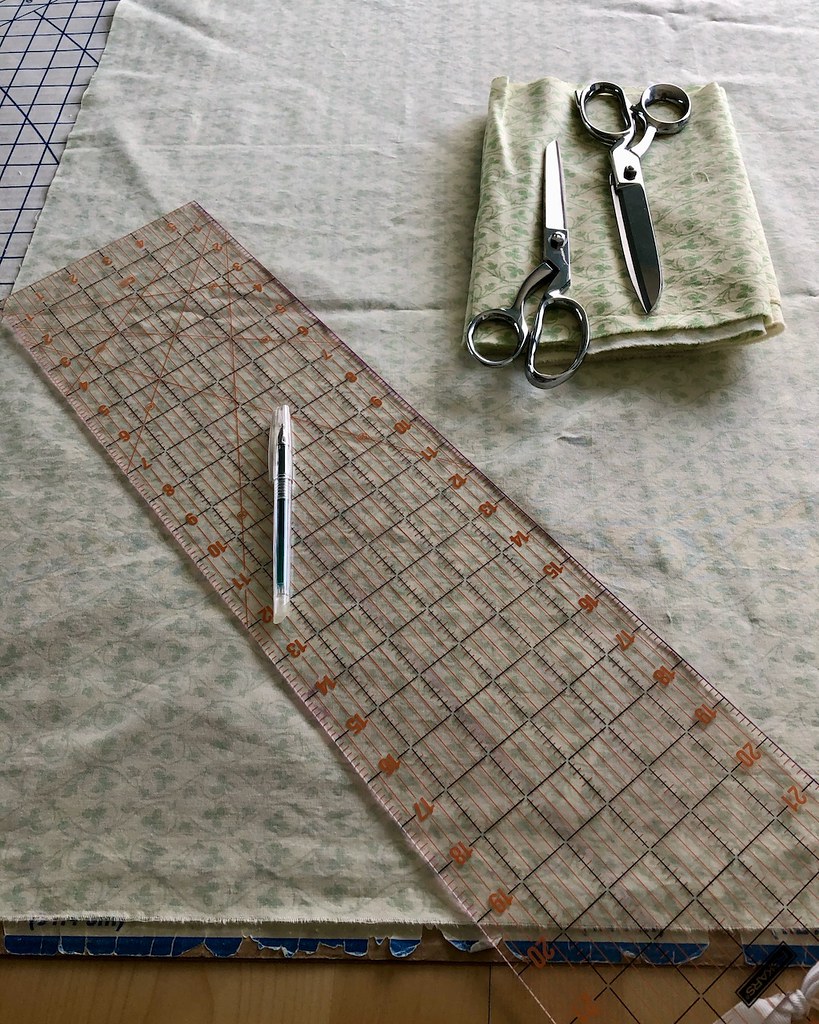
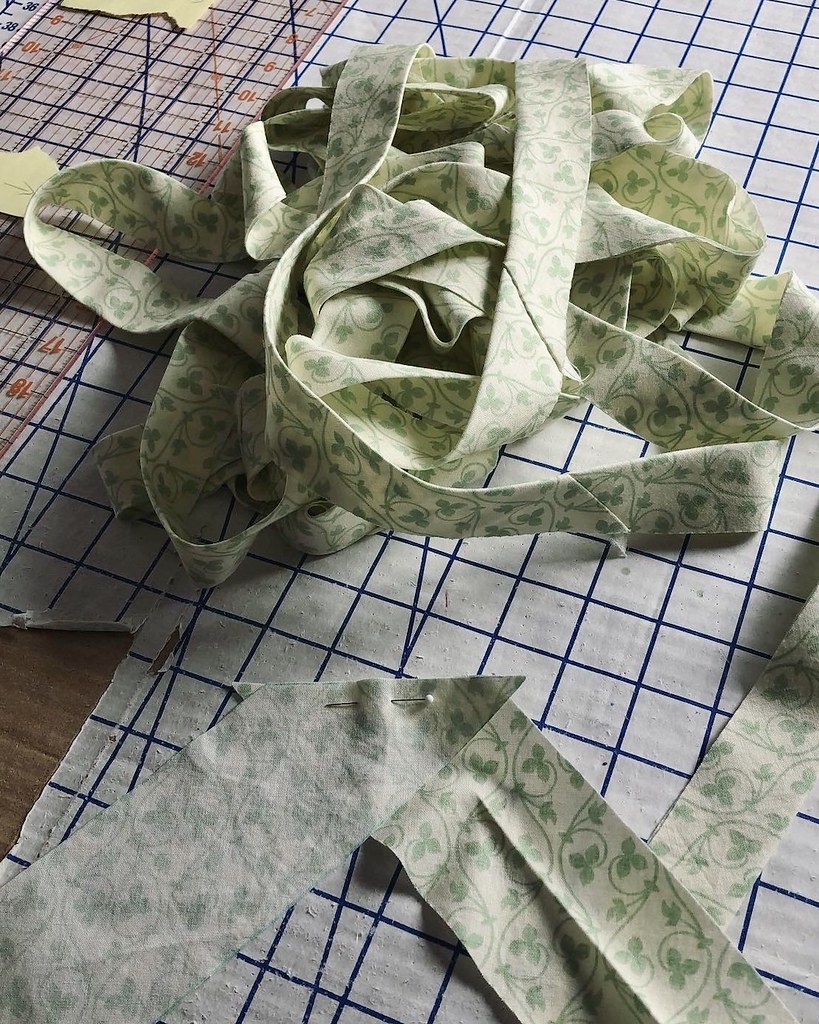
I actually say down at the machine after cutting my binding to stitch the lengths together, only to laugh at myself when I realized what I was about to do.  After hundreds of hours, I almost machine stitched a few inches of bias binding!  Normally when I create bias binding, it's for a garment project that is being machine stitched.  Well, I caught myself before machine stitching this final bit of my quilt.

After all of the hand quilting, it was a bit terrifying trimming everything down, but it went as smoothly as could be expected.

And while I am still thousands of hours away from being a hand quilting expert, I certainly know how to hand stitch layers of fabric together. 

Not only that, it is probably my favorite thing to do!

According to the experts, a double layer of bias binding works nicely for binding a quilt, so that is what I did.

This step was actually a bit of a relief after having some moments of frustration with the hand quilting.  But this is only my first quilting experience, and I hope to improve the size and consistency of my stitches on my next quilt!

The final step of the project was the quilt label.  I have seen all sorts of options, but since this entire quilt was hand stitched, it seemed like the proper thing to do was to hand stitch the label.

After deciding what information I wanted to include, I typed up different versions in a few different fonts.

The information was transferred to my fabric with a heat erasable pen by holding it against a window in the daylight.  It's an antiquated way to transfer markings, but it works!

I pulled out my stash of embroidery floss and decided on a color that I liked, and got back to my sewing roots with a bit of hand embroidery.

The finished label was ironed (which makes the ink markings disappear), and it was stitched to a corner of the quilt.

And that means that my very first hand quilting saga has come to an end.  The quilt is completely finished!

This has been a rather humbling experience, but I do have to say that I am hooked.

I am a bit obsessed with quilts these days, and I can't wait to start piecing another.

My hexi quilt has been getting a bit of attention lately.  It may only be for a short amount of time each day, but it feels good to be making progress across the expanse of the quilt.  And for the time being, I have this lovely patchwork quilt to snuggle beneath.  I am going to give myself a flexible deadline to finish the hexi quilt by the end of the year, but we will see how that goes!