Thursday, October 19, 2023

Just Dye It!

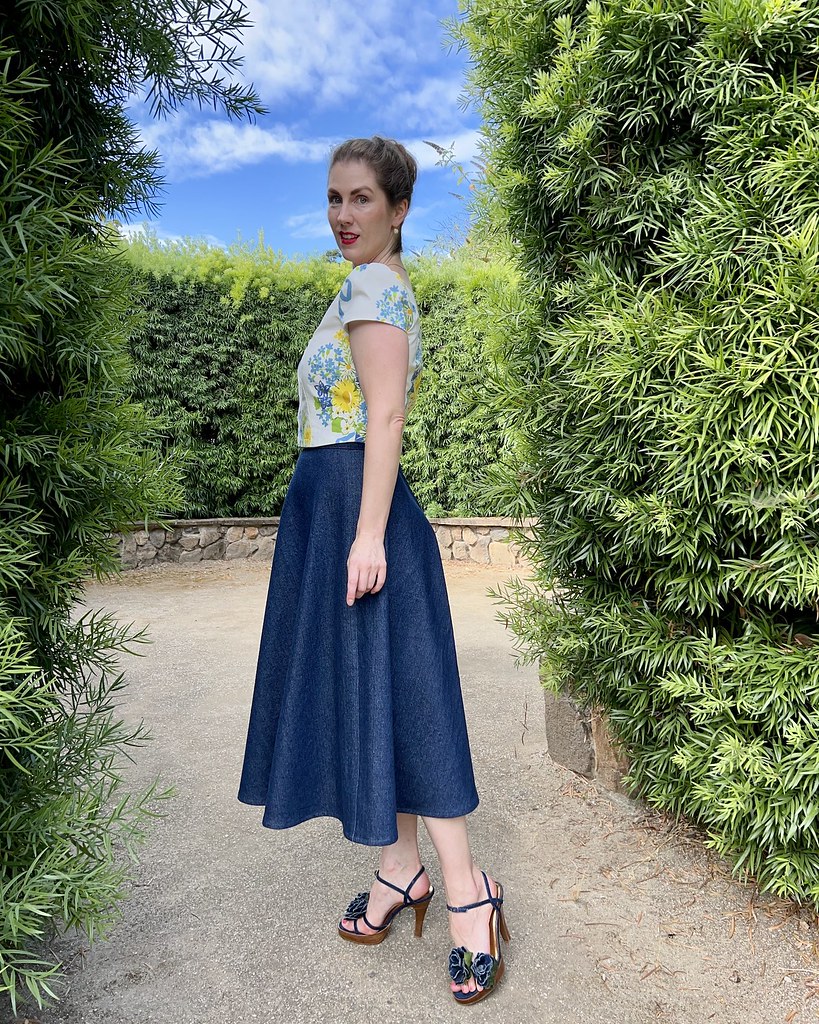
Well, I finally found a project for the roll of fabric that has been sitting in the corner of the sewing room for about five years.  I rescued the bolt because it was going to get tossed, but it was never going to be my favorite print and/or color combo.

This vintage reproduction pattern struck my fancy as soon as I saw it, but it uses a massive amount of fabric.  Or, at least, the ruffled version does, and that one looked much more interesting to me . . . but isn't that the way it always goes.

So I pulled out the bin with all of my fabric dye and decided to see how over-dying would work with this extremely colorful textile . . . because I had plenty of it to work with.  

There are a lot of colors to contend with, but I thought that a green would work, both for the blue background and the yellow (which I definitely wanted to tone down).  Unfortunately, I only had a small amount of dark green dye left and I had seven yards of fabric to cover which was going to need a fair amount of water, and therefore, a significant amount of dye.

I didn't really want to purchase any more dye, so I ended up adding some blue to the mix.  The color of the water was lovely, but the white sections of the fabric turned out looking very turquoise, which was NOT the color of the water.  I happen to love turquoise, so I'm not mad about it, but it goes to show that you never can tell what will happen with dyes!

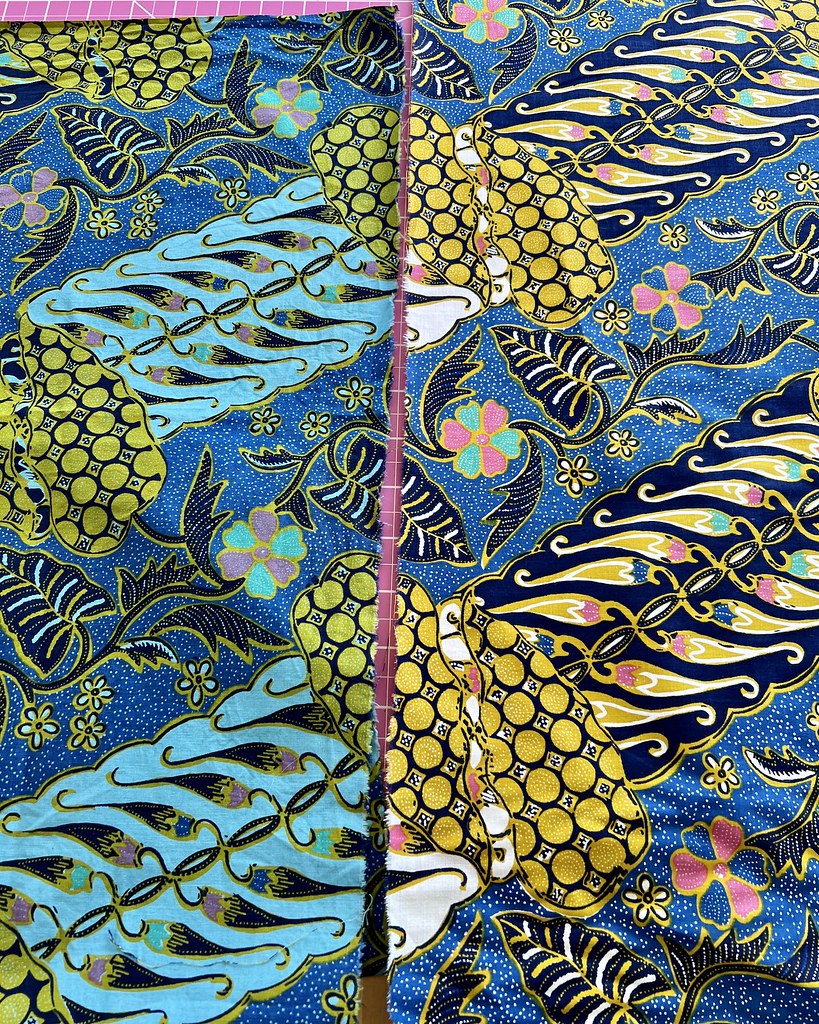
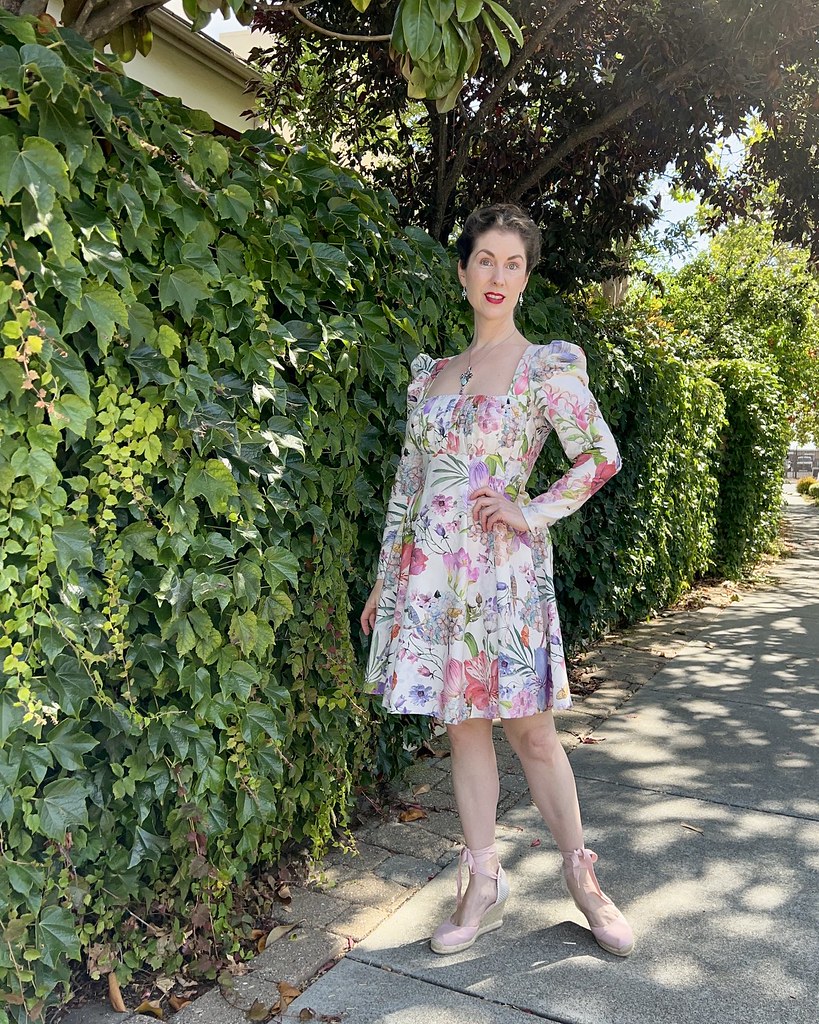
And, most importantly, what I ended up with is a fabric that I like infinitely more than the original.  So I am going to call this a success.

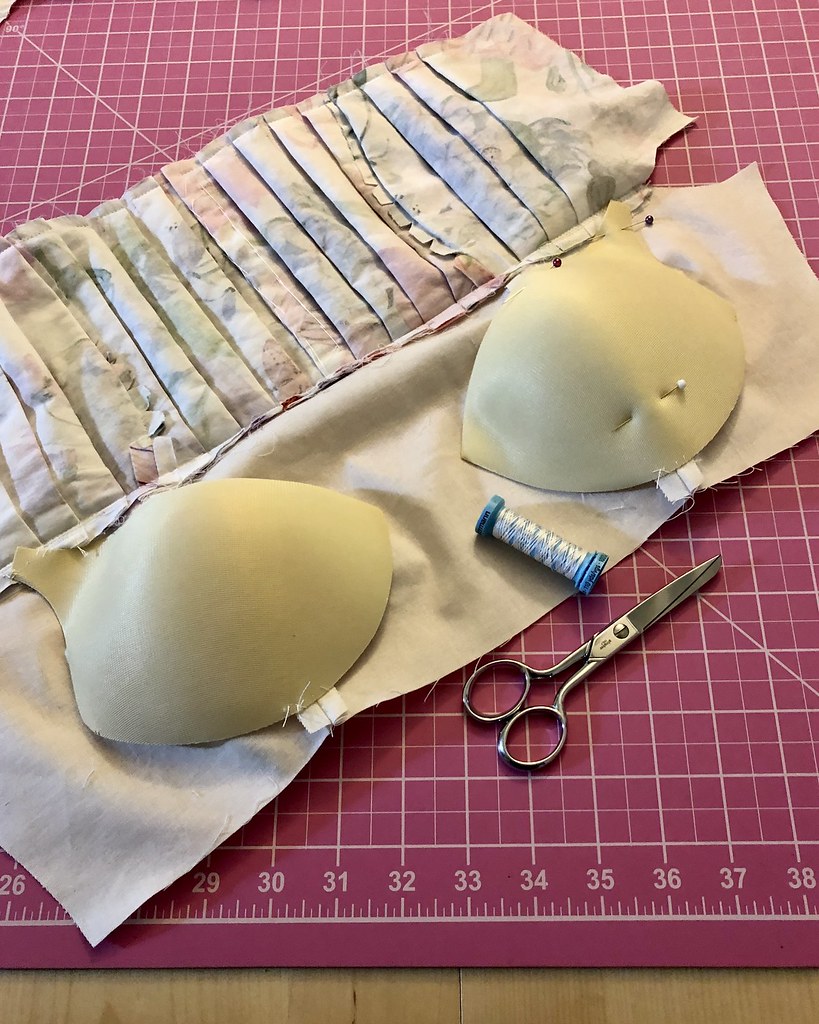
There is a whole lot of top-stitching involved with this dress design and I didn't have any thread that was an exact match to any of the colors, but in keeping with using only what was on hand, I found something that worked well enough.  

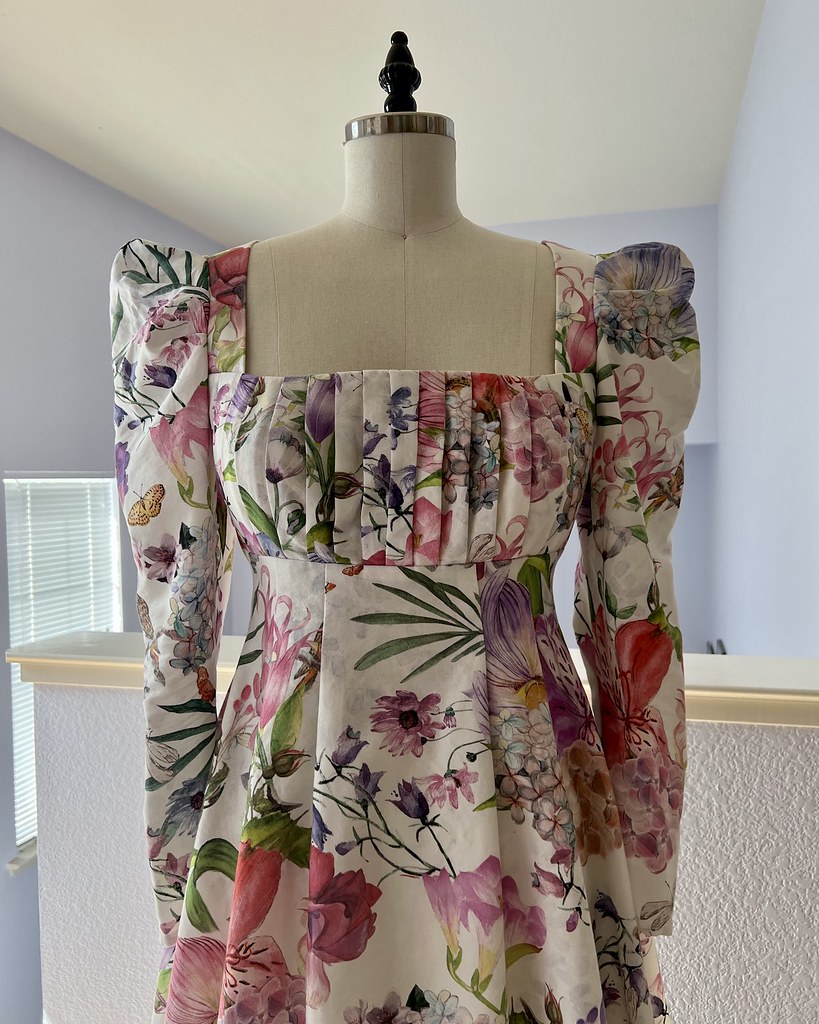
And honestly, there is so much going on with this print, I don't think it's obvious at all - especially once the elastic scrunches everything up.

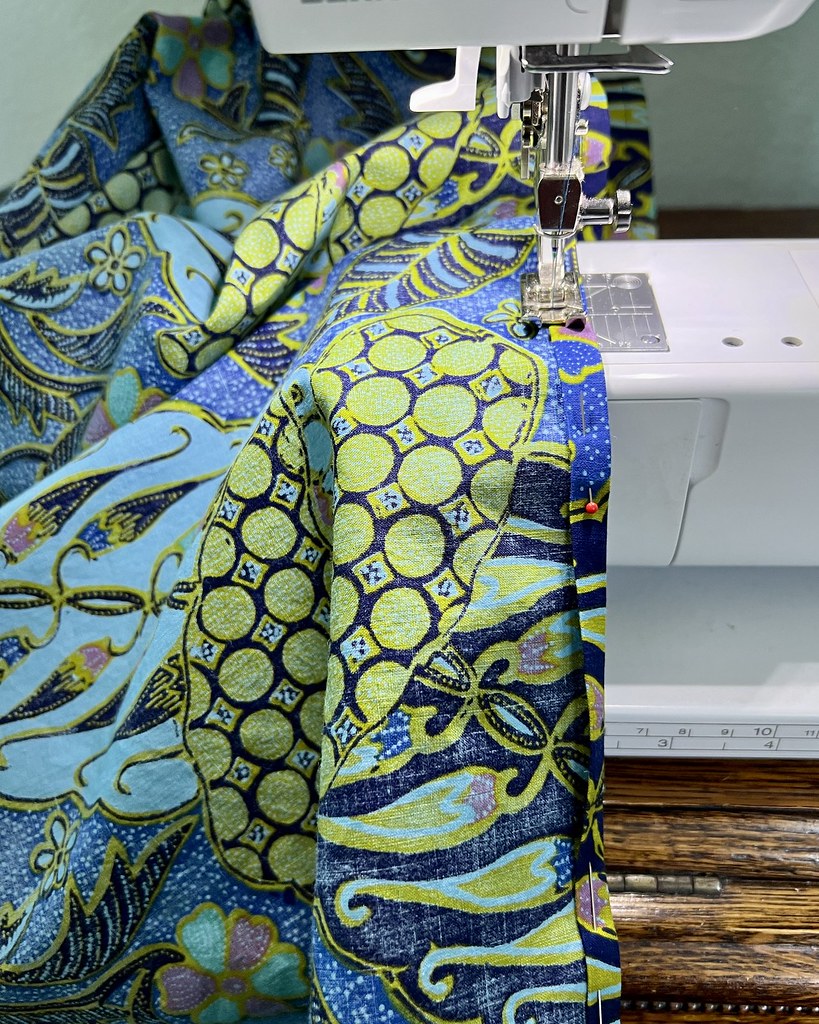
The pattern calls for bias tape to use as a casing for the elastic bits at the neckline and armholes, but I don't like the premade poly-cotton stuff, so I made my own.

It takes a bit of extra work, but it's absolutely worth the effort, in my opinion.

After even more top-stitching, I was ready for that elastic.

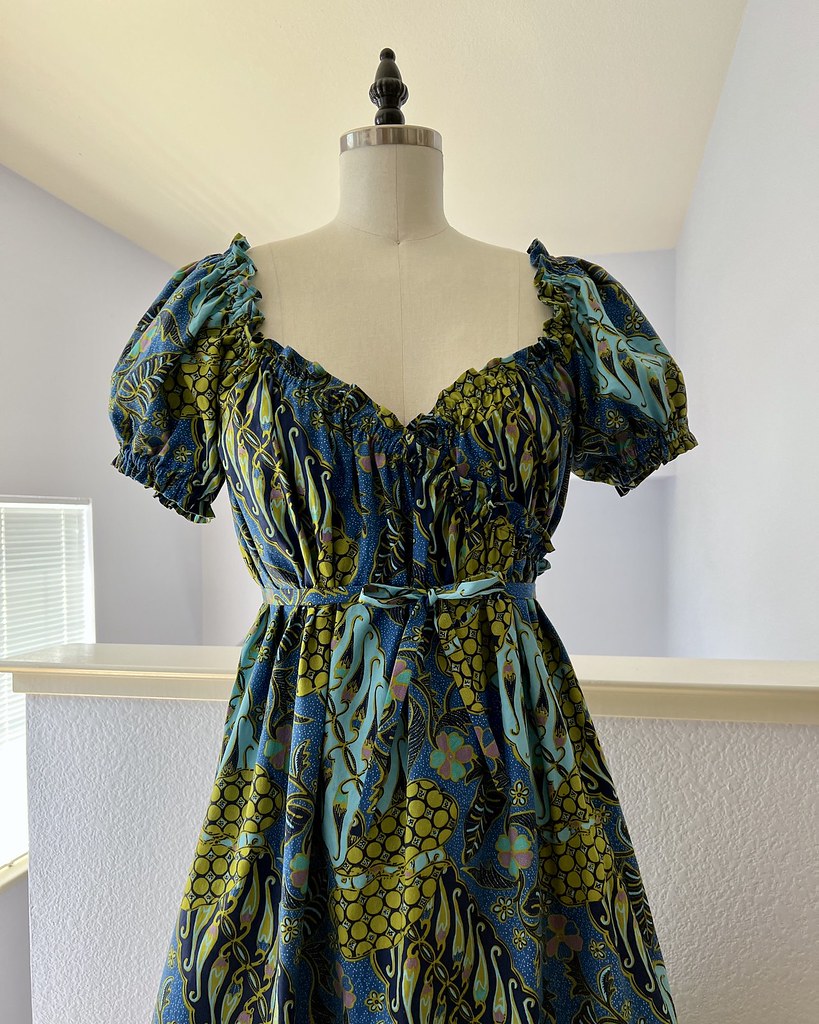
And it now looks like I have created a rather unattractive muu-muu.  Oops.  This is not what I was going for . . .

But this is one of those patterns that does not give any sort of indication how the final garment will look until almost all of the sewing is complete, so I figured that I might as well keep going.

One eternity later, I finished and gathered the ruffle and attached it to the muu-muu.

And since I can't leave raw edges alone, I went ahead and finished them all with seam binding.  I even had the perfect blue for my project.

At which point, I am beginning to have some hope for this project.

It is still hovering right around muu-muu territory, but the additional length added with the ruffle has improved things considerably.

The final step was to add the fabric ties which allow for some shaping.

Interestingly enough, one of the first steps is to finish the side seam opening that one of those ties feeds through, but the placement of that opening did not work for me.

When I tried the dress on, that opening placed one end of the wrap along the hem significantly lower than the rest of the dress.  I was slightly puzzled by this, but decided that I would simply raise that opening by an inch or two.

Having now worn the dress, the hemline does not want to sit entirely straight.  It's not a huge problem, but something that does bother me slightly.  I wonder if it has something to do with the large overlap.  Most wraps do not provide as much coverage as this one does, and I like that, but I have a feeling that it may be a part of the problem.  

Still, it is a perfectly serviceable dress; it's never going to be my favorite item in the closet, but it is super easy to wear and this project has proved that I can handle a fair amount of top-stitching.  So that's a bonus!


Monday, October 9, 2023

A Fresh Bouquet of Flowers

As expected, the addition of a jean skirt to my wardrobe was an excellent idea.

It has already been a workhorse since I finished it a few months ago, and I would not be adverse to making another if I come across more denim yardage that I like.

I'm not a fan of light wash denim, but perhaps another dark blue would be a nice addition; I'm thinking that a knee length option would be very useful.

But am I done with this skirt pattern?  I have made quite a few of these, and I would absolutely make another.  I'm not entirely sure how full this is . . . maybe somewhere between a 1/2 and a 3/4 circle skirt?  And it's a great option when I don't want to deal with all of that extra fabric from a full tea length circle skirt, but still want a classic shape.

As for the top . . .

I am quite pleased with how this turned out, and I am thrilled that I finally found a use for this vintage remnant of fabric! 

Lengthening the sleeve worked fine, so I probably should have done a better job of marking those changes on the pattern for the future, but I can always reference the actual garment if I need to.

One thing to note is that the front neckline is quite low.  I don't mind a low neckline, but this one required me to go searching in the back of the drawer for an appropriate bra, so it's definitely something to keep in mind with this pattern.  And it would be a super simple alteration to make (just make sure to make the same change to the matching facing!).

But overall, I am going to call both of these items a success.  And I do understand why people love jeans; this blue twill really goes with everything - just don't expect me to get on the pants bandwagon any time soon; I am very happy with a few good jean skirts.

Blouse:  Made by me, "Picnic Top" from Charm Patterns
Skirt:  Made by me, Simplicity 8458
Necklace:  Rafael Jewelers
Shoes:  Colin Stuart

Tuesday, September 26, 2023

Pleated Florals

Give me a squared neckline and I'm on board with a design; add to that a pleated bodice, throw in darted sleeves, and I definitely need that dress in my wardrobe.

This pattern from Daria Patternmaking doesn't take a massive amount of fabric, but it does require 2.5 yards of 55" wide fabric.  And since I was going to be testing this design, I didn't want to go searching for and spending more money on fabric.  Luckily, I had a queen size sheet set worth of this cotton print.

Which is not to say that this design wouldn't work in a more sturdy textile.

If the right fabric comes along, I would definitely think about making another version.

It might also be fun to raise the back neckline slightly so that the ribbon is not necessary to keep the shoulders in place to give the dress a different feel.

That would require a bit of fiddling with the shoulder yokes and the back of the dress, so who knows when I will get around to it, but it's on the rather long list of projects that lives rent free in my head.

But I'm not saying that I don't love that back bow, because I do!

I have re-discovered my love of white/off-white background prints in the last couple of years.  Because of my pasty skin, I often feel that white tones don't do me any favors.  But in this case, I think that there is enough color in those fabulous florals to make up for mine as well as the fabric's lack of pigment.

Because the print is pretty darn amazing!  I can't really decide if it's the design or the print that I love more; or maybe it's just the combination of both.


Dress:  Made by me, "Lily Dress" by Daria Patternmaking
Shoes:  Soludos Lace Up Espadrille
Necklace & Earrings:  Etsy

Saturday, September 16, 2023

Pleated and Puffed Sleeves

Back in January of 2022, I was a tester for the Lily Dress from Daria Patternmaking.  I didn't get many photos of the construction process because there was a quick turn around for completing the pattern and communicating feedback to the designer, and I was doing most of the sewing on this project at night when the lighting was not great.  (I mostly blame the crummy lighting and lack of daylight hours.)

I loved this design as soon as I saw it and was excited to be a part of the testing process.  I did make a few alterations to the pattern.  First, the skirt was a bit short for my taste, so I added 2.5" to the length.  I will note that the only reason that I was able to fit the rather wide front skirt piece on my fabric is that I was using a sheet set (this print may look familiar as I recently made a blouse from it!).  If I was to make this using a standard width fabric, I would probably add a center front seam to that front skirt piece so that I could lengthen the skirt, perhaps an inch or two more than I did on this version.

I also added sew-in cups to the bodice since the rather wide-set shoulders were going to make finding an appropriate bra somewhat challenging.

It's a quick alteration that involves tacking the cups to the lining fabric and proceeding with the rest of the construction as directed.

Besides the lovely pleated bodice, the other design detail that caught my attention was the sleeves.  The exaggerated puffs are made by pleating the excess into the armscye instead of the standard gathering option.  This is a technique that is commonly seen in 1940s designs, but I rarely see it being used in contemporary fashion.  Now if only more basque waist styles get released as new designs, I would be quite pleased!

I definitely enjoyed making this design and should pull the dress out to wear again before it gets too cold for a lightweight cotton dress.

And one more thing I should mention . . . this pattern calls for the use of a ribbon to hold the wide-set shoulders in place.  I didn't have any suitable ribbon stashed away, so I just made my ties out of self-fabric.

Overall, I definitely like the way this turned out and would not be adverse to making another version in a solid colored, slightly more heavy weighted fabric for a cool weather version.  I'll just add that to the list of projects that I would like to get around to at some point!