
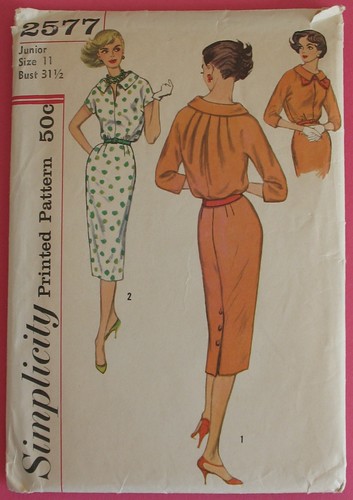
The Britex Guest Blogger process starts with an idea for a
tutorial. A recent ebay pattern purchase
was nagging me. And my obsession with silk
organza is quickly catching up to my seam binding addiction, so an underlining tutorial seemed like the perfect way to get this 1960s sack-back dress made!
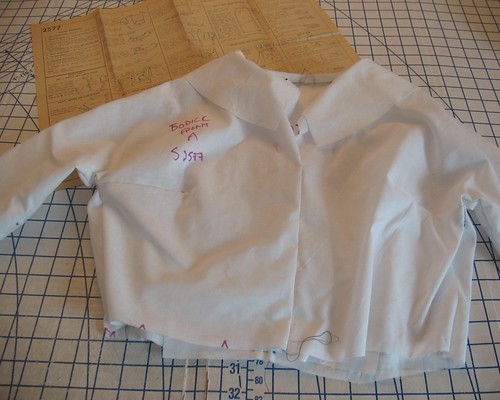
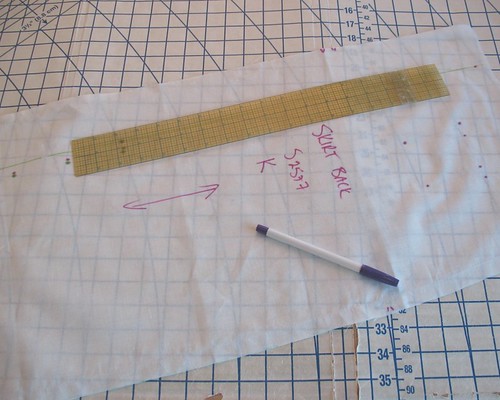
The first item of business was to make a muslin. My pattern is a 31 1/2” bust – and I am quite
sure that I was never that petite, even as a child. There are many situations in which I cannot be
bothered to make a muslin, however, when
working with special fabric on a pattern needing significant alterations I feel it is
vital. Turns out, I had to add 1 3/4" in length to the bodice pieces (that is a record for me), so my practice run served me well!
The fun really started when the fabric showed up in the mail!
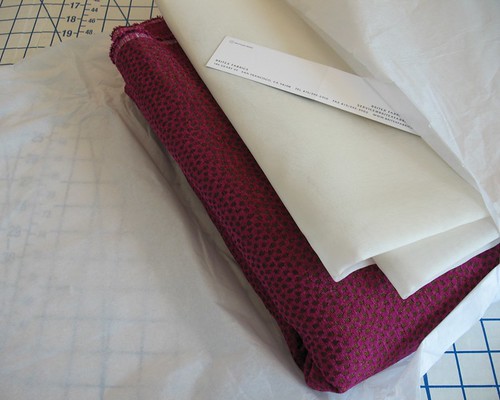
This time around, I had this incredible fuchsia chenille to
work with, along with some silk organza.

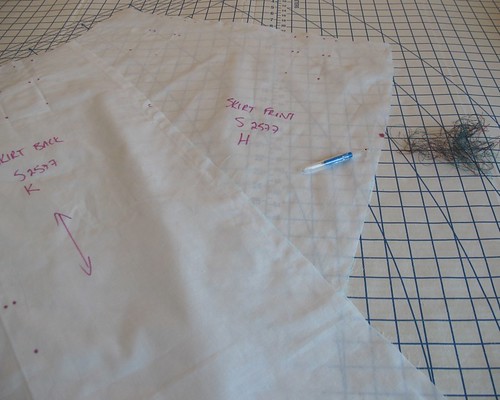
I ended up lining the skirt because the fabric is perfect
for Fall weather, and I have a feeling I will be wearing stockings!

To make a lining, I eliminated the extra pleat fabric by
drawing in a new seam allowance, and folding the excess of my muslin out of the way.
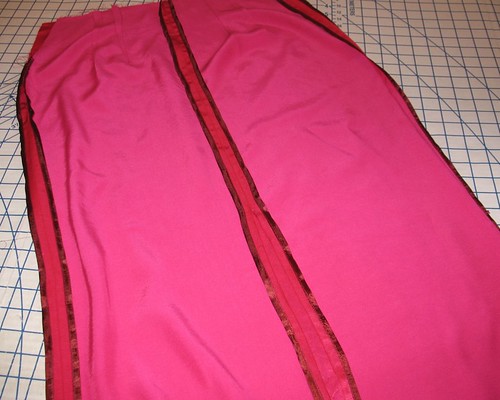
Because my skirt back seam is finished with, you guessed it, rayon
seam binding, I left the slit open - this helps to eliminate extra bulk at the back pleat. To keep the lining in place, a used a few thread tacks.
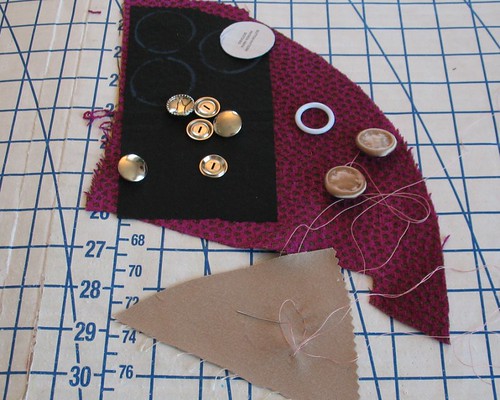
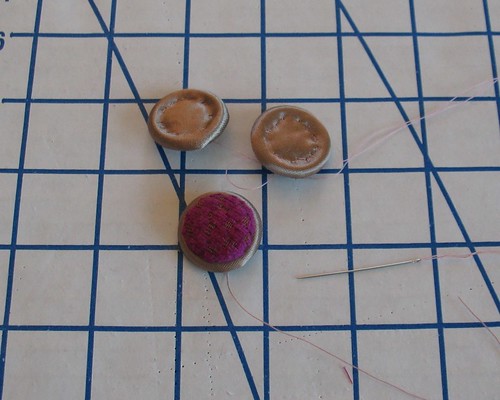
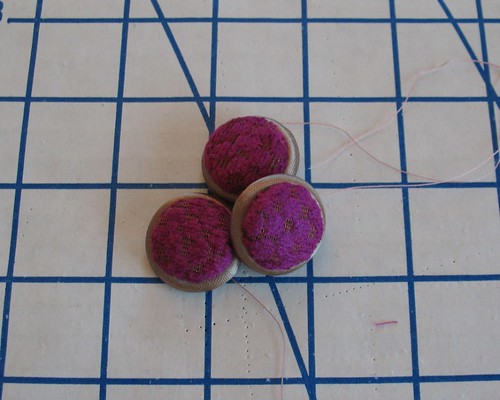
For a bit of contrast, and to pull in the gold and black
background, I made a few covered buttons, backed with some gold Zeus lining
scraps I saved from a previous project. Speaking of which, did they stop producing that fabric? I am bummed that I cannot find more yardage. It really is my favorite lining for heavier coats.
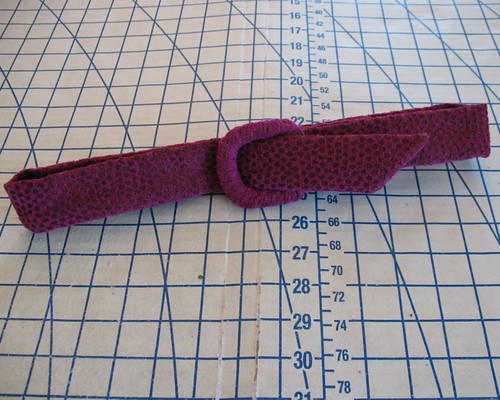
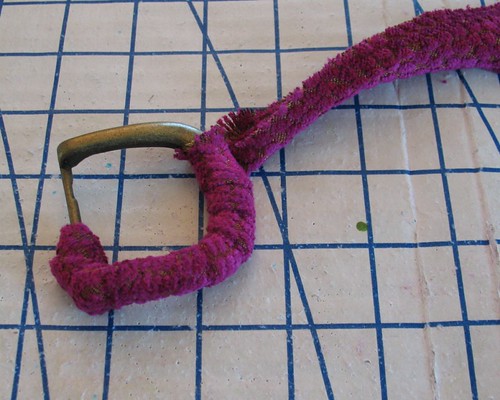
Because the back side of the fabric is almost as yummy as
the front, I used it for my belt.
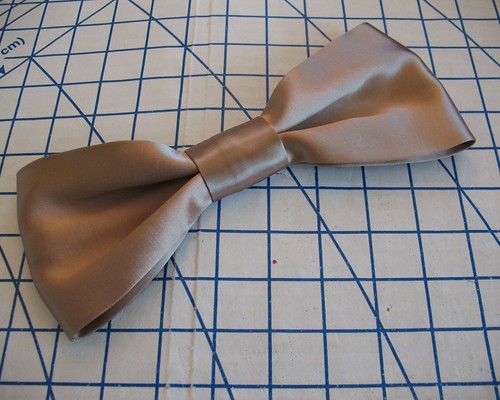
The last bit was to make the neck bow that snaps the
neckline closed.
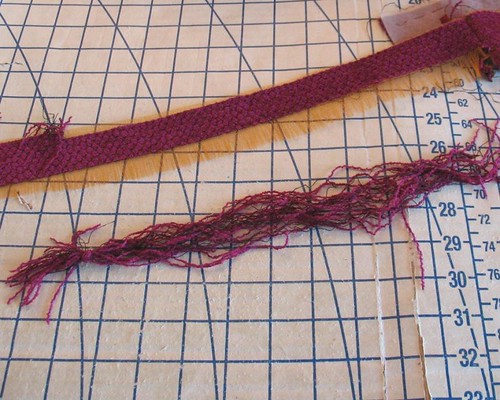
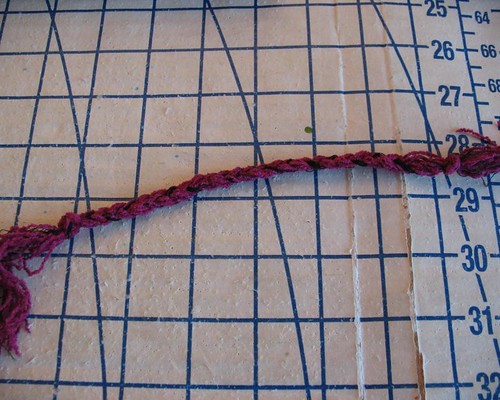
In this case, the gold
seemed just a bit too much, and with that incredible Chanel video fresh in my mind, I
decided to tear apart the extra length I took off of the skirt pieces and make myself some braided trim.

[The fabric for this dress was received in exchange for my
contributions as a Britex Guest Blogger.]
Fantastic work - and such as beautiful colour combination. Rich raspberry and burnished gold are tremendously lovely and very sophisticated together. I just know these hues are going to look gorgeous on you.
ReplyDelete♥ Jessica
Fascinating to read about your process. Looking forward to the big reveal!
ReplyDeleteI can't wait to see this!!!
ReplyDeleteFascinating and destined for greatness!
ReplyDeleteThis was especially interesting to me, as lately I've been attracted to those sack backs for some reason and have picked up a couple. It does look at these would be more cool weather dresses as there are quite a number of back warmth! Thanks!
ReplyDeleteThis just looks yummy! Can't wait for the fashion shoot. Loved the hat, too.
ReplyDeleteThis is turning out beautifully! Such a great color combination. I'm looking forward to seeing how that pleated back looks!
ReplyDeleteThis is just stunning! Thanks for sharing your construction process, it is so interesting to see how you construct a dress. I always learn something or remember something that I should be including in my garments from one of your posts!
ReplyDelete