
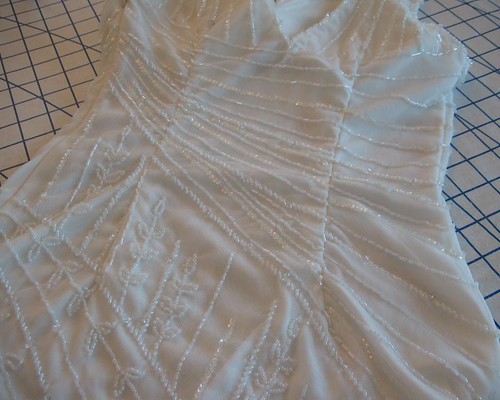
A few months ago I was asked to alter a wedding dress. The very idea was terrifying - what do you do if you make a mistake on someone's wedding dress?! It was originally
described to me as “beaded.” I, of
course, had visions of a dress completely covered in beads. Thankfully, it was a little less embellished
than I had imagined.
There are, of course, many different ways to alter
clothing. But I wanted to accomplish
this with as little back and forth as possible.
I was hoping the initial fitting, some work in my sewing room,
and one final fitting/hem check would do it.
The color white makes things even more tricky. There are plenty of marking
pencils/pens/chalk available, but they have a habit of sticking around where
they are not wanted. I brought grey silk thread to the first fitting,
along with quite a few pins.
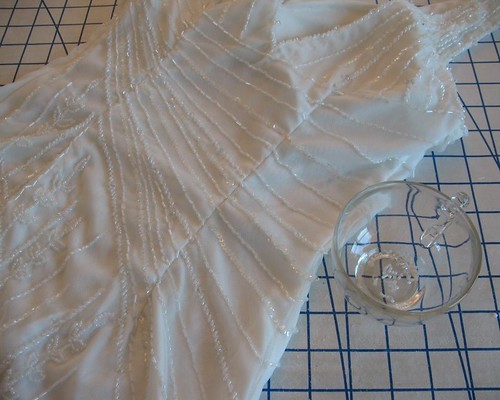
The dress was put on wrong-side-out, the excess ease taken up
in the existing back darts and pinned into place.
Then the dress came off, and I quickly basted the new darts into place and put
the dress back on with right-side-out to make sure everything was fitting properly. (It really is crazy what a difference this
minor change makes!)
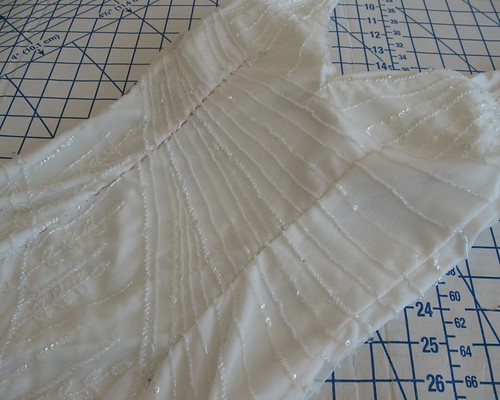
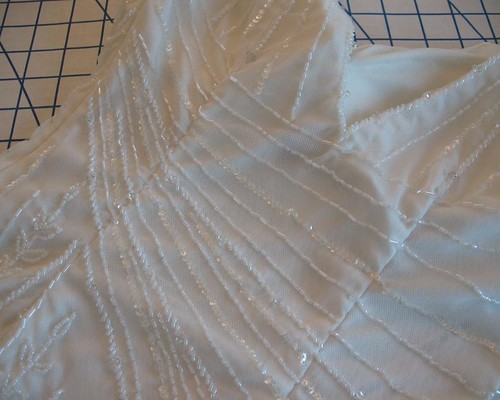
I came home with the dress looking like the dart on the
right side of the picture above. Back in the
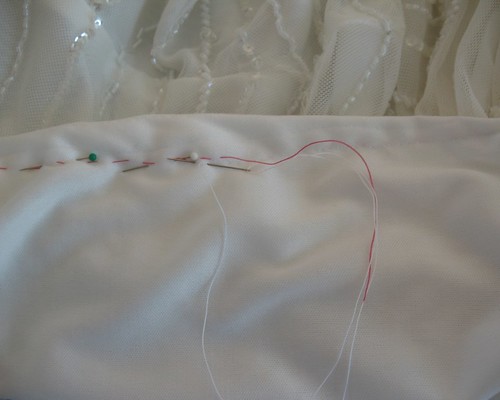
sewing room, I used pink thread to baste around the new and improved dart to
the left and right of the fold (as seen on the left dart).

Out came the grey thread holding everything together, along with the original dart
stitching. The most irritating part was
seam ripping white thread on a white knit fabric.

Look at that twisted fabric in the original dart – tsk,
tsk. Although I have to say, it is
always a relief to see that even professionals make mistakes!

After opening the original dart, it was time to remove the
excess beads. Some were holding on for
dear life, and other just flew off with little to no coaxing.


Once the extra beads were removed, the remaining beads had to be secured.

The new dart was stitched by hand using white silk thread and very small back-stitches.

Thankfully, the altered fit was spot on (helped, of course, by the
fact that the fabric had a bit of stretch).
And there you have it, a successful dress alteration – I survived the adventure!
Excellent job! I can fully imagine how nerve wracking it would be to alter a wedding dress (just about anything to do with a wedding, but especially the bride's attire, is always stressful when changes or alterations are involved).
ReplyDelete♥ Jessica
You did such a great job! I would be totally stressed out over altering such an important dress, too. Glad I'm not the only one who gets nervous sewing for others.
ReplyDeleteLooks like it was a success! Well done, I am sure the Bride is very pleased.
ReplyDeleteGreat job. When altering or constructing a bridal gown with beading, the beads are broken where the altered seam will be and then repaired later. Once the beads are broken (carefully) there's no chance of loosing the beads that are near the seam because the beading threads remain intact. With this method, there's also no chance of sewing over the beads to damage your machine.
ReplyDeleteAmazing! I love your beading design!
ReplyDelete-Cassie
Oh gosh, this is kind of terrifying! You did such a great job and clearly you are a wonderful friend!
ReplyDeleteWow! I am so glad that you posted about this, as i am going to be altering a wedding dress very soon, and the straps are beaded. Yikes! I was quite concerned about that bit of the job, but after reading this post I'm not! Thanks!
ReplyDeleteBrigid
The Middle Sister and Singer
You are a brave soul.
ReplyDeleteHa! I found your blog trying to understand covered buttons and what it would take to add them to my wedding dress...
ReplyDelete