
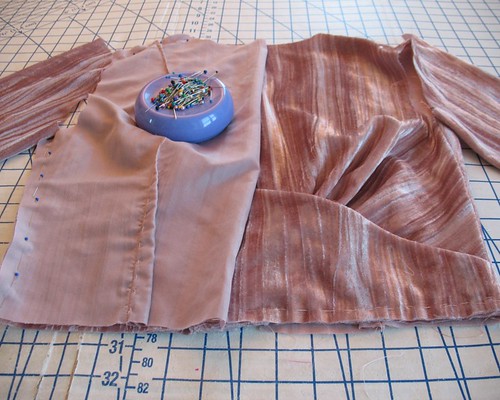
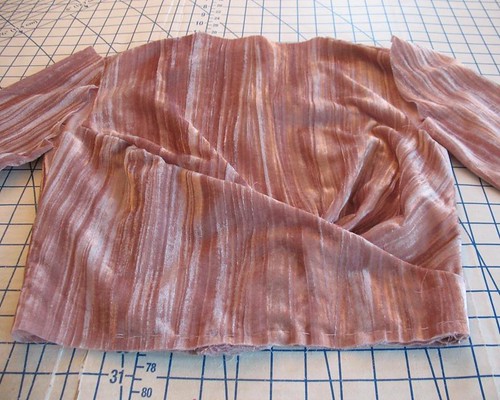
Here are some construction shots of my latest project, made
with a lovely pink textured velvet that has been stashed away for quite a few
years (I believe it is a rayon/poly blend).
I hate to tell people that working with a certain fabric or
a specific technique is difficult, because I would never want to influence
someone who has had a fantastic experience with a complicated process. For instance, I am basically self taught, and
because no one ever told me setting in sleeves was supposed to be challenging,
I have never had an issue with them. And zippers . . . they are an
integral part of certain designs, and so learning how to work with them was necessary and not a big deal. Certainly my first attempts did not look
beautiful or “professional,” but they got the job done just the same.
A costume designer who I thought knew everything there was
to know about sewing, once grumbled that she would never use velvet again after
completing a stunning gown in the fabric.
It suddenly struck me that velvet was "supposed to be" a bear to work with, not because I had
a bad experience with the fabric, but because someone who could do just about
anything with a needle and thread was frustrated. Silly, right?
That being said, velvet, along with many napped fabrics, definitely
has a finicky personality.
Directionality is extremely important. Cutting layouts should have all pieces facing in the same direction. For the richest color, the nap should face upwards. Many patterned velvets are cut with the nap facing the hemline so that the pattern is easier to see. I was quite interested to feel that this particular fabric has the nap moving from selvedge to selvedge (perhaps the texture process is responsible).

Of course, there are some items that will
help make things easier. A walking foot and a needle board
are fabulous when working with napped fabrics, but both are an expensive
proposition. I have neither, and it
does not stop me from working with velvets – they are just too yummy to avoid!
This is not going to be a super quick project, even though the dress design is rather basic - velvet is
not a fabric to choose for that last minute frock for tomorrow evening’s party. Patience is required. I will avoid a project made from velvet if I
am feeling the least bit cranky – I will only get frustrated.
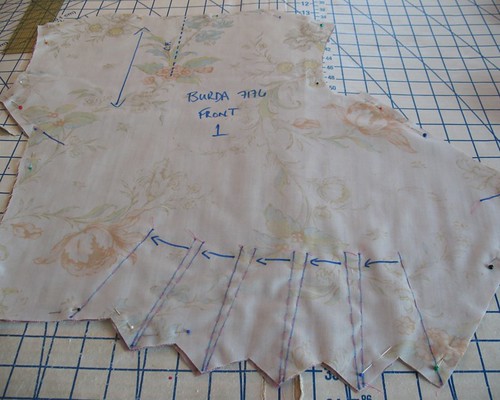
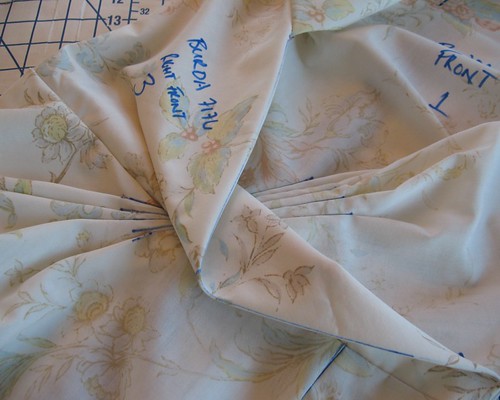
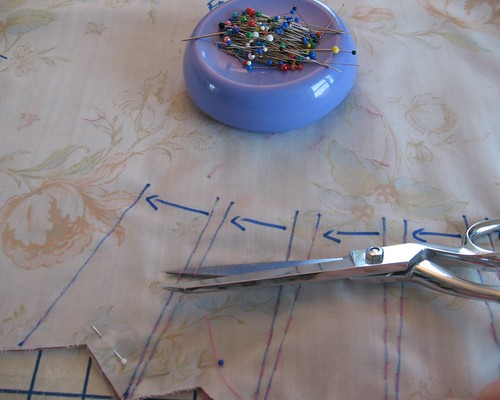
The pleats were the thing I was most worried about. There are a lot of lines to mark and match up.
I basted the muslin to the cut piece along the pleat lines,
turned the piece over, marked in chalk, and then snipped the basted stitches
apart. I figured, between the thread and
the chalk, something had to remain visible!
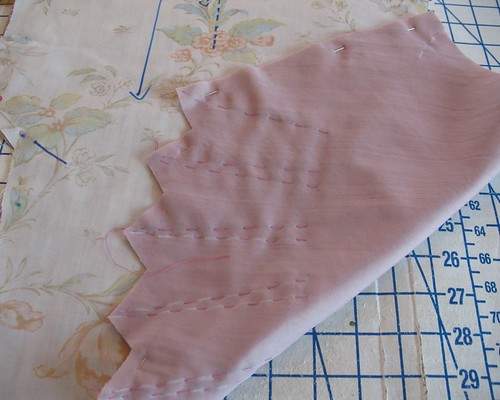
Hand basting is your friend!
To avoid irritation, I am hand basting all of my seams, darts, and well,
basically everything. Velvet has a habit of shifting around, especially under a standard machine foot. Also, un-picking
machined seams will most likely mar the fabric and remove some of the pile - hand basting eliminates that problem.

Make sure to never set an iron down on napped fabric, instead, gently steam from the wrong side while hovering the iron over the fabric. Crushed or patterned velvets are a lot more
forgiving in this regard.

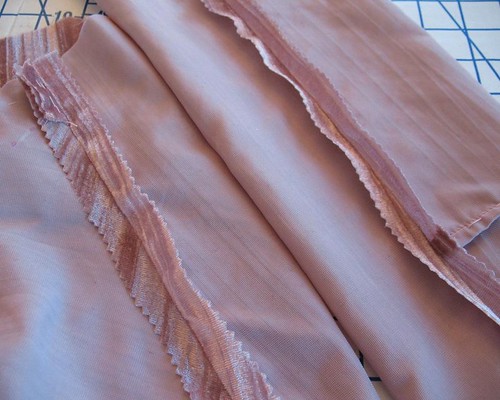
Expect raveling and shredding – those cut edges are going to
be a mess. I have been using my pinking
shears on every seam that is completed.
So progress is slow, but the dress is coming along!
What are your favorite tips for working with velvet?
Looks lovely! I have a piece of velvet lingering in my stash for many years now, seeing you make this dress is definitely motivating me to dig it up!
ReplyDeleteI tried sewing with velvet and...never again...well not any large items. Even cutting the fabric had me coughing. Then it frayed faster than I could sew. *sigh*
ReplyDeleteIt's been a while since I've sewn with velvet (real woven velvet, that is. I did make a simple dress from cotton stretch velvet knit last year) and like you, I did most of it before I knew sewing with velvet was supposed to be difficult.
ReplyDeleteI have two tips to add to your excellent line-up:
- Your remarks about the direction of the nap are definitely right and that's the rule I've known and followed for years. However, I've also learned that if you are using velvet for bottoms, it's wiser to let the nap run down. That way, the inevitable crushing of the nap cased by sitting won't show anywhere near as bad. For dresses, that basically leaves you with a choice. The person who taught me this even suggested that, in a dress with a waist seam, you could have the nap running up in the bodice and down in the skirt (which I wouldn't do because it's bound to show a clear difference in colour and shine) RTW velvet items, both new and vintage don't display a very clear 'rule' about this either.
- There is a special tool on the market for pressing velvet and it's called a needle board. Lacking that, you can also try and place a remnant of velvet (either the kind you are sewing with or one with a deeper nap) right side up on your ironing board, put the piece you are trying to press on it, right side down and then press carefully from the wrong side. This will go some way to protecting the nap.
I have found that even basting with silk thread will leave marks if left in too long. So I would baste, stitch and remove as soon as possible.
ReplyDeleteCan't wait to see your finished frock, the pieces look lovely. Many years ago I made a frock out of silk velvet and had such a nightmare with inserting the zip that I abandoned the zip completely and sewed 40 tiny covered buttons down the back as a closure. I called it a design feature ;)
ReplyDelete