
The Wednesday before the Gala, I took a day off
of work to hopefully get most of the dress completed. That would leave two days before and
after work to finish up all those extra things that always pop up while working on a massive project like this. (I also had to get all of the
netting on my petticoat and attach it to the corselette.)
The day started out well, although, in reality, everything always seems
to take twice as long to complete than it does in my head. The skirt was pressed, most of the basting
stitches removed, the bodice was in good shape, the corselette and petticoat were wearable, although I wanted to add a couple more ruffles if time
permitted. And then there was the bag .
. . but I knew it was unlikely that would ever get finished. Better to have something to wear than all of
the accessories, right?!
Then the sun went down. And daylight is so much better for working with black fabric . . . so that slowed
me down. With the clock ticking away, it was
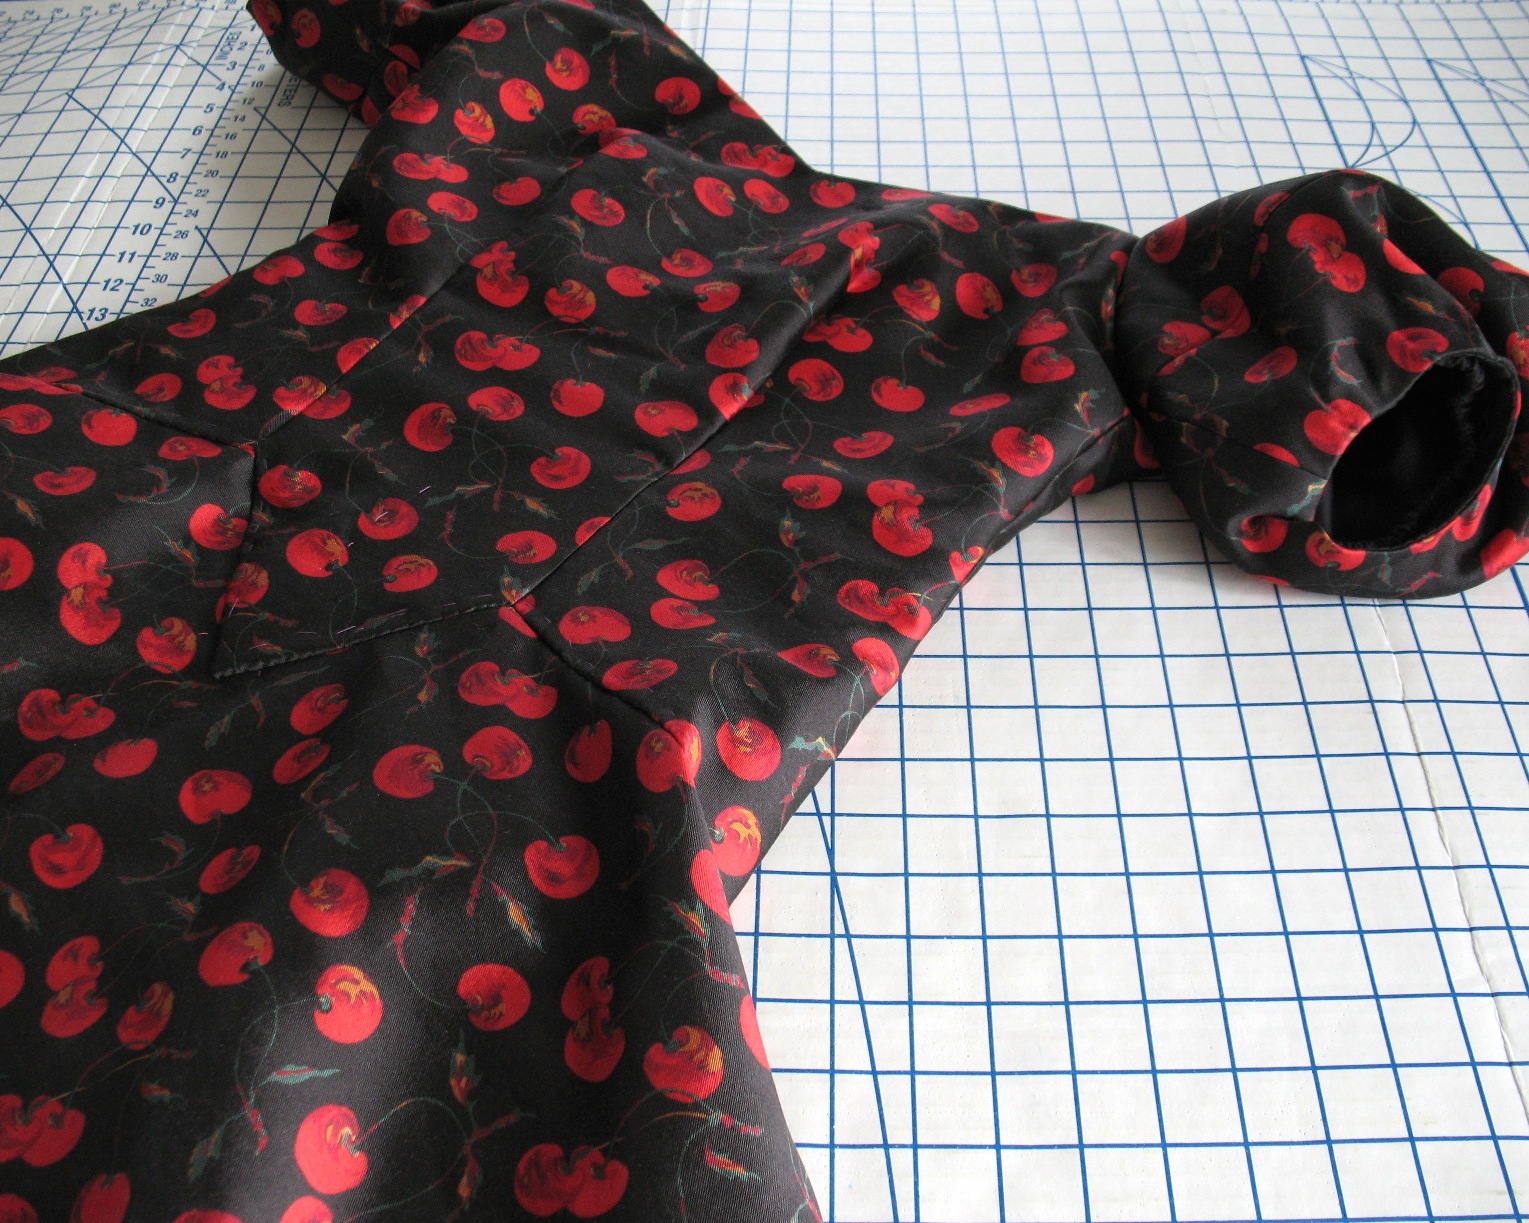
time to make this thing look like a dress and attach the bodice to the skirt!
And that is where everything went wrong.
And that is where everything went wrong.
The basting stitches would rip out before I could get the
(rather heavy) dress over my form to make sure everything was laying flat
and I was happy with the pleat placement.
I wanted to avoid using lots of pins because they could easily snag the
material, but maneuvering the whole thing was turning out to be a
nightmare.
I gave up, and decided I needed to forgive myself for not
making the deadline. Because there was far too much work to accomplish in the few hours I had left. I had a bit of a breakdown and was crying and
decided to stay as far away from the dress as possible so I did not do something
rash and slash through the darn thing.
After all, this is supposed to be FUN!
After all, this is supposed to be FUN!
And then something happened . . . because I relieved the
pressure of a Saturday deadline, it all magically came together. I am still not exactly sure how.
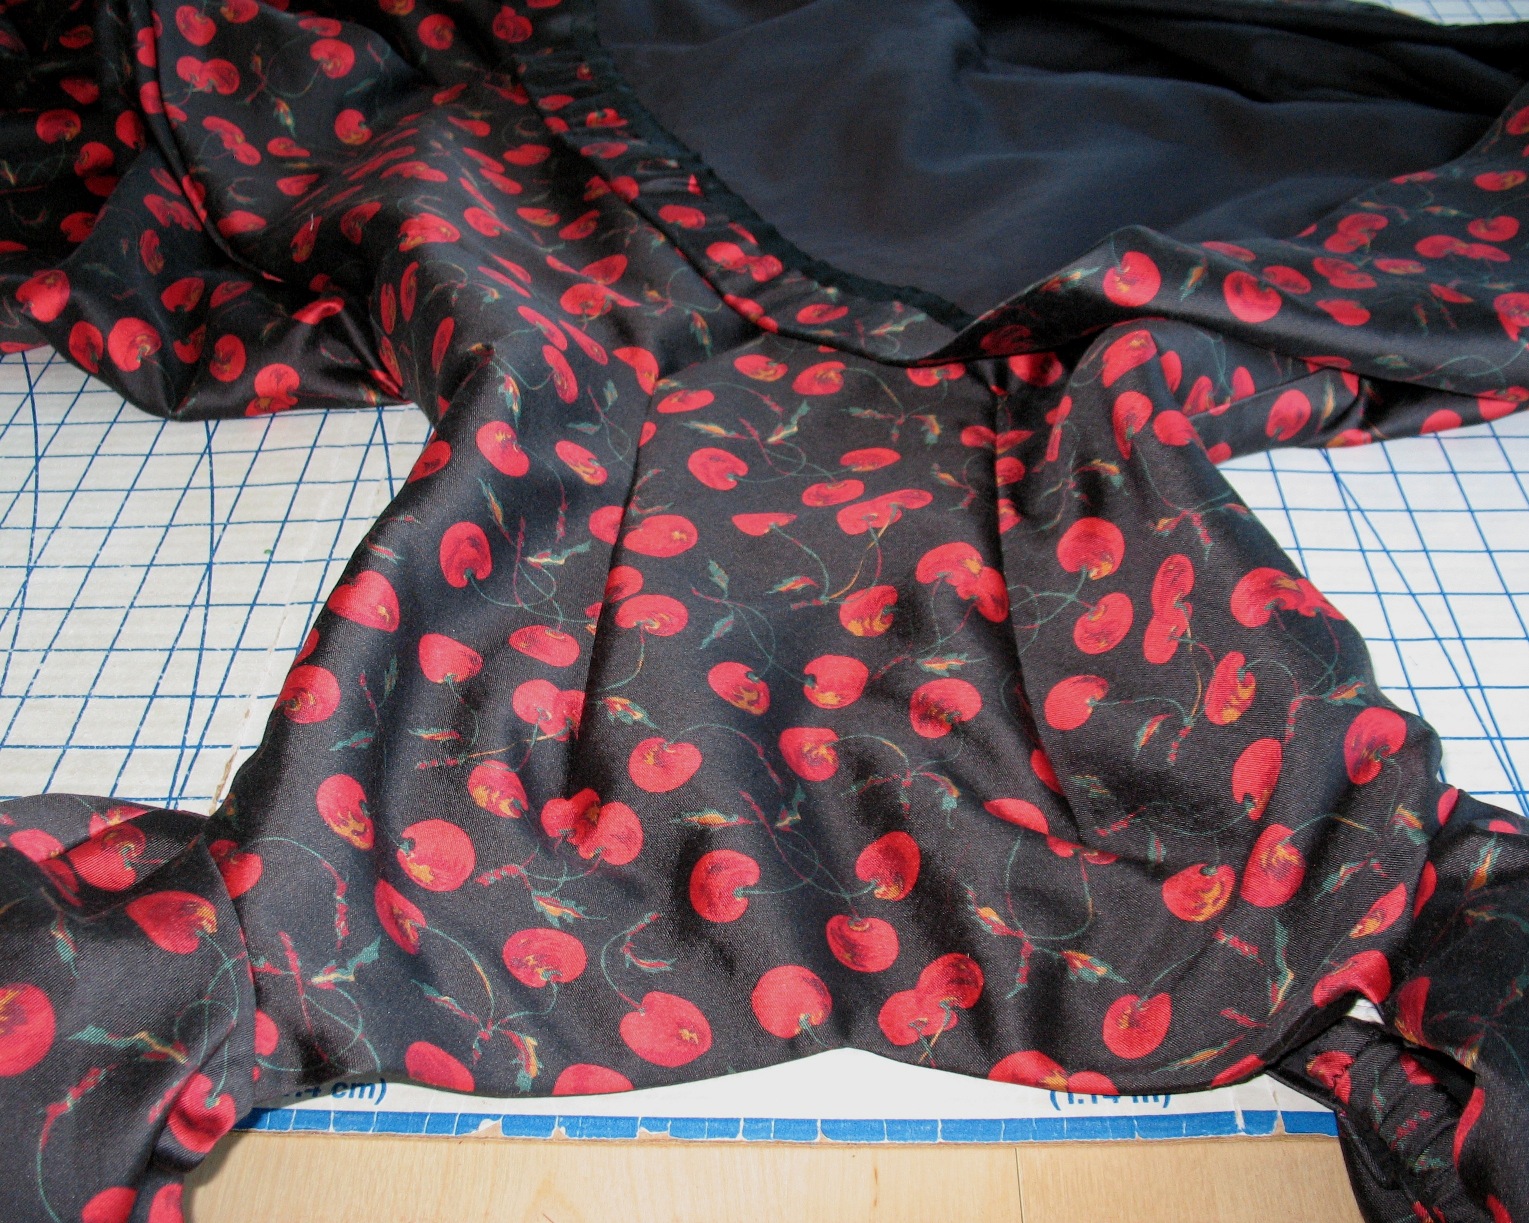
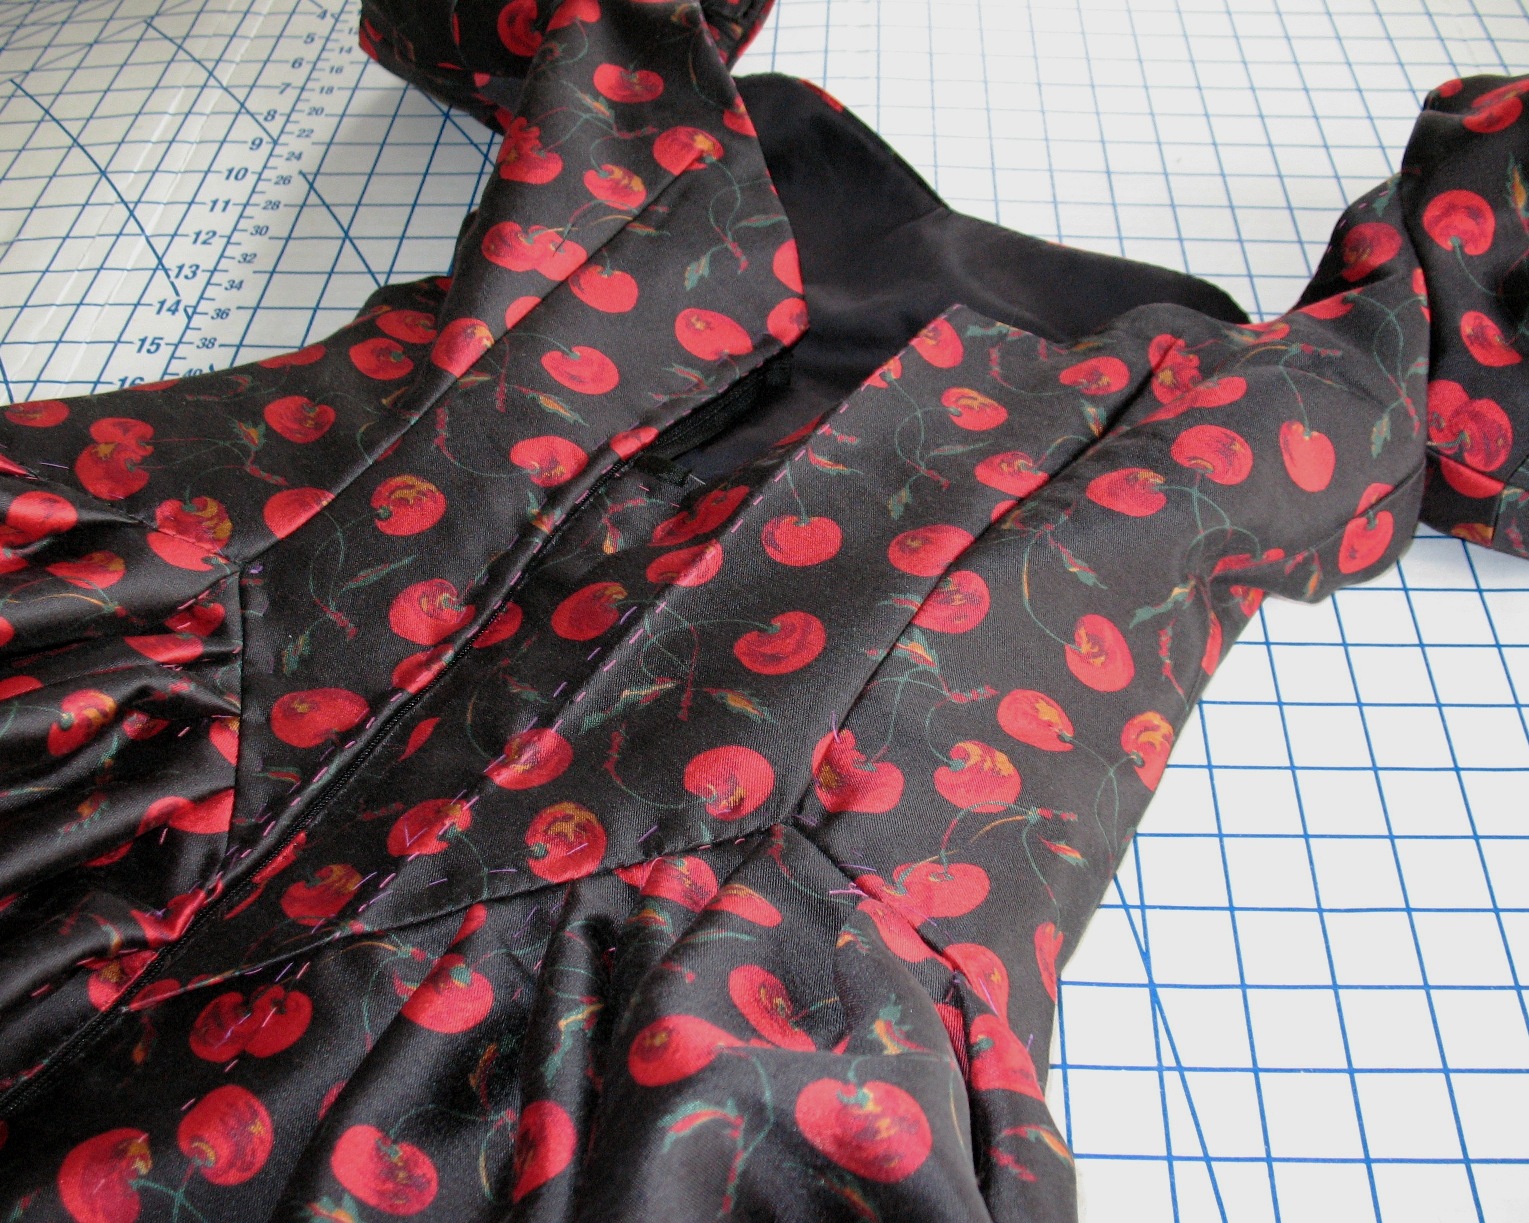
Once the pieces were basted together (not very elegantly, I might add) and hand-stitched in
place, it was time to close up the back seam.
At least it was beginning to look like a wearable dress!
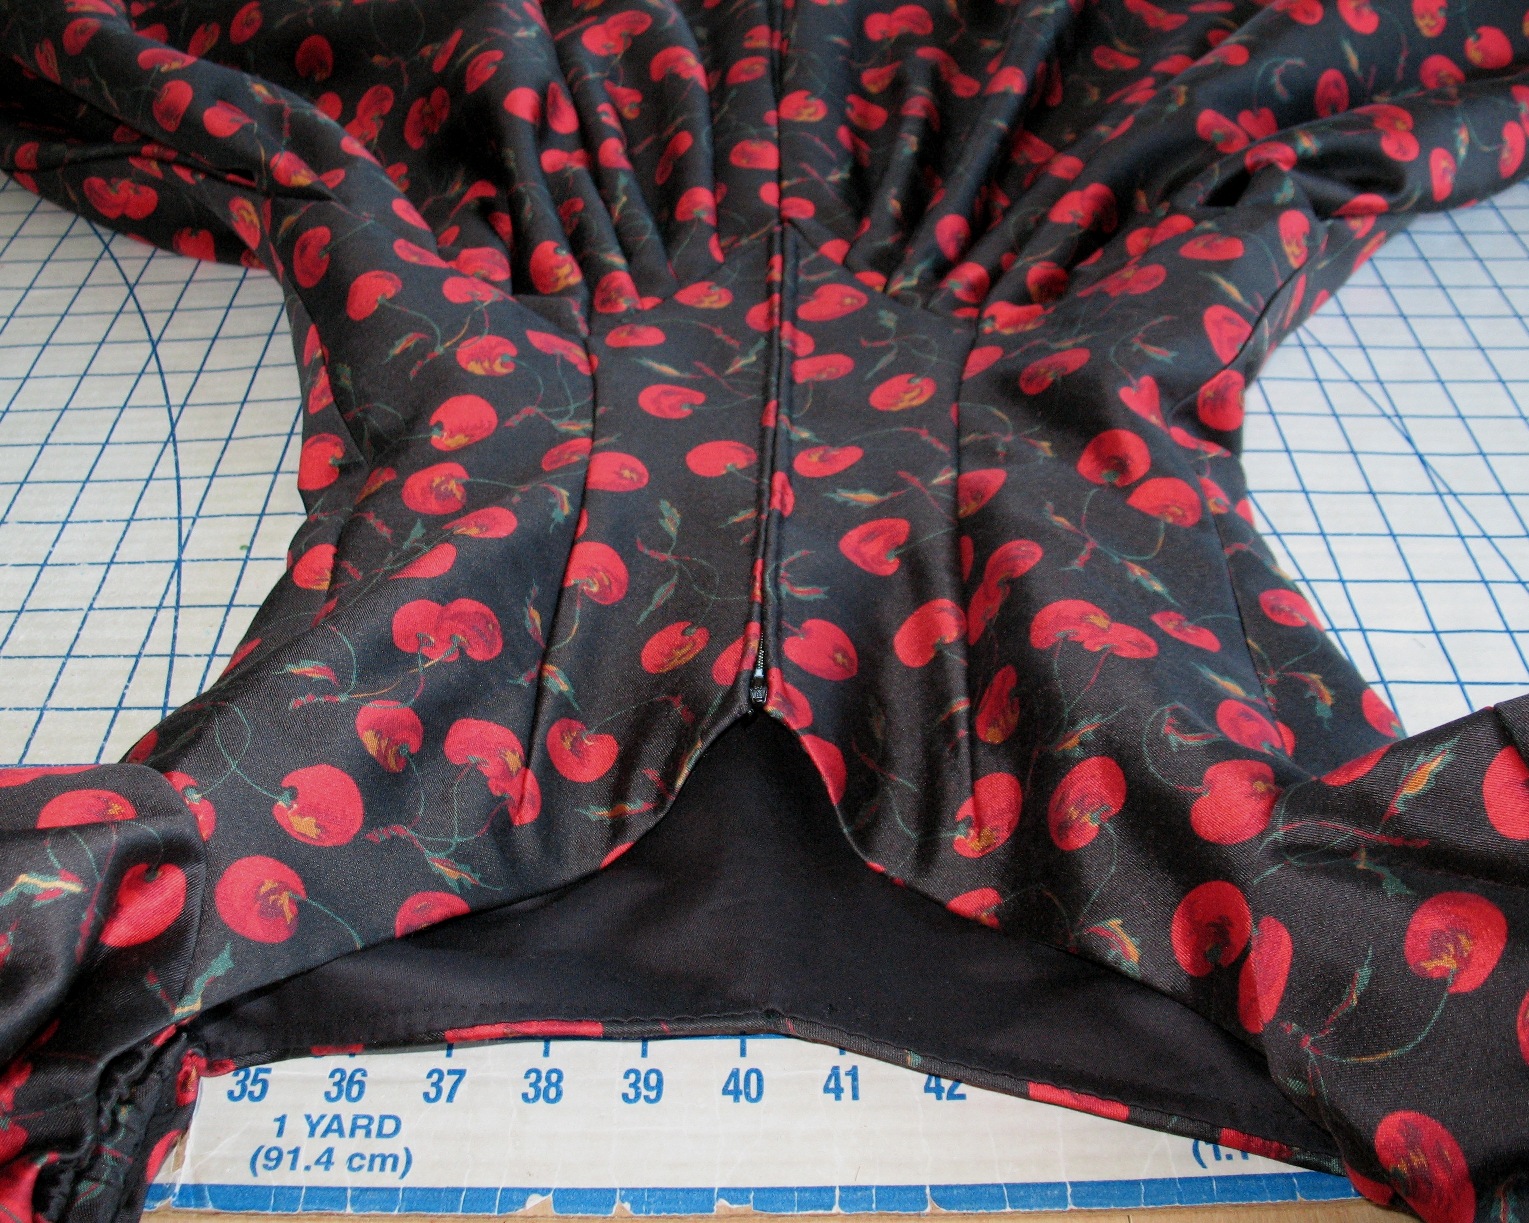
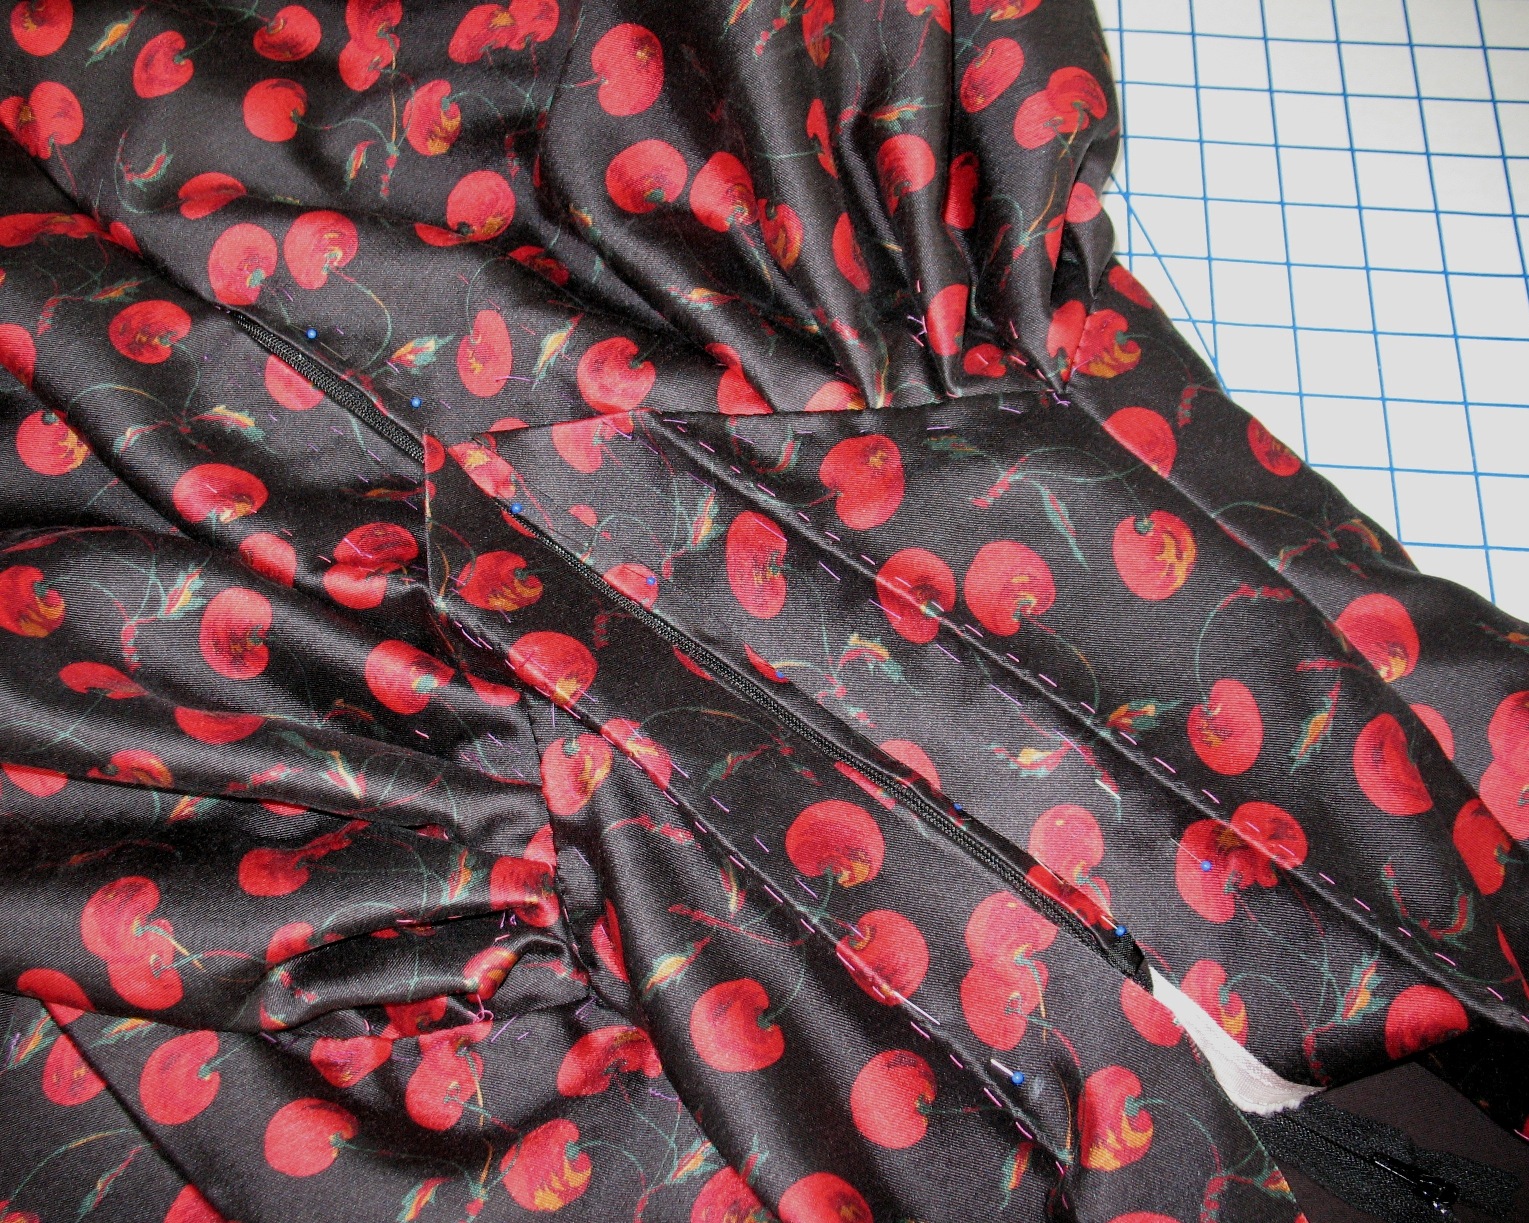
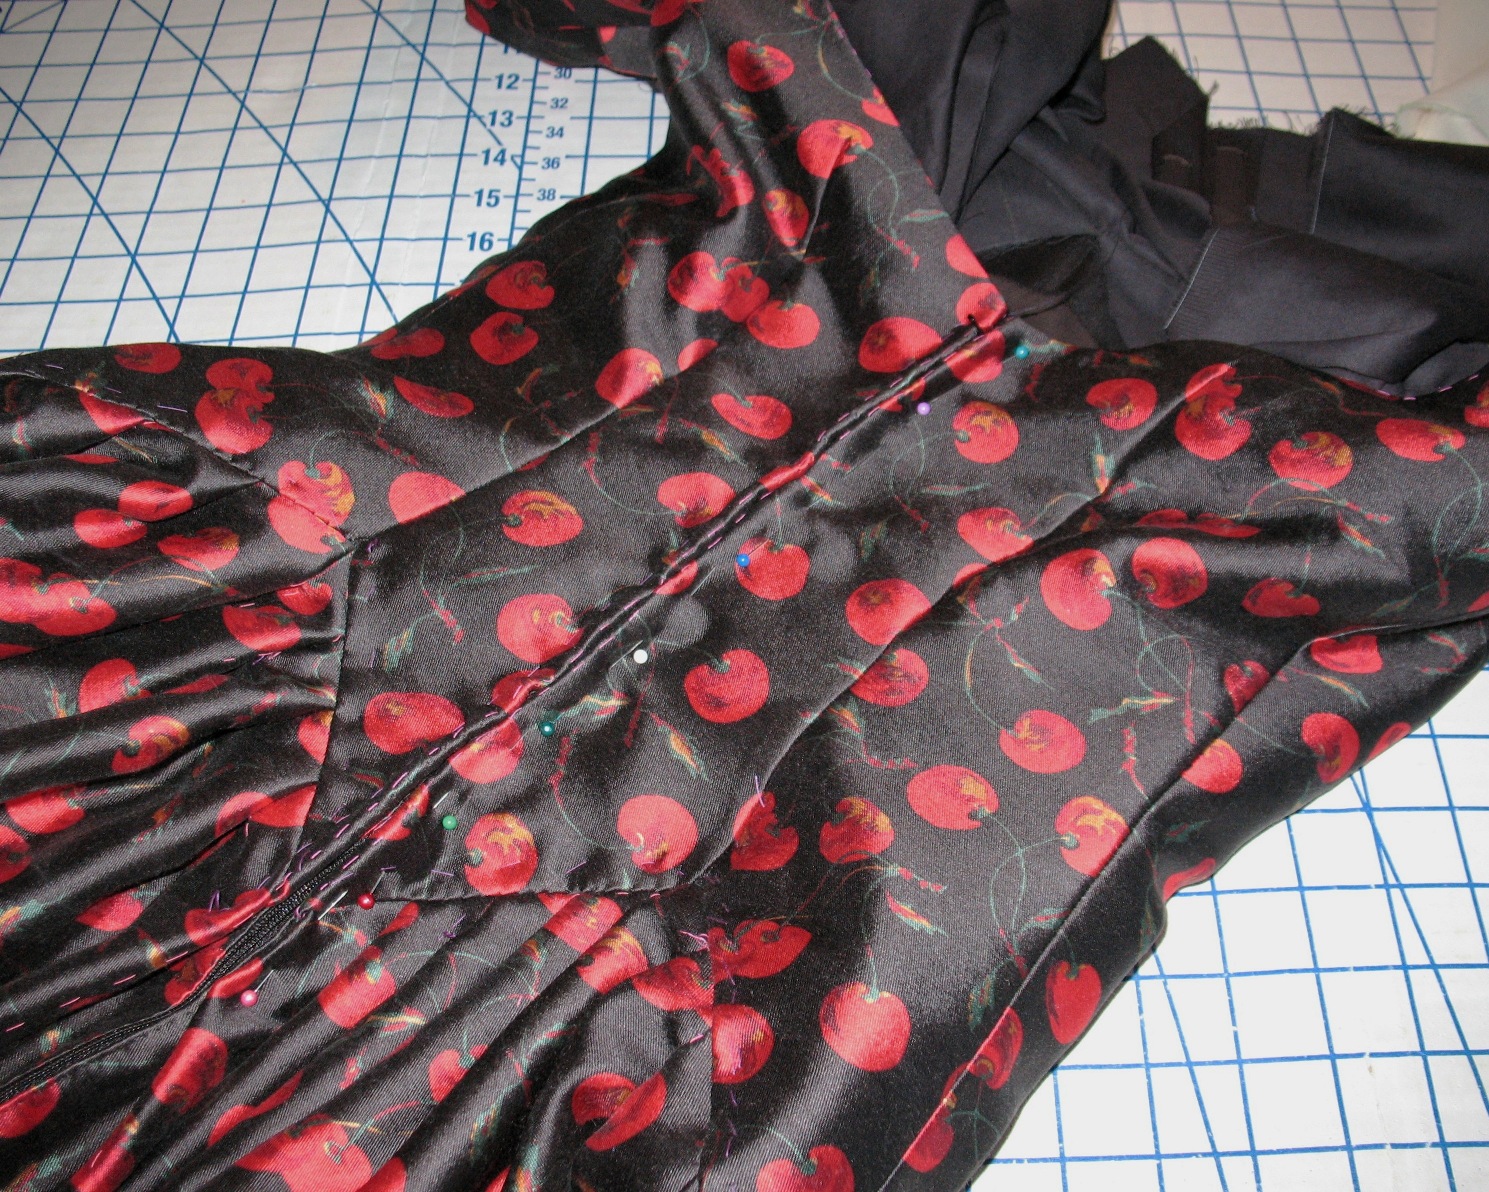
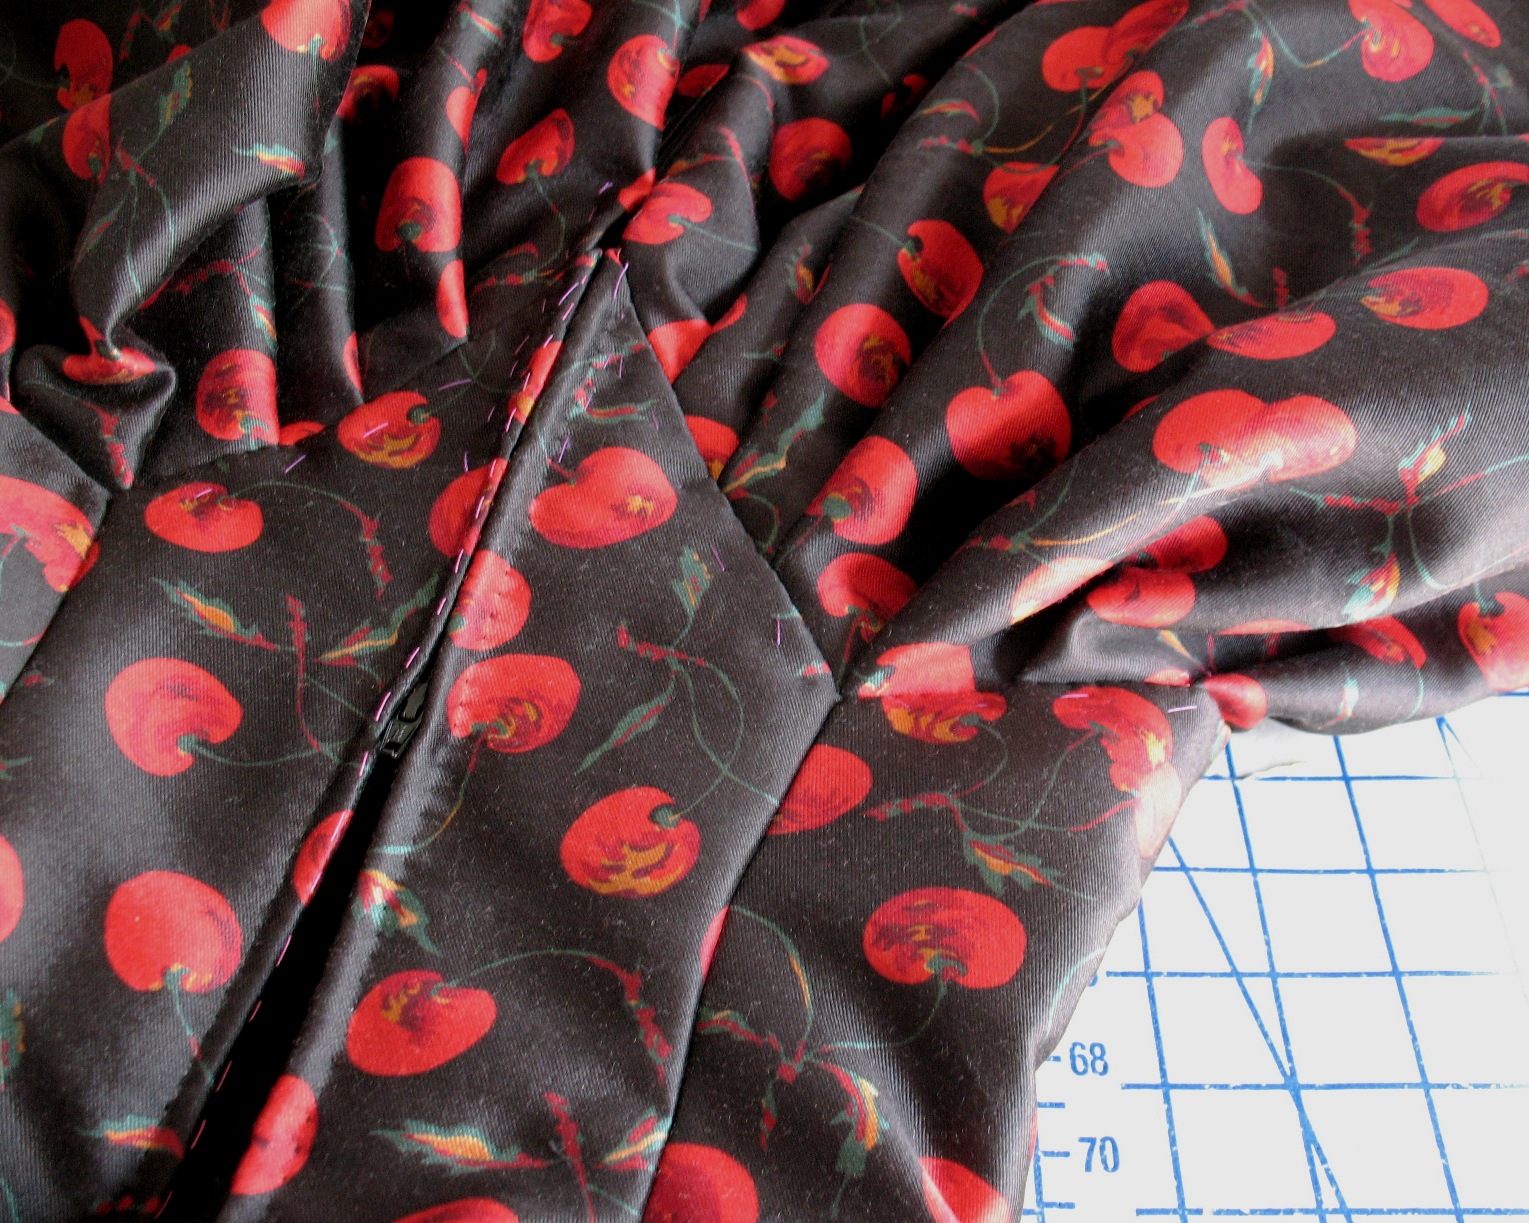
I started with the skirt.
Leaving the center back pleat undone, I basted and then hand-picked the
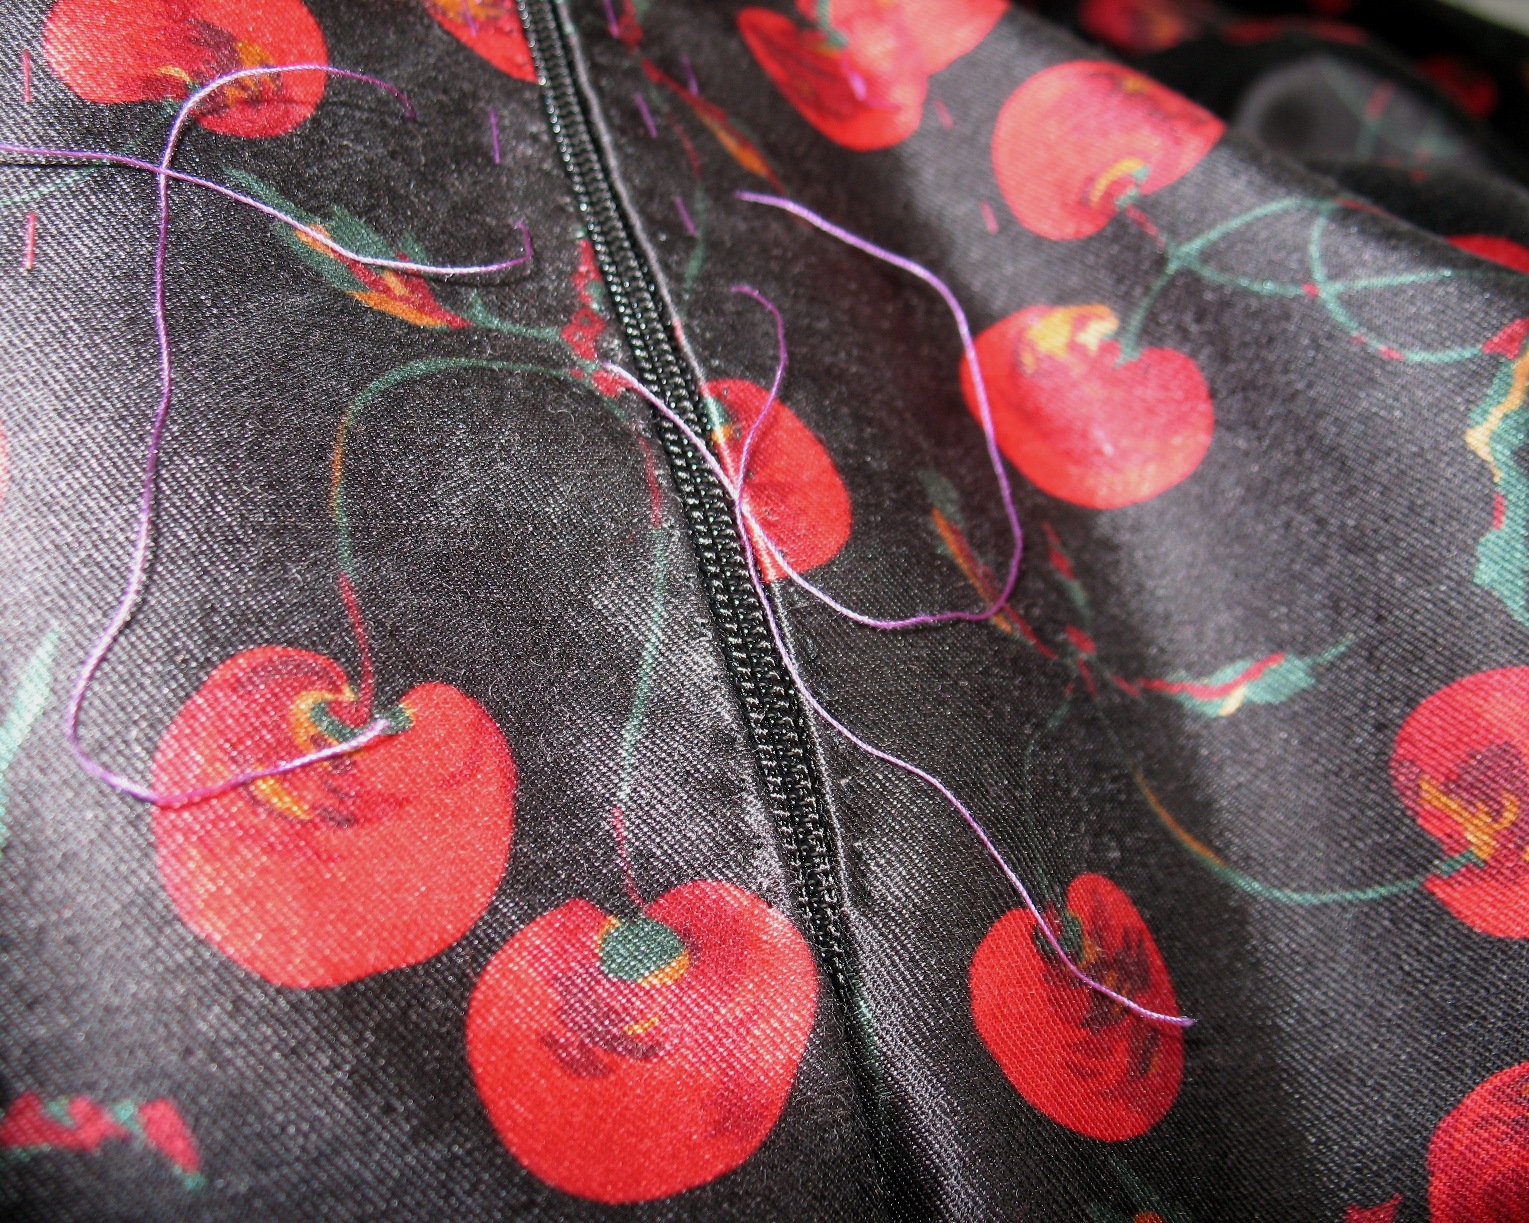
zipper, leaving the teeth exposed (this was later covered with the final skirt
pleat). And then those pesky basting stitches were removed.
**As a side note: if you are planning to remove your basting stitches, do yourself a favor and use silk thread - it really, really, really makes a difference, especially if you are concerned about leaving marks in your fabric.**
**As a side note: if you are planning to remove your basting stitches, do yourself a favor and use silk thread - it really, really, really makes a difference, especially if you are concerned about leaving marks in your fabric.**
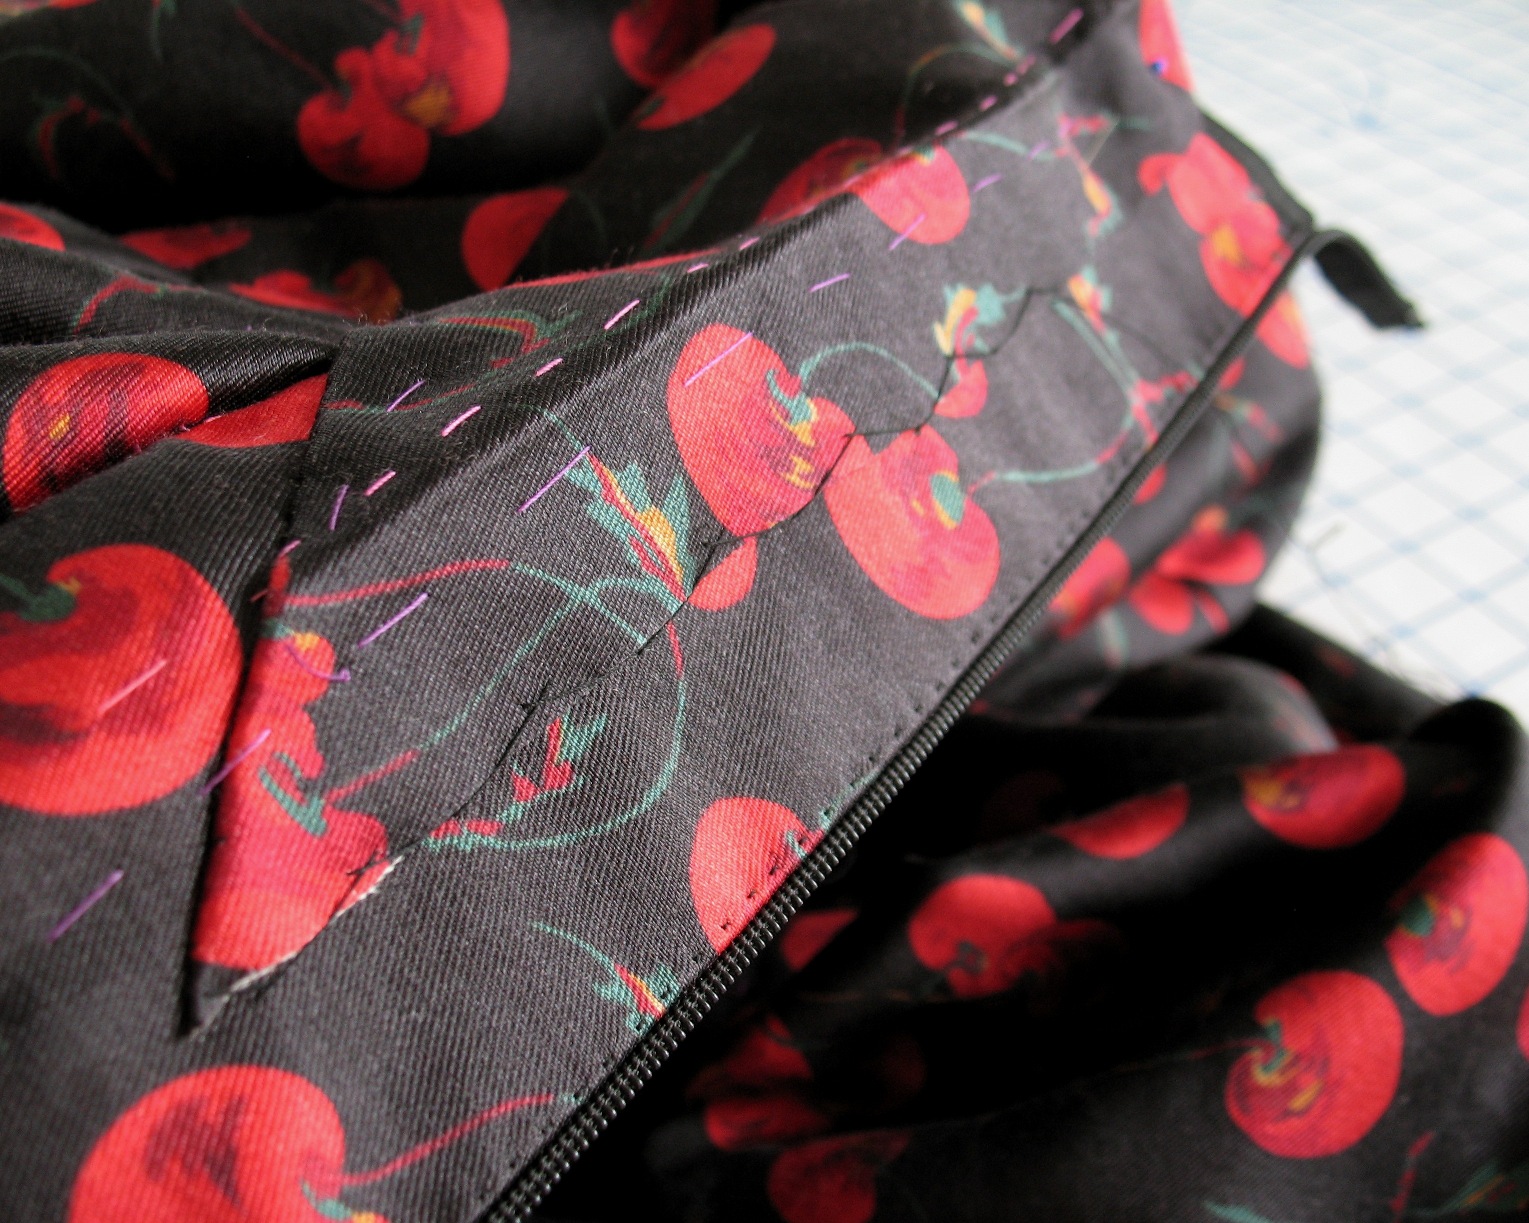
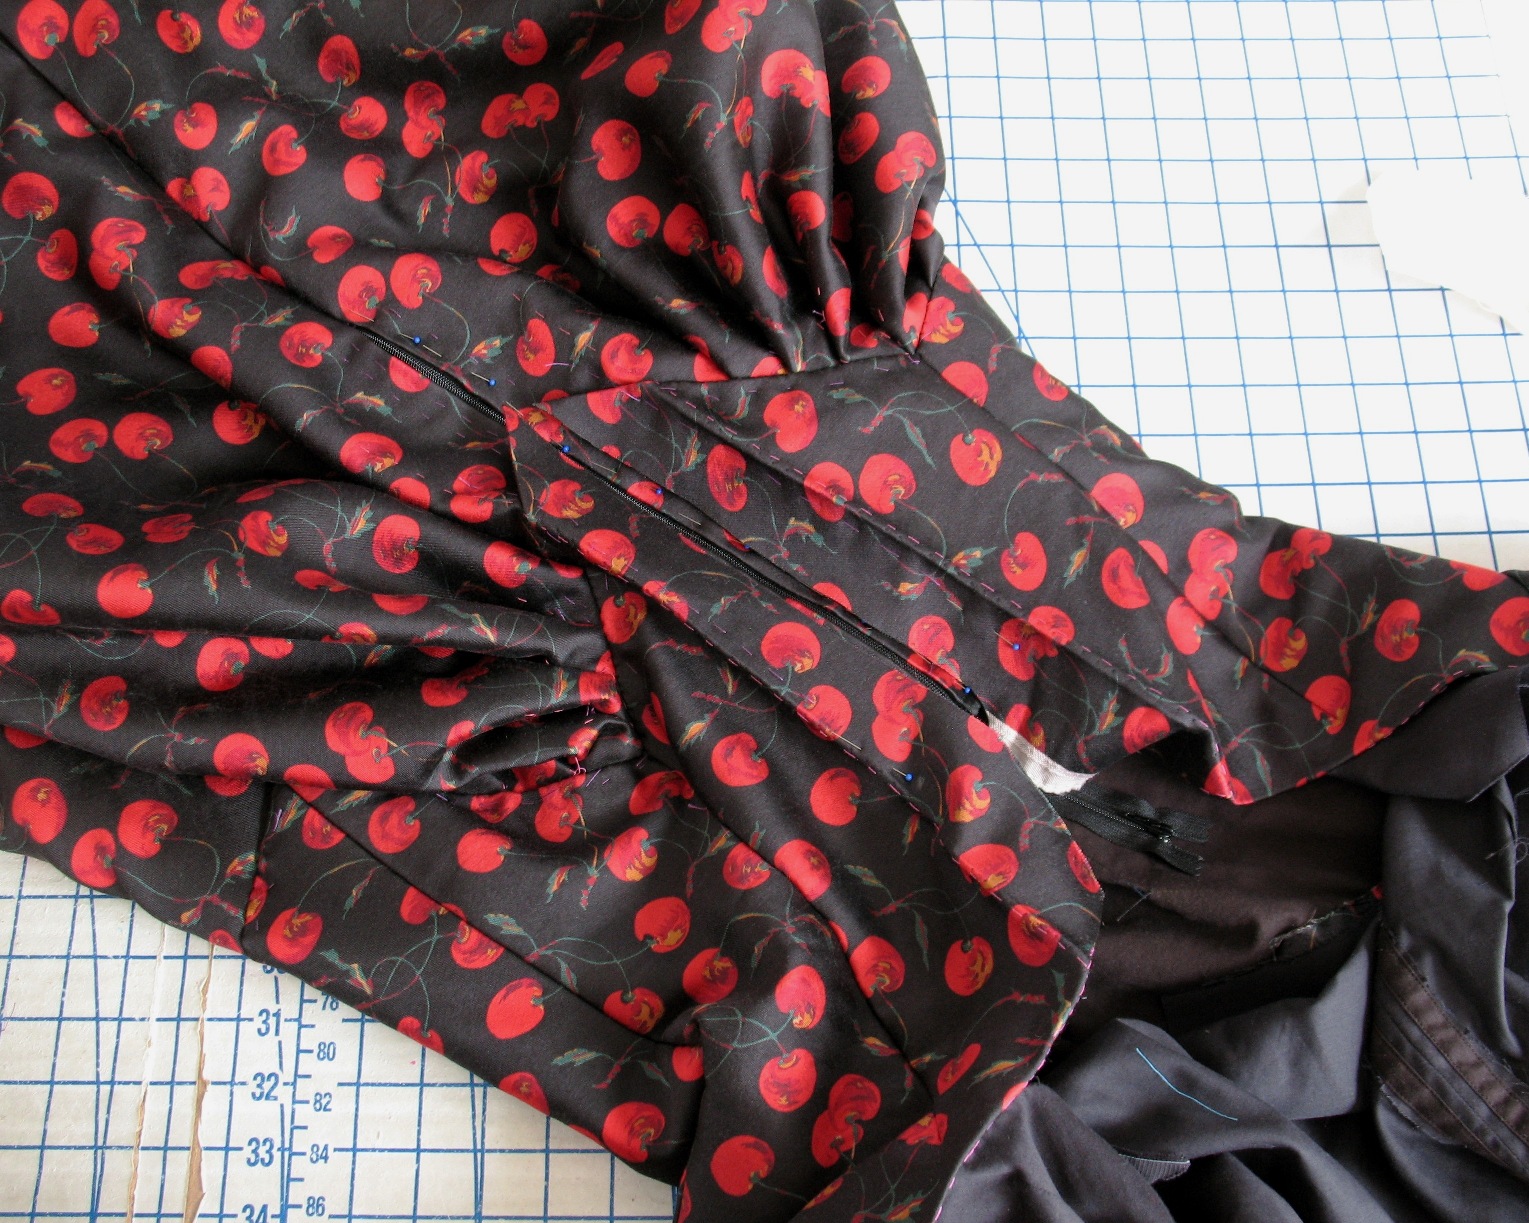
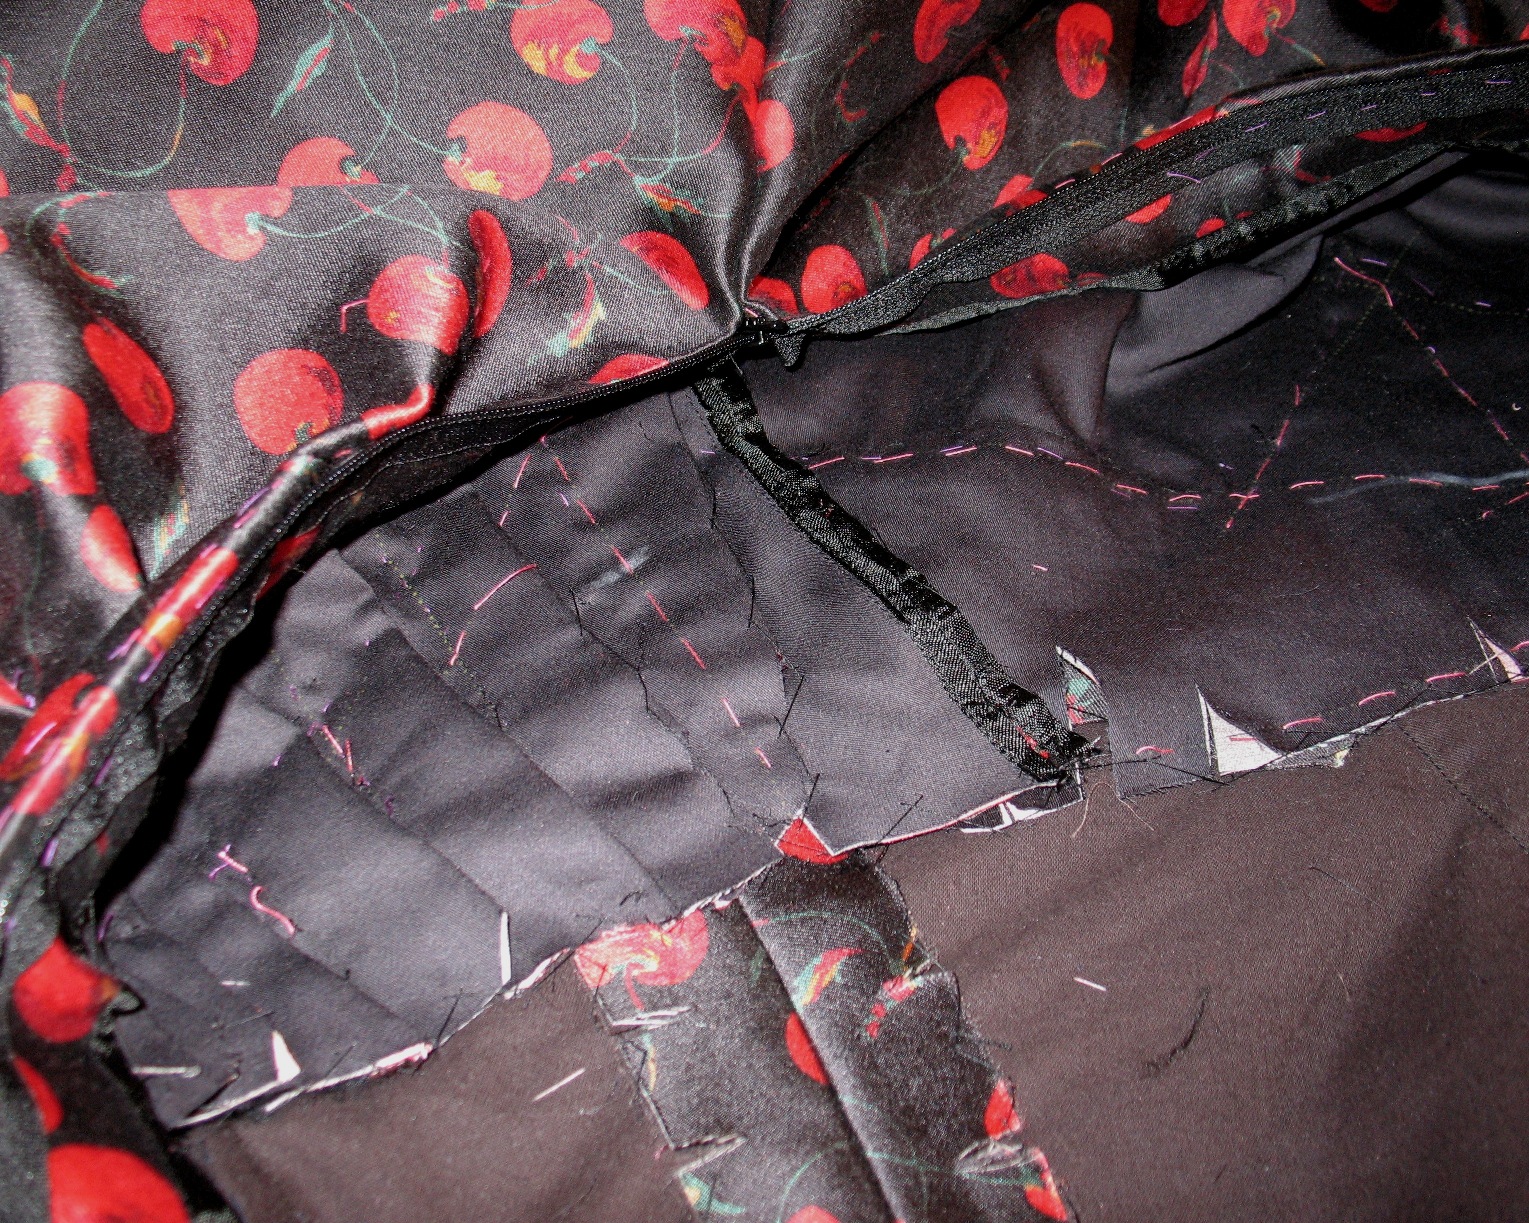
Next, the bodice and skirt was pleated over so the center back line extended over the zipper teeth and was basted and then hand-picked into place.
Now I was getting somewhere!
The extra skirt fabric which extended above the waistline was trimmed, and the pleated sections de-bulked and catch-stitched to the bodice underlining to keep everything flat and in the proper place.
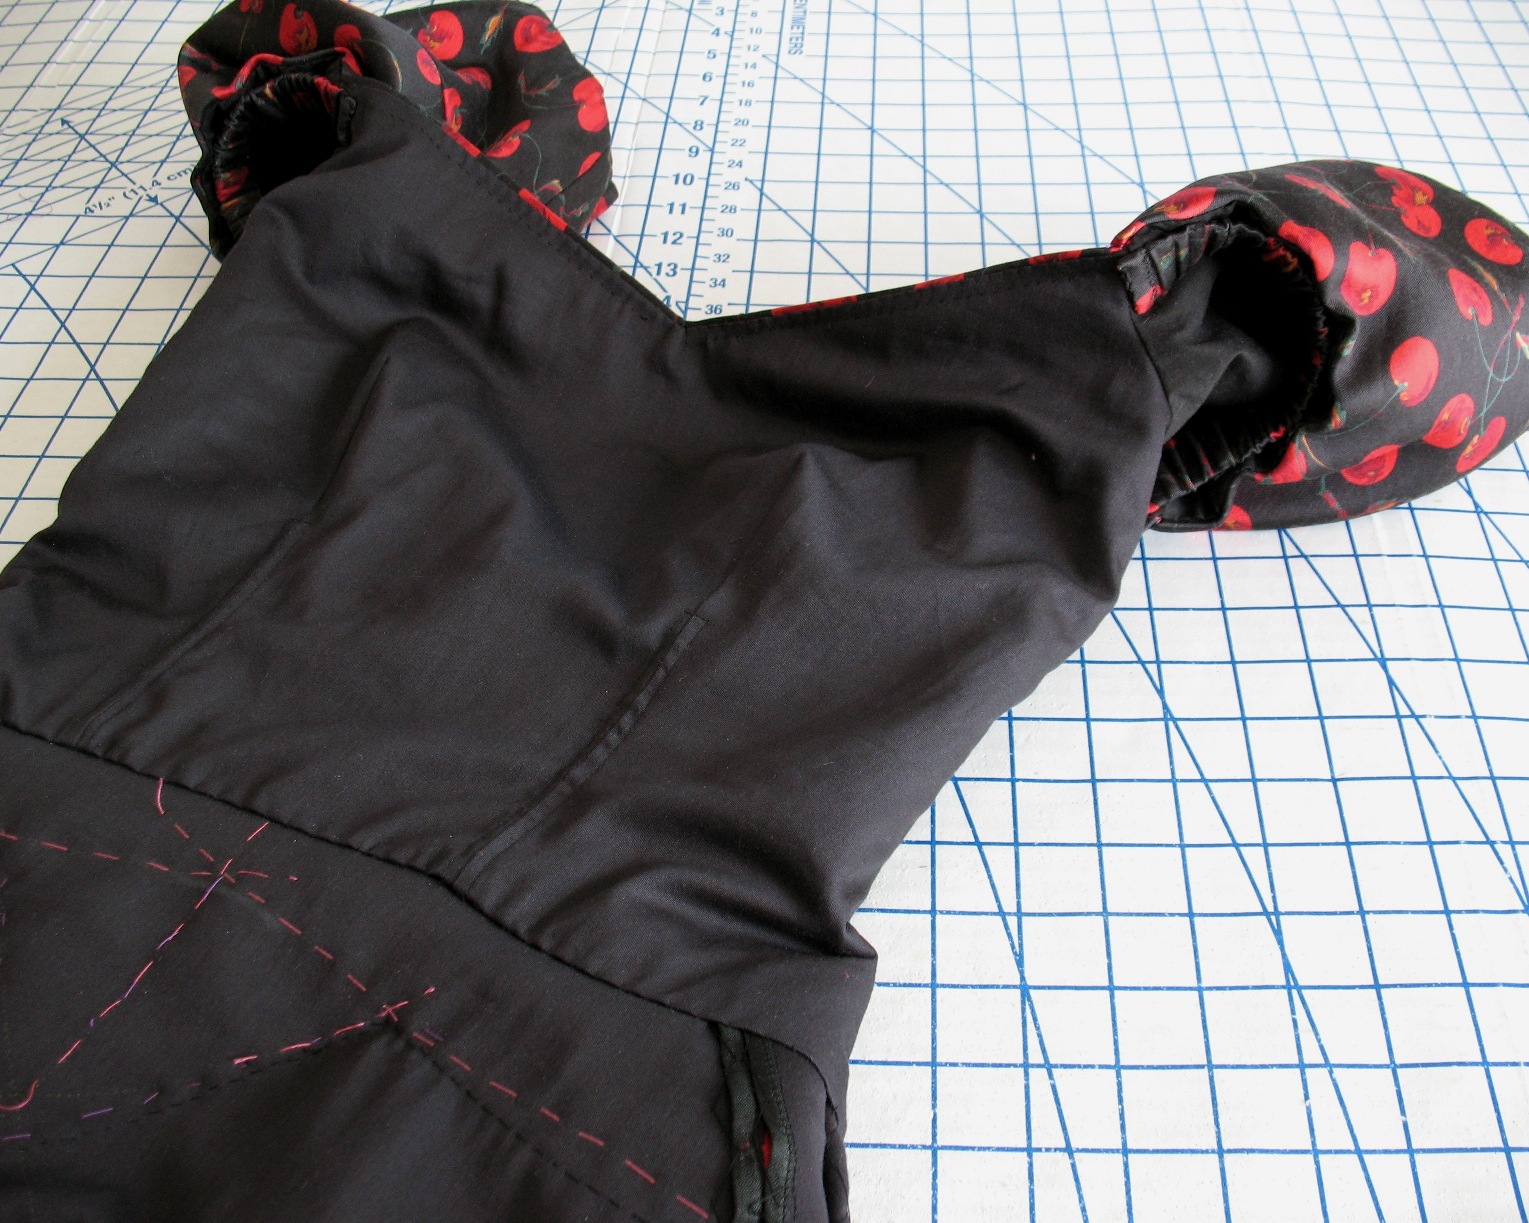
The bodice lining was already fell stitched along the neckline edges when it was separate from the skirt, but once the zipper was inserted, the rest of it had to be stitched down. That covered most of the raw edges.

One of my favorite tips from The Couture Dress was regarding understitching. I have been doing this by hand for years, never knowing it was a couture technique, but mostly because I have top-stitching paranoia. What if the machine skips a stitch, how do I shove an entire garment under the machine, etc., etc.

Well, if you have a larger than normal seam allowance to fold under, your under-stitching can be placed further down from the stitch-line, ensuring that the lining does not migrate upwards during wear and peek out.
A few pieces of boning were inserted into the lining, and the bottom edge turned under and stitched into place. I ran out of time to cut and tip my spiral steel for the front darts so there are two pieces of yucky plastic boning in there. At some point, I will rip out a small portion of the lining and swap those out. But since I was wearing a corselette made from the spiral steel, I did not get poked by the evil plastic stuff.
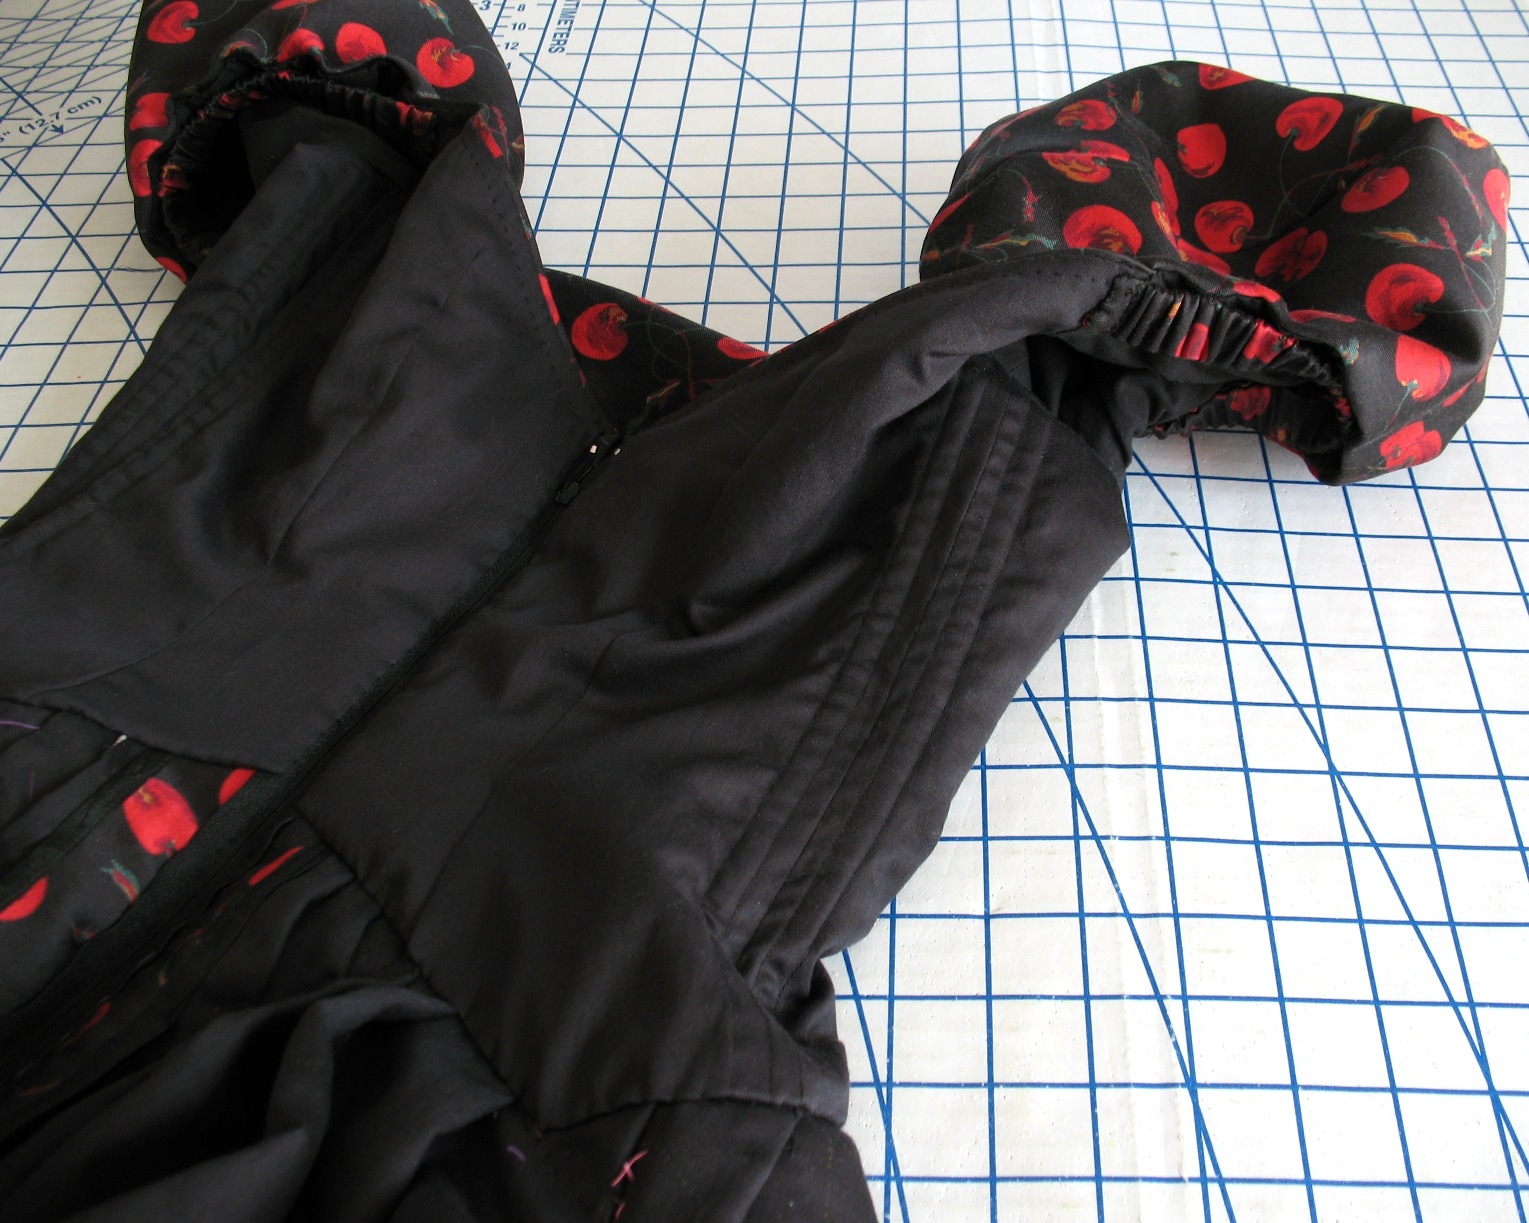
And in the interest of full disclosure, I may have left a few of those basting stitches in place that are hidden under the bodice. The visible ones had to go, though. There were a couple of stubborn areas where a pair of tweezers came in handy, but I think I caught them all in the end!
Which means this thing is almost finished!
It looks beautiful! I'll definitely start using your tip about silk for basting.
ReplyDeleteThis has temporarily, and only temporarily, silenced the voices in my head. Not that they won't be moaning and wailing at some time in the near future.
ReplyDeleteLaura Mae, you are blend of talent, charm, and patience - can not wait to see the big reveal!
Beautiful work! Your picked zip is gorgeous.
ReplyDeleteGreat work, and such consistent quality under all that pressure.
ReplyDeleteYou've heard it all before, but you inspire!
Monique
What a fantastic project! Can't wait for the reveal!
ReplyDeleteWow! This is such a work of art, inside and out. You would never know you had problems with the skirt/bodice attachment.
ReplyDeleteThis was the post I was waiting for, and you did not disappoint. Thank you, from the bottom of my aspirational sewing heart, for this. I kept wondering - how is the skirt transitioning to the petals on the bodice, and you have clearly shown me how. In a beautiful cherry print.
ReplyDeleteWow. Just wow. Thank you so very much.
I really appreciate your keeping us in the loop & showing all your inspirational sewing, especially when you're getting close to deadline! You are a marvel.
ReplyDeleteIt was very smart of you to step away from the dress for a bit. You just needed a little break. It's coming along beautifully!
ReplyDelete