
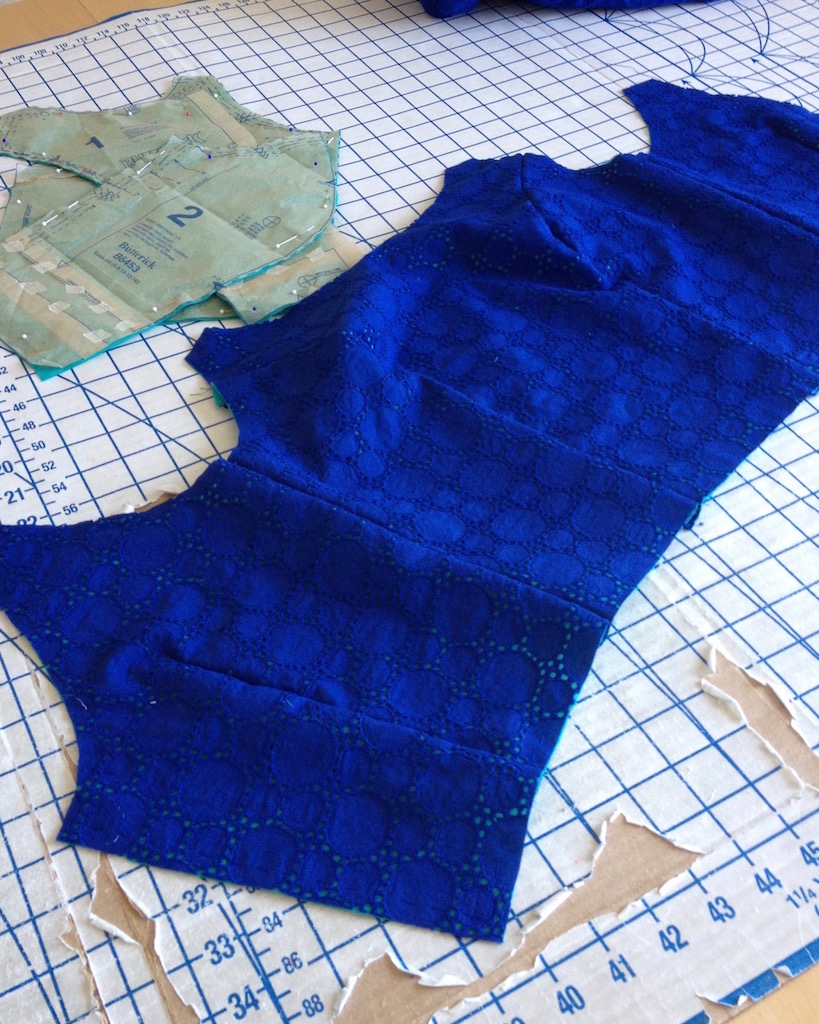
Here is yet another version of Butterick 6453. As soon as I made the first version, I knew I wanted to make another.

I had a different plan for this blue eyelet when I purchased it many years ago, but then I decided I wanted to make a full length version of this sundress, and it was one of the first fabrics that came to mind.
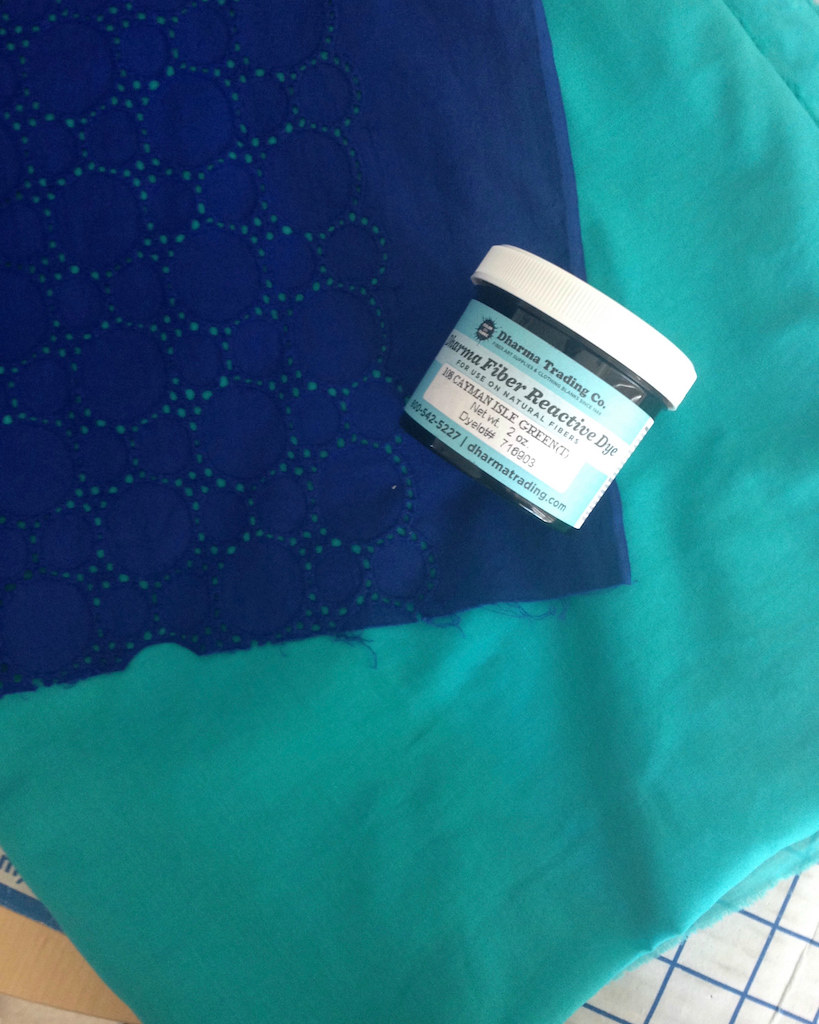
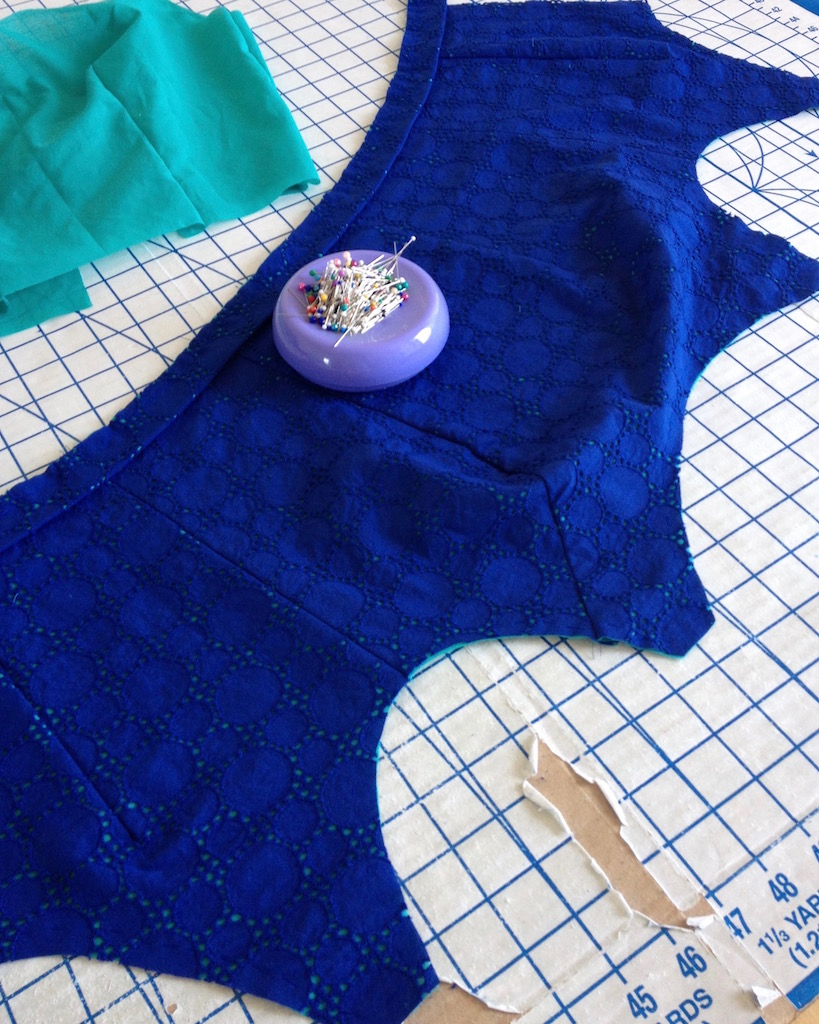
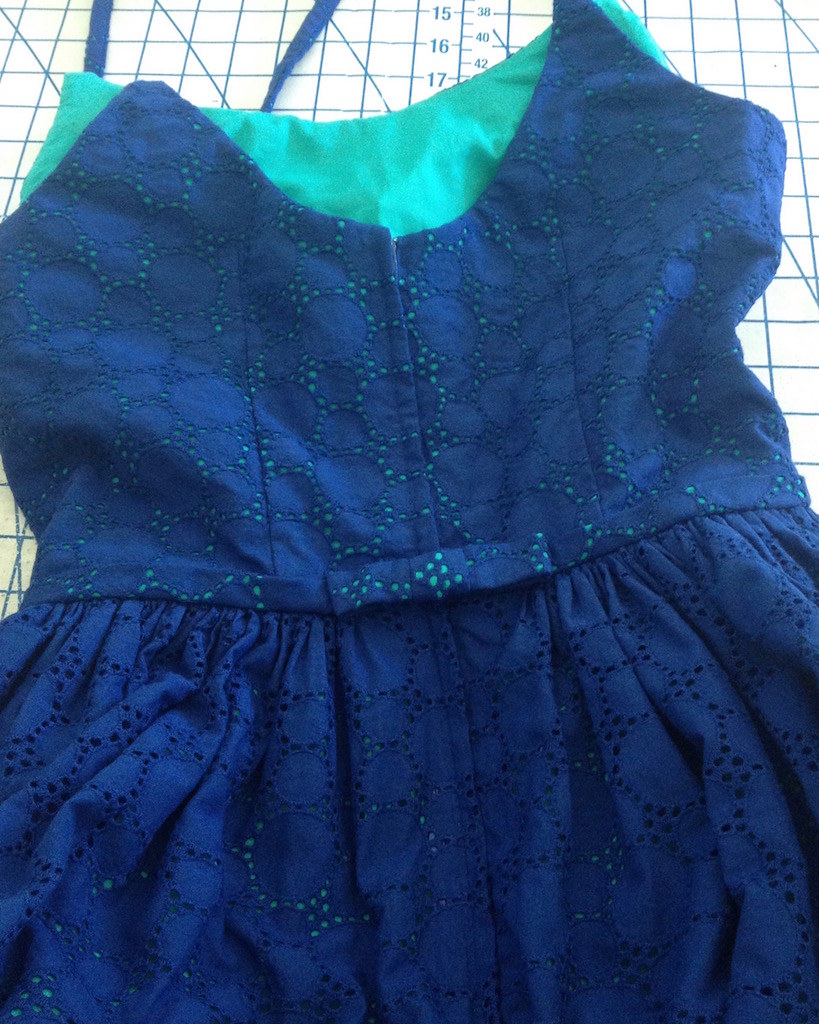
Of course, I wanted to underline it with a pretty green color. I did have a beautiful mint green bemberg rayon in the sewing room, but there was not quite enough. And since I had a bit of white cotton voile from Dharma Trading on hand, I decided that dying was the way to go. Because I just love making things more complicated for myself!
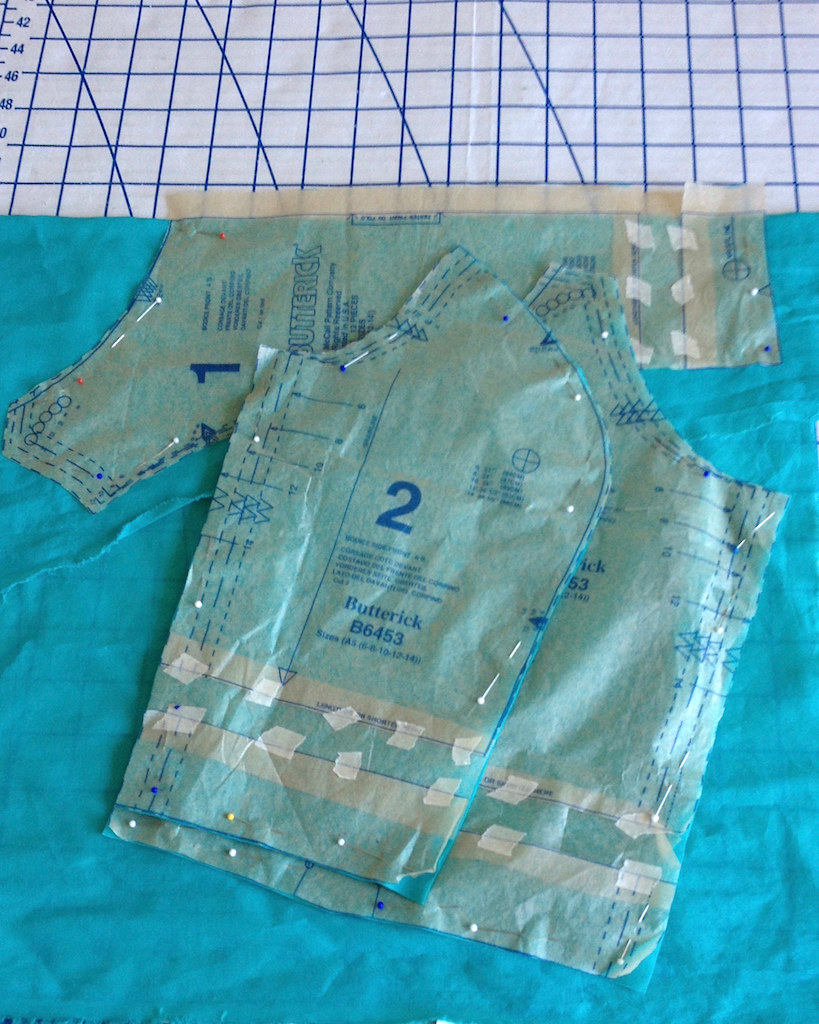
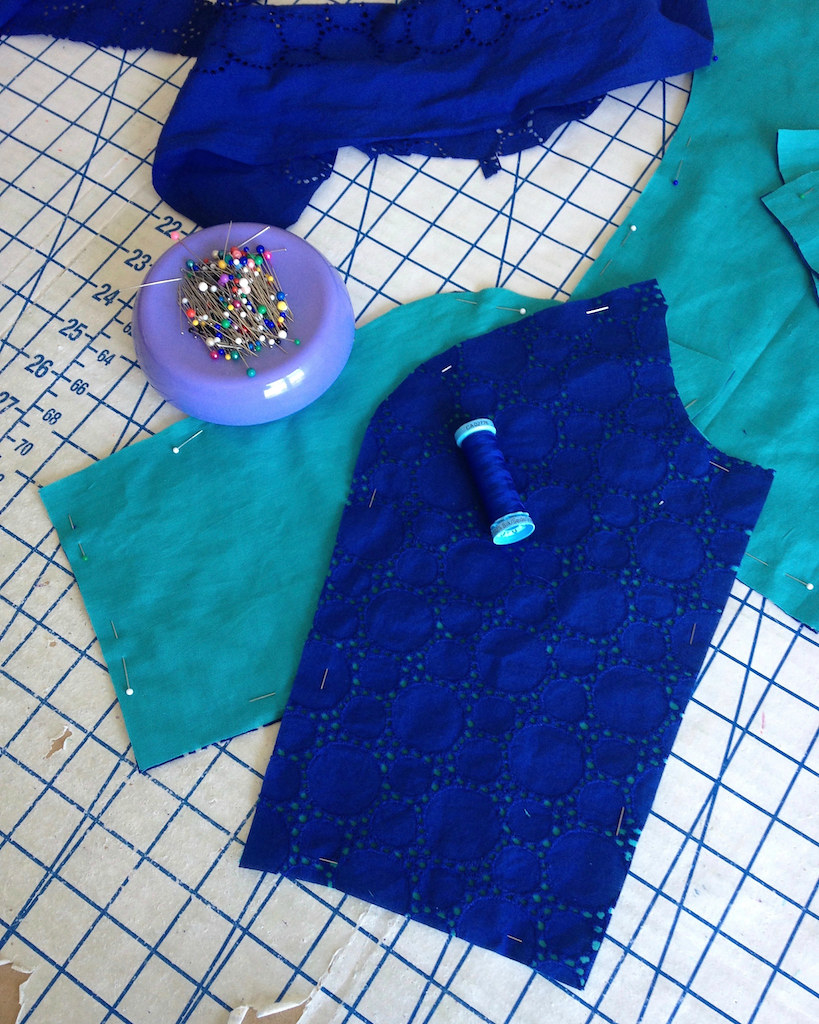
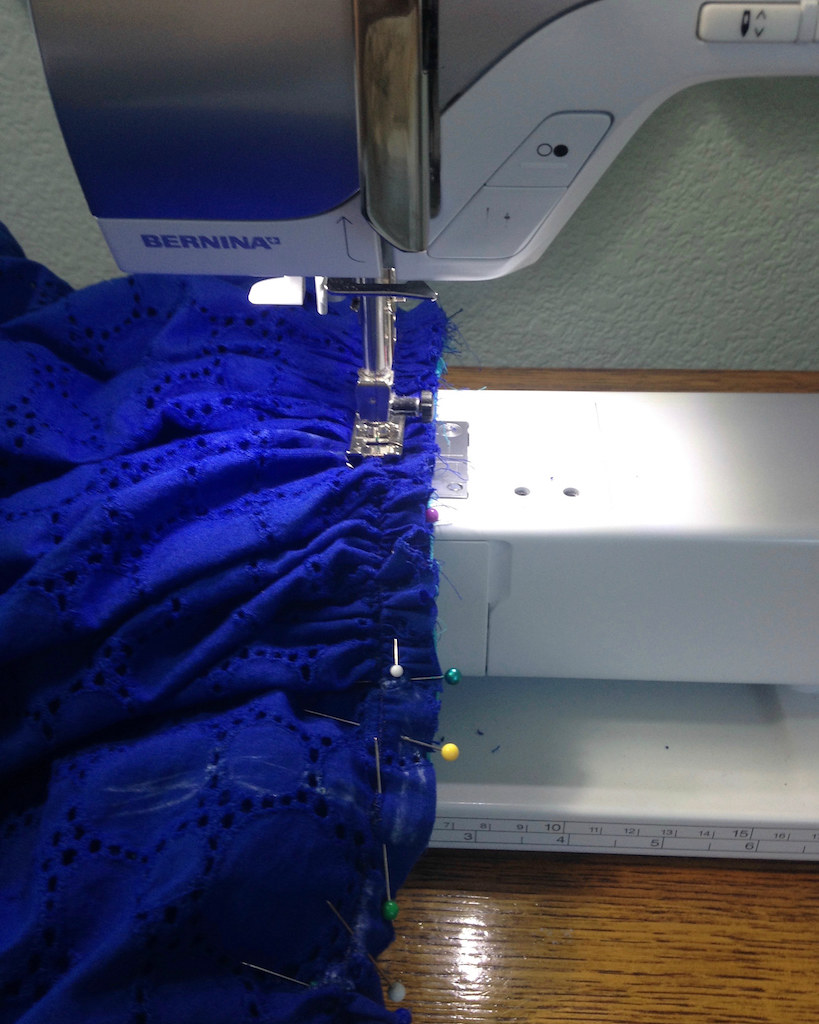
The pattern pieces of the bodice were cut out of the voile, and then placed on the wrong side of the eyelet fabric in order to cut that second layer.

A little hand basting and my pieces were ready to go.
The construction of this design is very straight forward, and since I had already made another version, this was a piece of cake.
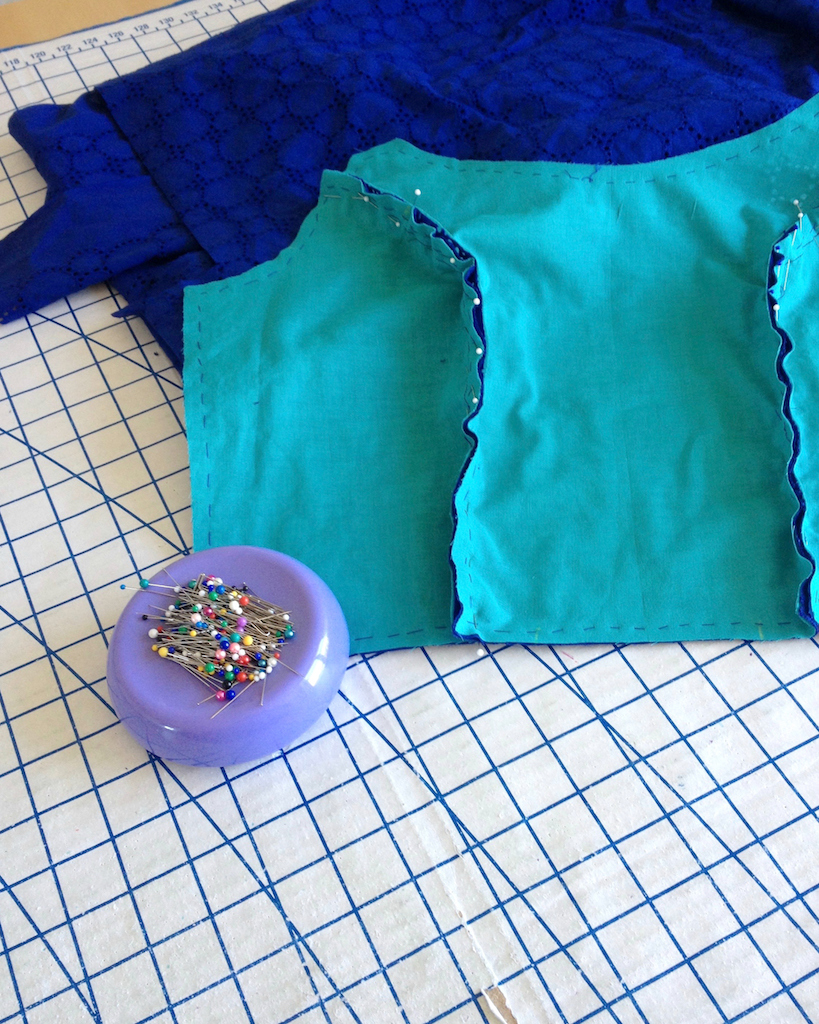
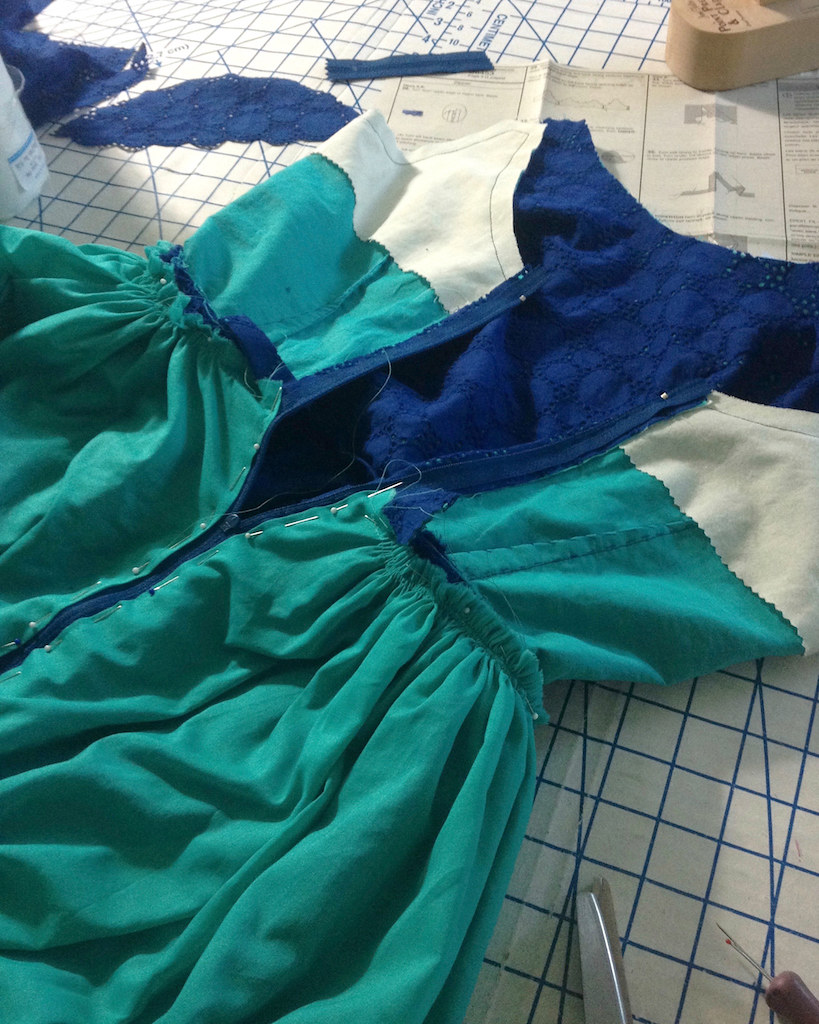
At this point I was a little concerned that the green underling was not bright enough to show through . . . but I kept going anyway.
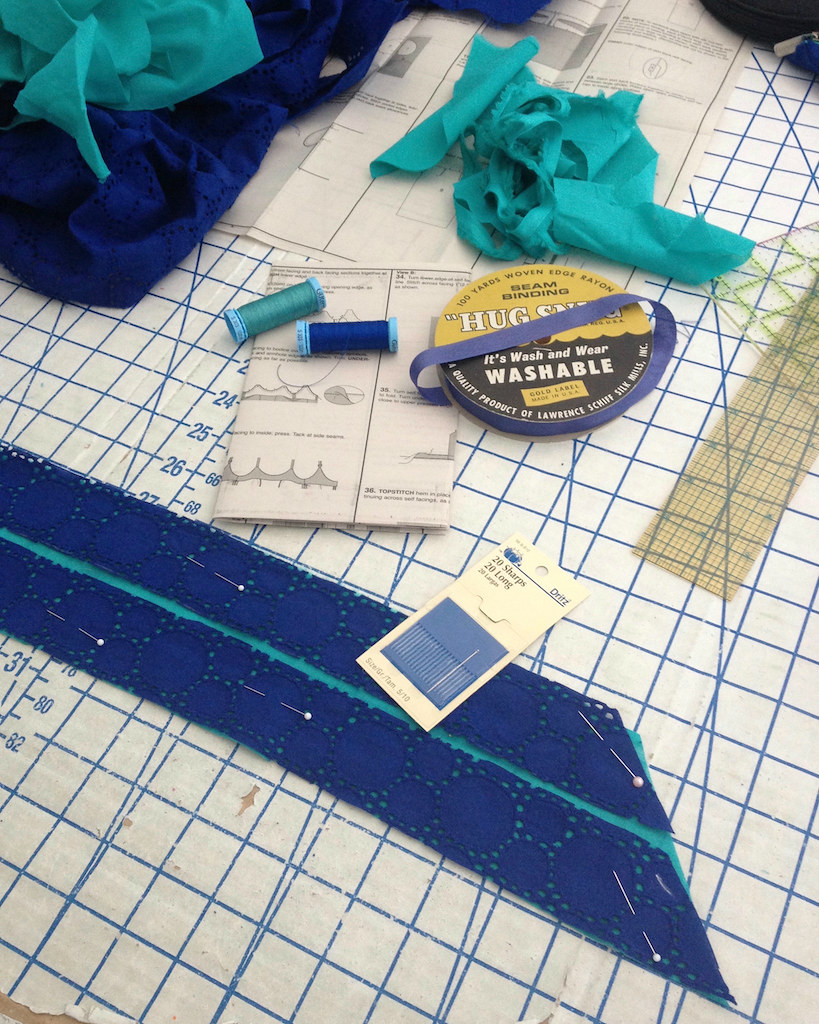
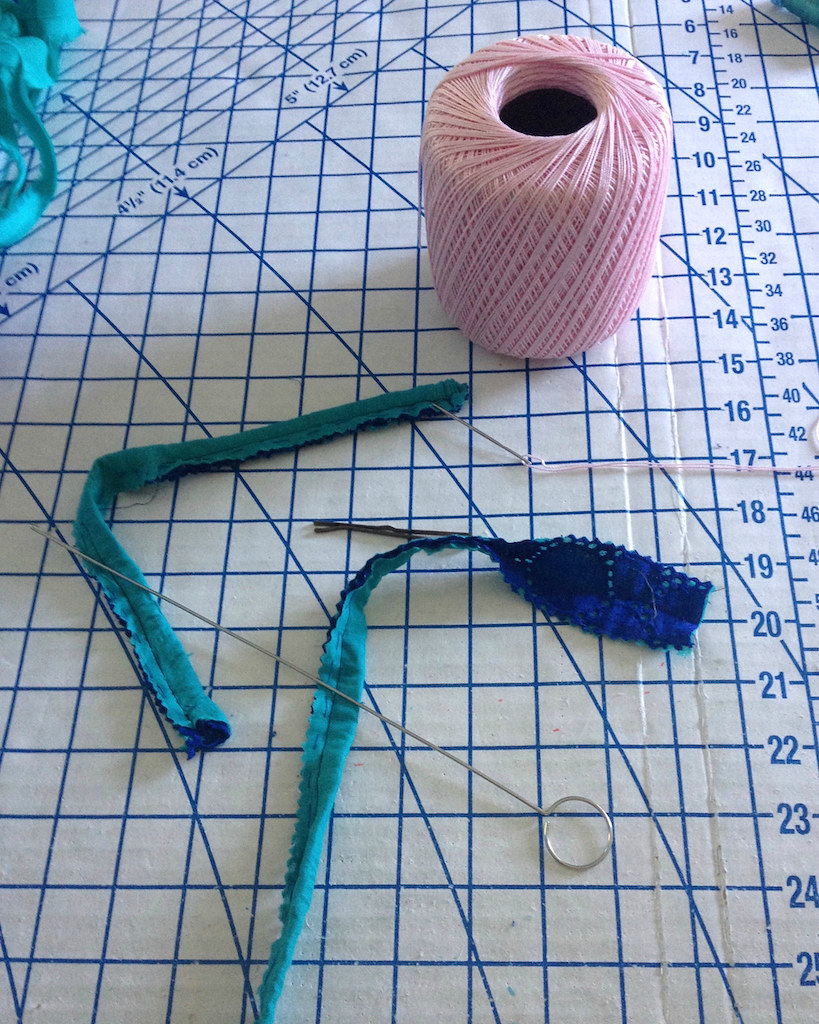
Instead of the piping I added to my first dress, I went for an extra wide bias cut piece that was folded and added to the waistline. My hope was that it would make an interesting design feature (including a little bow at the center back seam).
Unfortunately, there was one really irritating portion of this project.
Namely, turning the straps right side out. The holes in the eyelet were making it impossible, along with the added bulk of the embroidery. I tried every technique I could think of before giving up, pressing the raw edges under, and hand stitching into place.
Bulk was also a bit of an issue when it came to gathering up the skirt. The added embroidery really does make eyelet much more of a heavy weight fabric than you might think!
But I got fought those gathers into submission eventually - although I will admit to being stabbed by multiple pins along the way.

From there out it was smooth sailing.

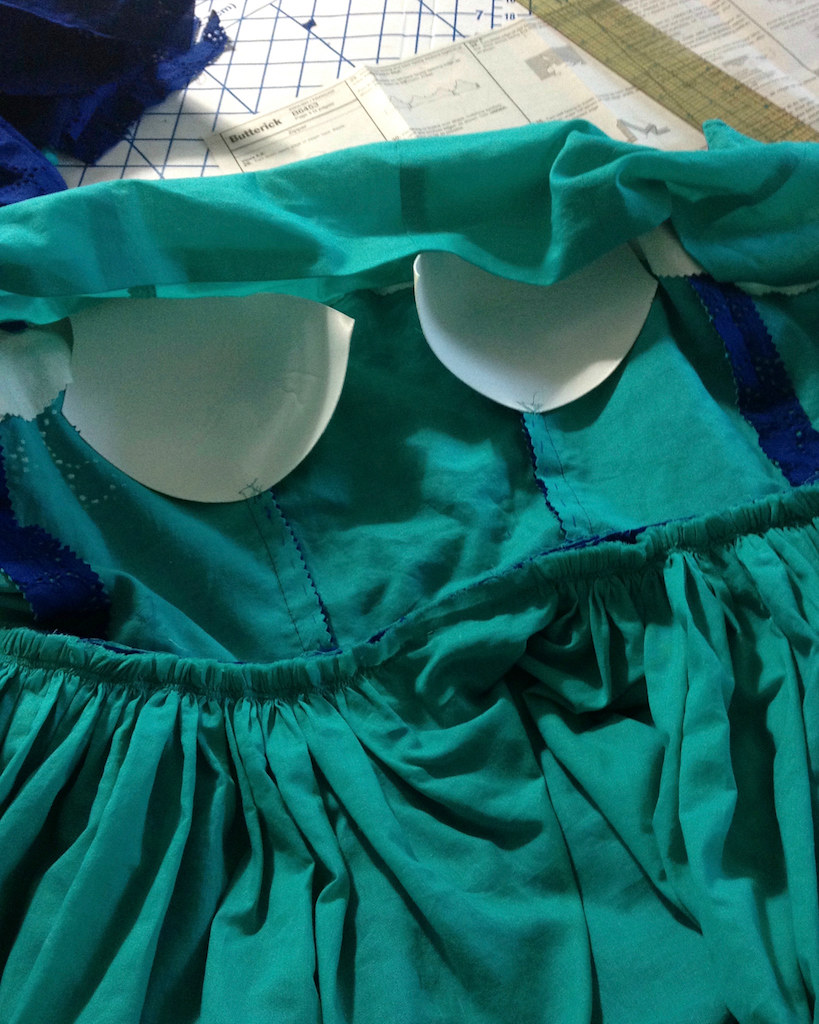
I used the neckline facing pieces to cut out a layer of muslin to stabilize that area before adding a full bodice lining to the dress. I had just enough of my green voile to cut out a duplicate bodice!
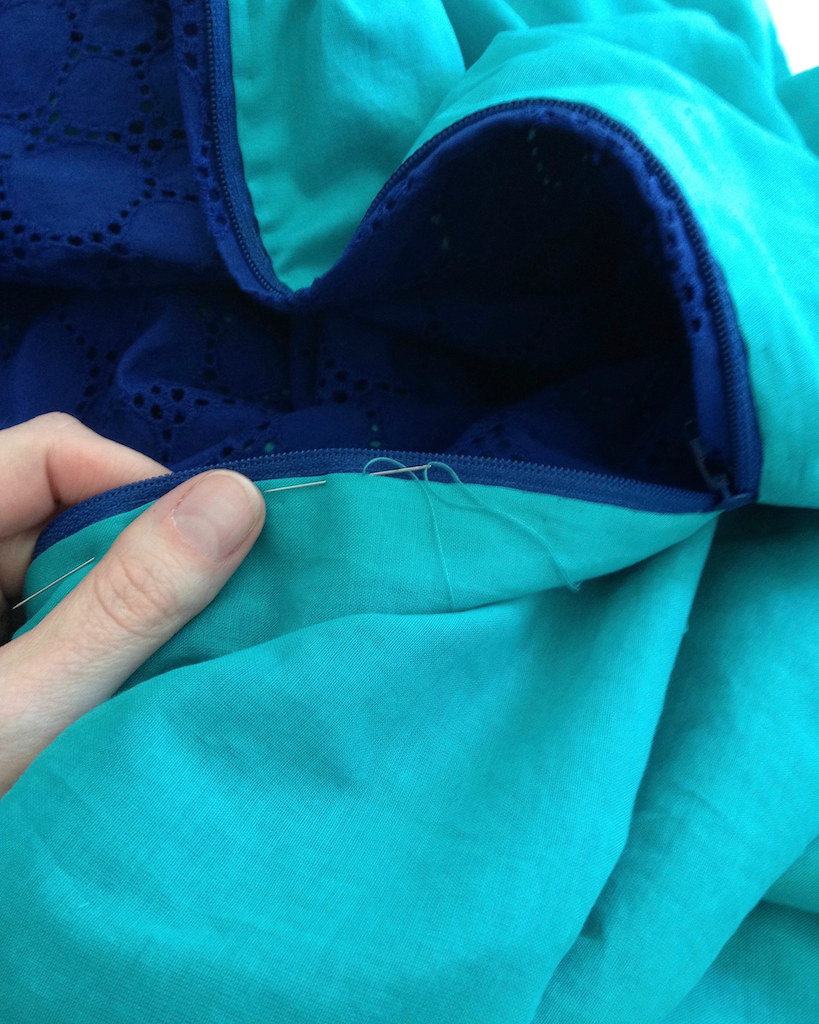
And, once again, sew in bra cups were added . . .
before hand stitching the lining into place.
From the moment I received this fabric, I knew that I wanted to use a scalloped edge. Many eyelet laces have been manufactured so that the selvedge is actually finished with the embroidery. Unfortunately, this one had a very boring and plain edge. I was hoping it would be possible to remove that!
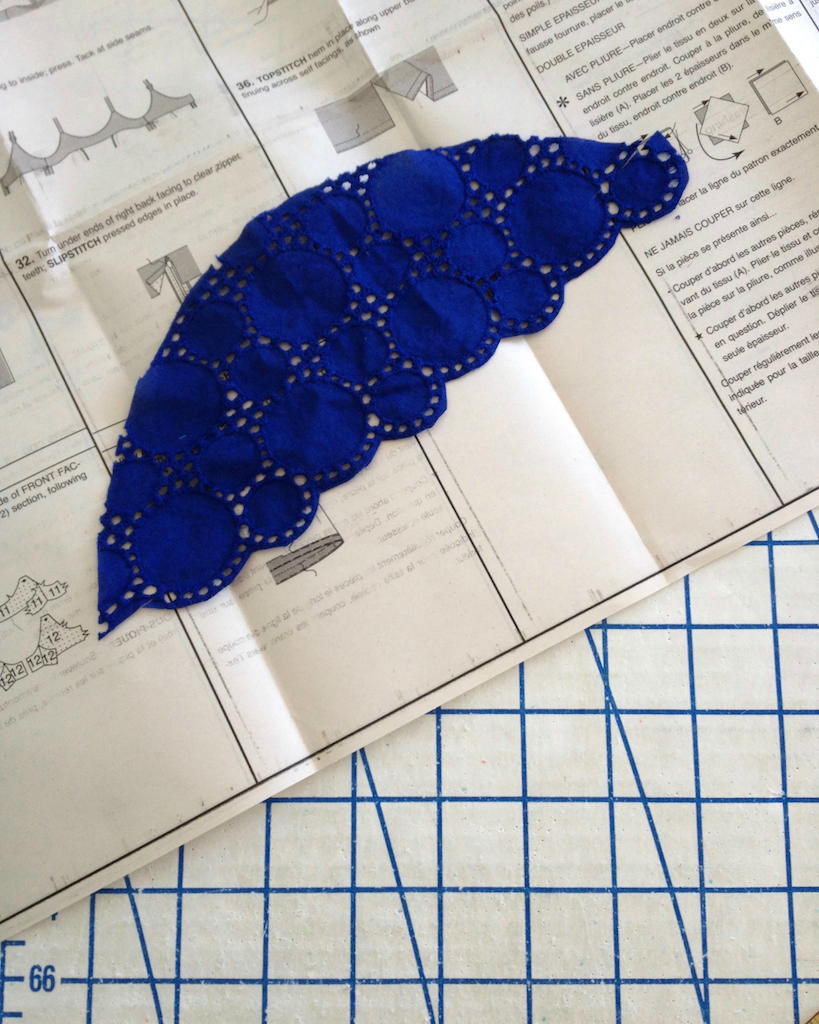
I tested my idea on a scrap of the fabric, and then went to town on the actual hem.

One of the final steps was adding a small bow to the center back waist seam. One end of the bow is permanently stitched in place, and the other has a snap so I can get to the center back zipper.

The final bit was stitching the straps to the back bodice. The original design has a bra-like adjustable feature that I do not like, so I went ahead and changed that.
And so ends the second version of Butterick 6453. I actually have already made a third (with a straight skirt) because this is such an easy to wear dress - just step in, zip up, and go!
I'd love to see photo that showed full view of scalloped edge of full dress. Did you have to do anything to stop fraying?
ReplyDeleteI will get through the finished photos someday! I decided that the embroidery should stop most of the fraying, and I just cut as close to that as possible without cutting the actual threads. It may fray a little over time, but I am not usually very hard on my clothes, so I am hoping this will be okay.
DeleteI did not use Fray Check because I was afraid that it would discolor the cotton and it makes fabric super scratchy (although it does have its uses!).
Beautiful! I always like reading about your attention to detail.
ReplyDeleteAlways fun to read about your process. Lovely dress!
ReplyDeleteBeautiful job! I'd love to see a photo of you wearing it.
ReplyDeleteLaura Mae,
ReplyDeleteGreat dress! With a straight skirt version to follow - can't wait to see THAT!
You may carry the banner for Hug-Snug, but you're really a champion for fiber reactive dyes (I'm one of those guys who has a soft spot in his heart for a good dye job).
Like Karey, I too wondered about fraying, or "unravel travel" about the hem. Did ya stitch close to the undulating edge? Fray check with a toothpick or an eyelash?? There's a sewing secret wafting about...care to share???
A voice from the Midwest cheering section
No fray check this time - just hoping it won't get very much wear at the hemline, and the embroidered bits should keep things from fraying too much - I hope!
DeleteThe insides of your garments are such a work of art! Lovely dress and can't wait to see it on you!
ReplyDeleteso pretty, love the color and the details.
ReplyDelete