

A couple of months back, modeS4u, an online fabric shop, contacted me with an offer to send me my choice of fabric from their extensive collection in exchange for blogging about my experience with said fabric. They have an extensive selection of novelty fabrics, and it was difficult to decide on just one! The Christmas prints were very tempting and seasonally appropriate, and there were a few Halloween novelties that I wish I had spotted a couple of months sooner, but I really wanted something not so seasonally themed.

When it came down to it, I couldn't resist this Alexander Henry fabric that I have wanted since I first spotted the design years ago. It is entitled "Home Sewing is Easy," and I think it is truly marvelous. I have a dress made from the similarly themed "Home Sewing is Easy: Part 2," and I now feel as though I need to add each and every one of these sewing themed novelty prints to my closet!
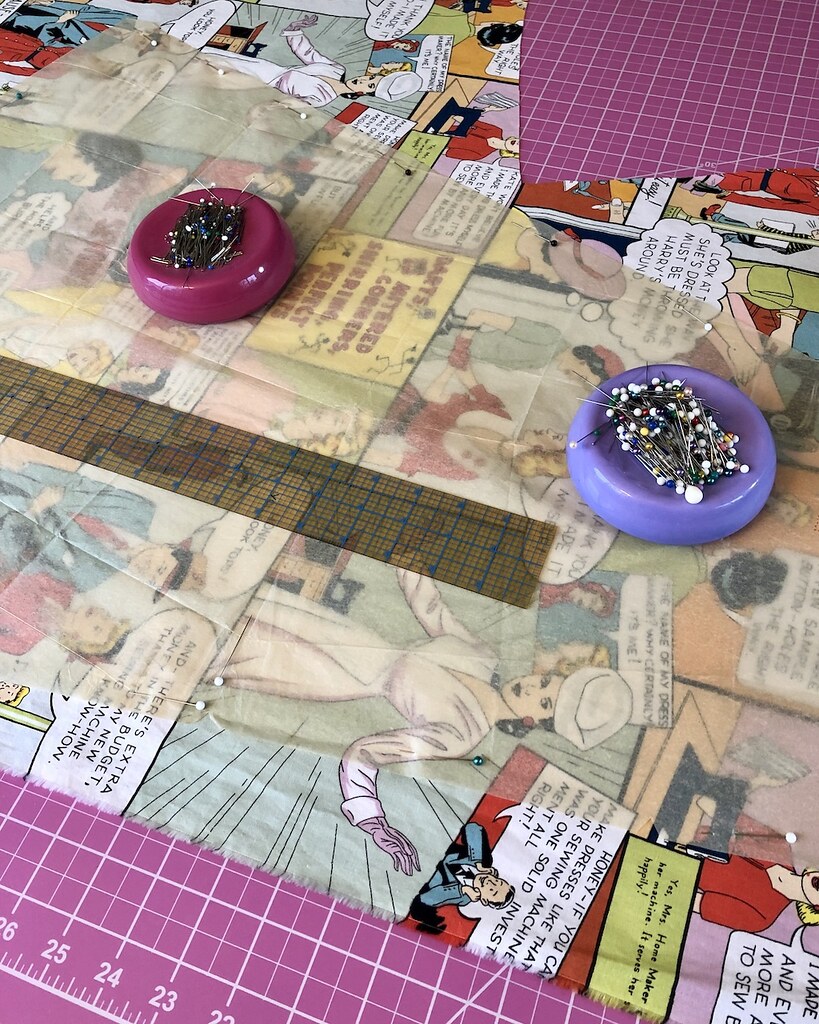
I knew that I wanted to try my best to match the feeling and theme of the print, and a 1950s shirtwaist seemed appropriate and was the first silhouette that came to mind. After looking through my vintage pattern stash, I came across Advance 6821 from 1954. With 3.5 meters of fabric to play with, the yardage requirement was going to be a tight squeeze. And then I figured out that the pattern layout on this particular pattern is multi-directional . . . which is pretty standard for vintage patterns, but certainly wouldn't work for this fabric!

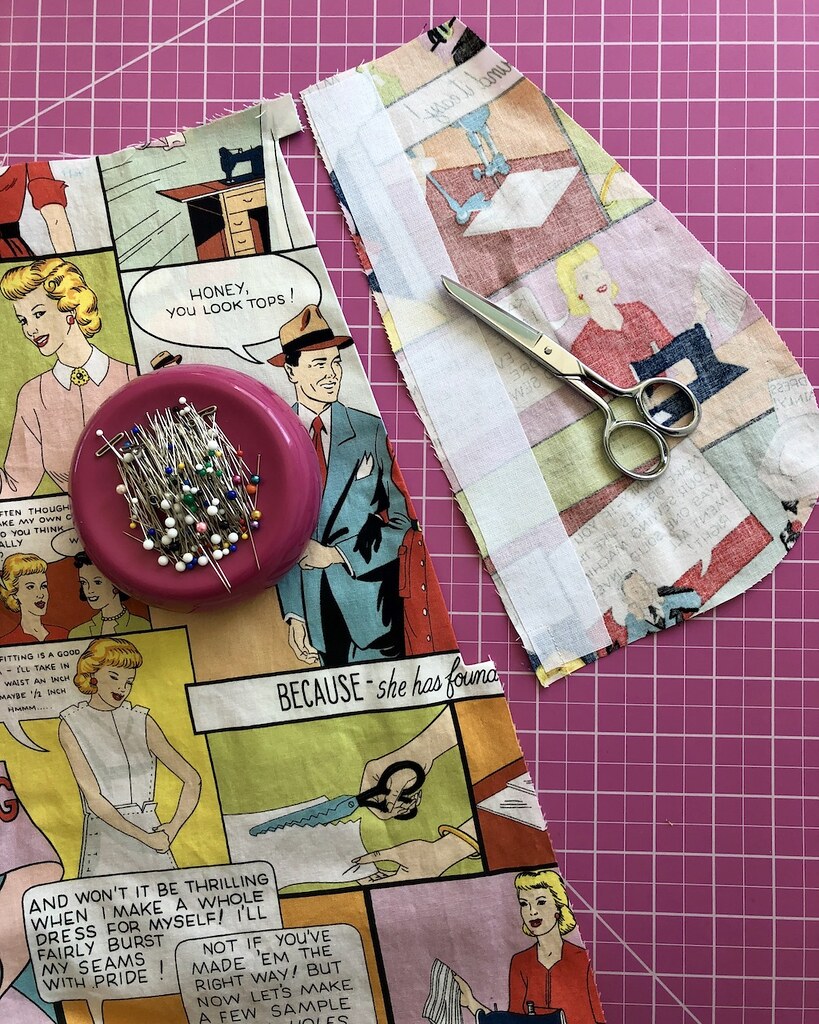
But I am not one to back away from a challenge. And I am quite stubborn, so once I latched onto this particular design, I wanted to use it, and nothing else would do. The only way I could be sure that all of those pattern pieces would fit on my fabric was to start by laying out the skirt pieces which were the largest of the bunch. Once I figured out that I could fit every pattern piece on the fabric, the skirt pieces were cut. I would have to use the remnants to cut the bodice pieces with the best possible design placement. To help me choose the best placement, I stitched my skirt pieces together before cutting out my bodice and sleeves. And that led to cutting pieces right in the middle of the fabric, which is something that I try to avoid . . . until I need to pattern match with a large repeat! It looks like someone butchered this poor fabric.

But in the end, I think I did a pretty good job. The most obvious portion of the print is the yellow rectangle with red writing. My main focus was to keep those blocks separated!

As drafted, this pattern includes a single pocket on the right side seam. This is most likely because of the side zipper that is installed on the left side seam.
I decided to install two pockets. I have done this method of construction before, but I had to think about how to do it for a couple of minutes before I remembered just how to go about it!

The trick, obviously, is to construct the pocket so that both pocket bags are attached to the skirt front instead of the standard construction of an in-seam pocket where one is attached to skirt front, and the other to skirt back.

The pattern also suggests making machine buttonholes, but I was having none of it. I have to keep practicing my bound buttonhole technique so it doesn't get rusty!
The bodice facing is cut in one with the bodice, so I applied interfacing to the facing portion and the matching section of the bodice. A bit of measuring, marking, and some basting stitches, and my buttonhole placement was ready.

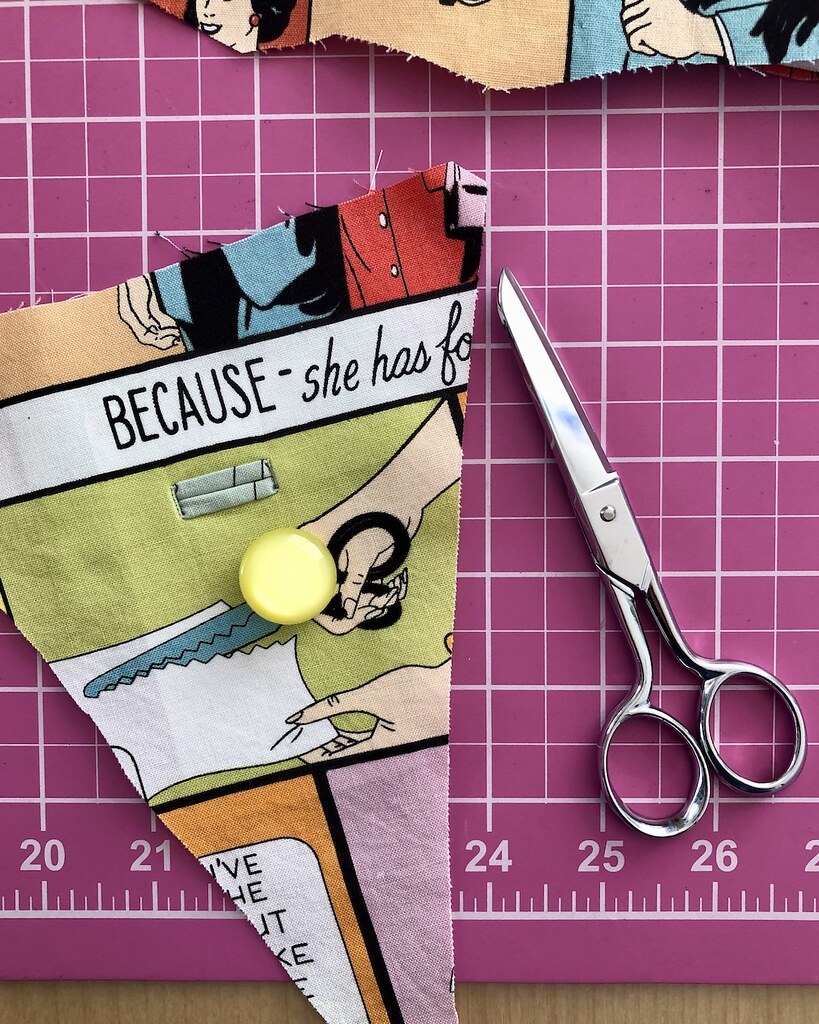
Interestingly enough, no button size is listed on the pattern envelope or in the instructions. The buttonholes themselves are marked with perforations on the pattern tissue and lead me to believe that 5/8" was the intended diameter of the buttons. But that seemed a bit small for the dress and my choice of fabric, so I went a bit larger. And I didn't bother to properly draft the change of button, but since the bodice is roomy, it wasn't a huge issue.

Unfortunately, I didn't think about buttonhole placement when I was cutting out my bodice. Then again, I am not sure that I would have been able to work around all of the faces on this print when pattern repeat is rather large. In the end, I think it was better to separate those yellow blocks and hope that people don't notice I have slashed the lady in red right across the face. Yikes! The button covers at least part of the massacre, so we are spared the gruesome bits when the dress is worn.

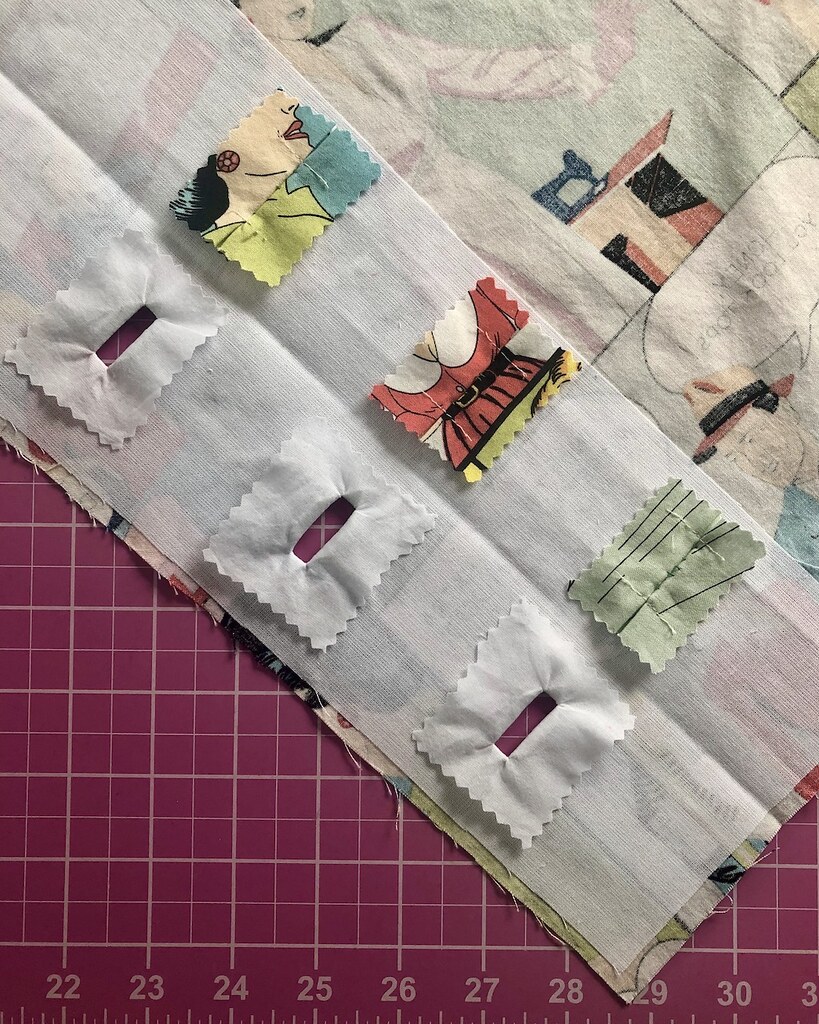
And for the facing, I made buttonhole windows out of some cotton voile remnants.

This is my favorite way to make bound buttonholes, although there are at least three other ways that come to mind. I keep meaning to try a few of the other techniques, and then chicken out, or feel like this particular way is perfectly suited to the dress, and stick with the same old way of doing things.
I bound my raw seams with rayon seam bidding, per usual, and folded up a narrow hem, mostly because I wanted to maintain the length of the skirt.

The sleeves, on the other hand, had a ton of extra length, so the sleeve hems are quite deep. If I use this pattern again, I will have to remember to shorten those sleeves!

One other thing to note about this vintage Advance pattern is the sizing. This is a size 14 1/2, Bust 34. The bust size is the one that I usually pick for most vintage patterns as well as contemporary Big4 patterns, and I didn't really think much of it.

This is a single sized, unmarked pattern, meaning all I have is blank tissue with perforations. I made sure to take some quick measurements of the bust and waist using the tissue, subtracting all tucks and darts and seam allowance. The waist seemed rather large, but I didn't think much of it at the time. Well, silly me, this is a 1/2 size pattern, which turns out is made for a short-waisted, stocky figure. I am the opposite of short-waisted, and my waist is not tiny, but it isn't overly large, either. I always add length to the bodice, so that wasn't a problem, but the extra ease through the waist was unnecessary, and the dress is a little larger than I would like through the waist and hips. It is certainly wearable, but it will teach me to not investigate further when I come across something I haven't seen before.

In my defense, the sizing chart is unlike any I have ever seen. The back of the envelope states the size and bust measurements right at the top, and then goes on to list yardage requirements for both views, then interfacing requirements, and only then does it list "Corresponding Body Measurements." And for a size 34, those are a 29" waist and a 37" hip. For comparison, a Simplicity pattern from a similar time period gives a 26" waist and a 36" hip, which is a 3" difference at the waist. That is a massive difference when you are talking about a waist measurement! And the ease given through the hips on this pattern is a little wild since you can fit a whole lot more than 37" worth of hip in the dress that I made. Which only goes to show that I should pay a little more attention to all of the writing on the back of the pattern envelope.

But everything turned out just fine in the end. And for a finishing touch, I rummaged around and found this vintage belting tucked away. I thought that the bright red would be a nice break from the busyness of the print. To match the black outlines on the print, I wanted to top-stitch in black. I found the largest needle I had on hand, and some thick black thread for the top thread. I'm not sure my machine loved the process, but she made it through. And a cute black Dritz buckle that was stashed away finished off the look. Thankfully, it is one of those buckles that allows belting to be threaded through each side, because stitching through two layers of this stuff would have been impossible.

This dress was a bit of an adventure, but I love how it turned out. Thank you to modeS4u for the fantastically fun cotton print. Hopefully the weather will cooperate so that I can wear it very soon! Although I suspect that a cardigan will be necessary for a few months yet . . . and I believe my hand knit red cabled cardi may just be the perfect match!

[The fabric for this project was received from modeS4u in exchange for writing a blog post.]
You must get a ton of comments when you wear these whimsical dresses to work! beautifully done as per your standard.
ReplyDeleteThey are definitely a conversation starter!
DeleteI love this. I am going to check out her site today.
ReplyDeletecute and fun. re the size and measurements, don't you try on as you sew and make fit adjustments? I think at least 50% of my fitting happens during the sewing.
ReplyDeleteNot as much as I should, I guess!
DeleteNormally, if I make sure torso length is good and that the waist isn’t too small, this style of dress will come out just fine for me. The pattern matching also made some changes more challenging. Pencil skirts, on the other hand, get lots of try ons!
So neat : )
ReplyDeleteLove the fabric. You're sewing is
beautiful
Thank you
Love the dress and the dialogue! Of course, your detail always pays off for perfection whether sewing or knitting.
ReplyDeleteYellow buttons!
ReplyDeleteI love the red belt and think a red knit cardigan will look great with your new whimsical dress.
ReplyDeleteYou did a great job with print placement! I love it!
ReplyDelete