
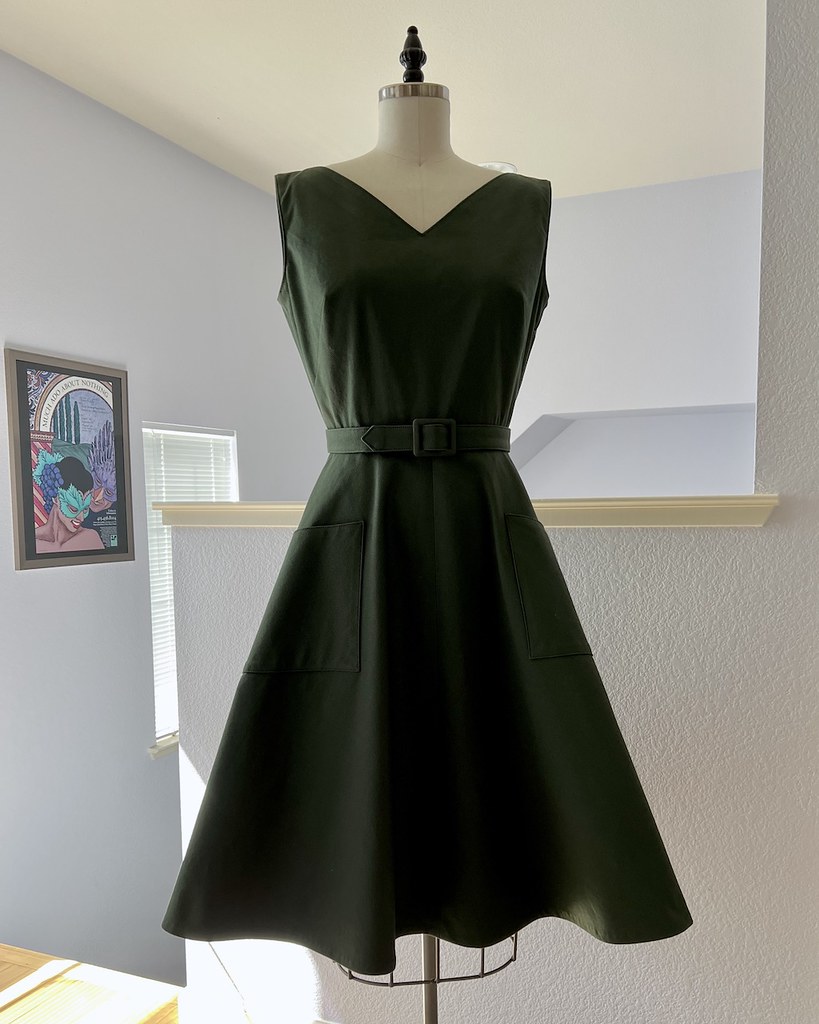
While Simplicity 9449 might not be the most interesting design in the world, I knew that I needed this pattern in my collection as soon as I saw it. Not only that, I liked it so much that I actually decided to make the pattern in a timely fashion. That rarely happens around these parts.
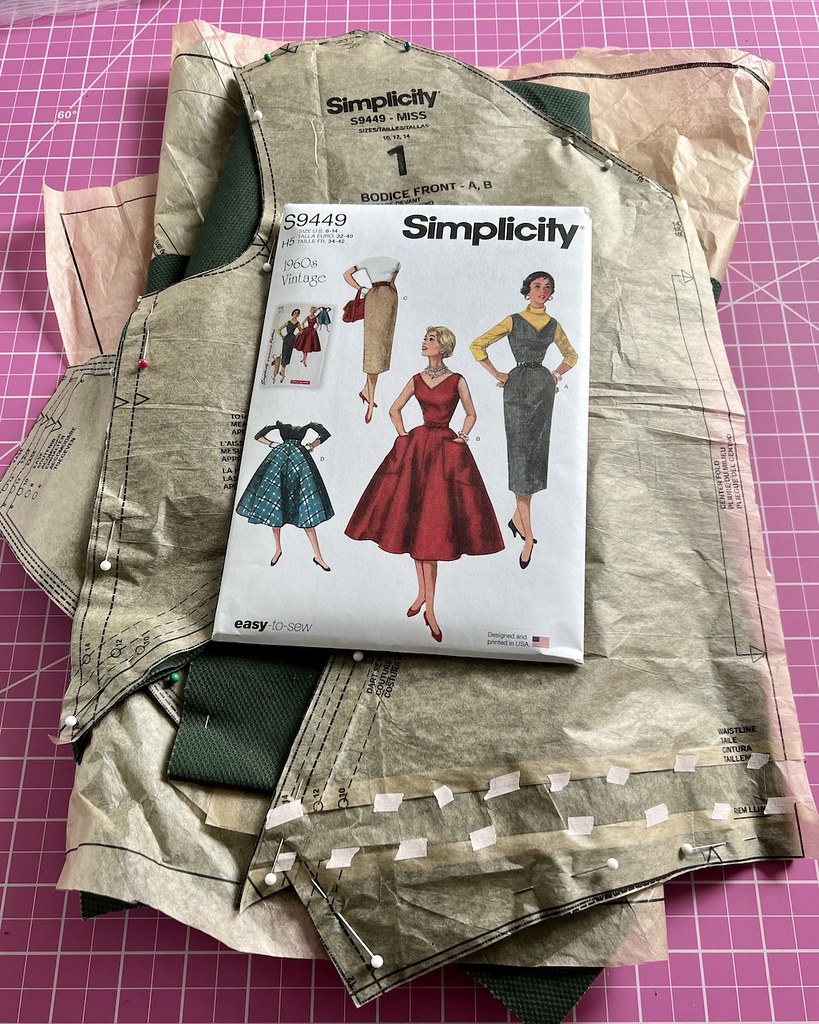
The next step was to choose my fabric, and I just happened to have the perfect cotton piqué fabric on hand, purchased from Mood Fabrics after a recent obsession with the fabric weave. Unfortunately, I did not have enough yardage. Drat my habit of purchasing fabric without a pattern in mind!

But I wasn't about to let that stop me. I laid out the fabric and began the task of figuring out the best pattern piece placement. No such luck. Even with a multi directional layout, those pieces were just not going to fit. My only recourse was to shorten the skirt by a few inches. And that is what I did.

Of course, shortening the skirt meant that the large pockets also had to be shortened so that the proportions were not completely off.

I also decided to embrace the idea of top-stitching as suggested by the instructions, and even pulled out an edgestitching foot that I have never used. But lest you think I have lost my mind, there was hand stitching involved here, if only for basting.

I am in awe of individuals who manage to apply pockets and other top-stitched items with pins, because they cause me nothing but grief.

And that brings us to a mostly finished skirt. It was at this point that I was beginning to think that I had made a mistake with the shortening, but there was no going back.

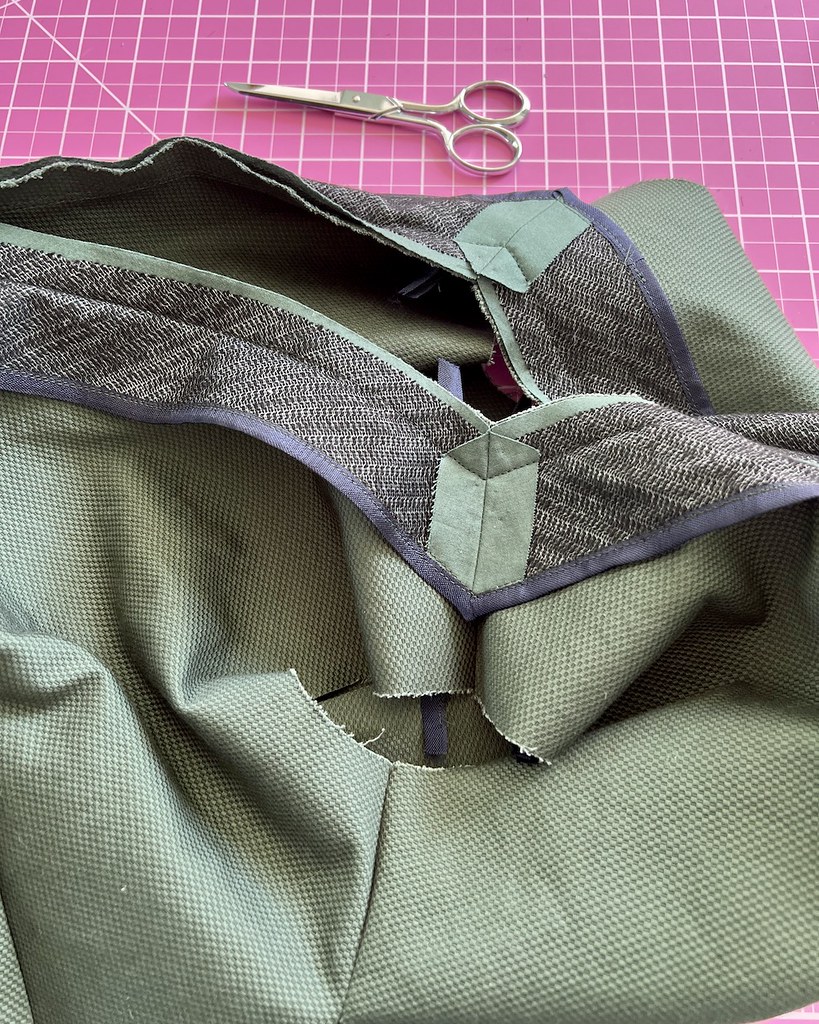
This fabric is a substantial mid-weight cotton with a bit of mechanical stretch. The slight stretch is really the only reason I decided to use interfacing. And, in fact, I cut the facing out of a quilting cotton since the yardage was so limited. So did I need the interfacing? Probably not, but it worked fine just the same.
The pattern also suggested top-stitching along the neckline, so to match those pockets, I went ahead with that process. I ended up using a triple stitch so that the stitching would not get lost in the textured fabric.

It's not perfect, but it turned out well enough.
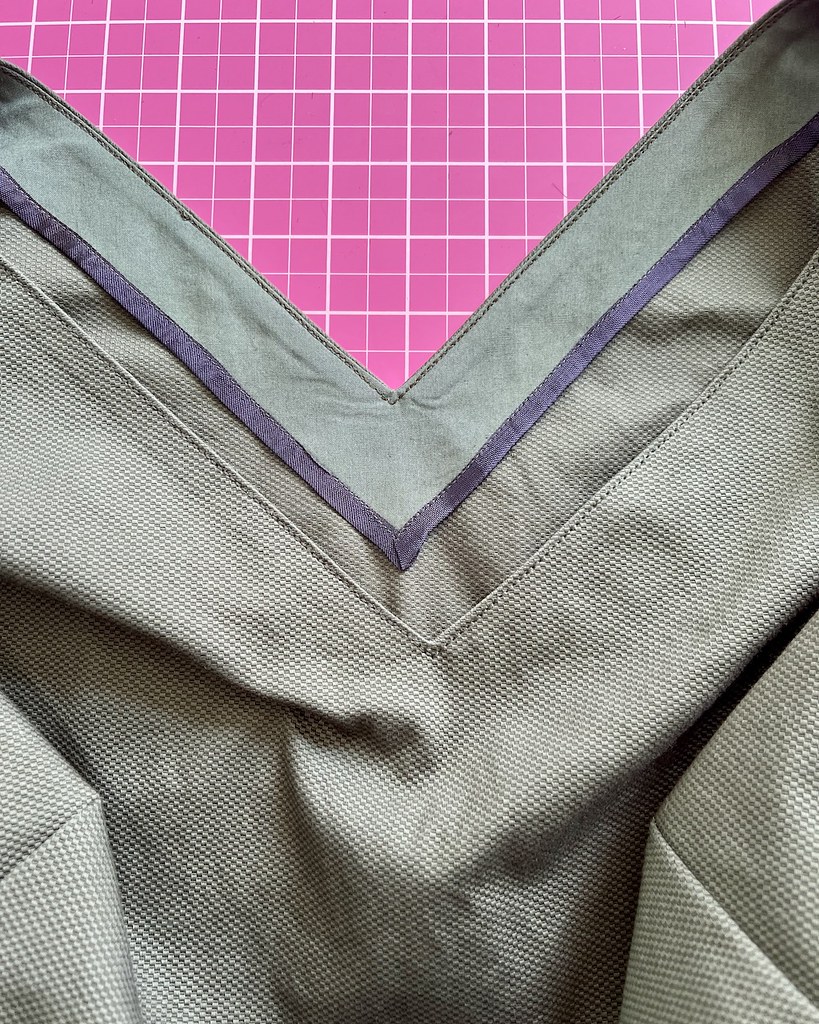
And that brings the bodice construction to a close.

I didn't have a matching green in my seam binding collection, but I think the navy is a nice contrast with the army green.

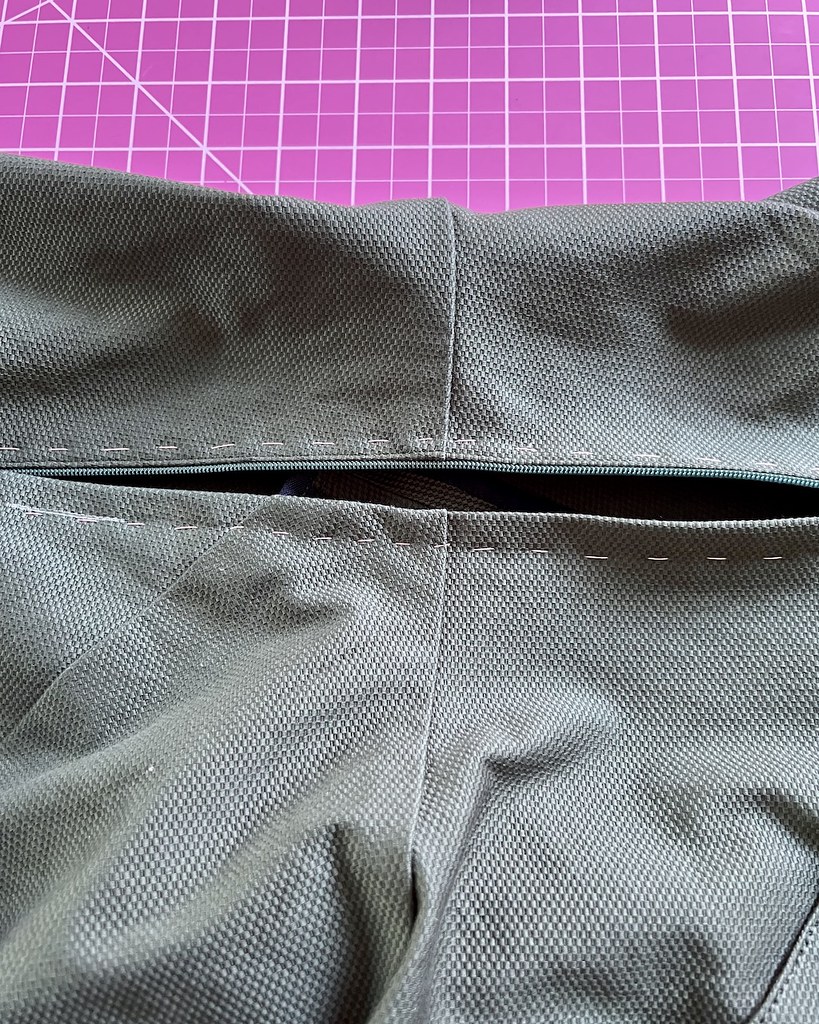
I also found color matching the zipper a bit of a problem, but since I was going to use a lapped application, I wasn't too worried about the contrasting color.
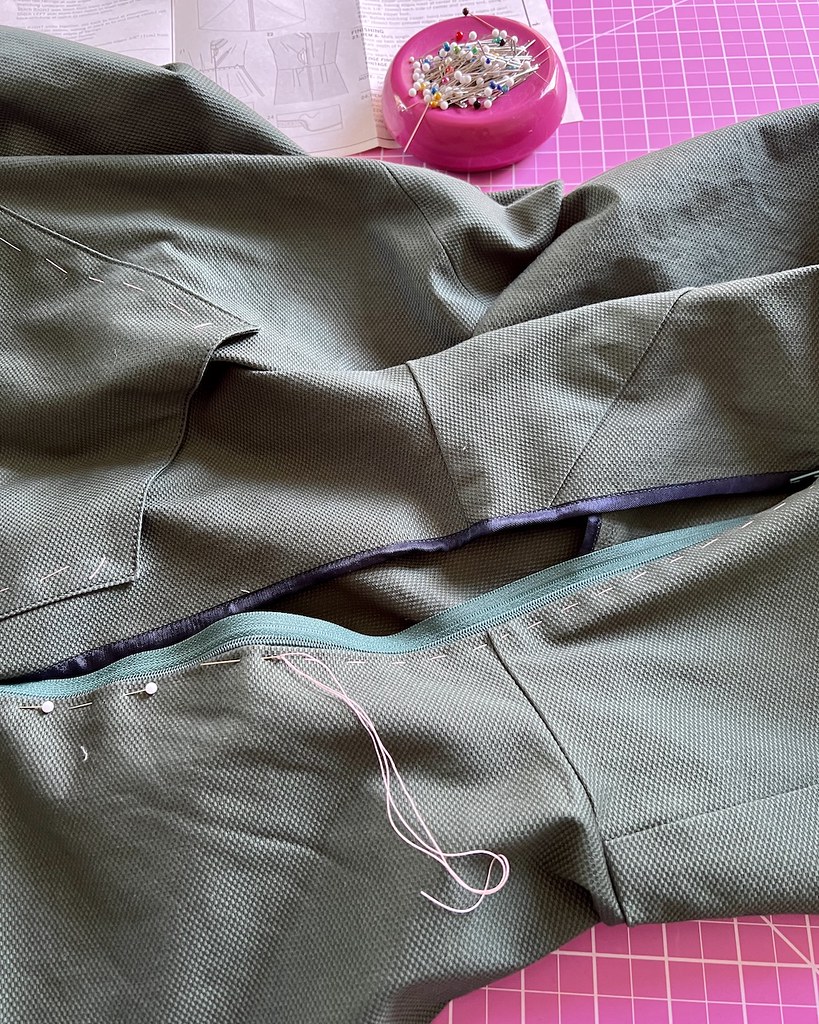
I generally like to install the zipper and/or stitch a seam before applying the seam binding to the fabric edge so that the edges do not stretch or distort in any way, but this fabric was very stable, even with the slight widthwise stretch, so I decided to live on the edge and finish those raw bits before stitching the zipper in place.

The fabric behaved very nicely, I am pleased to report.
I like a wider hem in general, but again, I wanted to squeeze as much length as I could out of my shortened skirt pieces, so this is what I ended up with.

And to finish, I needed a matching belt, of course!

I was unsure whether or not the adhesive from this old kit would work, but it did!

Suprisingly enough, the weight of the fabric worked very nicely with this buckle kit. I was worried that it might be too thick for the back piece to snap into place, but it was one of the better behaved textiles that I have used.

As for the belt, I was down to scraps, but I was able to make it work.

And my sewing clips finally came in handy, since there was no way I was going to get pins through the four layers of interfaced cotton.

I also dreaded turning the belt right side out, so I didn't even attempt it. Instead, I just folded and ironed my fabric with right sides showing and top-stitched the edges (which I probably would have done in any case, so as to match the other top-stitched features on the dress).

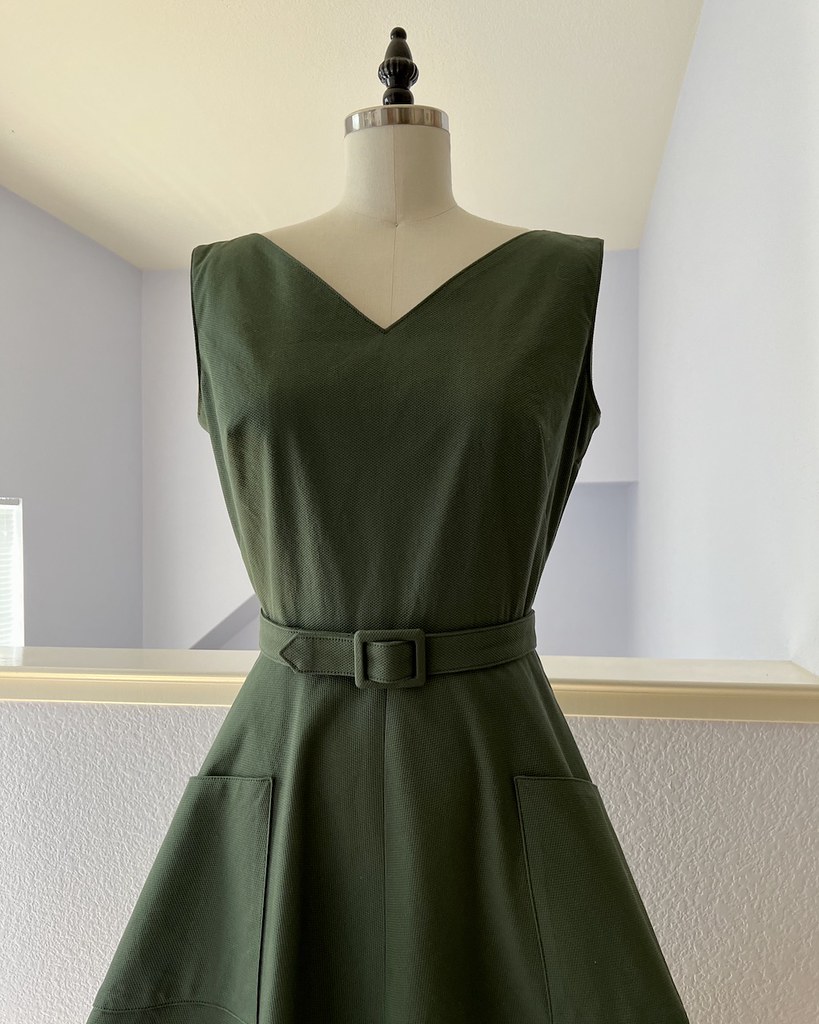
From the start, I was expecting to love this dress, and while I was slightly disappointed in the length of the skirt due to fabric limitations, it turns out, I think I like this more than I would if the hem was mid-calf instead of just below the knee.

The pattern itself is slightly oversized, I would say. I wonder if this is due to the fact that it is shown as jumper and a dress on the pattern envelope? Then again, I don't think that this would really work as a dress without something underneath, even though I made my standard size. So that's something to think about if I decide to make this pattern again, as a dress instead of a jumper.

But as it stands, I always intended to wear this garment with a blouse underneath, so it all turned out for the best.

And I really do like the way that top-stitching looks, so I am going to re-evaluate my dislike/fear of machine stitching on the outer portions of my garments. But overall, I am very pleased with this garment.
0 comments:
Post a Comment