Sunday, March 15, 2015

Fairy Tales


A few months ago, images of Disney’s Cinderella began surfacing.  Fifteen years ago, I would have been all about Cinderella’s pretty, pretty princess dresses.  And they are gorgeous - which is no real surprise.  Sandy Powell is responsible for some amazing costumes . . . Far From Heaven, The Wings of the DoveShakespeare in Love (except for the fact that I cannot get over that Oscar ridiculousness - Cate Blanchett was ROBBED!).


Speaking of Cate Blanchett - look at these dresses!!  Hello, Ceil Chapman!  I want/need to play dress up in this world.  


There is definitely a 1940s and 1950s flavor thrown into the mix, which I love - shocker, I know!


I rarely go to the movies, but I may just have to see this visual feast on the big screen. 


And I have to admit that the stepsisters costumes are pretty great, too.  How did they make those cage crinolines?!


I just love all of the color coordination for individual characters.


Thank you, glorious costumes, for the jolt of creative inspiration.  


These pieces are pure fantasy.  And the colors are brilliant!  Why do I suddenly feel the need to go watch some old Technicolor movies?  


Friday, March 13, 2015

Anyone need a napkin?


This blouse is my first foray into McCall’s Archive Collection.  And I know some people think that neck-tie designs have a tendency to look like you are wearing a napkin . . . but I love them!  I suppose slurping tomato soup might present some problems while wearing this particular blouse, but I can work around that.


The description of this pattern includes the phrase “loose-fitting.”  


It may have something to do with my fabric choice (not very drapey) or perhaps the underbust seamline, but I was unable to get the garment on my collapsible shoulder dress form (which is smaller than me).  This was rather distressing.  Thankfully, I can get it on my own body without any issue.  Strangely enough, the sleeves are a bit loose, which may be a first for me.  


But that is what a muslin is for!


I wonder how popular these Archive patterns are since there are no new designs included in the latest catalog release.  What do you think of the newest reproduction collection?


I think McCalls made a mistake not including the original illustrations.  Perhaps they are trying to appeal to a wider audience (although the model photos on the envelope are clearly styled with a retro flair), but the vintage drawing are so pretty . . . why not use them?


Has anyone come across the original 1933 pattern?  I have not been able to find the original online.


But in any event, I am very pleased with the way my wearable muslin turned out, and I definitely plan on making this again.  And in the interest of more readily available 1930s blouse designs, I hope the Archive Collection continues.


Blouse:  Made by me, McCalls 7053
Skirt:  Made by me, McCalls 2698
Shoes:  Oh Deer
Brooch:  Monet

Saturday, March 7, 2015

Something Simple

In desperate need of a quick and easy project after this dress and this outfit, I pulled out McCalls 7053.


And I had the perfect fabric for a wearable muslin - just over two yards of a striped fabric I picked up during a fabric swap.


No underlining, closures, or alterations to contend with.


Of course, I ended up hand rolling the hem of the front ties, and binding the raw edges with seam binding, so perhaps this was not the quickest project in the world, but still a whole lot less labor intensive than my last!  Which was exactly what I needed!

Wednesday, March 4, 2015

Two Piece


No bikinis here . . . just my new outfit.  This one is going to get a lot of wear, thanks in part, of course, to the fact that it is two pieces!


I am so glad I had enough fabric to make the combo.  I would have been happy with just the skirt, but now there are so many more possibilities.


Perhaps this means 2015 will be the year of separates.  I have plans for lots of skirts and blouses . . . we shall see how that goes!  The lure of so many pretty dress patterns may stop me in my tracks.  


The bodice lining wants to peak out at the back neck opening, so I am going to add a line of pick-stitches to keep everything in place.  A neckline obviously needs under-stitching, but I completely forgot about the center back slit.


The other change I might make, if I get around to it, is to weight the hem of the top.  The wool is rather lightweight, even with the addition of a silk organza underlining.  It has a habit of “catching” on the wool of the skirt waistband.


My main concern with the skirt was that a lack of a center back vent might make it difficult to wear.  The good news is that a godet works nicely in place of a back slit or vent.  If I try to take a really large step I start to feel a bit of restriction, but not enough to make the skirt uncomfortable.  I foresee more of this alteration in my skirt-making future!


Top:  Made by me, Vogue 4203 (altered)
Skirt:  Made by me, McCall 2698
Shoes:  Miss L Fire, “Rosita
Earrings & Brooch:  Gift from mom

Saturday, February 28, 2015

Reinforcing a Kimono Sleeve: A Tutorial

Today I have a tutorial to help you reinforce the curved edge of a kimono sleeve.  I have mentioned this technique before, but thought it was deserving of a more in depth tutorial.


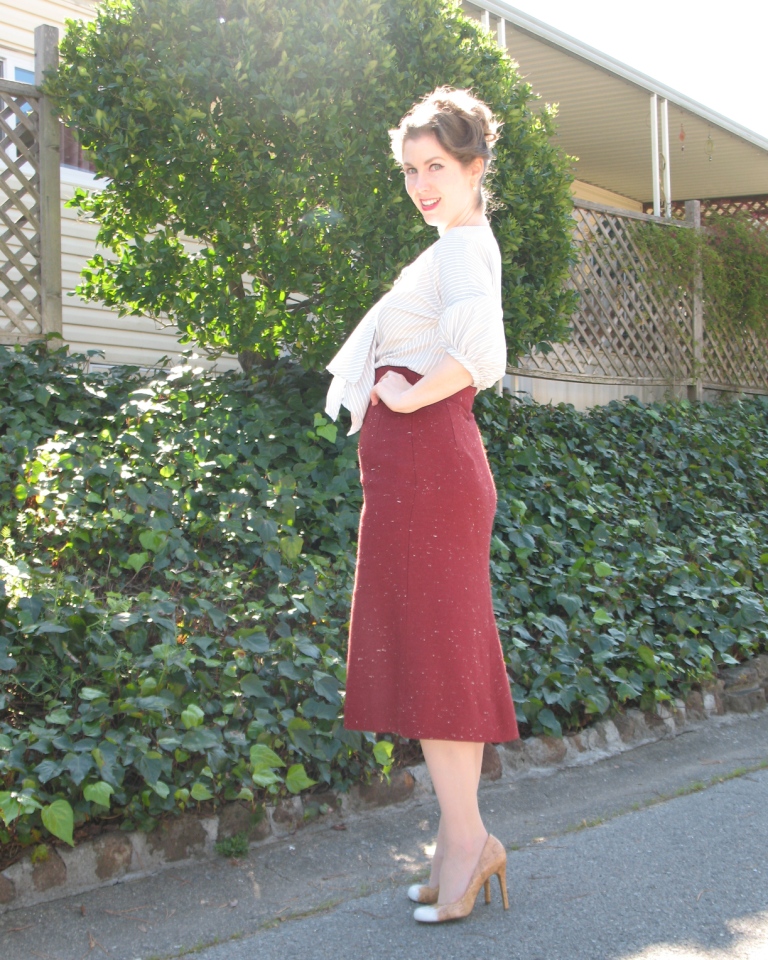
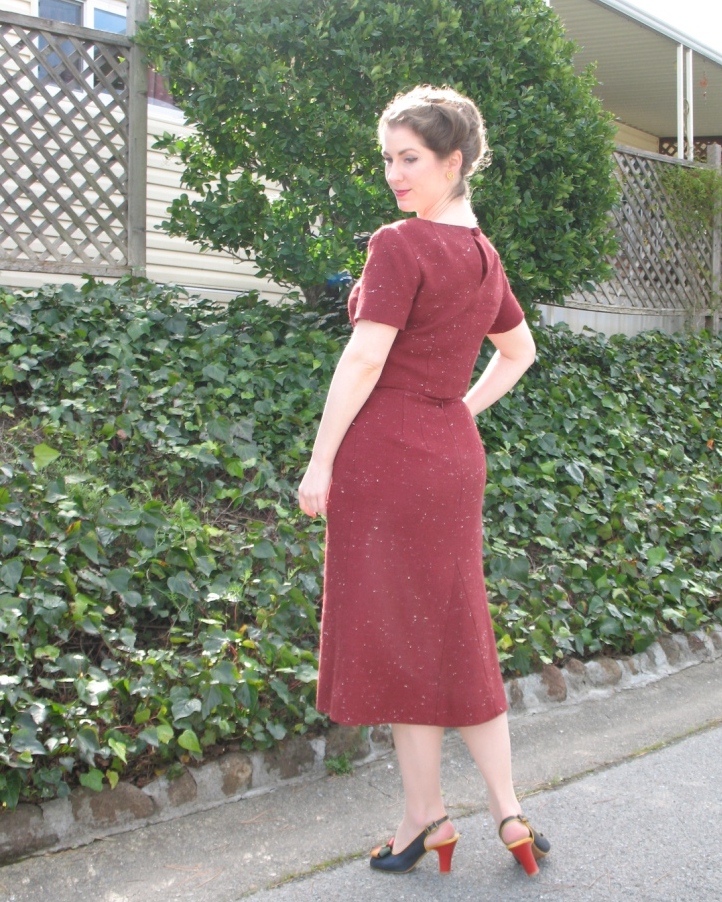
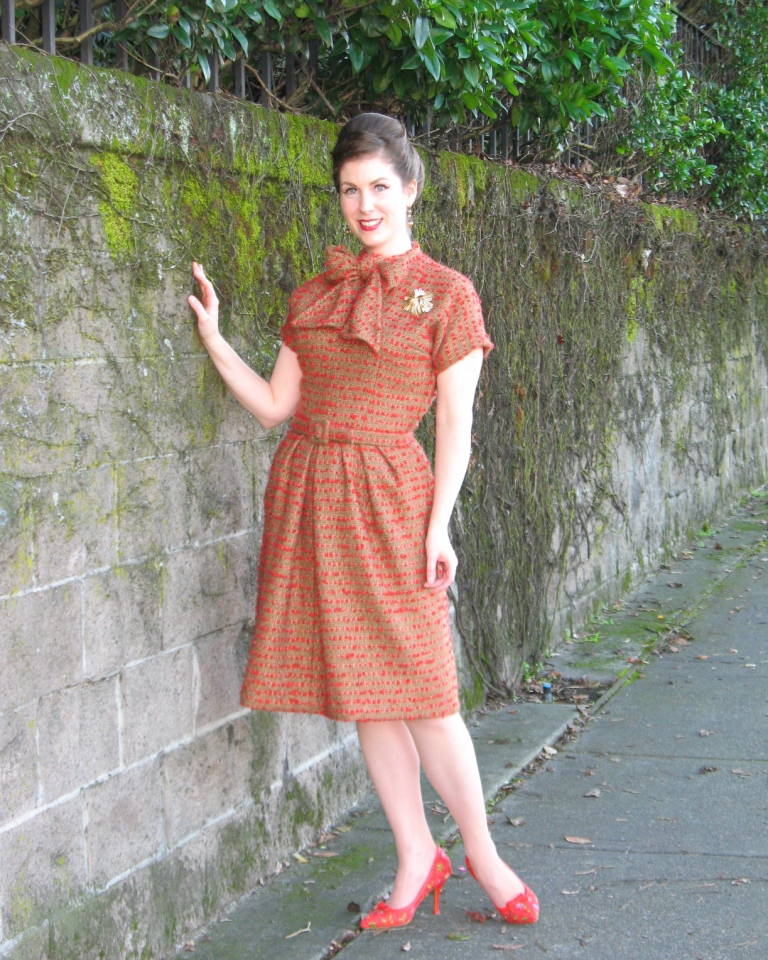
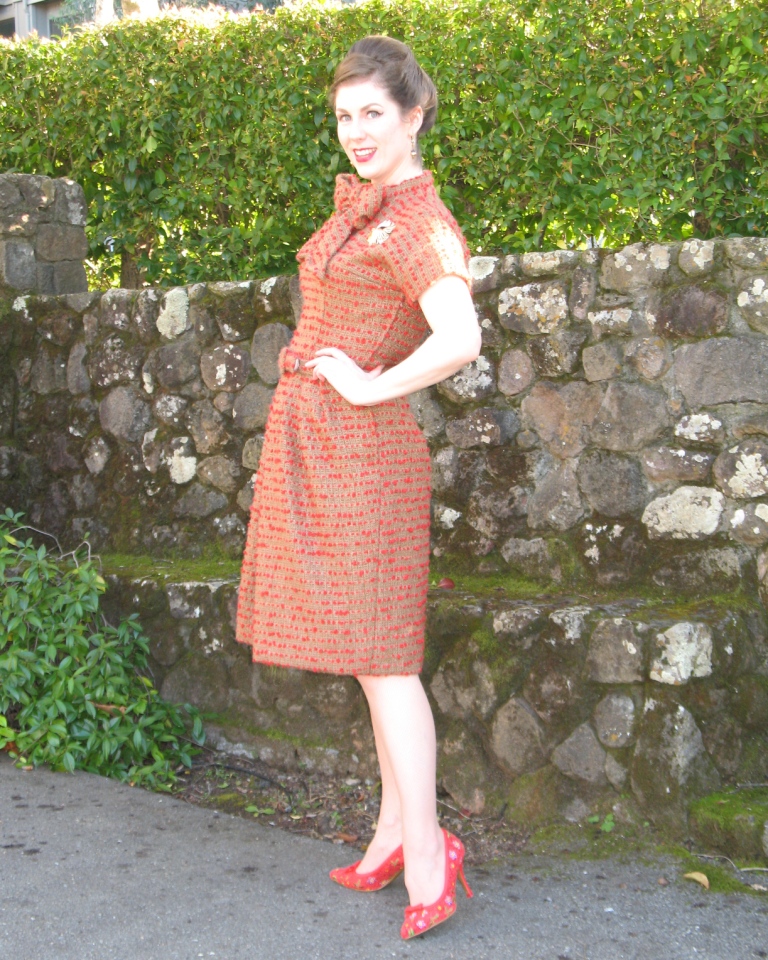
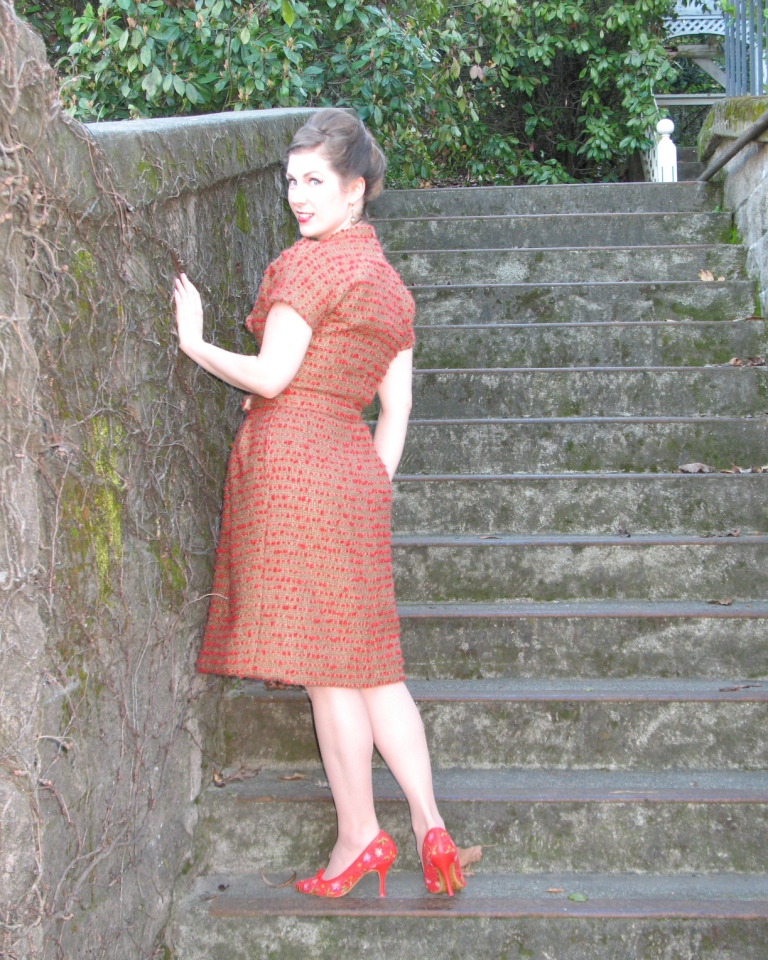
I love a kimono sleeve.  The design feature is classic, easy to wear, and very easy to construct.  As a fan of vintage silhouettes, I have made quite a few dresses and blouses with this design feature over the years (the Anna Dress is a perfect example, as is this blouse, as well as my most recent project).  But I have never liked the fact that it requires clipping into a seam that sees a lot of movement and potential wear.

  
There are, of course, different options for reinforcing a non-gusseted version of a kimono sleeve.  If your fabric is lightweight, a French seam is an excellent choice.  Because the seam allowance is trimmed during French seam construction, the need to clip into the seam is eliminated.  If, however, you find the perfect fabric for your kimono sleeved pattern, but a French seam is going to be impossible with your thick fabric, there is another way!


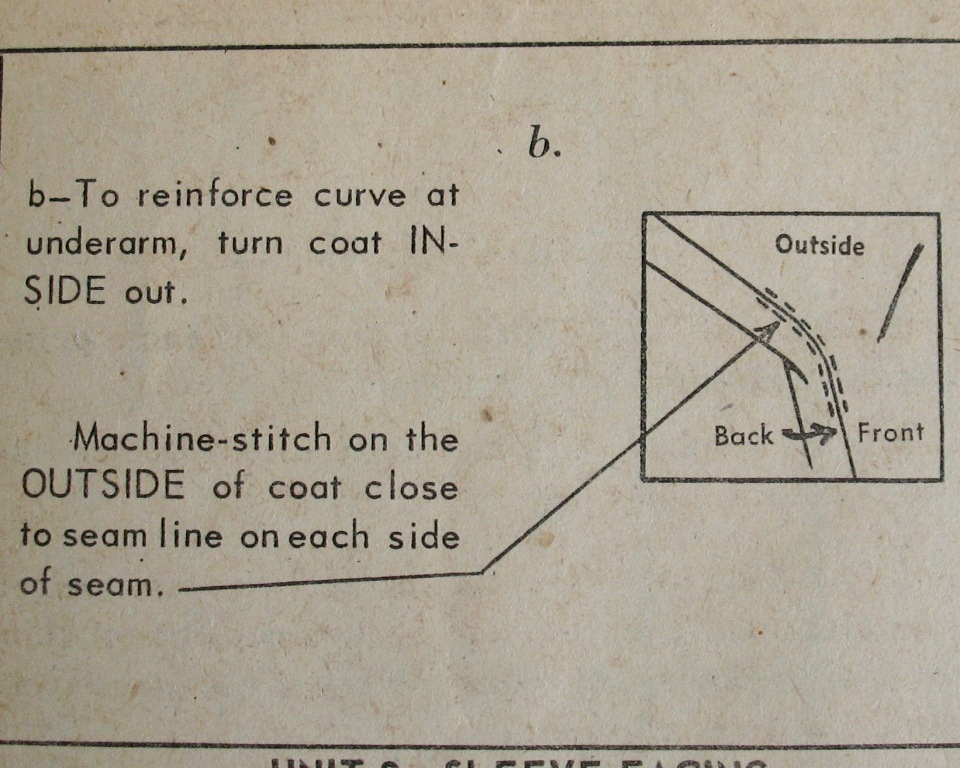
This reinforcement technique is often included on vintage pattern instructions; the first time I came across it was on the instructions for this dress.  Over the years, I have used the process on many, many cut-in-one sleeved bodices, and along the way, I have figured out a few extra steps that makes the process easier, and (I think) even better!

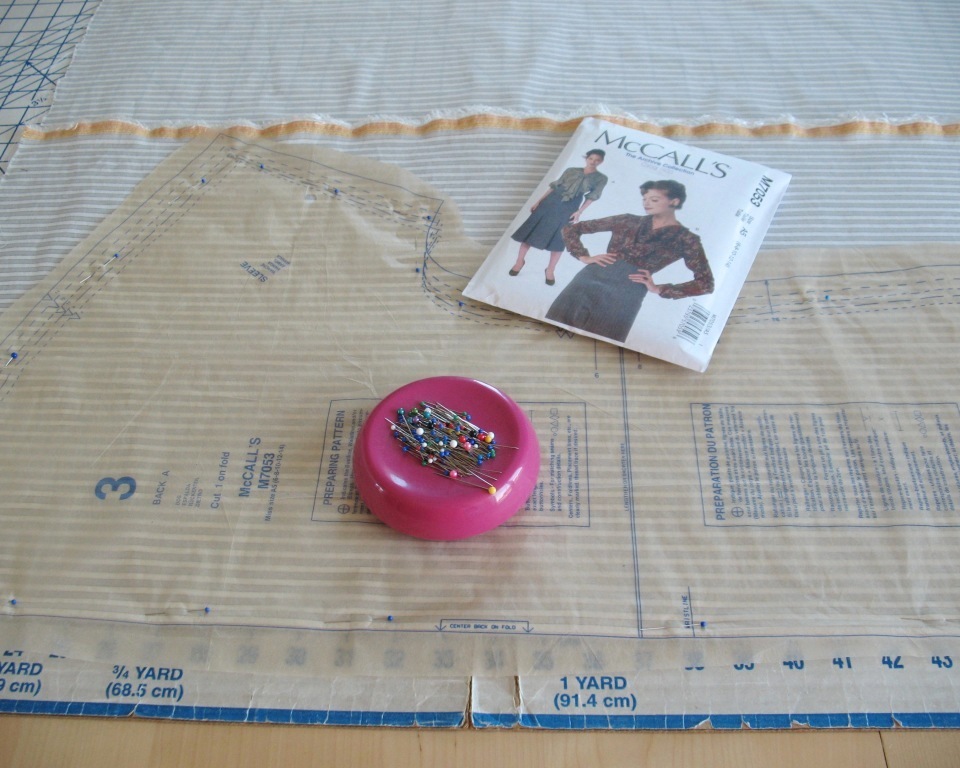
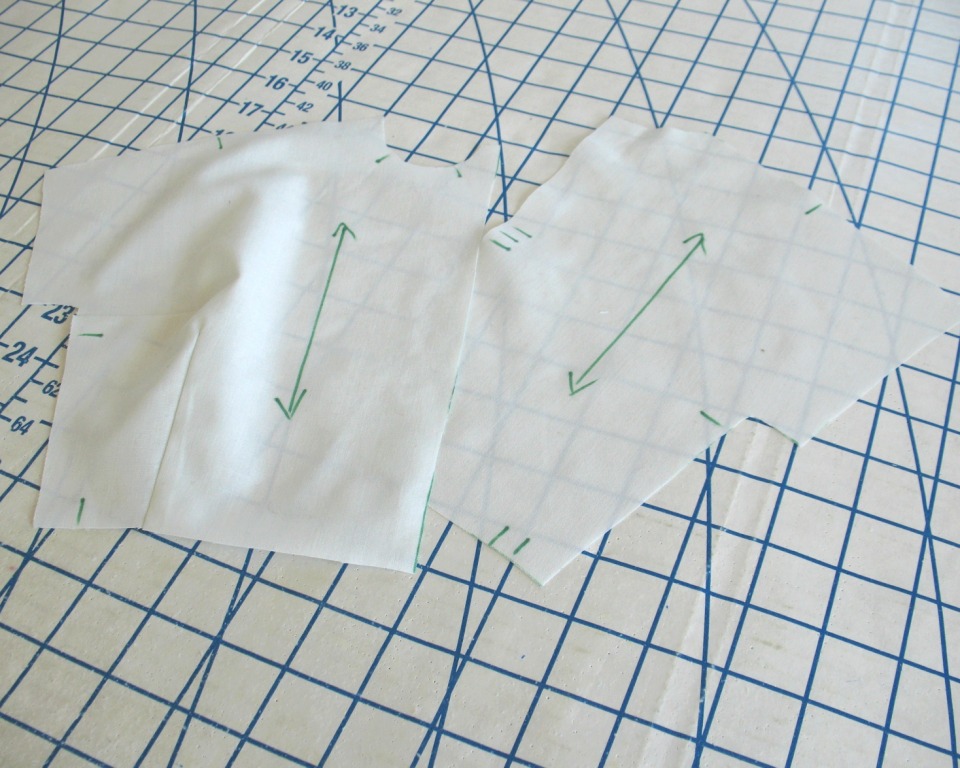
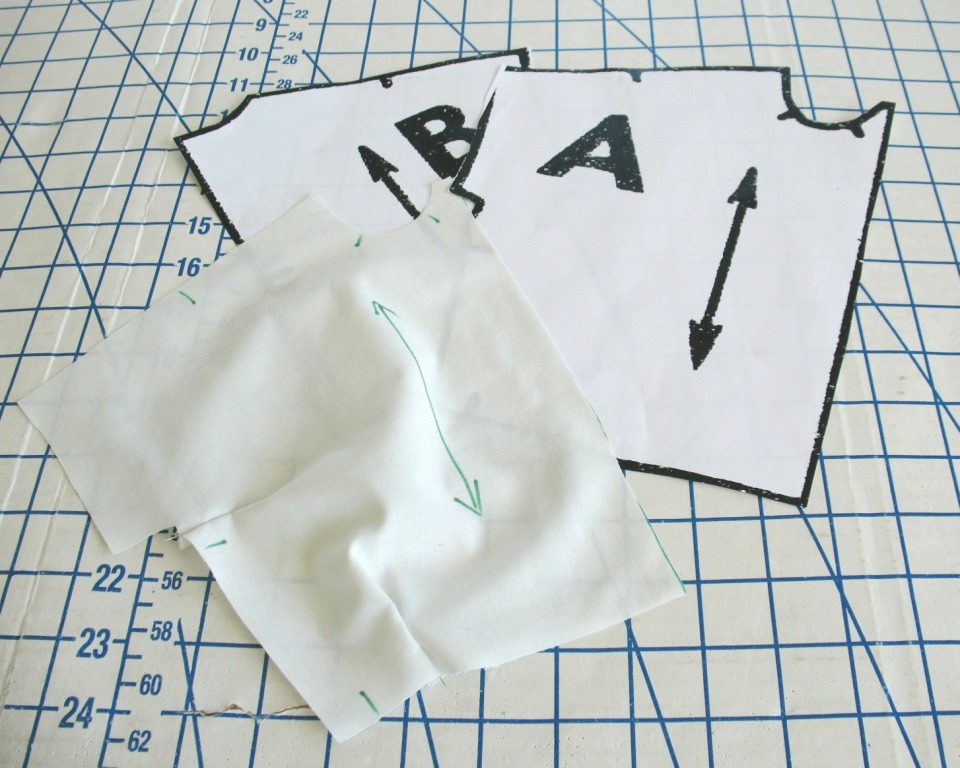
Before you start construction, stay-stitch each side seam on the front and back bodice pieces (this step is not shown on the mini muslin mock up).  Complete any construction necessary on the bodice (darts, for instance) until it is time to close your side seams.  Stitch the side seam closed.  For a side seam zipper insertion, stitch the curved portion of the side seam from sleeve opening to the top zipper opening.


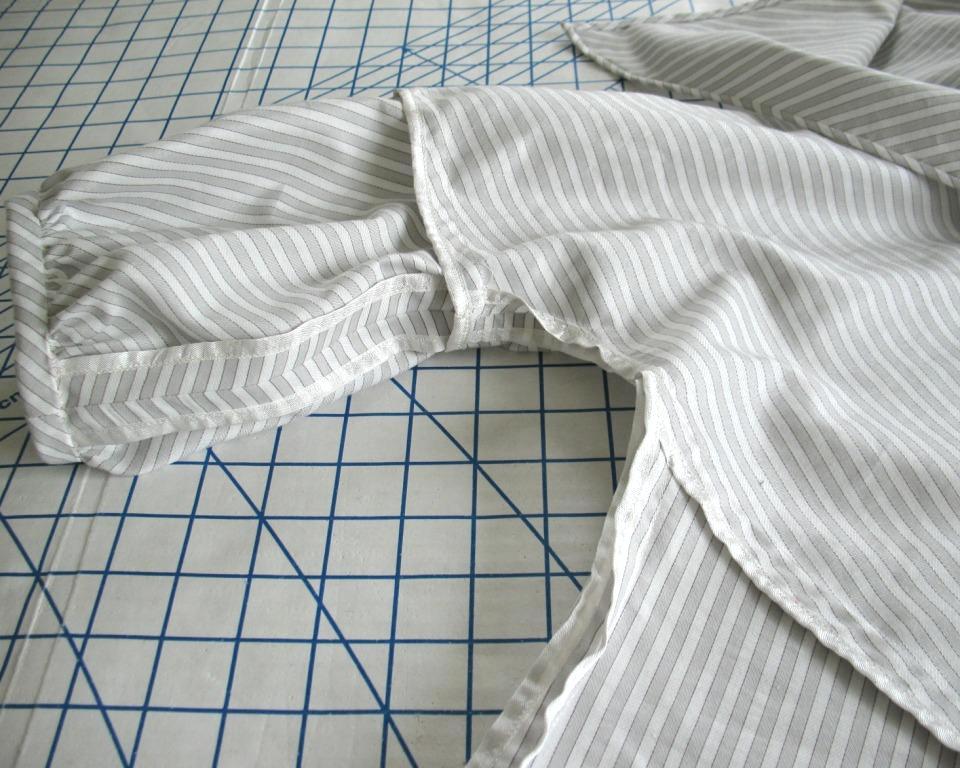
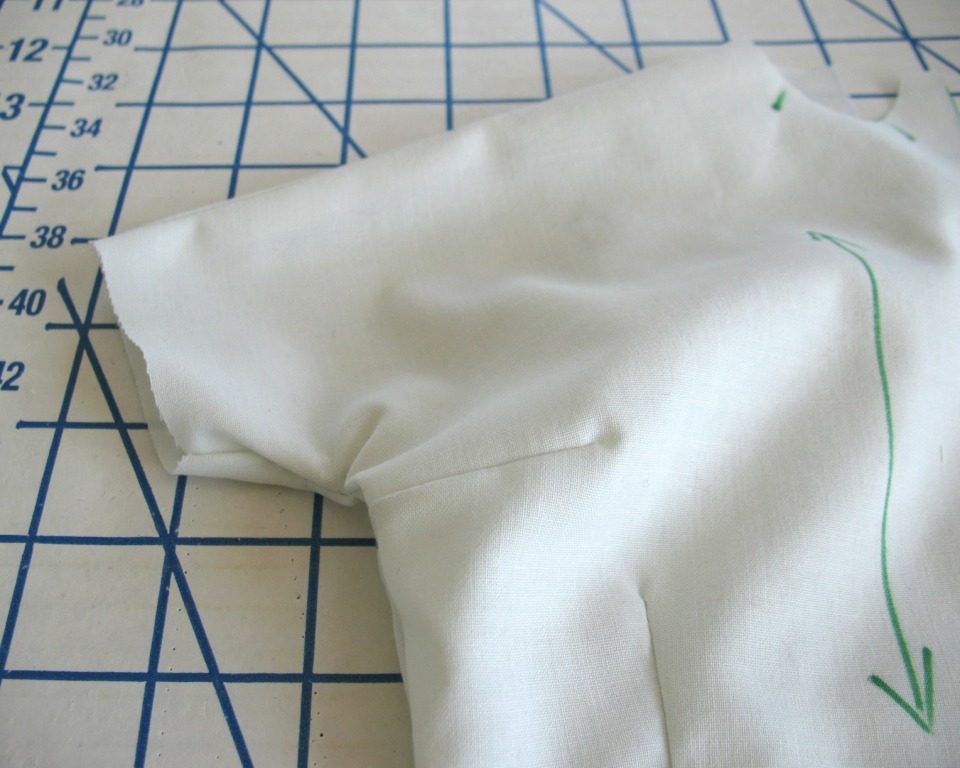
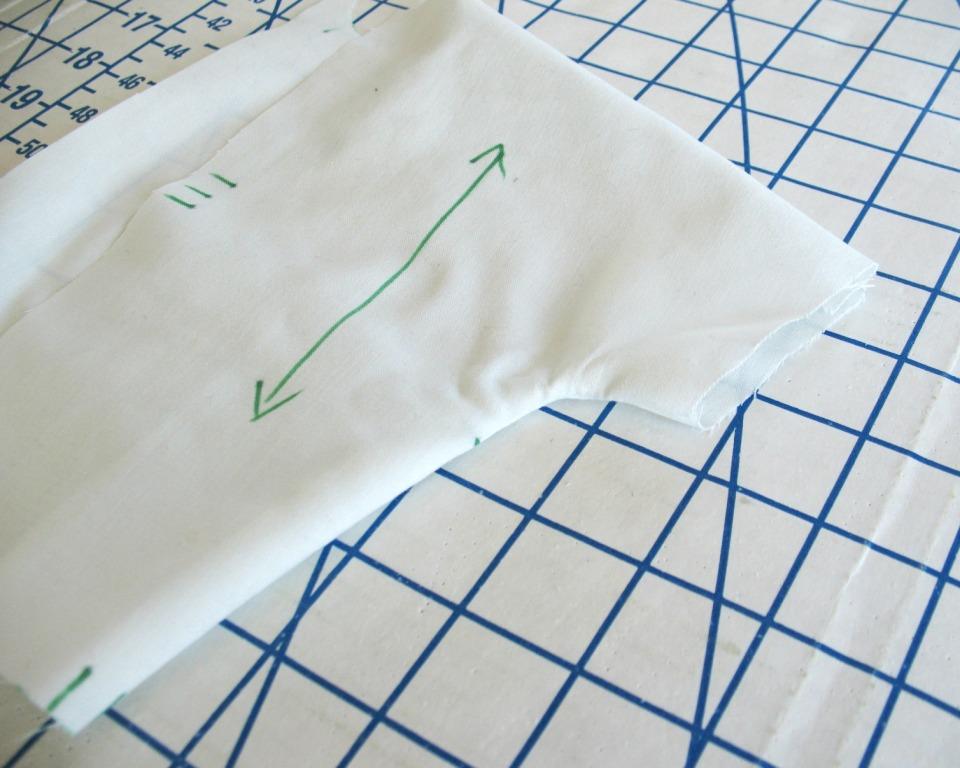
At this point, pressing that seam open along the curve is going to be next to impossible.  And when you turn the garment right side out, this is what you get. 


The larger the seam allowance, the worse the pulling will be.  It doesn’t look pretty, and it is certainly not comfortable to wear.


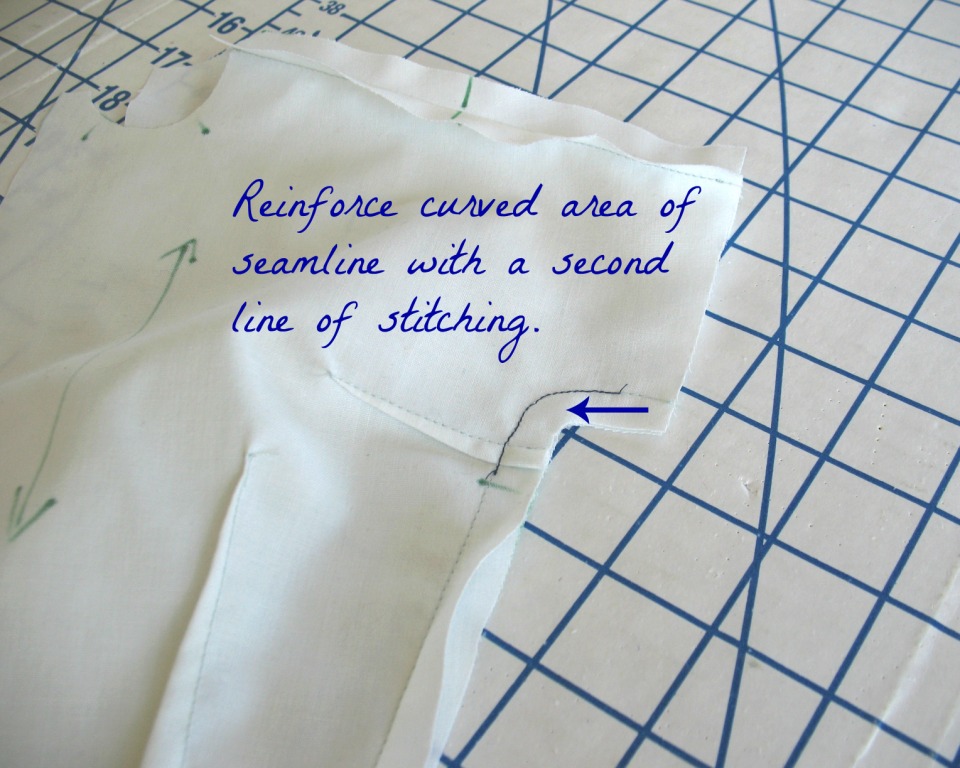
In many situations, a second line of stitching just inside the seam allowance is a great way to reinforce a seam.  However, if you need or want to press your seam allowance open (as in the case of a side seam) this method will not work.  Instead, stitch directly over your first line of stitching using a small stitch length.  It is not necessary to reinforce the entire side seam, just the curved area that will be clipped.


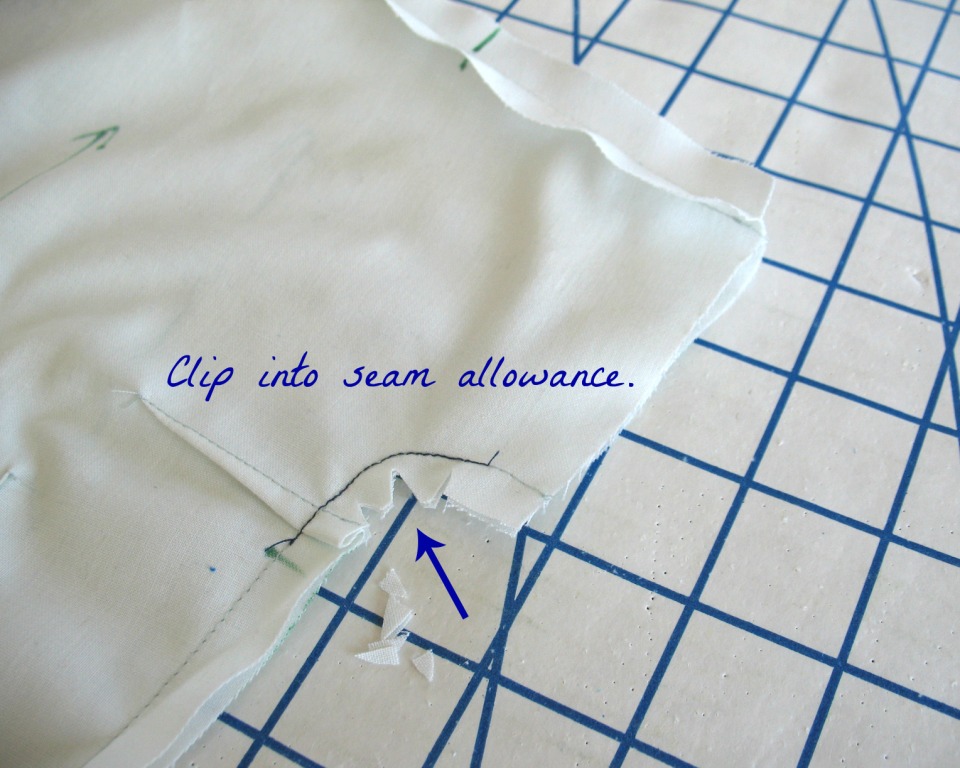
Now it is time to clip into your seam allowance and release the tension so the fabric lays flat.  Make sure not to clip past your stay-stitching!  Some fabrics will require cutting closer to the seamline than others.  Wools, for instance, tend to be quite malleable under the iron, while a tightly woven cotton may require more cuts in order to lay flat. 


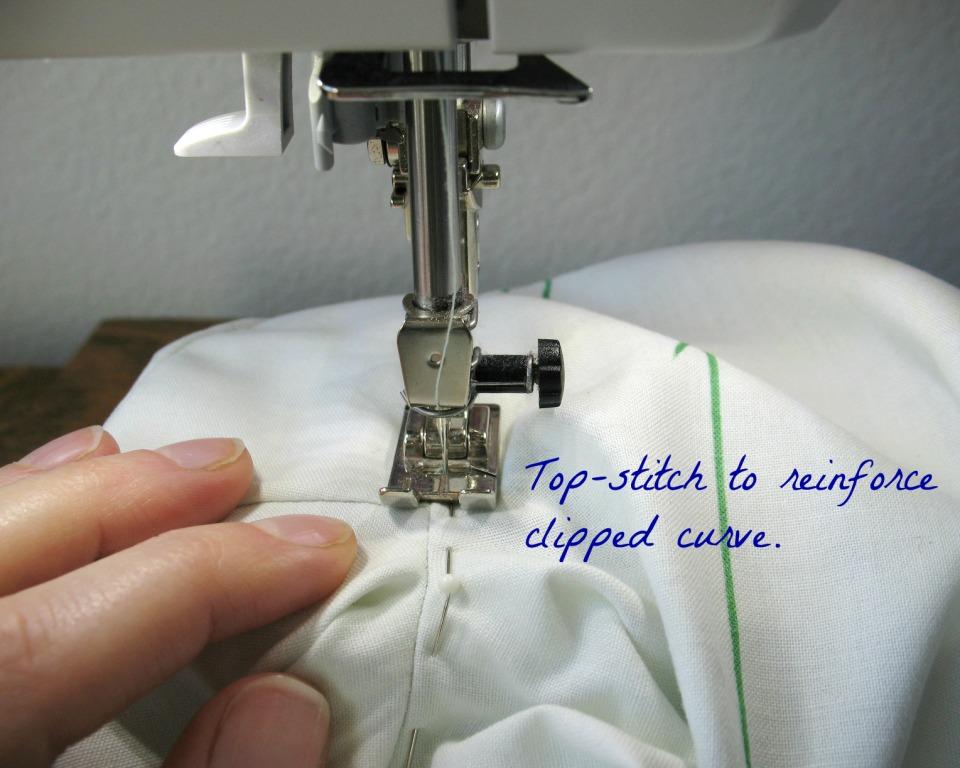
Clipping into the curved seam is essential, but it weakens the integrity of the fabric which can be especially problematic in an area that sees quite a bit of movement.  To reinforce the clipped area, I like to top-stitch the curved section of the seam.  In many cases, the stitches will sink right into the fabric and are virtually invisible, although they can end up being visible on certain fabrics.  However, most of the time this area will be covered by your arm, and without a gusset, this type of sleeve has excess fabric to allow for movement that will fold and create shadows, making that small bit of top-stitching disappear.  Or, I suppose, you could even make the top-stitching a design feature and continue it all the way down the seamline! 

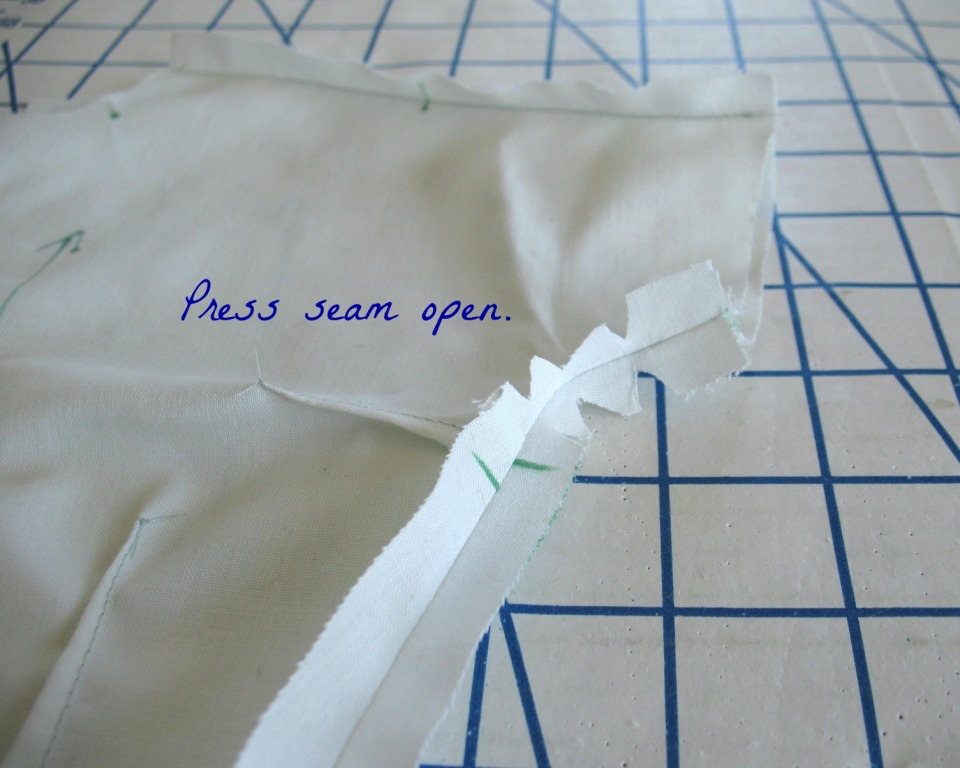
Press the side seam open – which should be easy to do once those cuts are made!  (A tailor's ham or sleeve board can be very helpful to press those curved seamlines.)


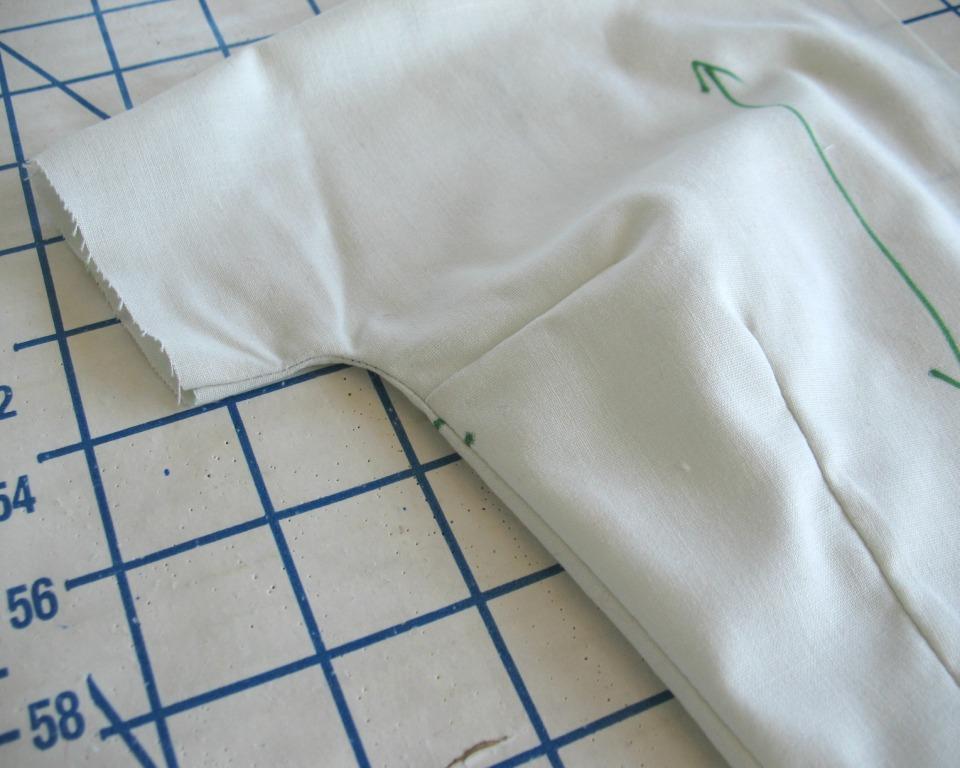
Now the side seam can lay flat along the curved underarm area.


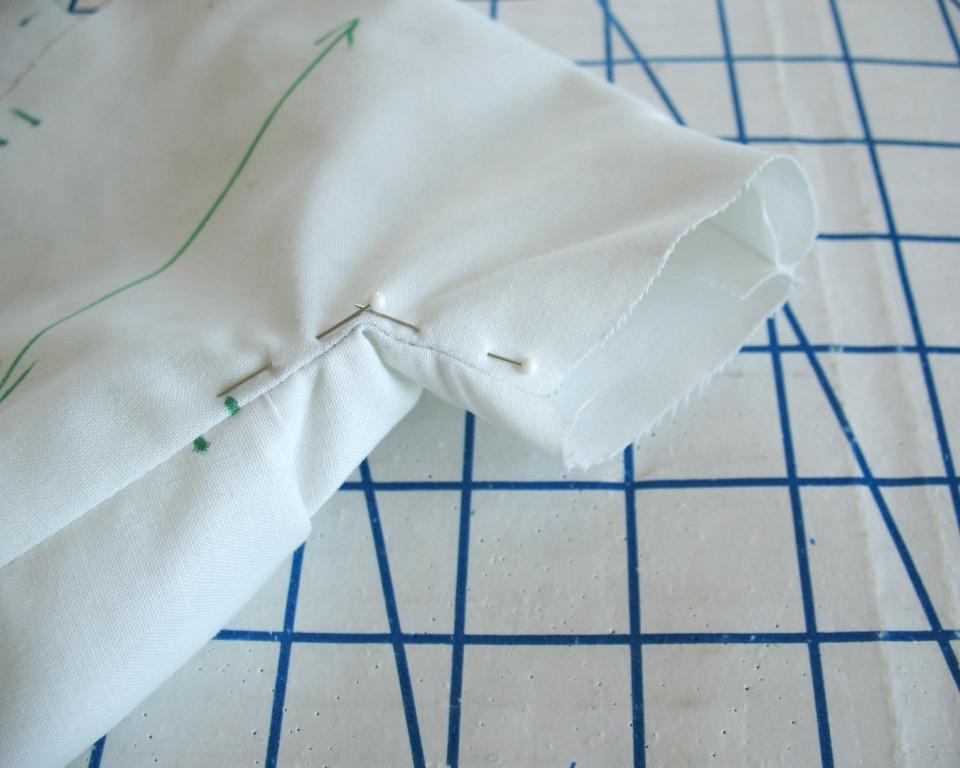
Pin the seam allowances in place from the right side of your garment, making sure to catch all the bits of clipped fabric on the wrong side.


Top-stitch along the curved edge to reinforce the seamline.


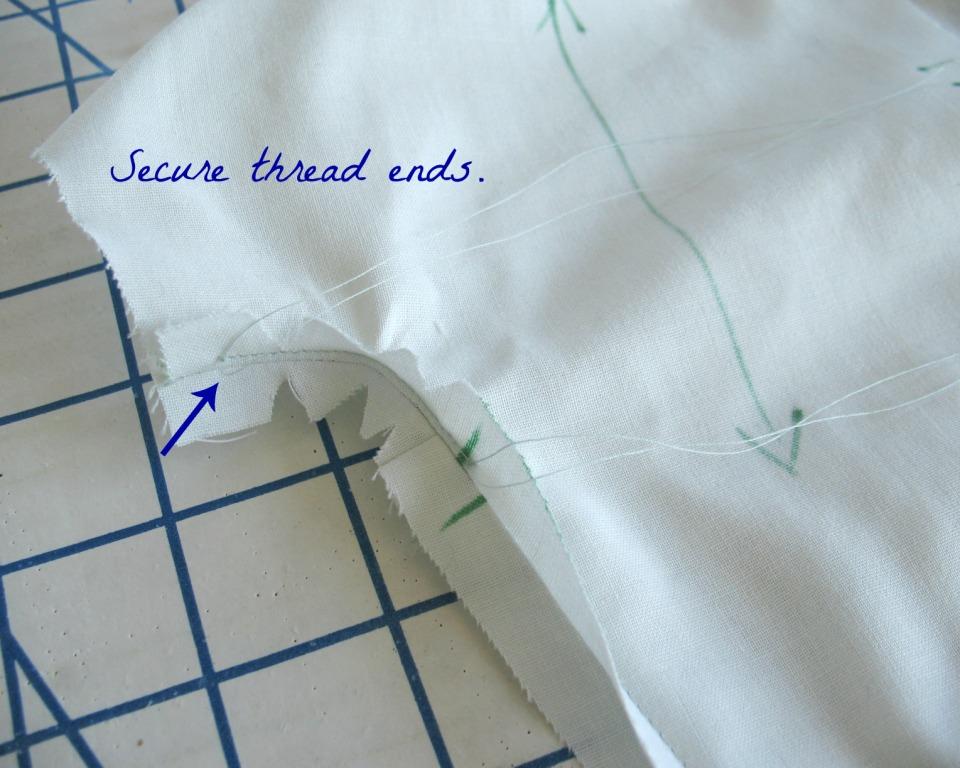
If you are machine stitching, make sure to secure the thread ends on the wrong side of the garment – you do not want that line of stitching to come undone!


The finished product should look something like this.


I like to add a second layer of protection which covers the clipped edges (less direct friction on those raw edges will slow down the fraying process).  It also helps to reinforce the line of top-stitching, especially on a loosely woven fabric.  I often use a strip of rayon seam binding for this purpose.  Twill tape would also work.  For this dress, I used a small scrap of silk organza that was handy.  The added piece of fabric will also keep the seamline from pulling open.


Depending on the garment and/or my fabric choice, I will hand stitch with a pick stitch or use the machine for this added line of stitching.  Depending on the curve of the pattern pieces, it can be much easier to manipulate the fabric by hand, which also happens to make the stitching line less visible.  Generally, my lining fabric gets a machine application and my outer fabric gets hand stitched.  But the choice is yours! 

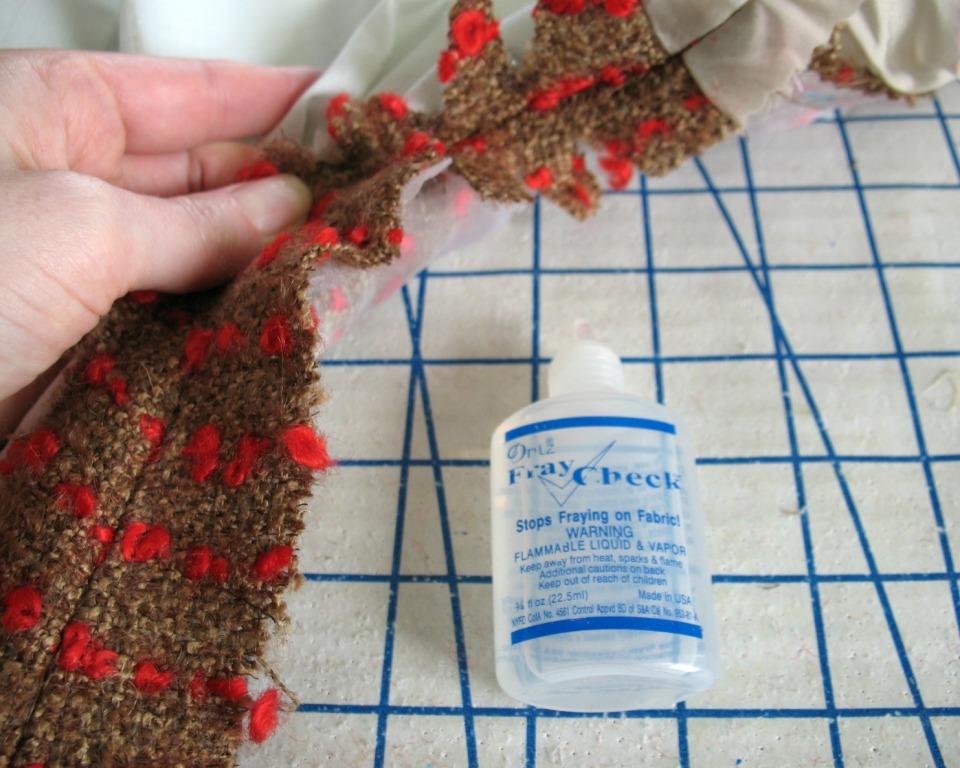
Because the fabric for this particular dress is very loosely woven and has a tendency to fray, I treated the base of each clip with a spot of Fray Check.  I would not recommend doing this, however, if your garment does not include a lining.  The Fray Check can create a rough edge to the fabric as it dries and would be rather uncomfortable on the underarm area without the coverage of a lining material.


A scrap of fabric or paper placed behind the clipped seam will keep the Fray Check from getting on the rest of your garment while it drys.


I like to repeat the top-stitching process on my lining as well, eliminating the layer of added organza or seam binding from the equation.  The lining is also an excellent chance to practice the technique before working with your fashion fabric.


And that is one way to reinforce a kimono sleeve (or any clipped seam that needs some extra security, for that matter)!


[The fabric for this dress was received in exchange for my contributions as a Britex Guest Blogger.]


Monday, February 23, 2015

Beautiful Bouclé


Simplicity 1997 is a pattern that was never put away - I always meant to make another version.  And here we are (even if it took longer than I was expecting!).  


I did manage to make a skirt along the way, but it has taken quite a while to get to the dress.  Now that it is finished, I really can't say why I waited so long.


Well, that is not entirely true.  I think I was waiting for this fabric


That is not to say this was the easiest thing I have ever made.  The loft of the bouclé made attaching the ties to the neckline challenging.


(By the way . . . the trick to tying a bow with thick fabric is to pull one side of the tie until it hangs down a few inches below the other and use that longer tail to wrap the second tie - it took a few tries, but I finally got it!)


This dress definitely needed a matching belt.  But making a buckle and belt from a thick textile is not as easy as I had hoped.  The saving grace is that the fabric presses beautifully.


And miraculously, it is not itchy at all.  Overall, it was worth all the extra effort it required.  And now I have a new dress that I love!


But the next project is going to be nice and quick and simple!  


Dress & Belt:  Made by me, Simplicity 1997
Shoes:  Miss L Fire, “Dame
Earrings:  Shadows
Brooch:  Vintage
Minaudière:  Banana Republic

[The fabric for this dress was received in exchange for my contributions as a Britex Guest Blogger.]