Monday, August 7, 2017

Constructing the Perfect Sundress


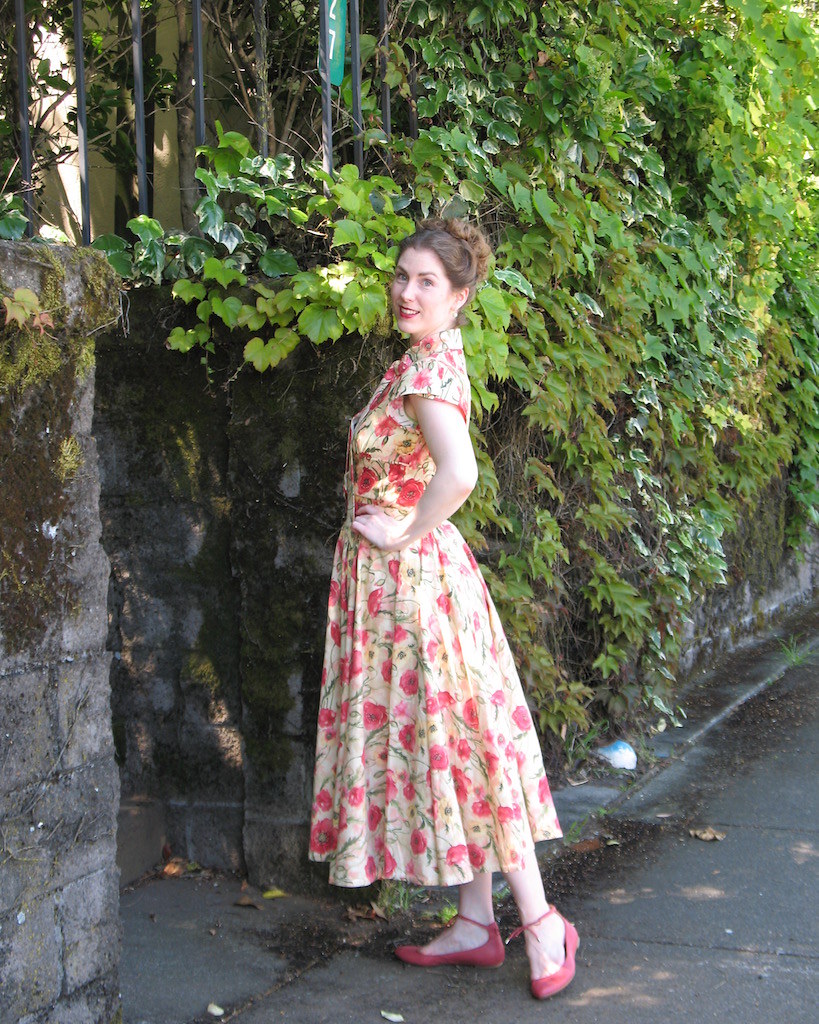
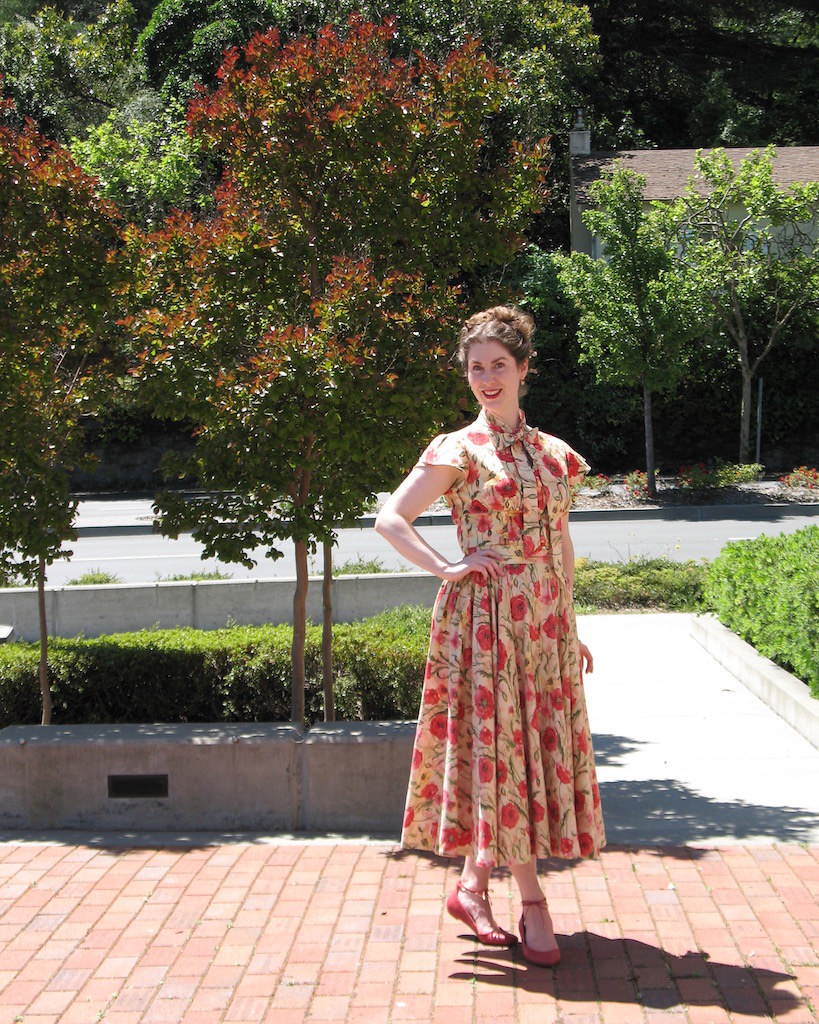
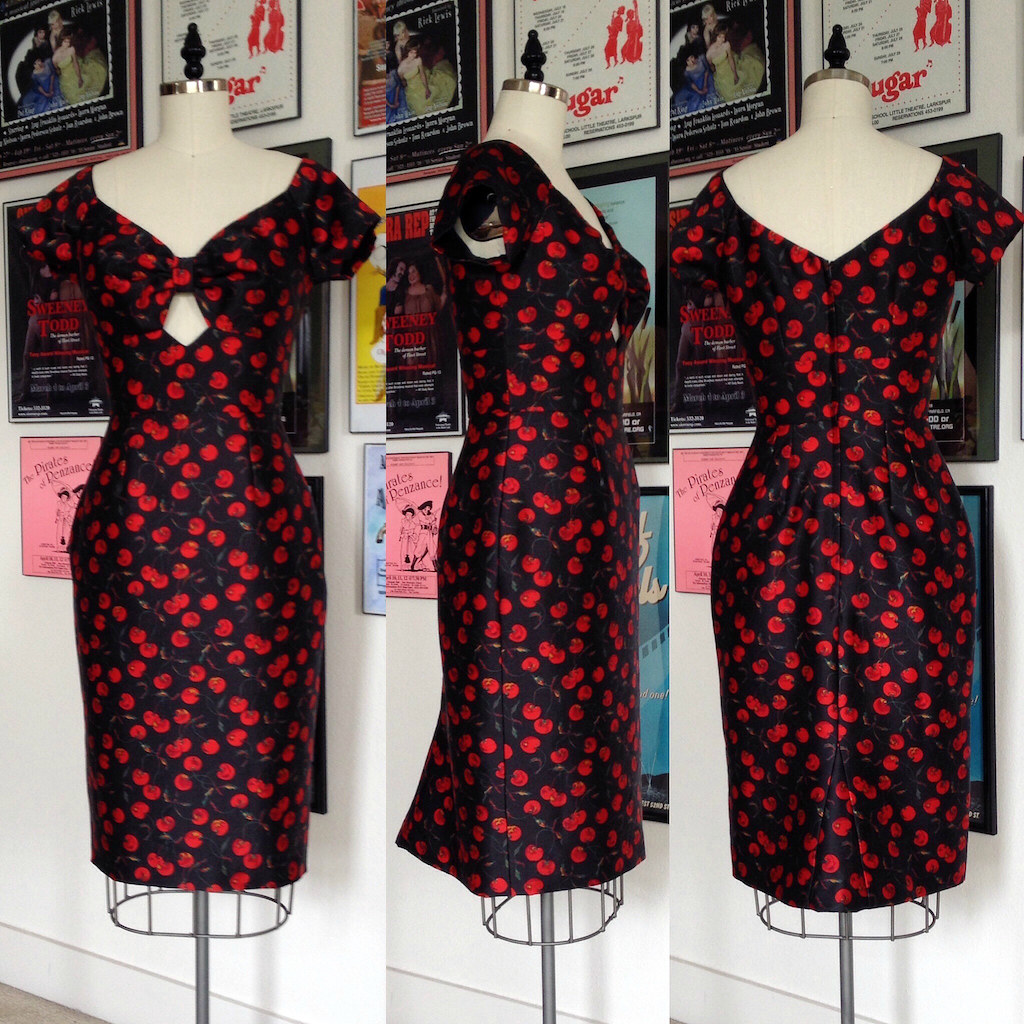
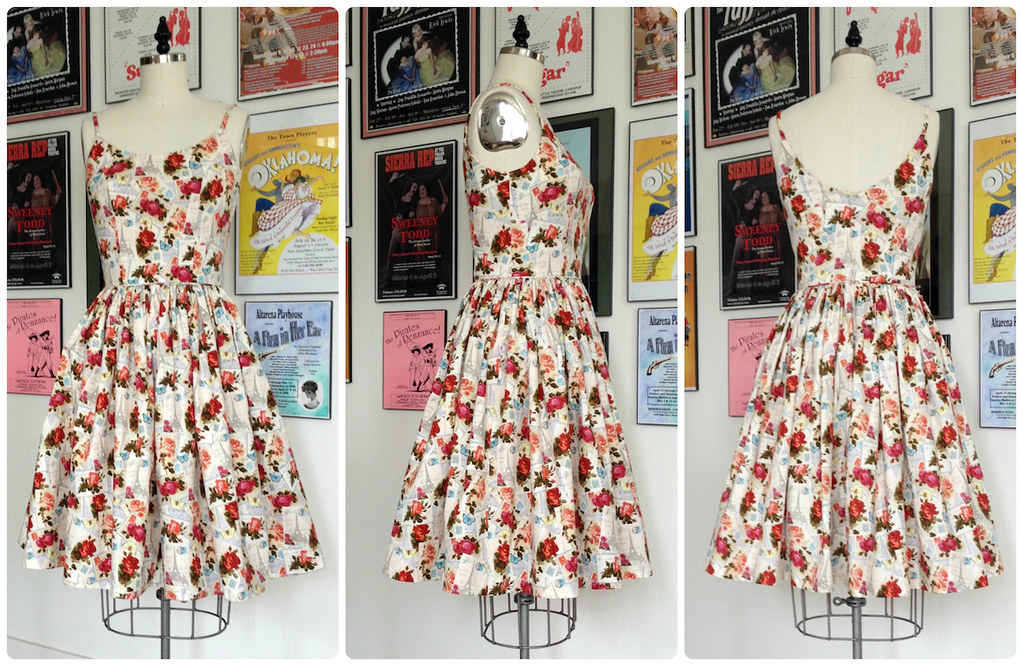
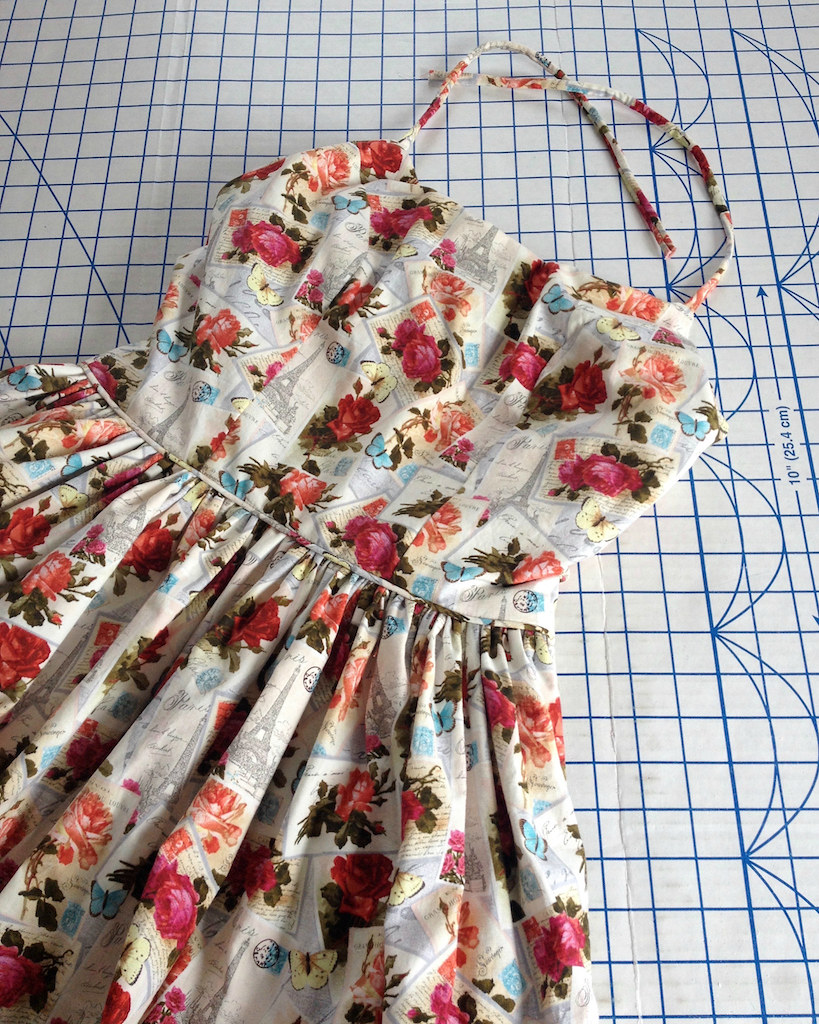
I am sure you have seen many versions of Butterick 6453 around this summer.  This is my first version the design, and I have already completed another.


Having worn this dress (quite a few times already, I might add), I can see why so many people are making multiple versions of their own.


Of course, I did not have quite enough fabric, so I had to get creative with my layout.  I also had a directional print that would not have worked with the given fabric layout which is made for border prints.  I didn't particularly want a center front seam, but at least it was possible to print match!


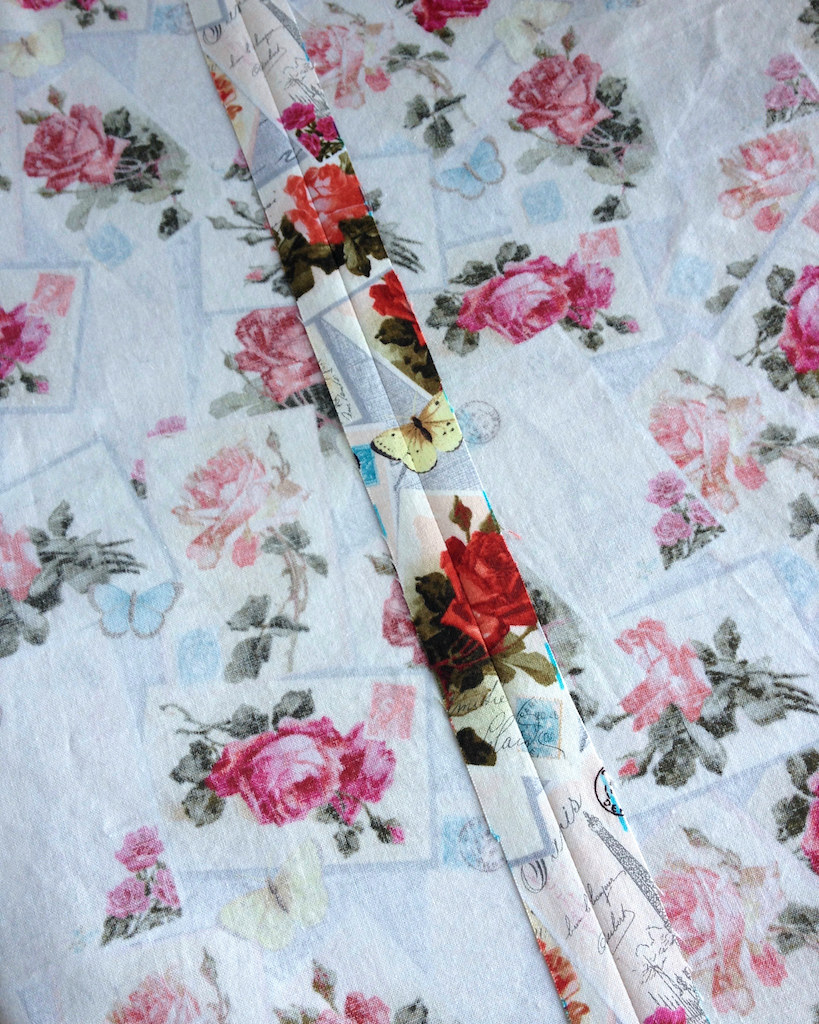
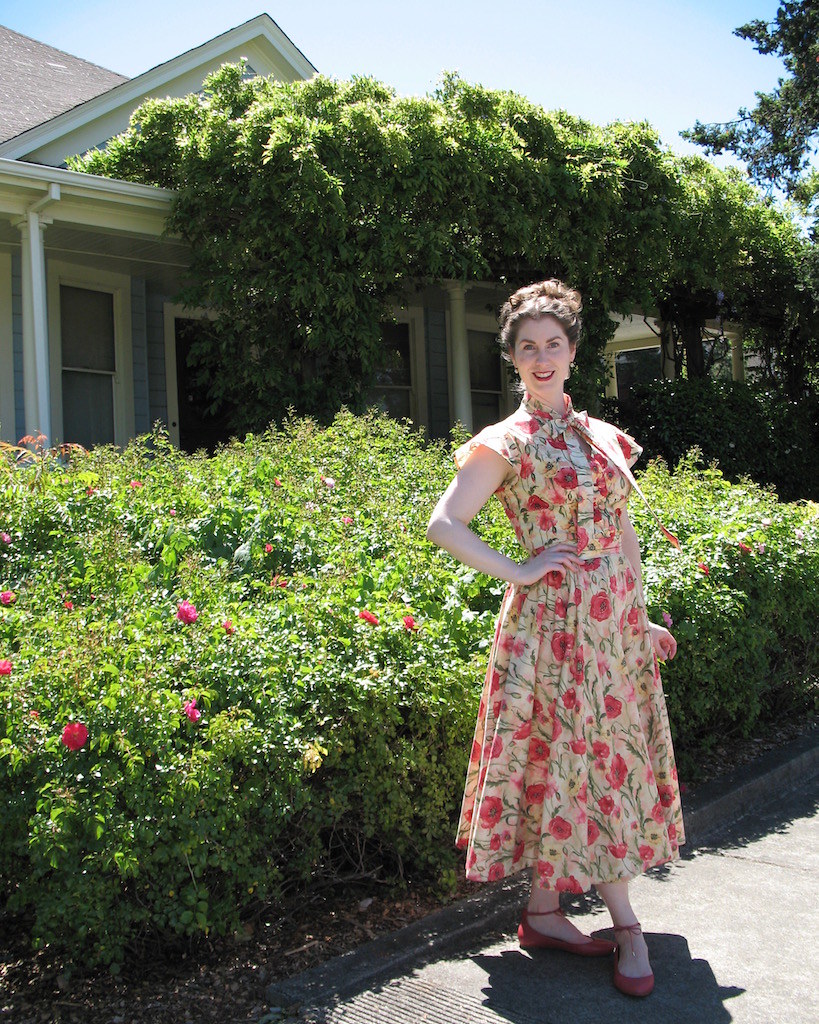
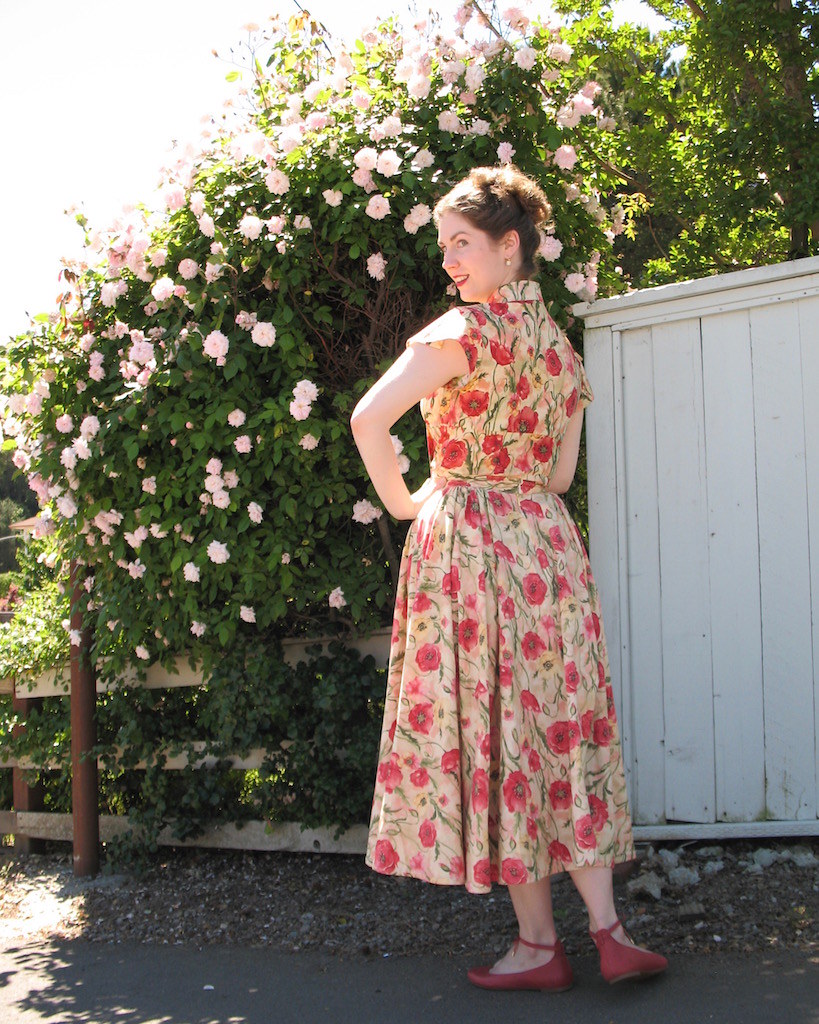
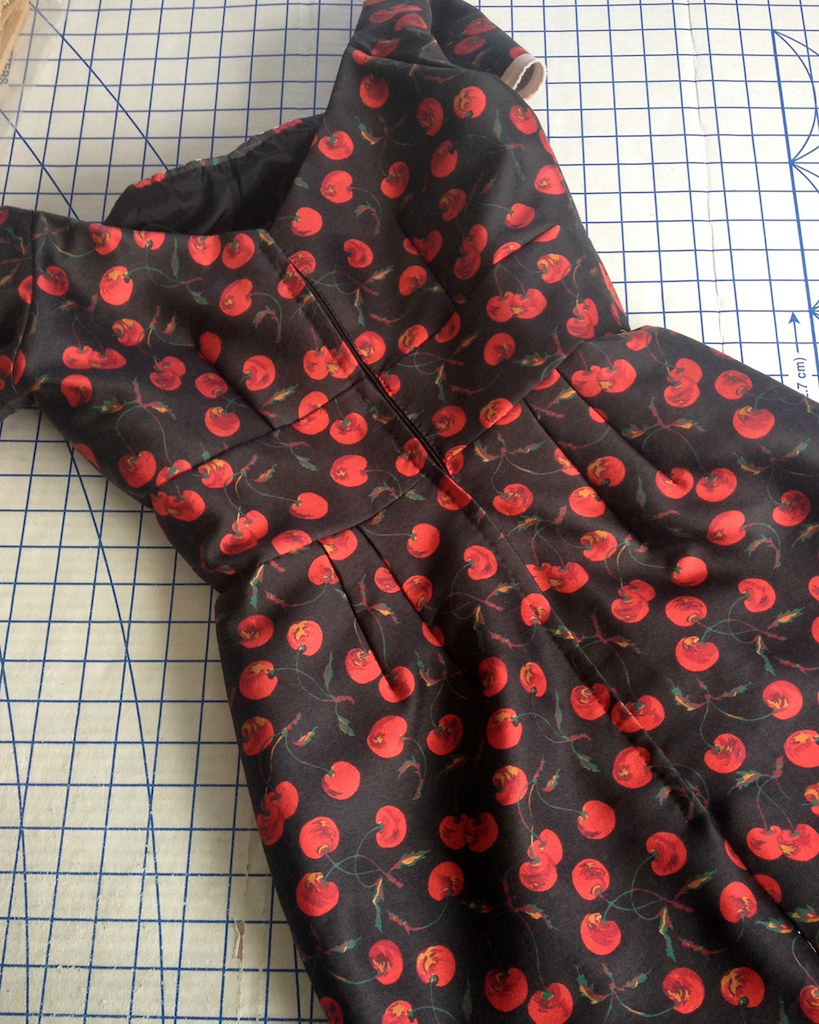
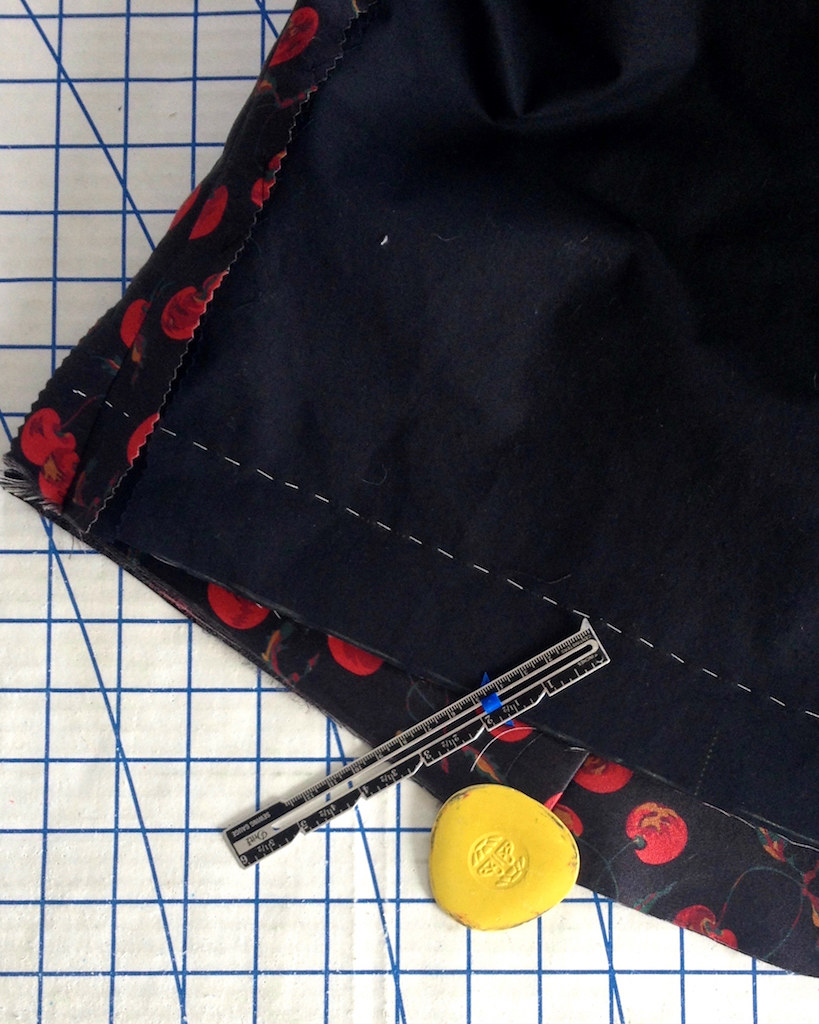
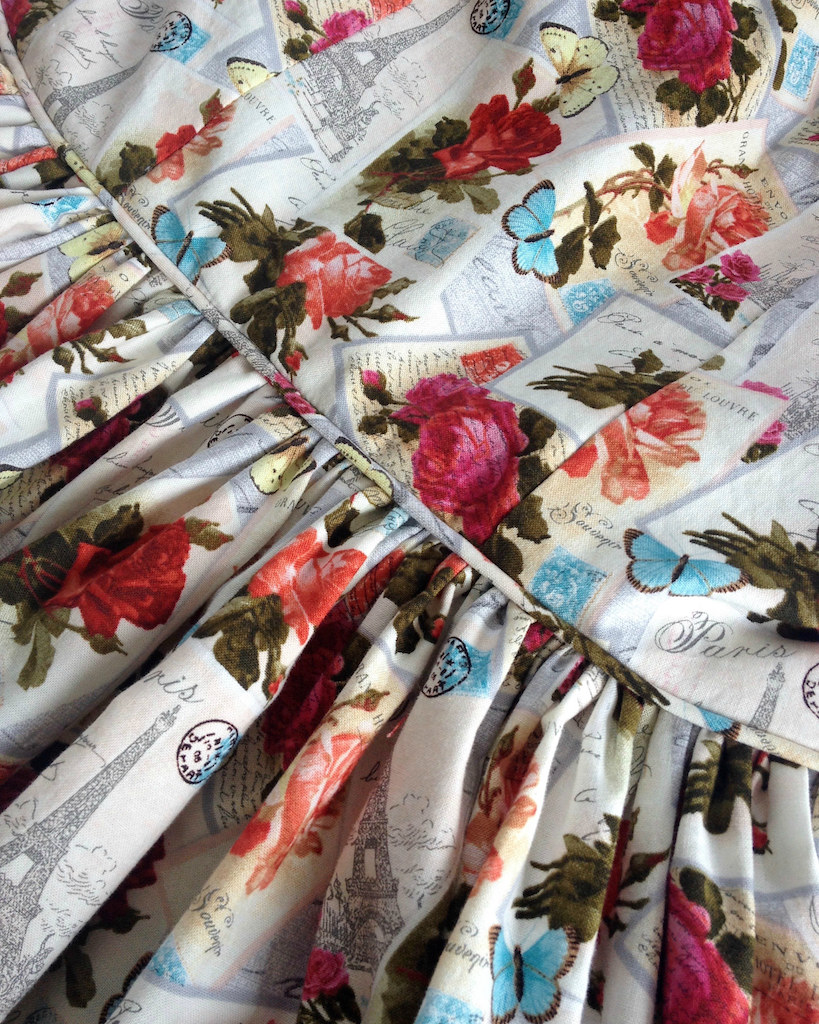
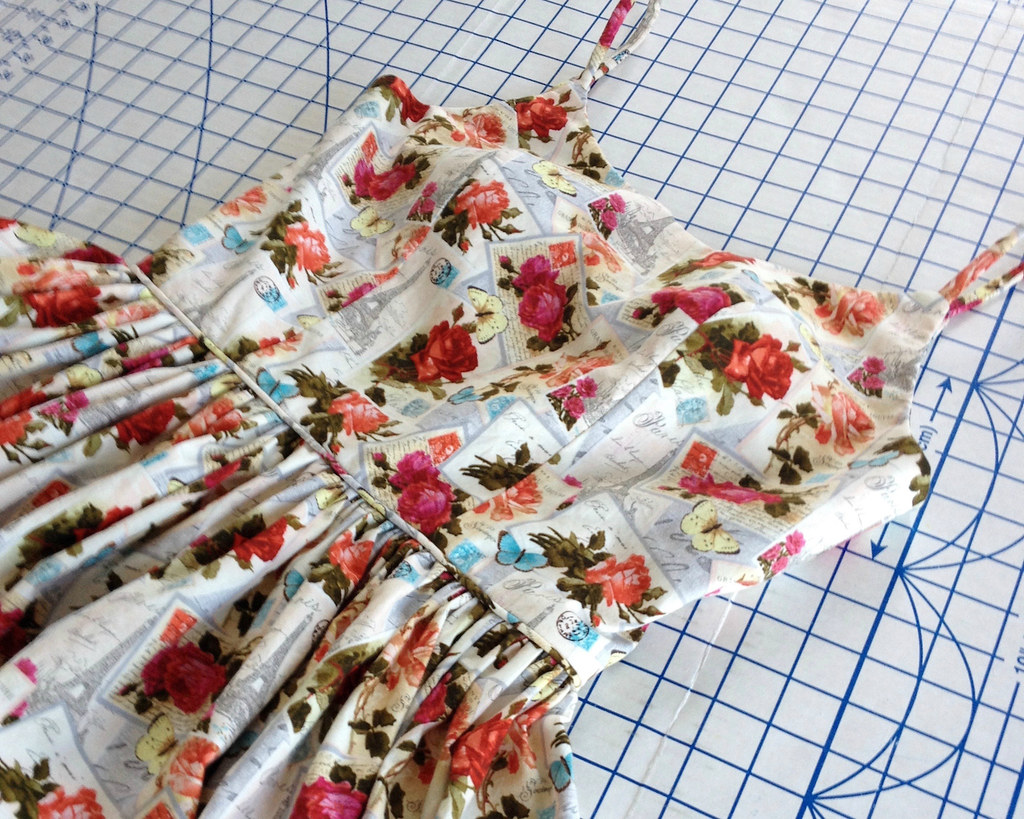
I also decided it would be a nice touch to add a bit of piping to the waist seam.  One length of yarn and a bit of bias fabric later, and I had my self-fabric piping prepared.


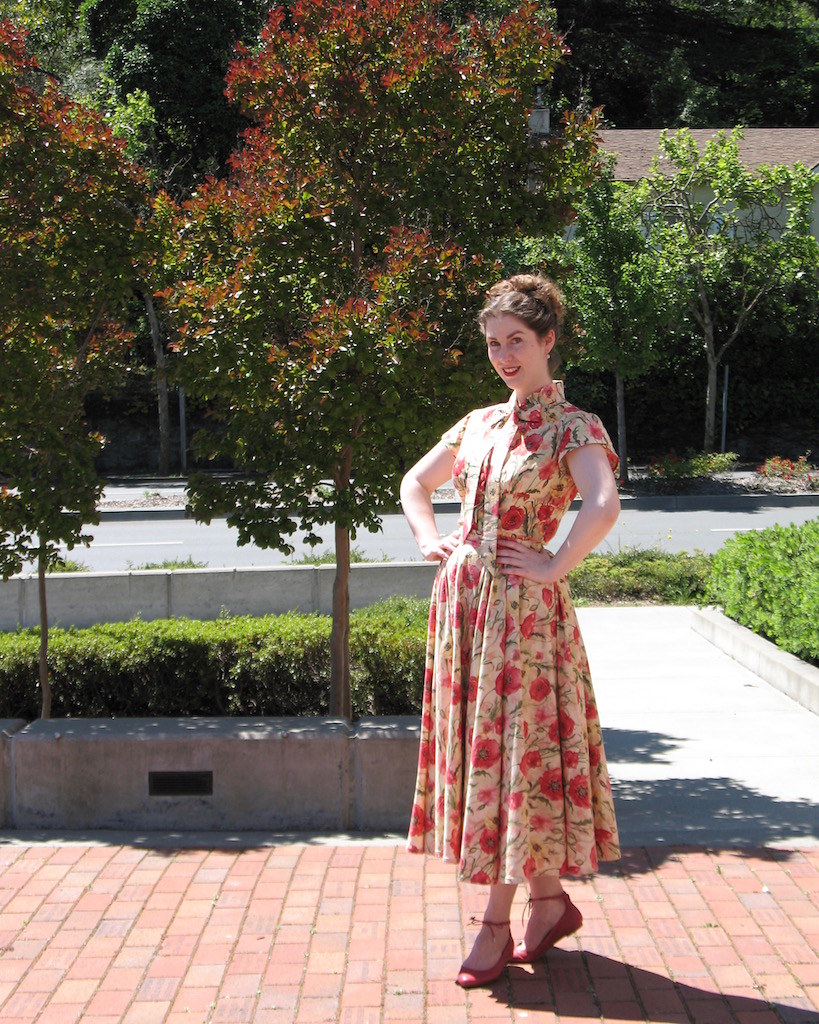
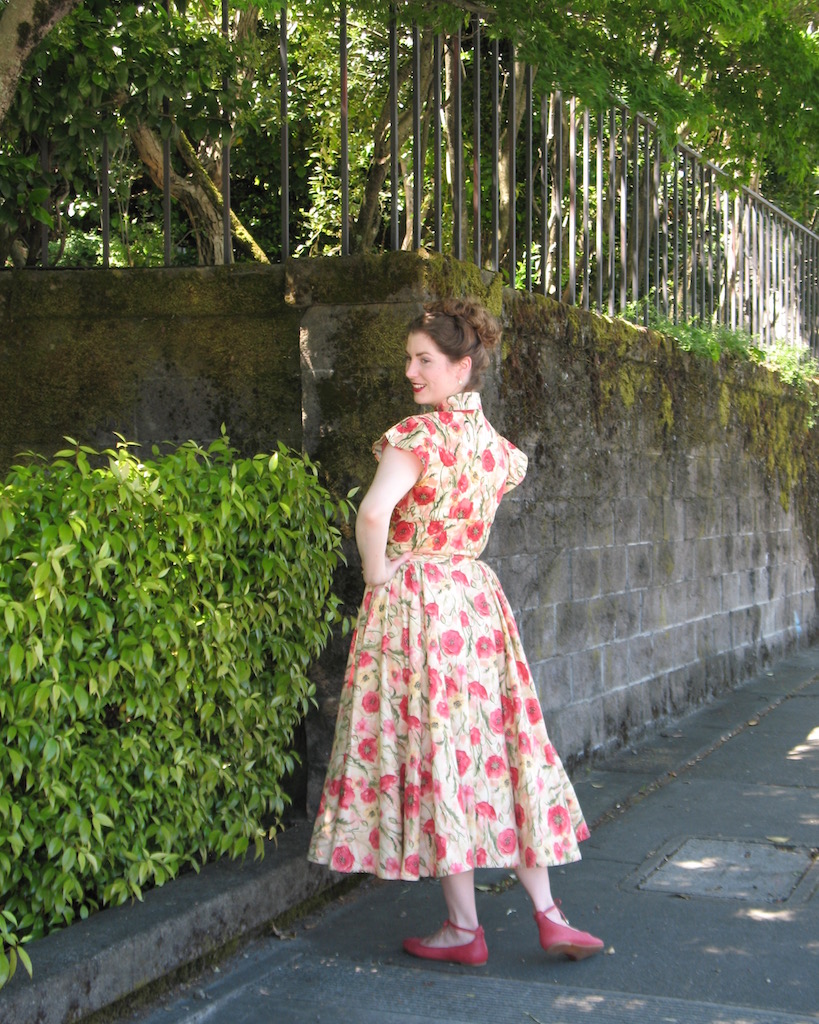
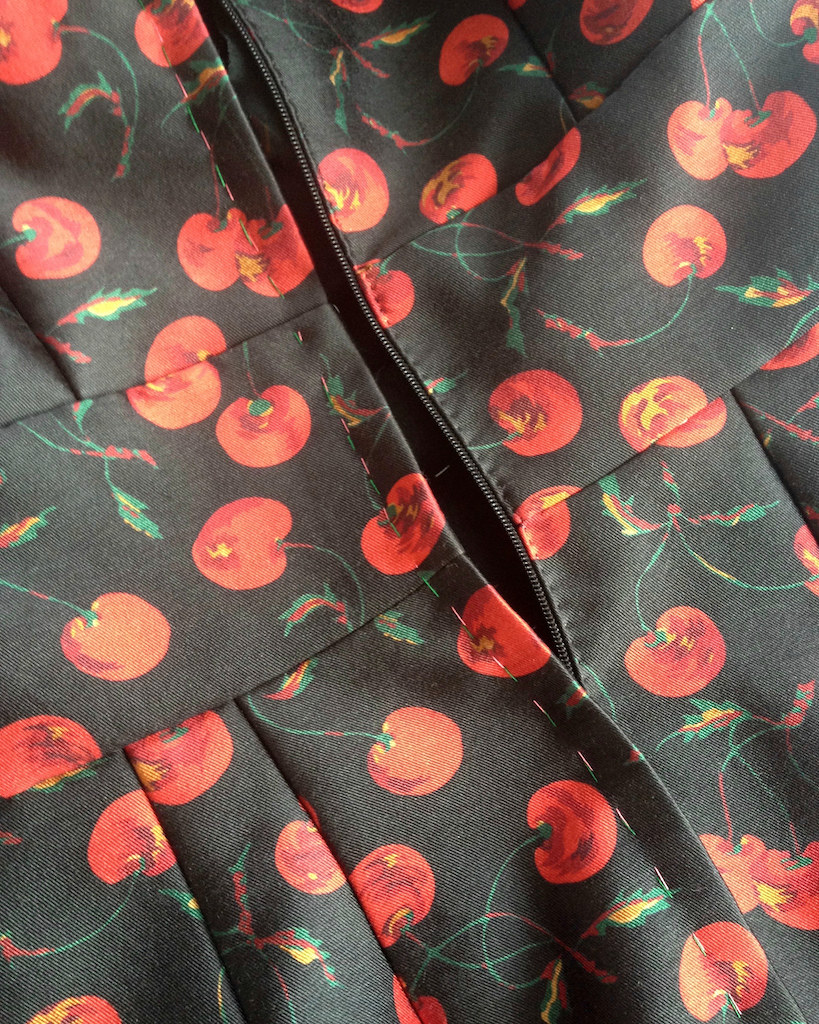
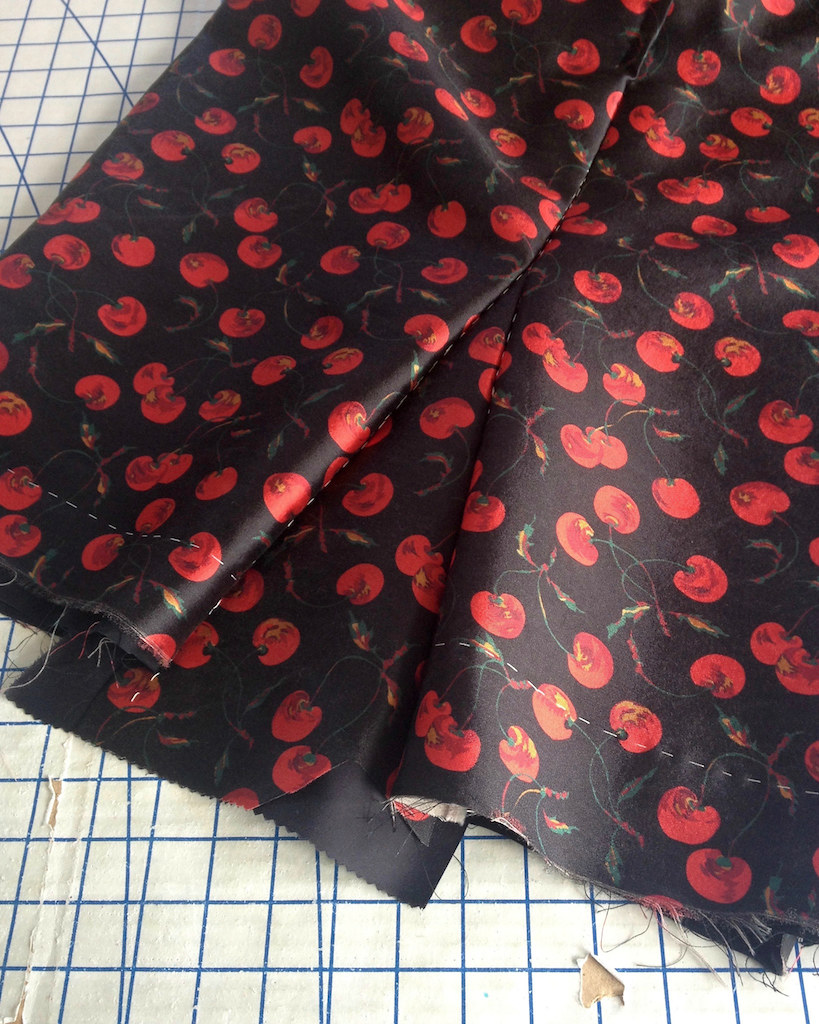
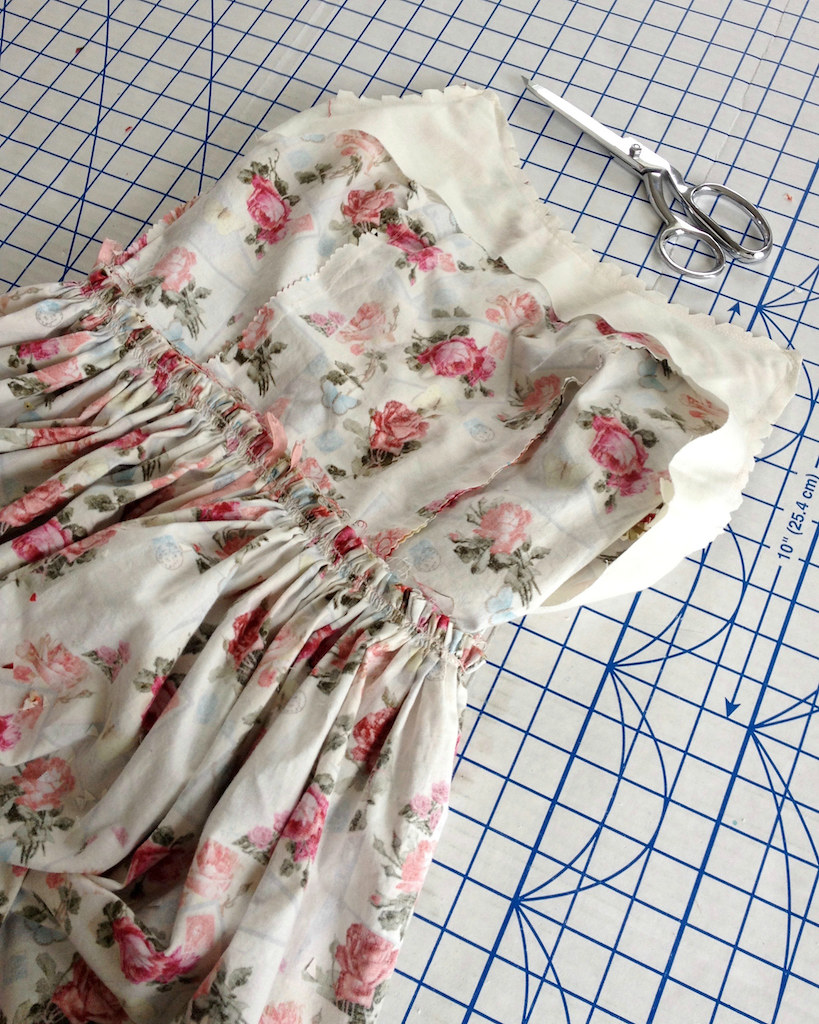
I ended up using the full width of my fabric (minus the selvedge) for the skirt which was slightly larger than the pattern piece.  In a lighter weight fabric, this would have been fine, but my mid-weight quilting cotton had to be man-handled to scrunch all that fabric down to match the bodice.


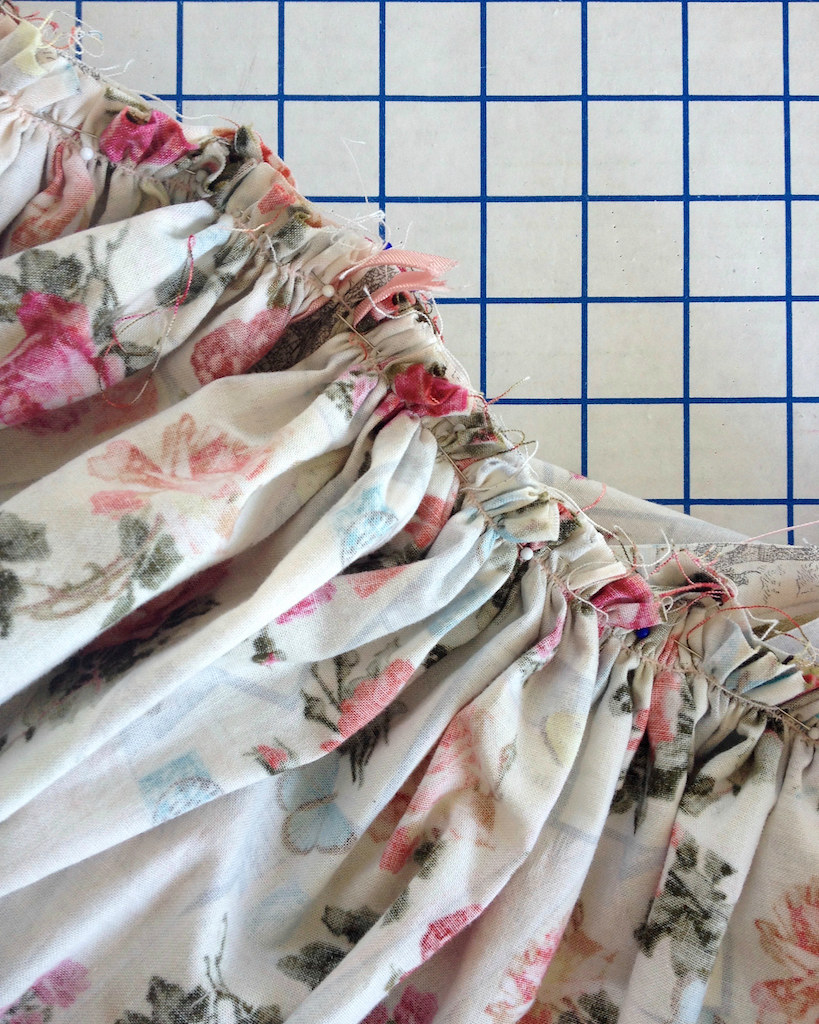
I really do like the added fullness in the skirt, so I suppose the extra work fighting with gathers was worth it in the end.


And I am also very pleased how the added piping turned out.


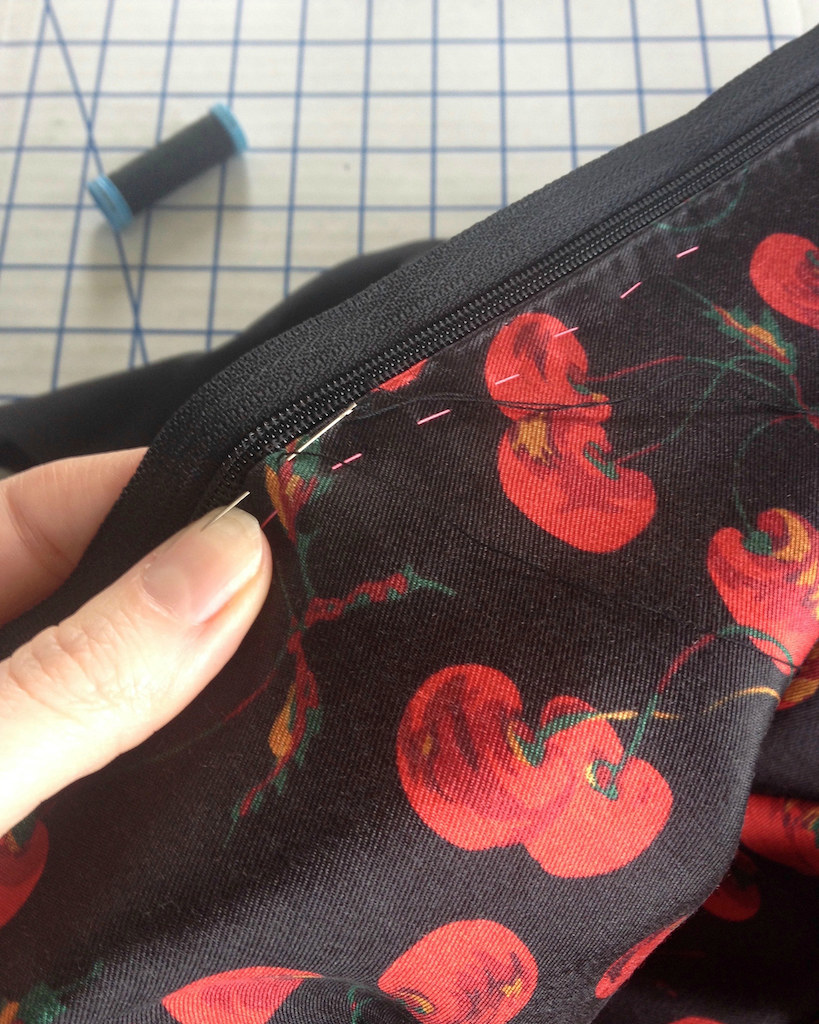
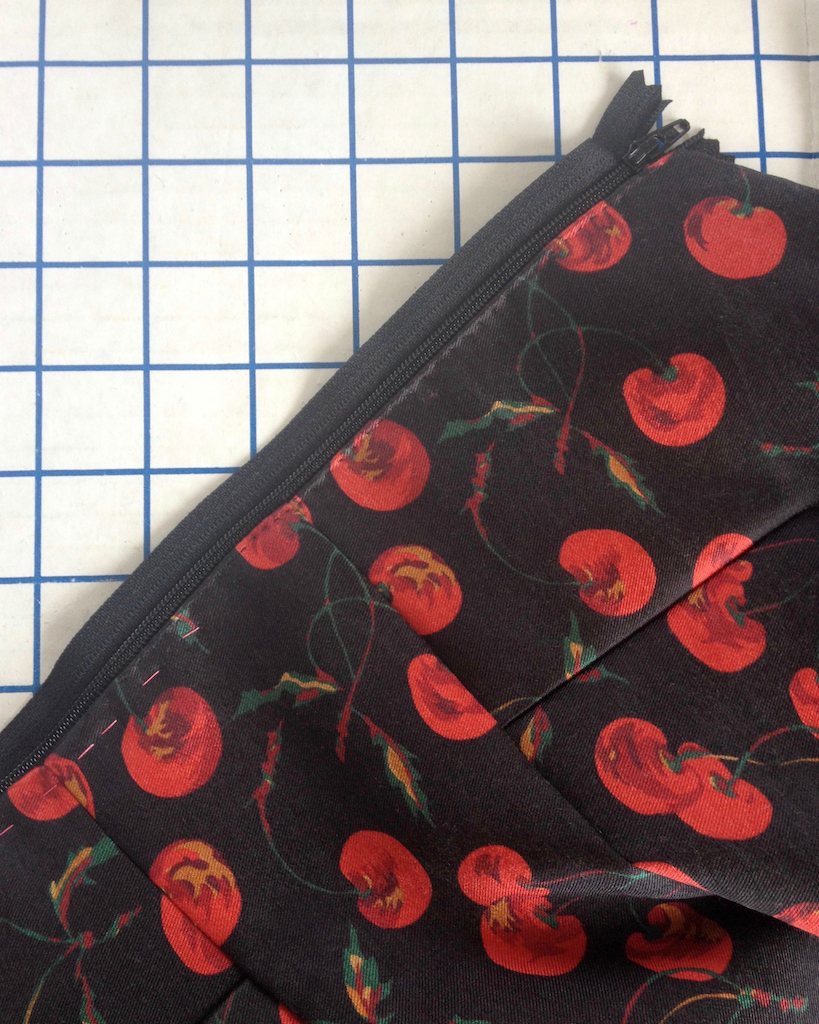
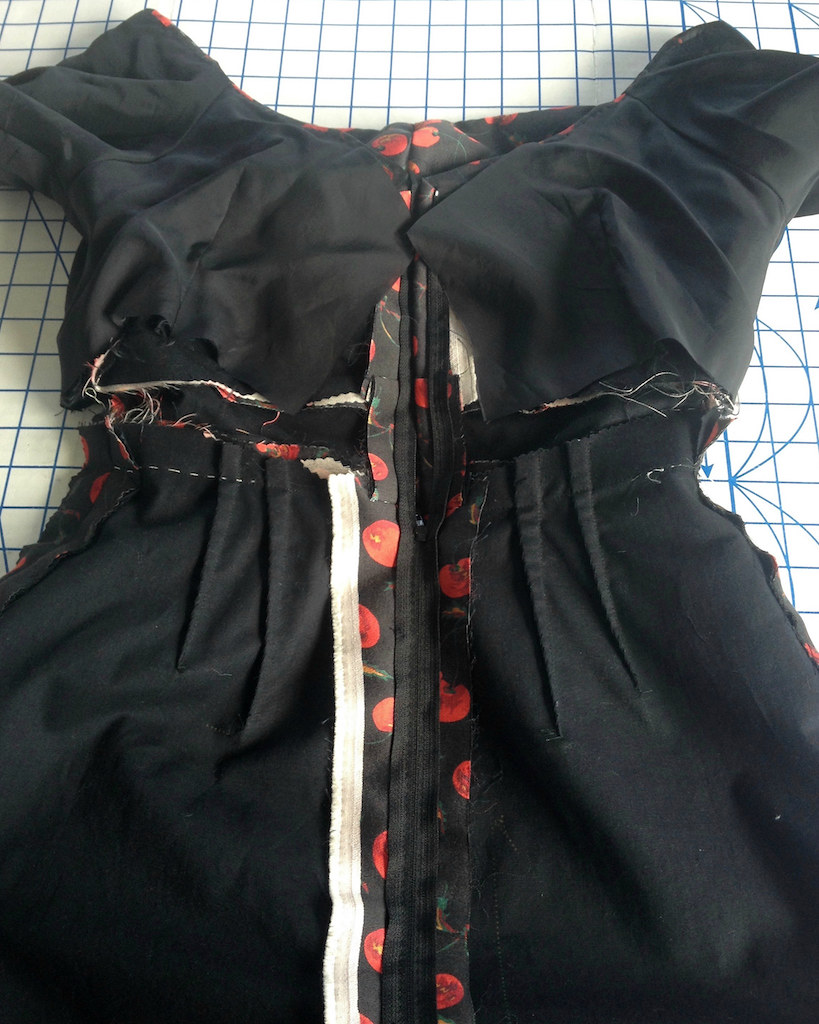
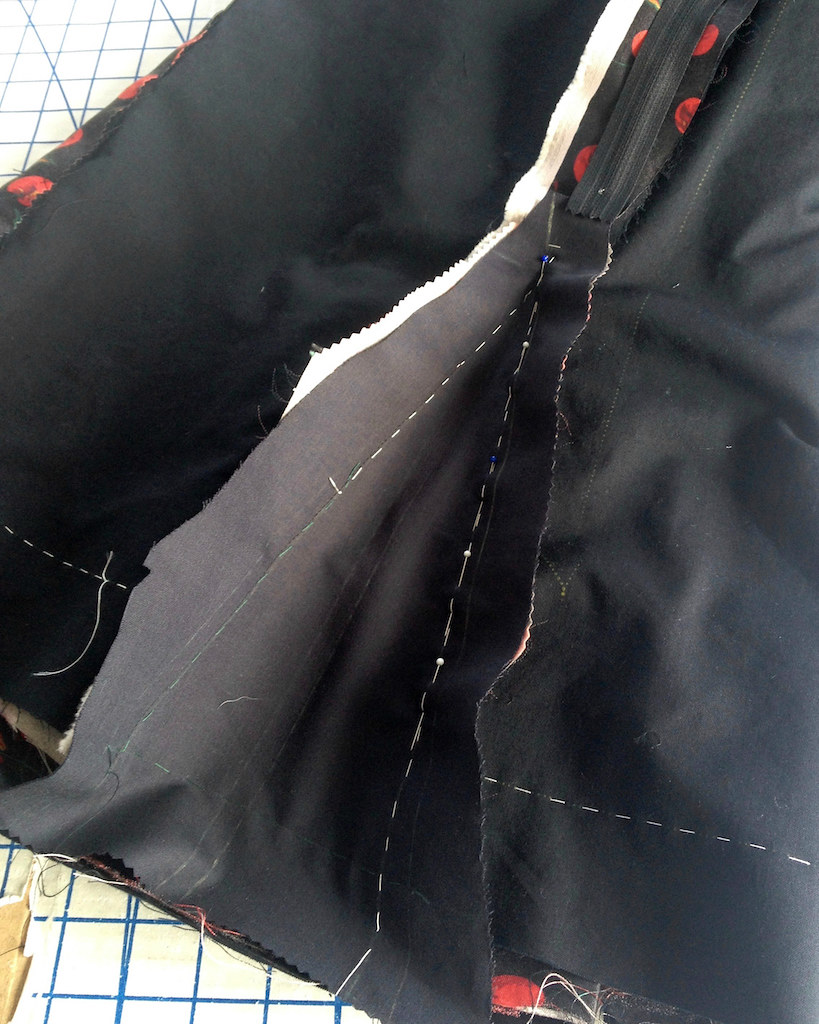
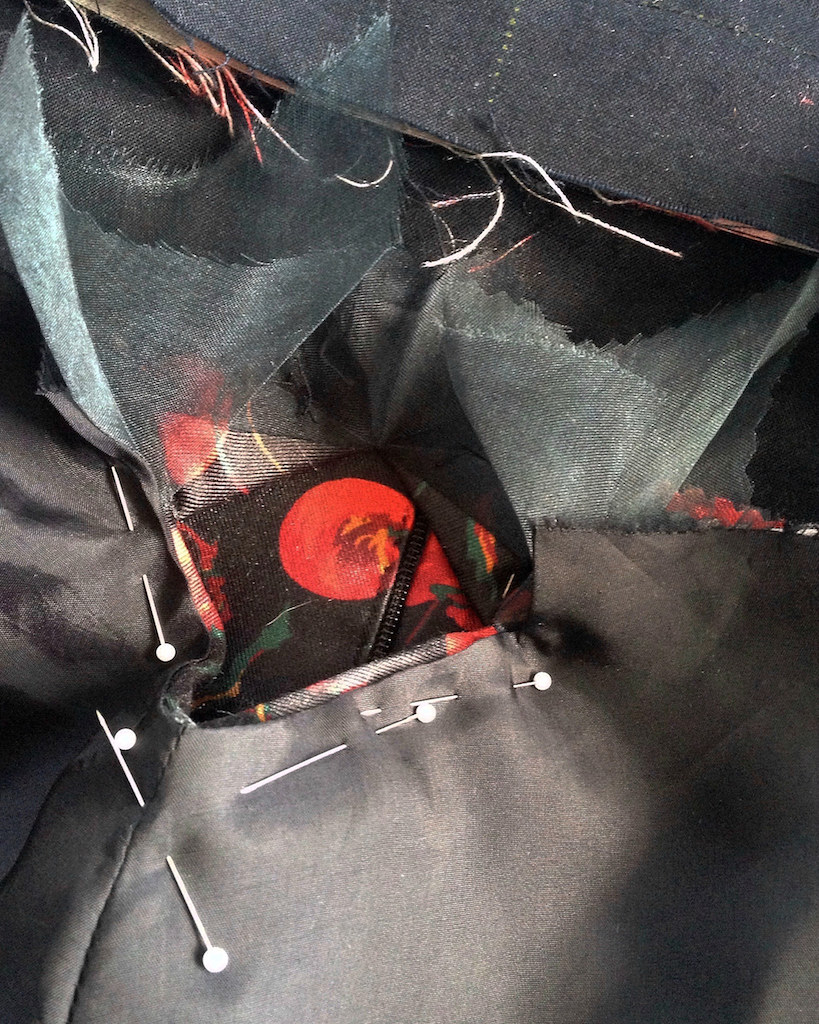
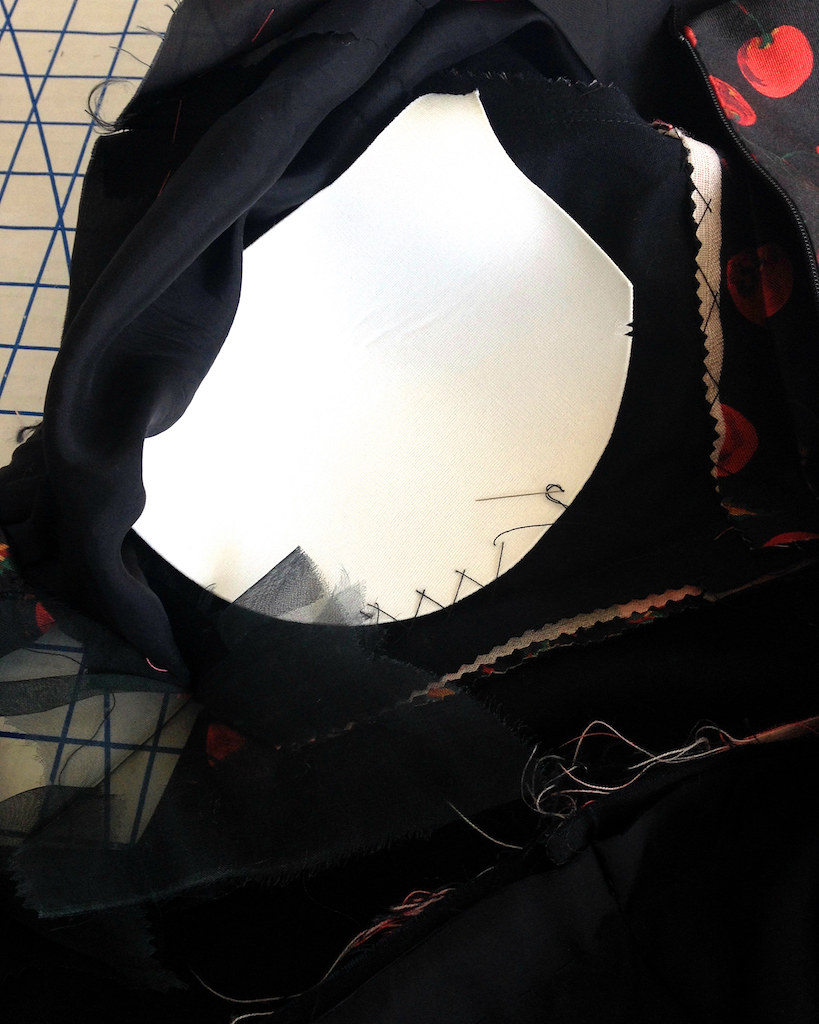
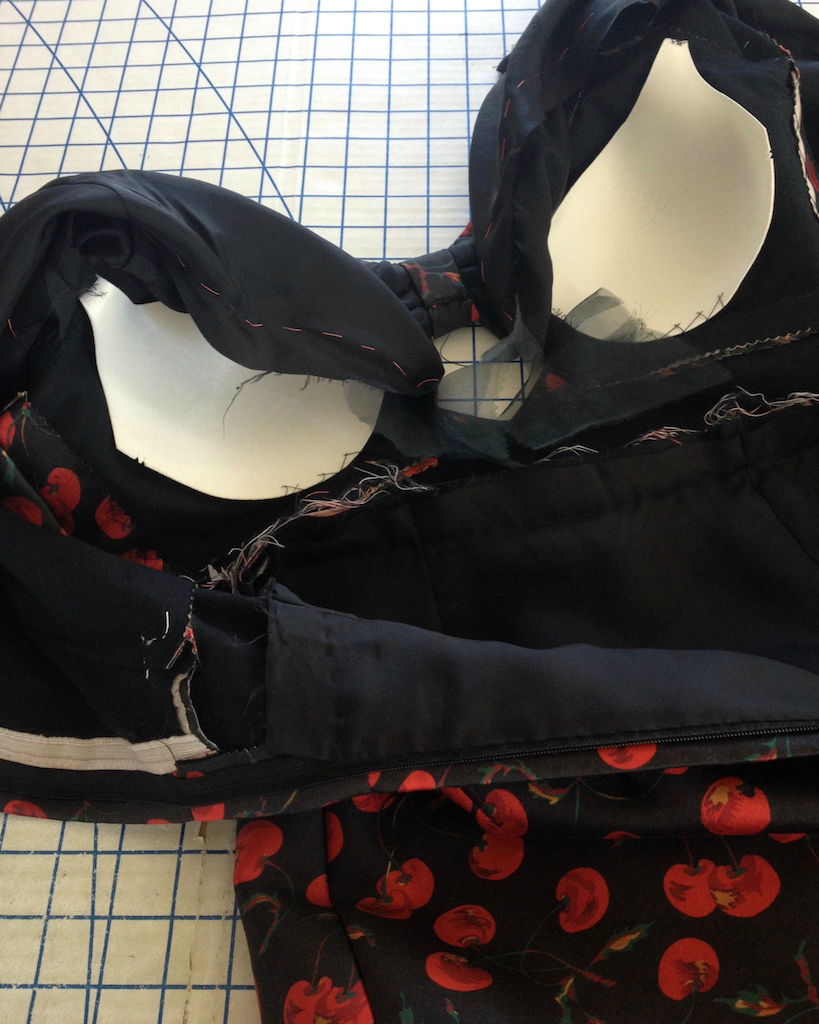
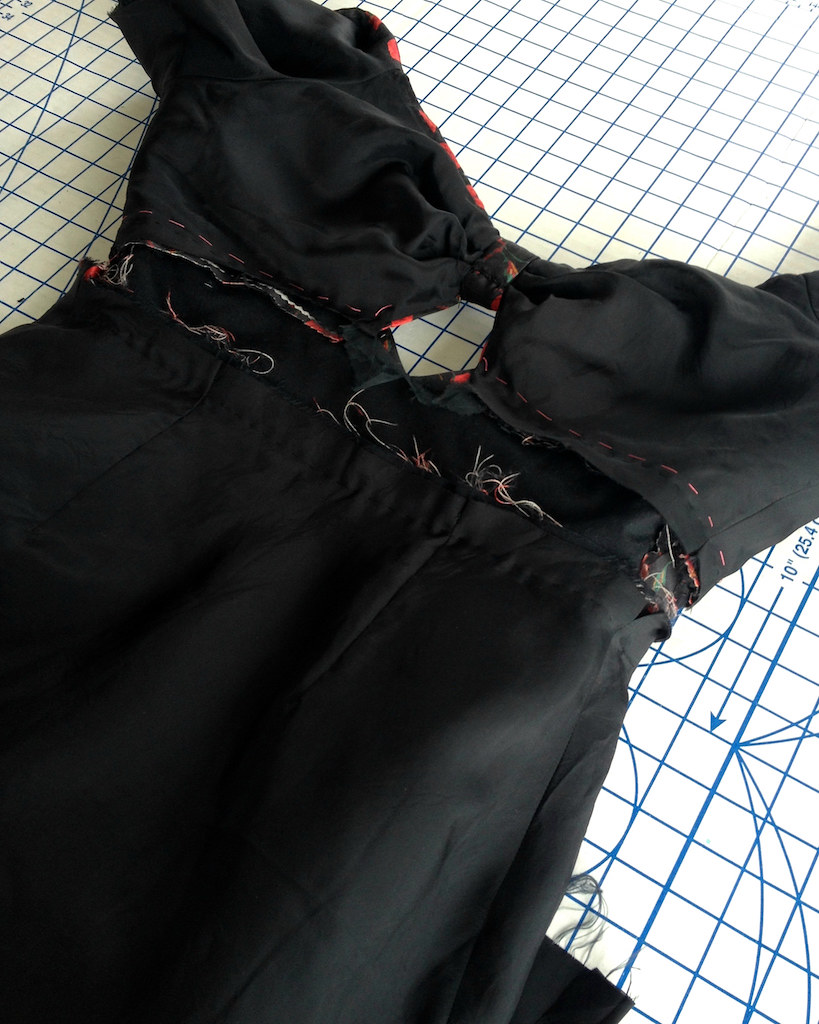
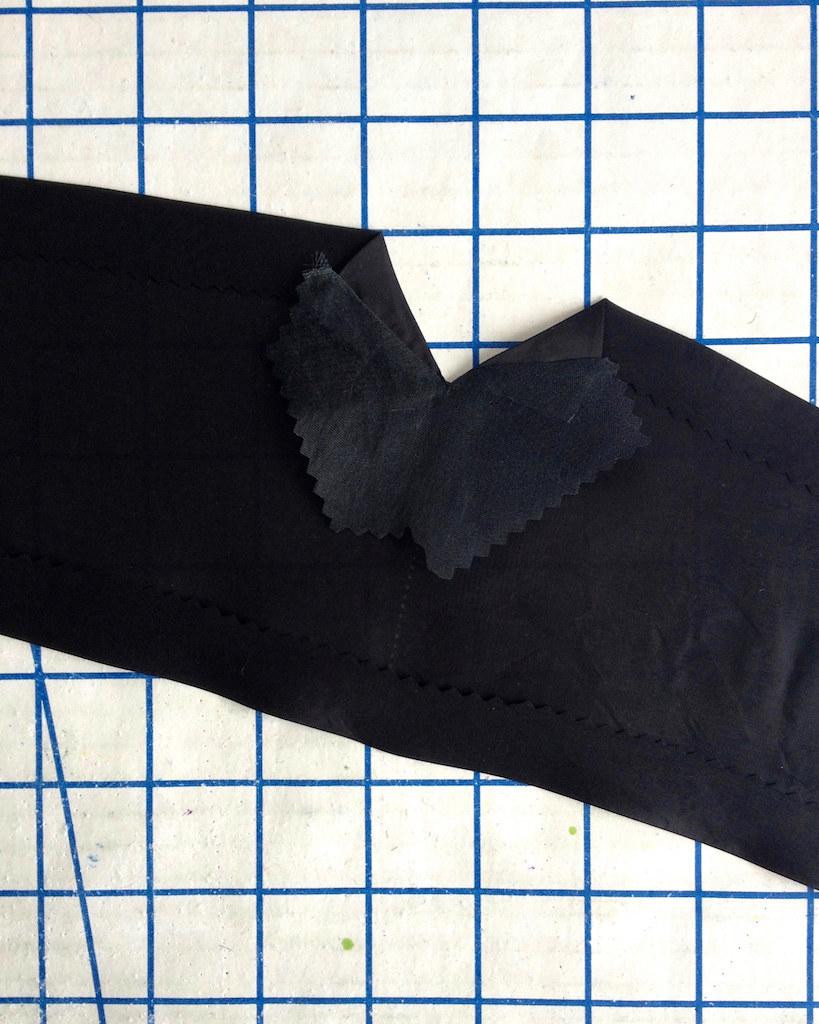
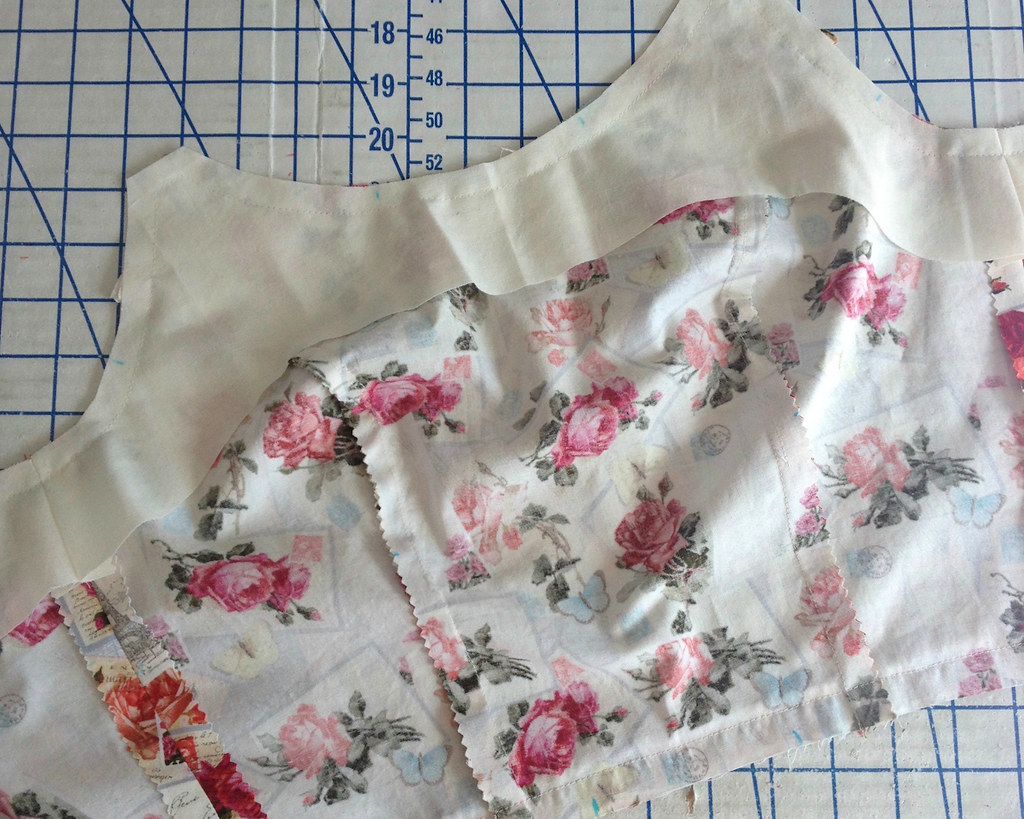
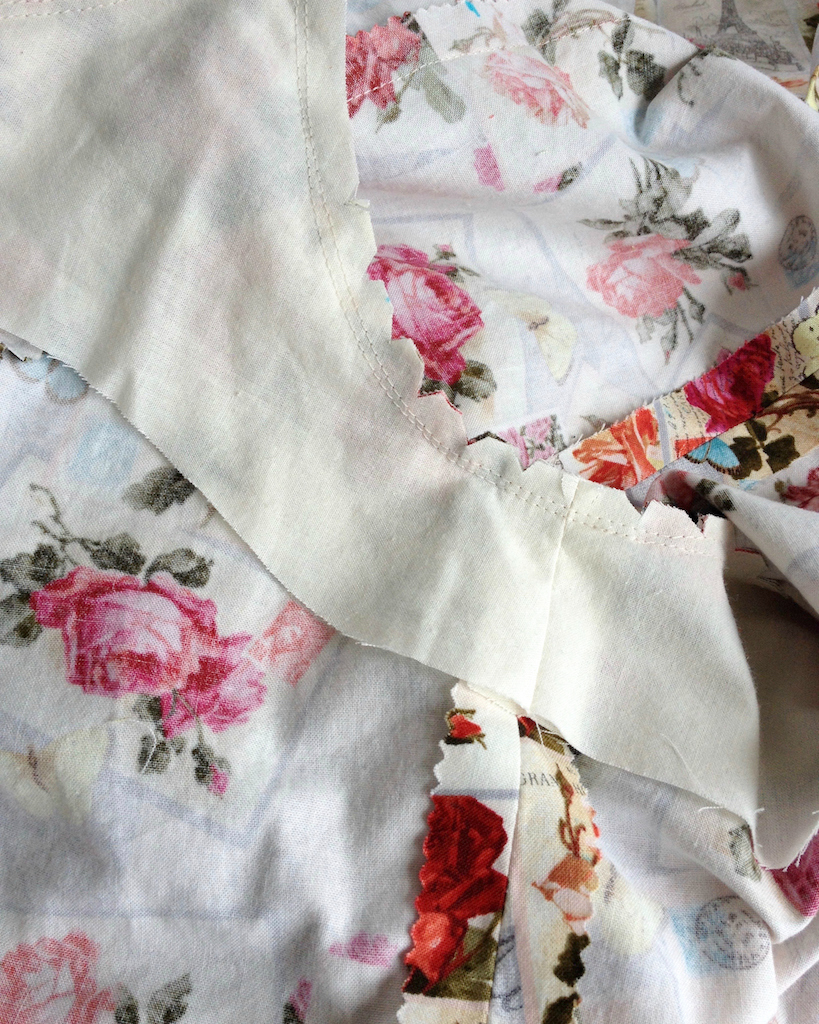
I decided to fully line the bodice, but I used the facing pieces as my interfacing pattern piece.


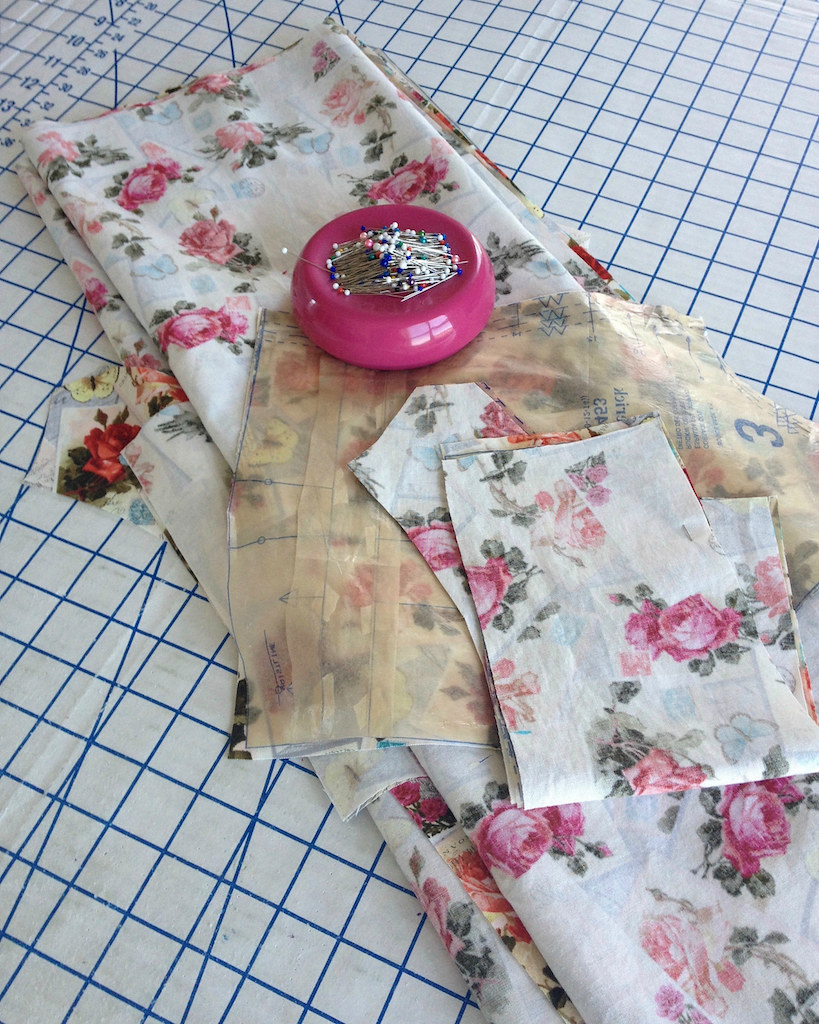
Each time I grab a solid colored fabric from the drawer and there are only scraps left, I get frustrated.  Why do I keep this stuff?!?  This time around, those small pieces came in handy, which is going to make it difficult to get rid of all of those tiny bits and bobs.


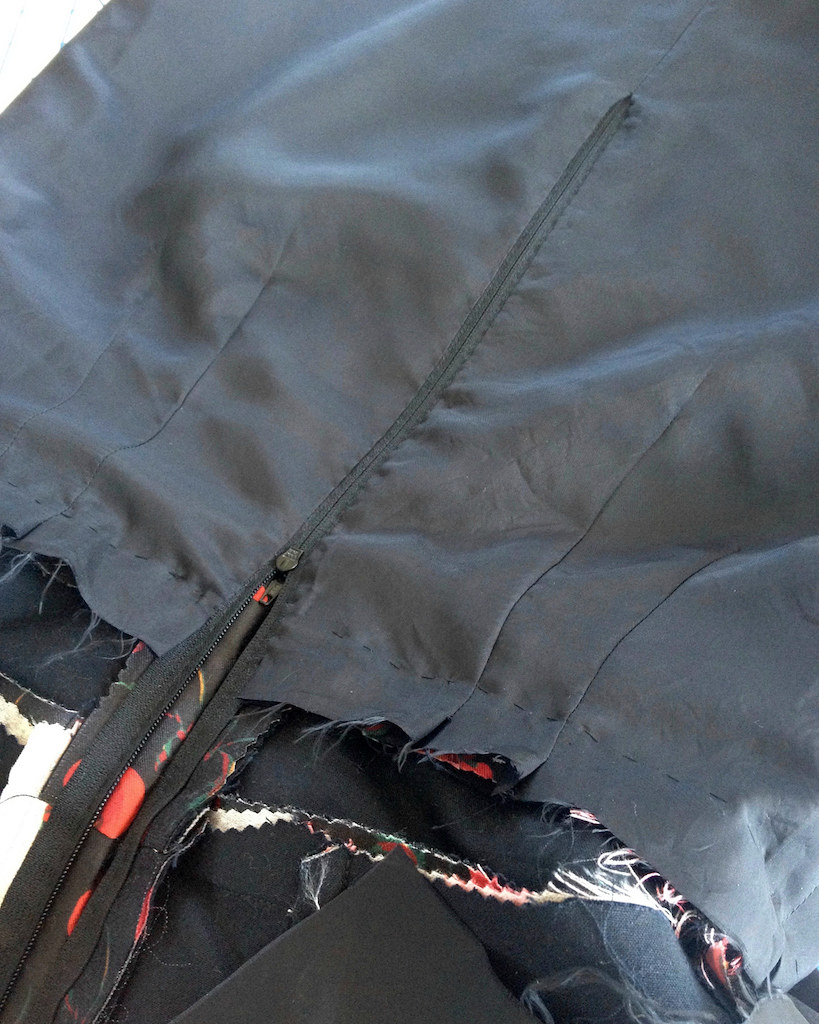
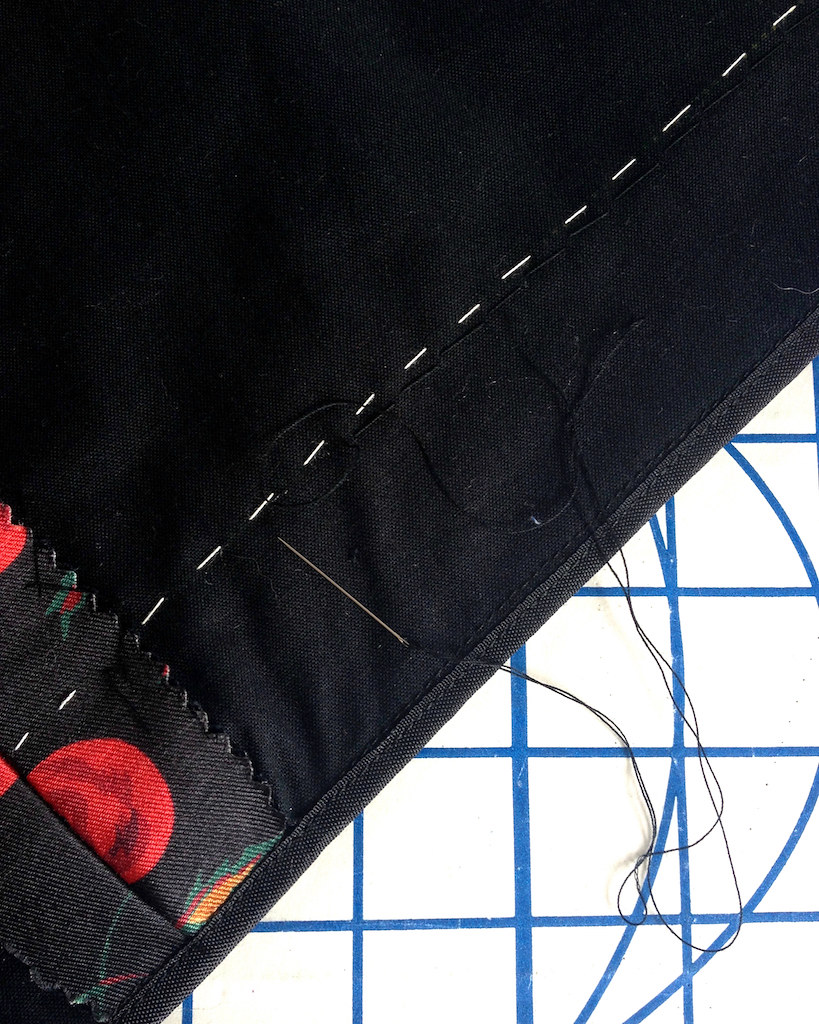
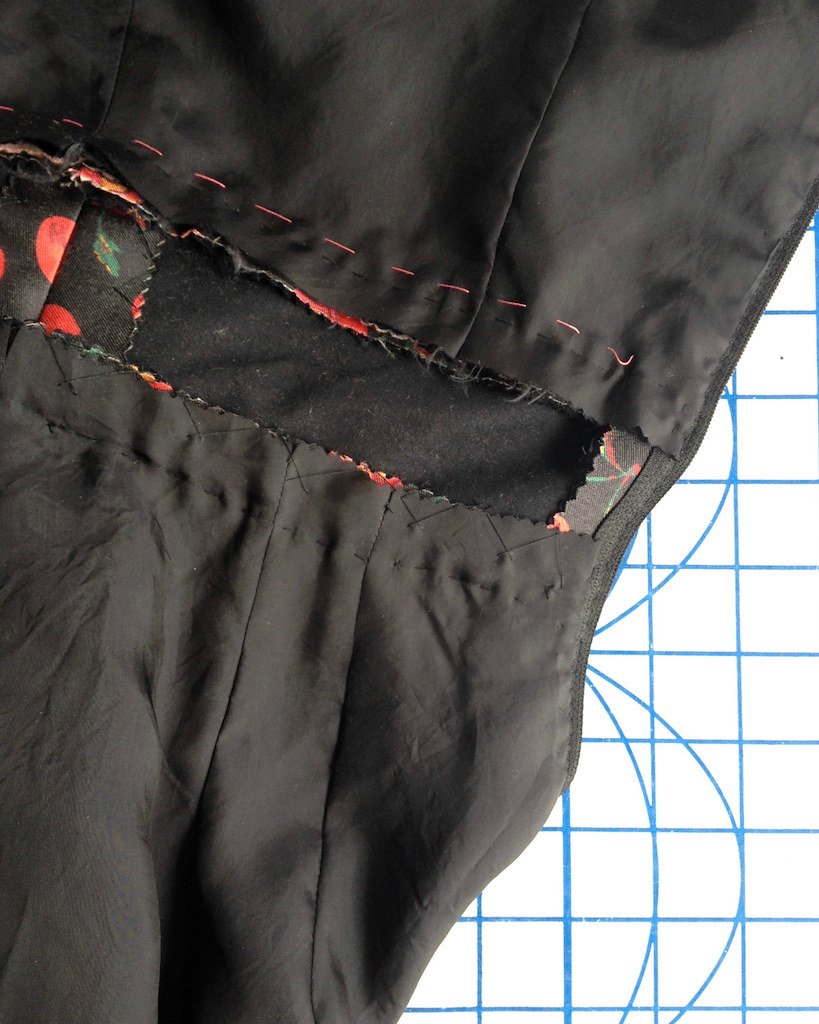
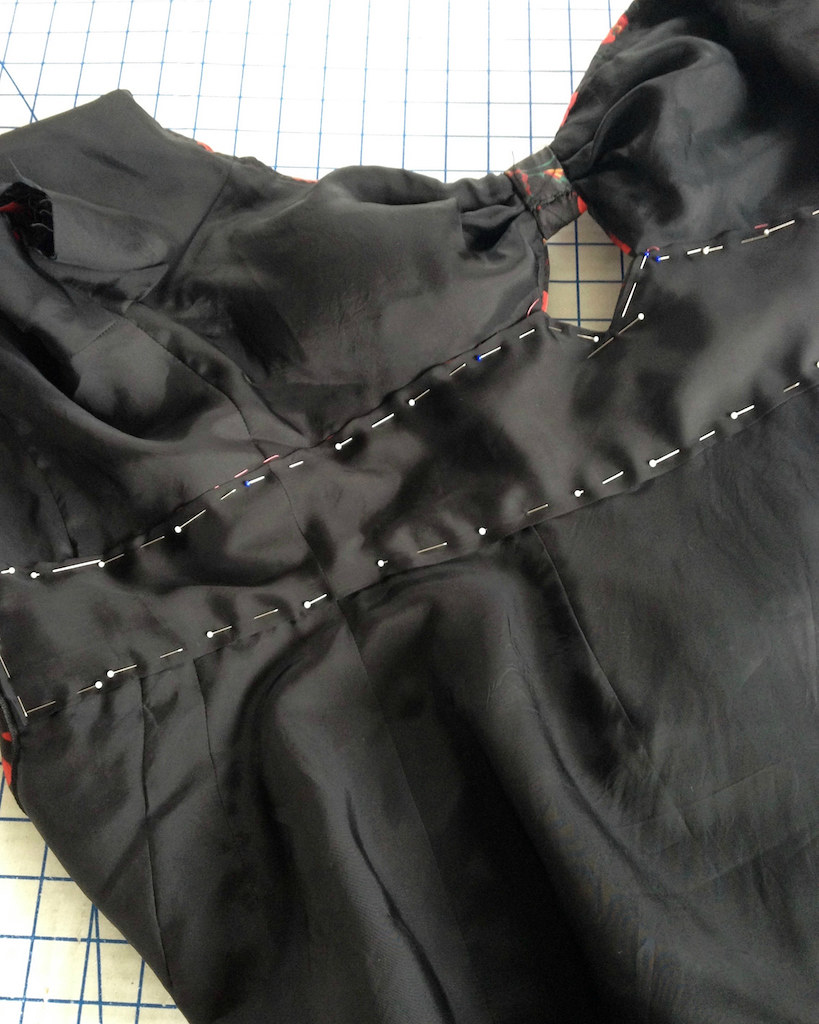
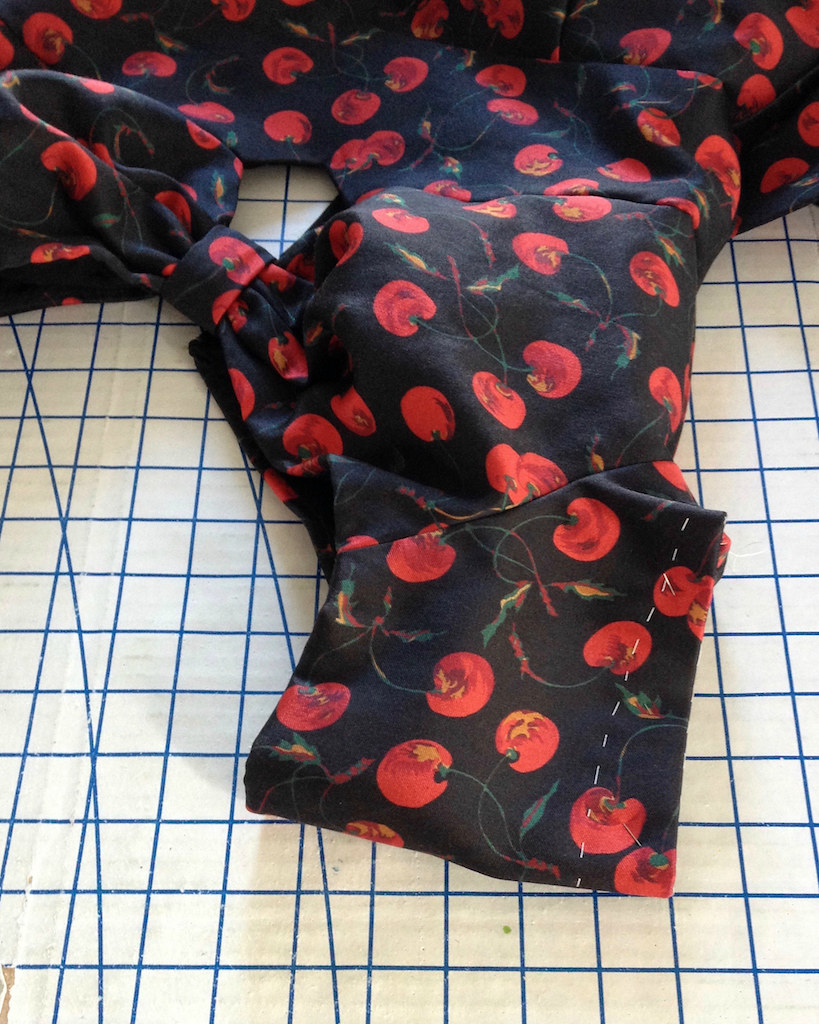
The upper edge of the lining pieces were pick-stitched.  I have gotten in the habit of doing this step by hand and I really prefer the look to the machine stitched version (big surprise, I know!).


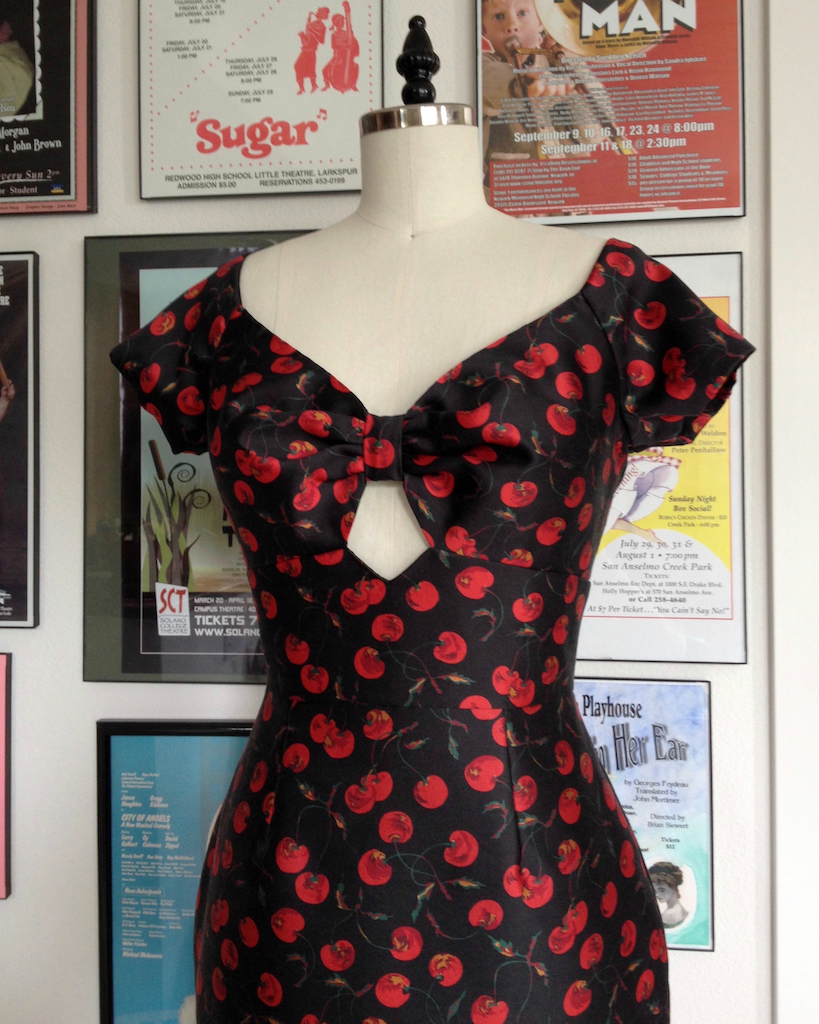
I also eliminated the adjustable portion of the straps that makes them look like bra straps.  I suppose this is a helpful feature in a store bought garment because of the adjustability, but it ends up looking tacky, in my opinion, and definitely not necessary when you are making a dress for a specific body.


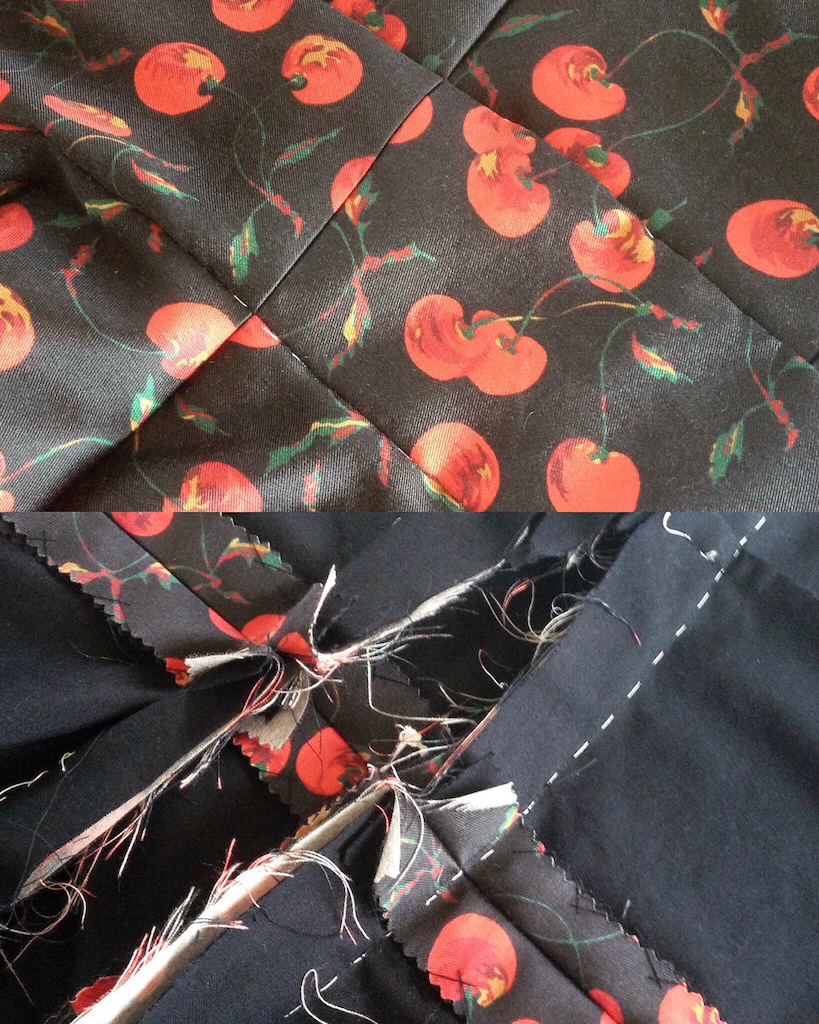
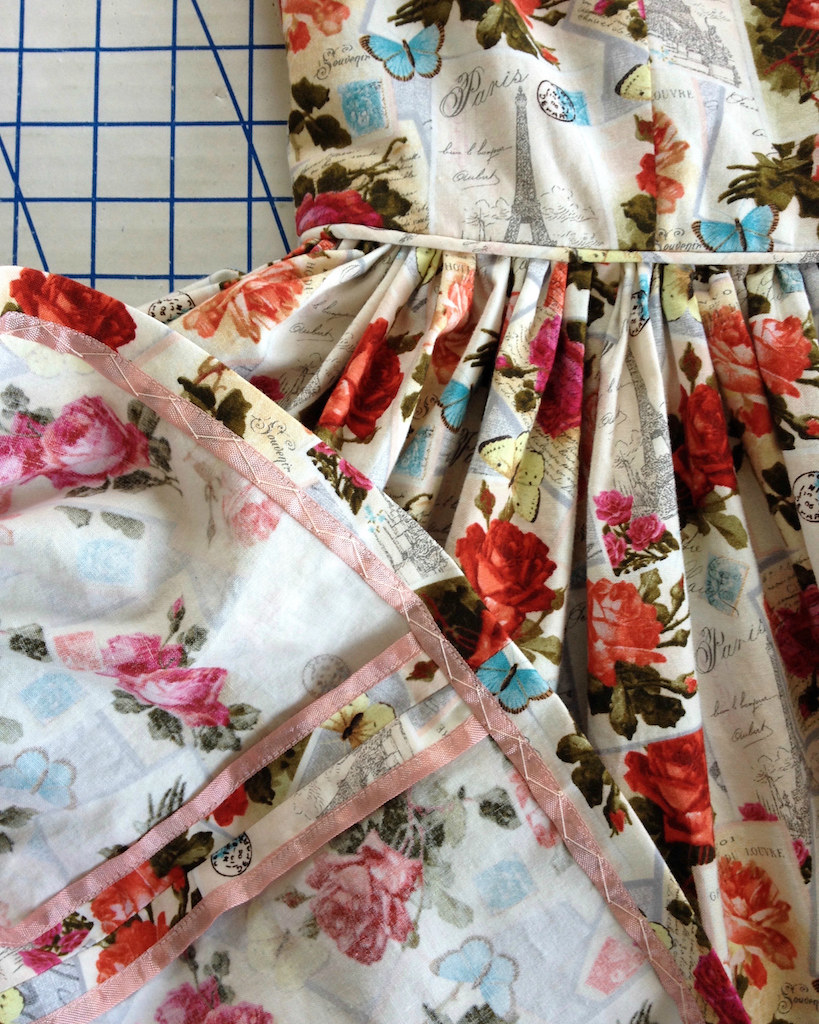
The seams were finished with rayon seam binding, and the hem was catch-stitched in place.


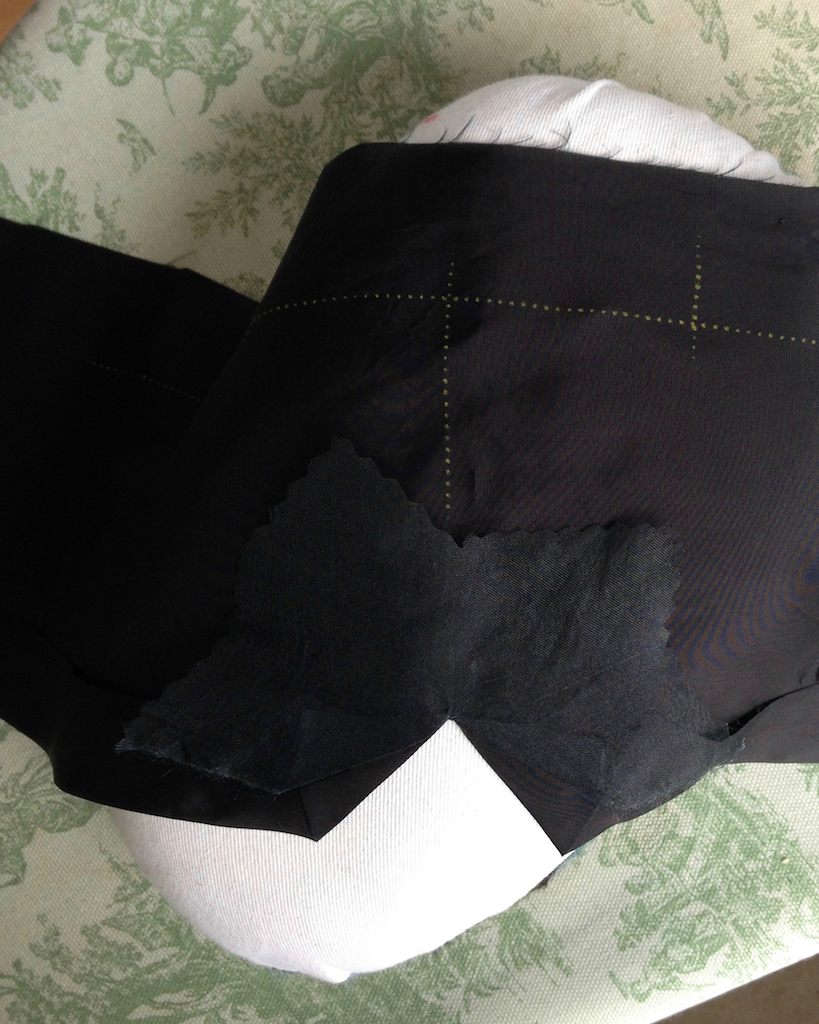
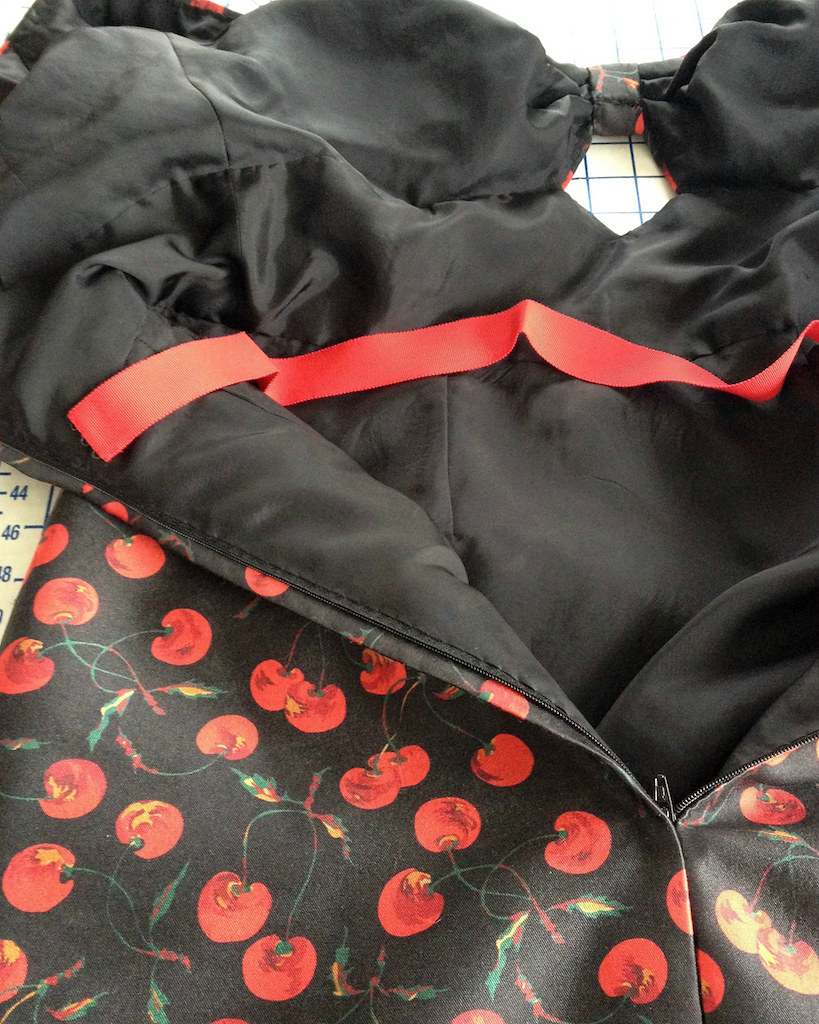
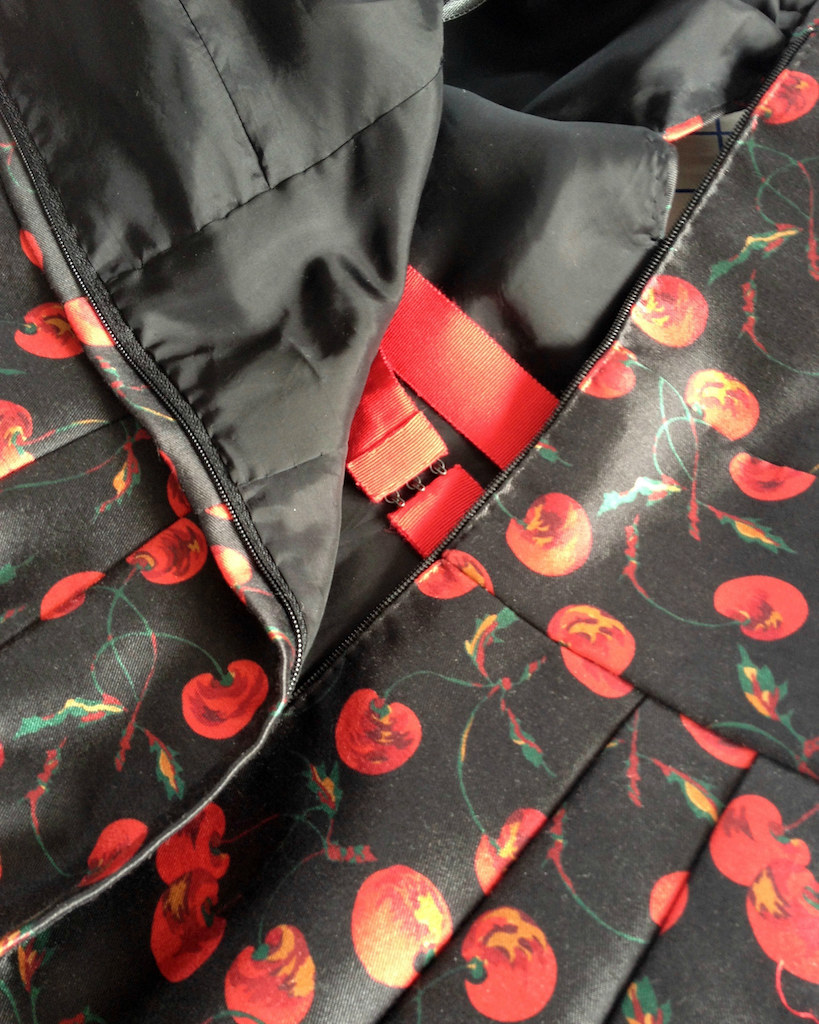
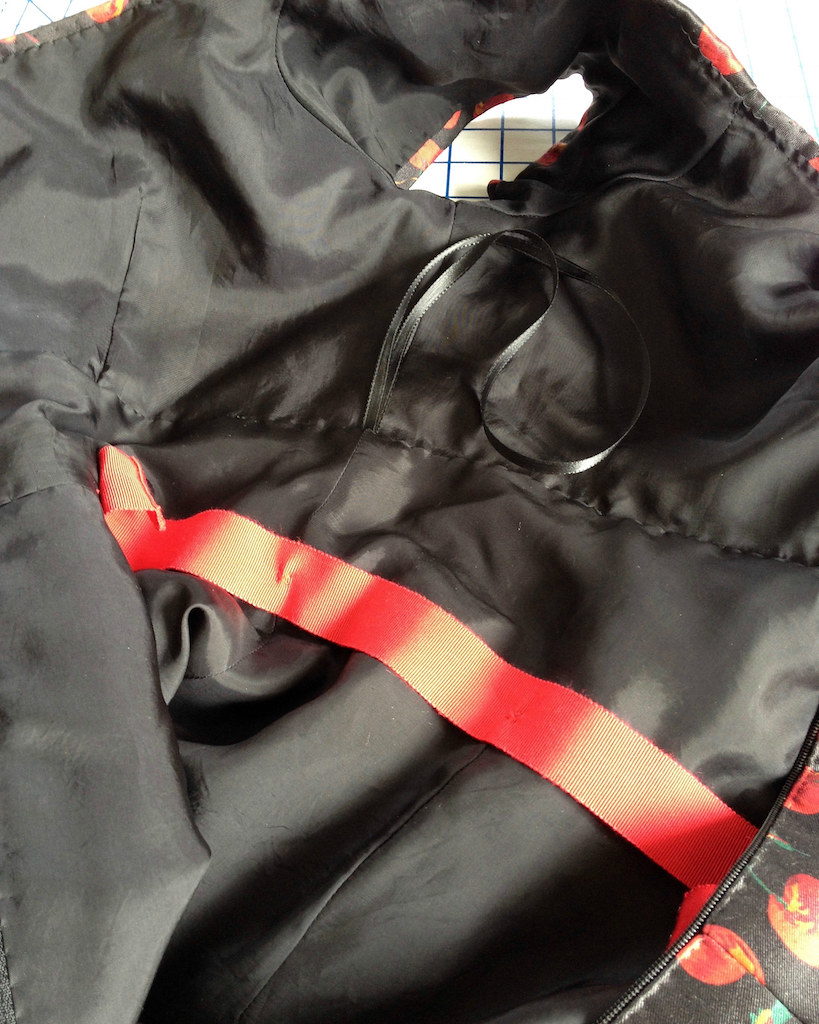
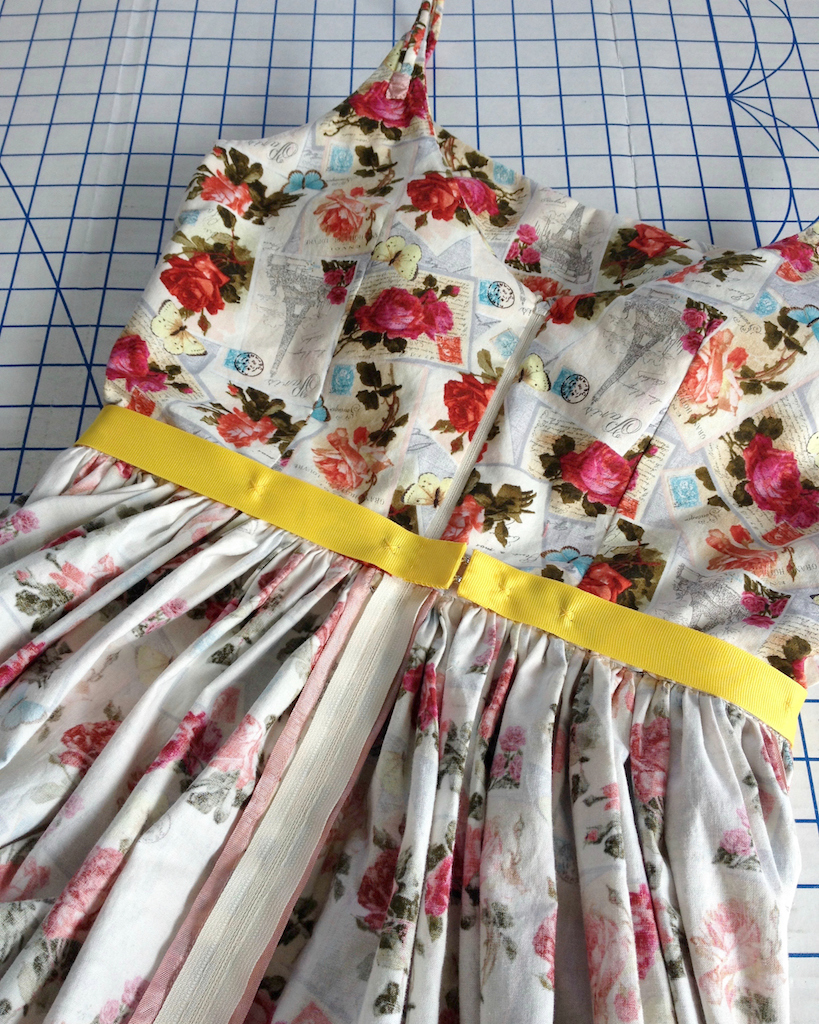
And while it was not really necessary, I added a waist stay.  I have yards and yards of this yellow grosgrain that was purchased for a specific project and I ended up not using it.  The color rarely works with anything I make, so I decided to go for a bit of high contrast here and use some of the stuff.


This pattern turned out a bit roomier than expected in the bodice for my standard size 12, but the dress has been worn more than any other garment this season, so I am going to call this one a complete success!

Wednesday, July 26, 2017

The Buying a House Blouse


Hello, everyone!  It’s been quite a while since I have posted anything.


The main reason for my online disappearance is the fact that I am now a homeowner!  That process has kept me rather busy, and the move, etc., has not left much time for sewing, let alone blogging.  I was actually without internet for a couple of weeks which was rather refreshing.


Of course, I wanted to make a new outfit for the occasion, but there was not a lot of free time prior to closing.  But I was determined!  


I have been wanting to make this blouse for years.  I often pull out scraps of fabric along with the pattern, hoping that I can squeeze out an entire garment, but it never has worked for me.  Until now!


The leftovers from this skirt and this dress were tucked away in a drawer, and while the dye lots do not match, I think I managed to make it work.  The neck tie was made with the leftovers from the skirt, and the rest of the blouse (which is a slightly more pigmented and heavier weight cotton) was cut from the remains of the dress.  There were quite a few people who thought that the look was actually a dress, so I guess the difference is not terribly obvious.


These photos were taken about an hour after signing all of the paperwork (in my old neighborhood).  I was exhausted, but very happy.


I really began looking in earnest over a year ago, so it was a huge relief to finally be done.


It has been quite an adventure, and my new living space is still not "finished," but Valentino and I are definitely settling in, and I am finally getting back into a routine - one that will definitely include many more sewing adventures!


Blouse:  Made by me, Butterick 4985
Skirt:  Made by me, Butterick 4792
Shoes:  Born "Kharen"

Monday, June 5, 2017

Construction Notes


I am still trying to play catch up with all of my sewing projects.


This is my second version of Butterick 6413.  The beginning of the construction process is detailed here.


I decided to go all out with the leftovers of this very special silk/wool from my New York trip a few years back which was used for my 2014 Gala Gown.


Of course, a hand-picked lapped zipper was the obvious choice.  With the underlining and the heft of the fabric, I was not going to chance another invisible zipper snafu.


And there is always one seam that does not want to play nice and match up.  I won the battle, though.  


I did alter the construction quite a bit from the original pattern directions.  I don't mind the hand sewing, and adding the lining piece by piece gave me a lot more control over the neckline and midriff opening.


The only real design change I made was adding a gusset to the center back seam.  I have mentioned before that I am not a fan of a center back slit.  They always wrinkle in odd ways and end up splayed open when you walk, or worse still, ripped all the way up the back to the zipper.  (We have all seen that person walking on the street who has no idea that her center back slit has decided to go for broke - I would rather that wasn't me.)


I think this is a much nicer way to go, and it adds a nice swish to the skirt silhouette.


I would have preferred a slightly larger wedge of fabric, but I was working with scraps, and this was the best I could do.


For the midriff opening, I used organza scraps and this technique to protect those points.


And, of course, the skirt was lined.  Got to cover up all those catch-stitches!


So far, so good!


As I mentioned before, this dress does not have an easy bra solution, so I added a pair of sew-in cups.  They do not need a whole lot of securing, just a few catch-stitches where there is some seam allowance available for tacking.


The most challenging part of that was making sure the placement was correct and then keeping the darn things stationary while I stitched them in.


I really wish that I had a larger hem allowance to work with, but I shouldn't be complaining - there was barely enough fabric to get the dress cut, so here is where I had to compromise.


I like to catch the underlining to the fashion fabric just inside the hem so the two layers will not shift over time.


And the final bit of business was hand stitching the midriff lining in place.


So many raw edges to cover.  Actually, I ended up pinking those bits so the raw edges were not nearly as messy as this picture!


It may be a bit much, but I reinforced the midriff cutout on the lining piece.  Might as well take the extra five minutes, right?!


I also catch-stitched the seam allowances to my underlining throughout the piece.


There is a lot of hand sewing in this dress!  


Which, let's be honest, is my favorite part.


Fully lined, and almost ready to wear . . .


Almost there, I promise!


I was out of black grosgrain ribbon, but I did have this red petersham from Britex which I thought was a fun surprise on the inside of the garment.


A couple of ribbon hangers . . .


and some sleeve hemming (with very little hem allowance to spare!) . . .


and a thread tack or two . . .


and we are finished!!