Sunday, March 31, 2013

Spring Colors


In the Bay Area, warm weather generally shows up rather early in the year as a tease, only to disappear into a gray and rainy Spring.


As soon as the sunshine appears, I love to begin cutting into pastels and sewing up sun dresses, even though it might be February and I know that the cold and rain is bound to show up once again.  This year, however, I keep choosing projects with a decidedly Fall color palette.  I cannot say why, but it keeps happening.


And once again, that wool sheath and matching coat project that I have been meaning to tackle for YEARS is going to have to wait for the seasons to change.  The fabric, lining, zipper, and everything else needed is in the sewing room, but somehow, the darn thing never gets started.  Still, I cannot make myself work on yet another cold weather dress.


So I have finally turned the corner. 


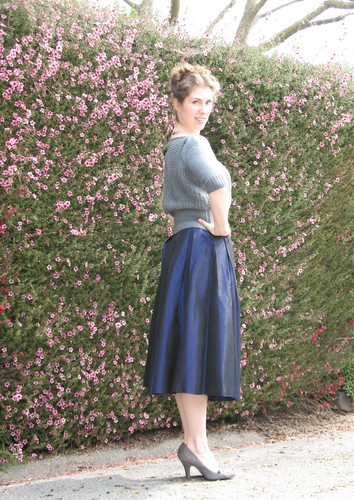
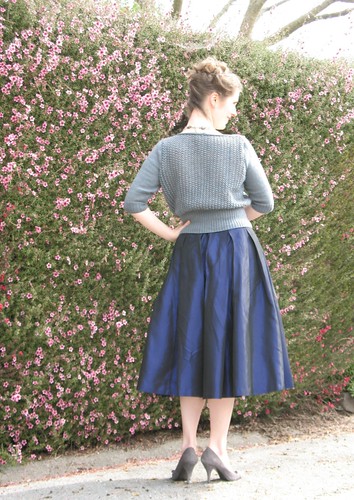
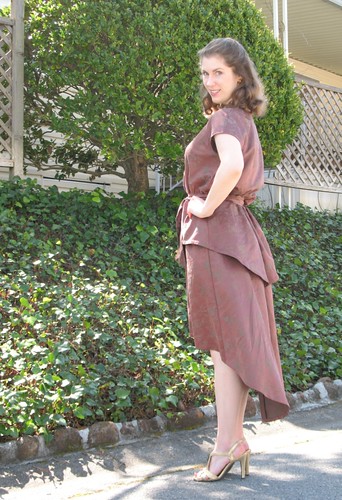
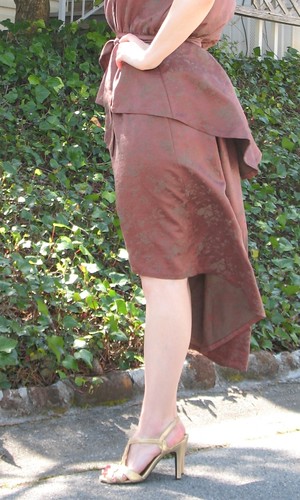
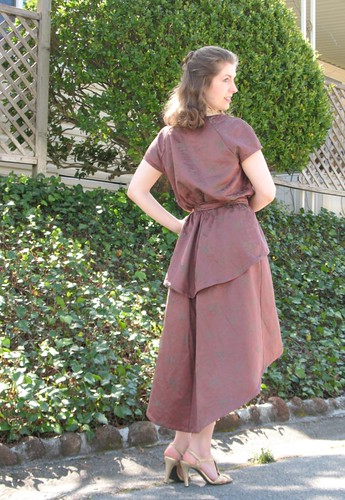
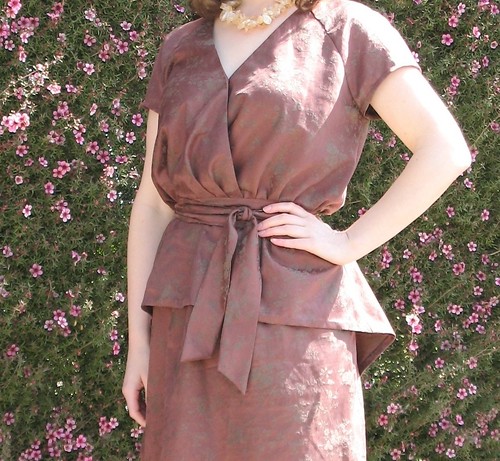
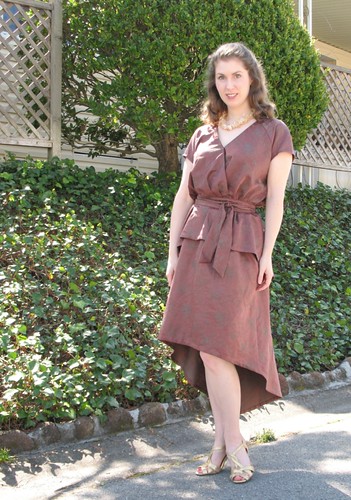
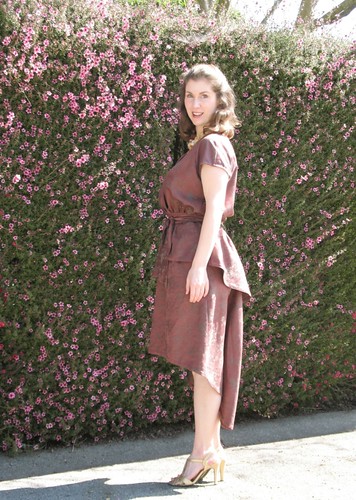
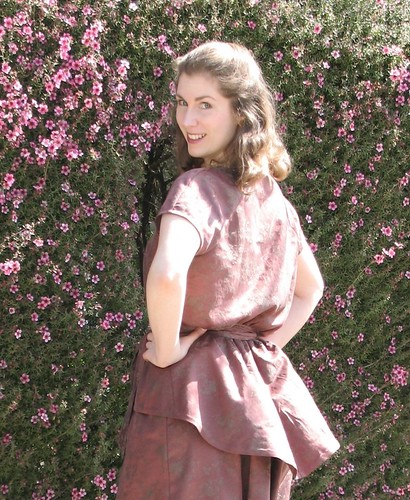
This upholstery fabric was originally intended as a slip cover for a chair.  Well, that project never happened, although I have used some of the yardage as small home décor and craft projects, here and there.  What remained sat in the corner, on its roll.  


At some point, I came across this image of Dita von Teese, and immediately knew that a dress was going to be the perfect thing to use up some of that upholstery fabric.  


Dita's dress is more 18th century with the flat front corseted look and pannier silhouette (which may or may not have been a 
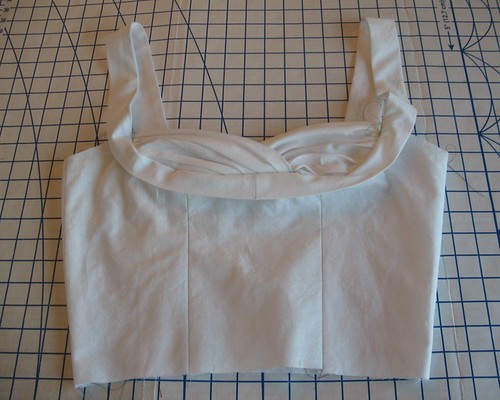
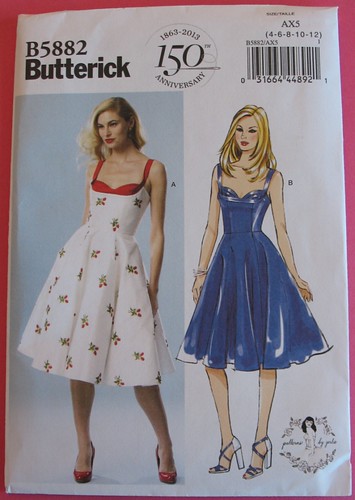
part of the original design when I look at that hemline) than Gertie’s new shelf bust dress pattern with its 1950s style, but I love it!  That being said, if anyone has an old Vivienne Westwood design just laying around and in need of a new home, please feel free to send it on over!


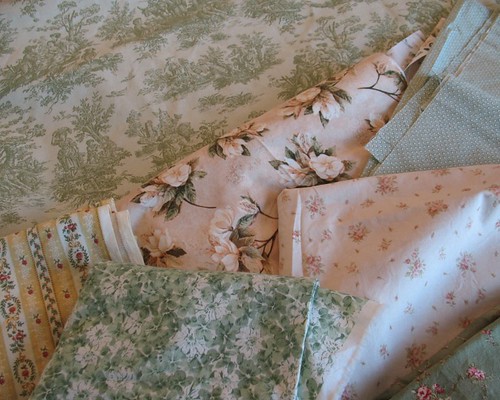
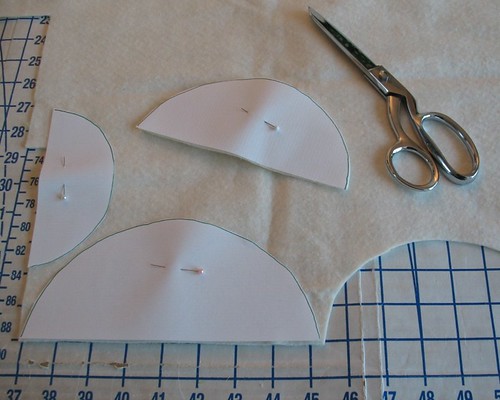
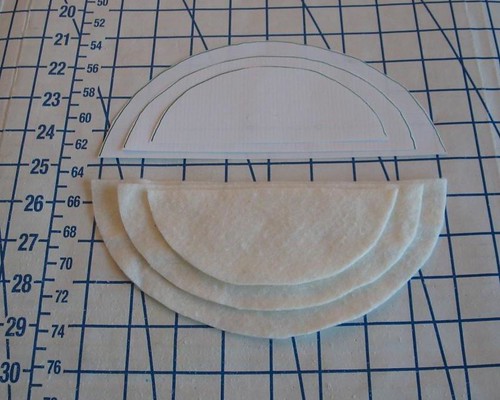
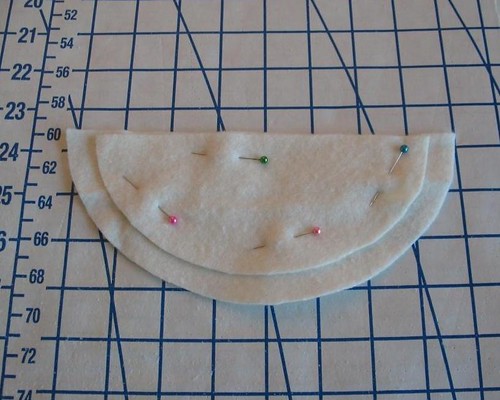
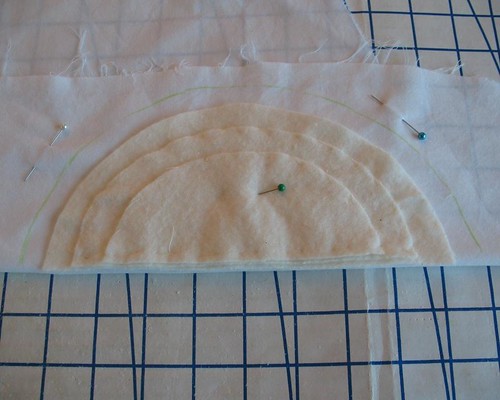
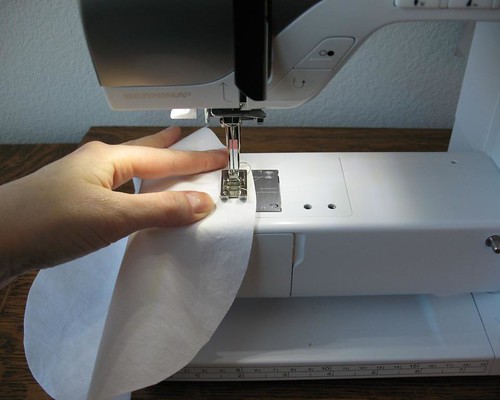
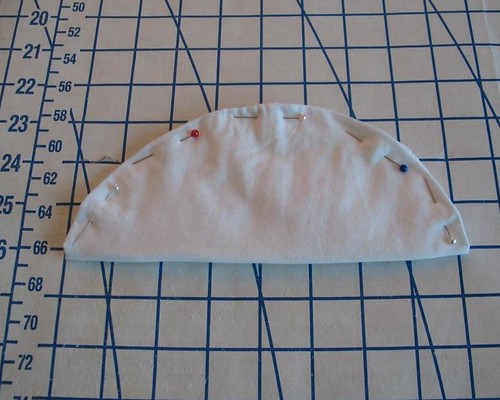
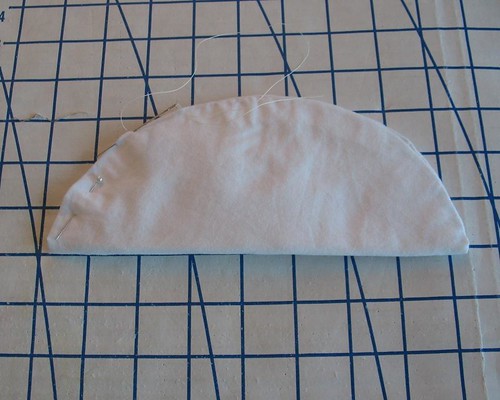
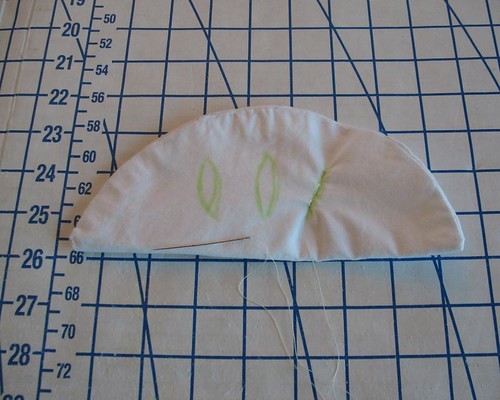
My first thought was to use some contrasting cotton for the pleated bust inserts and another print for the straps.  Goodness knows I have enough quilting cotton remnants that would have worked beautifully.  But on second thought, the additional prints made me think of a quilt (gee, I wonder why . . .) - which is lovely, but not the look I am going for.


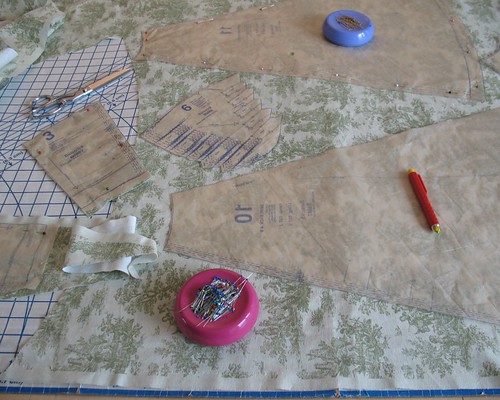
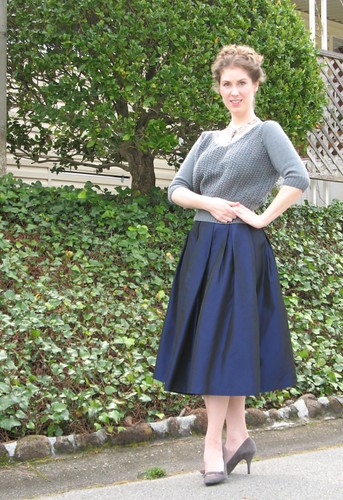
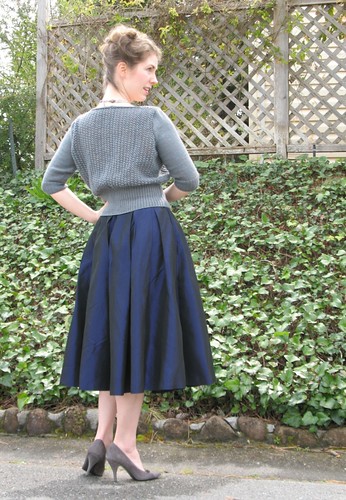
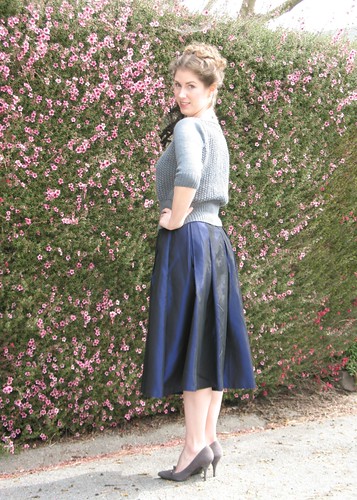
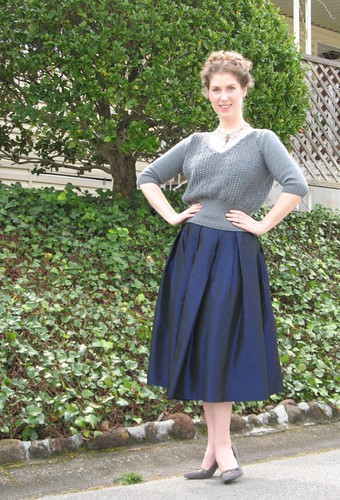
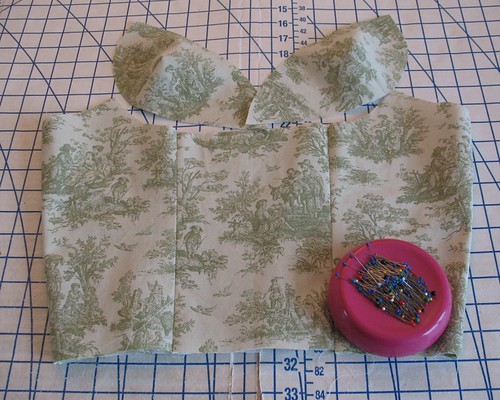
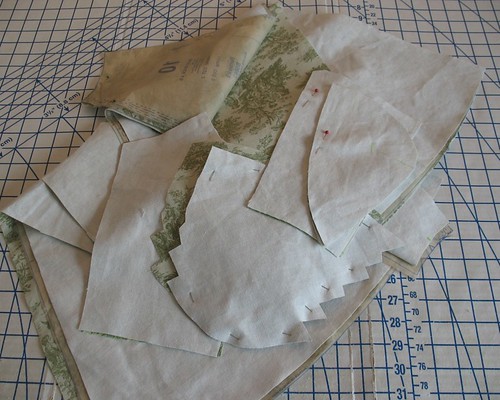
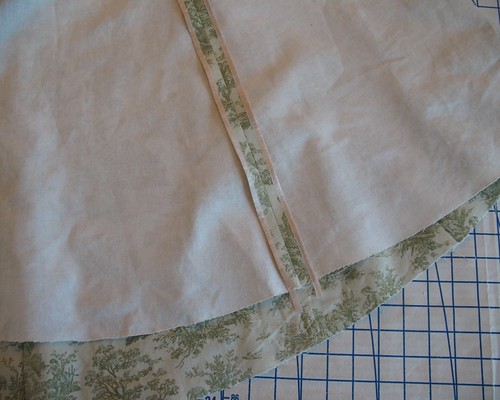
Turns out, I just scraped by with the yardage.  I guess it was meant to be!  And while the design does not lend itself to pattern matching, those large skirt pieces made any attempt futile.  One less thing to worry about, right?!  But as I am putting the dress together, I quite like how the mismatched toile motifs look.


We shall see how it all turns out . . .

Saturday, March 30, 2013

A Classic V-Neck


I finally finished my Trillium sweater!


Next, of course, I had to find something to wear with it.  This taffeta skirt does not get much wear, so I thought I would pull it out of the closet.


Trillium is a really pleasant knit.  The stitch pattern is easy, but with enough texture that did not bore me to death as I was knitting away.  As much as I love a brainless stockinette or rib stitch (the perfect project while watching a movie) they do get a bit boring after a while.


And I am quite sure that I will be using this pattern again!


Last year's sewing was incredibly prolific, and I have been feeling rather lazy in comparison these last few months.  But I am spending much more time with my knitting needles, so although the finished projects are not coming as often, I am enjoying the process.  Which is, perhaps, more important than new dresses!


Sweater:  Made by me, “Trillium” from Rowan Knitting Magazine
Skirt:  Made by me, McCalls 3315
Necklace:  Shadows
Shoes:  Banana Republic

Tuesday, March 26, 2013

Hatiquette: The Conduct to be Observed in Hat Wearing


These days, an actual requirement to don a hat is extremely rare.  Which is a shame, because I think they really do add to an outfit.  

Last year, I was contacted about my thoughts on hat etiquette.  And today I received a link to the finished product.  If you would like to take a look, click on over to Fedoras.com.


I think they did a wonderful job putting this together.


The lovely Jessica of Chronically Vintage also gives her ideas on the wearing of hats - I just love seeing a familiar face, as it were!


I certainly do not profess to be an expert on the subject of hat etiquette, but I do enjoy wearing them every now and then.


Generally, if they are a part of the ensemble and pinned into a hairstyle, they remain on the head both indoors and out.


And I do believe that if you are comfortable with wearing a hat, go ahead and wear the darn thing.  If you truly own the look, I don’t think anyone will second guess the adornment, whether inside or out!


When is the last time you wore a hat?

[Click on image for link]

Sunday, March 24, 2013

Modern Madness


This past week I was in desperate need of a simple project.  And Vogue 8870 was just the ticket.  They are not kidding when they say "Very Easy Vogue!" 


If the pattern illustrations were all I had to go on, I never would have purchased this pattern.  (And how many vintage patterns have I grabbed just for the sketch on the envelope?! - what a difference a few decades can make.)  But despite the unfortunate fabric design placement on Vogue's version, the drapey fabric looked infinitely better than the pattern envelope, so I just knew there was hope for this design.  


Because of the high low skirt design, I felt that a fabric that was not somewhat reversible was going to look odd.  And this silk/cotton fabric immediately came to mind.  


I had some of it leftover from this project.  I am assuming that the yardage was meant to be a very large sheet but ended up in the remnant pile at the Bella Notte warehouse.  I was unsure that it was going to be enough for the first dress, and here is my second!  When fabric is super wide, I have no idea how much I have.  Turns out, I had quite a bit!  There are still some bits left, although I have doubts that I will squeeze another garment out of what remains.


Of course, I could not leave well enough alone, and made things a bit more complicated by adding a peplum!    With a few folds of the pattern tissue, a chalk marker, and a French curve, I was in business!  And of course, it needed a self-fabric belt.


I also decided that I wanted to add a bit of length to the front skirt piece, and make the back skirt stop somewhere between View A & B.


There is a whole lot of ease in this dress, except for the shoulders.  A snap was added to the neckline to keep it from pulling open.  I do not have broad shoulders, but have come across this issue before with elastic waist surplice necklines.


Overall, I am very pleased with this dress, even though it is not my normal style.  It is extremely comfortable, and will be an excellent garment to wear in warm weather.  Something about the cut of the skirt is very breezy, and silk/cotton blend is just delicious! 


Dress& Belt:  Made by me, Vogue 8870
Necklace:  Farmers Market
Earrings:  Kate Spade
Shoes:  BP for Nordstrom

Thursday, March 21, 2013

Shoulder Pads are not the Enemy: A Tutorial


In fact, they are often there for a reason!  Shoulder pads are an easy way to balance out a silhouette.  And there is no need to look like a character from Dynasty.  The idea is to extend the shoulder line, which, by the way, will make the hips appear narrower!


There are certainly body types that do not require much in the way of padding at the shoulder line – and you probably know who you are!  But if your bra straps are forever sliding off, then a bit of batting can make a world of difference.  And it would be hard to find a tailored jacket that does not include some kind of shoulder pad or structure through the shoulder area.

SUPPLIES:
Paper (to draft your preferred shoulder pad shape)
Cotton Quilting Batting
Thread
Chalk or Fabric Pen
Lining Material (to cover finished pad)

Many shoulder pads are shaped as half of an ellipse.  I have seen quite a few triangular shaped pads in vintage patterns, but the pointed edges can create a problem with lighter-weight fabrics.  And, of course, dolman sleeves require another shape entirely.  Next time you are in the notions aisle, take a look at the variety of shoulder pads.  Finding what works for you and for your particular project is a matter of trial and error.


I use cotton quilting batting to make my shoulder pads.  You can certainly purchase them, but I find that they are often oversized and poofy and made of synthetics that do not shape properly. 


The diameter can vary, but I like to use pads that are anywhere from 8.5 to 10 inches.  It should be wide enough so that the edges fall over the shoulder enough so they do not jut out at the edges.


To build thickness, concentric arcs are layered one on top of the next.  


My personal preference is a single half circle/ellipse.  But if you want to add a bit more oomph, you can cut a full circle/ellipse and fold it in half after any interior layers are sewn into place.


Of course, the pad needs a covering.  Generally, I use my lining fabric, but any light-weight fabric will do.


Lay the cotton batting on a folded piece of lining fabric, and, adding seam allowance, draw in the cutting line.


I like to run a line of basting at the seam allowance and pull up the threads to make it easier to press the raw edges under.


Next, the batting is place inside the lining, folded in half, and stitched along the outer edges.


For even more shaping, take up a few darts on the underside of the should pad (this step is optional).


If your shoulder pads turn out to be too thick for the garment, run multiple rows of stitching through the pad following the arc.  This will compress the loft a bit.


If you are concerned that adding shoulder pads will make you look like a linebacker, a rectangular sleeve head made of batting can be substituted.  This extends the shoulder line, but will not add thickness.  This works particularly well with lighter weight fabrics.


Whatever shape you choose, the finished shoulder pad is hand stitched to the armscye seam after pinning to the garment to check placement.  I like to draw a line in chalk or with a fabric pen at the center of the pad to match back to the shoulder seam.  This may or may not end up being the final placement – make sure to pin it in place and try on your finished garment to find the best placement.

I hope you try adding a pair of shoulder pads to your next garment!  They really can change the silhouette, often for the better!

[This post is sponsored by Britex Fabrics.]