
Now comes the actual dress construction!
Foundation garments are great, but without an actual dress,
I still have nothing to wear.
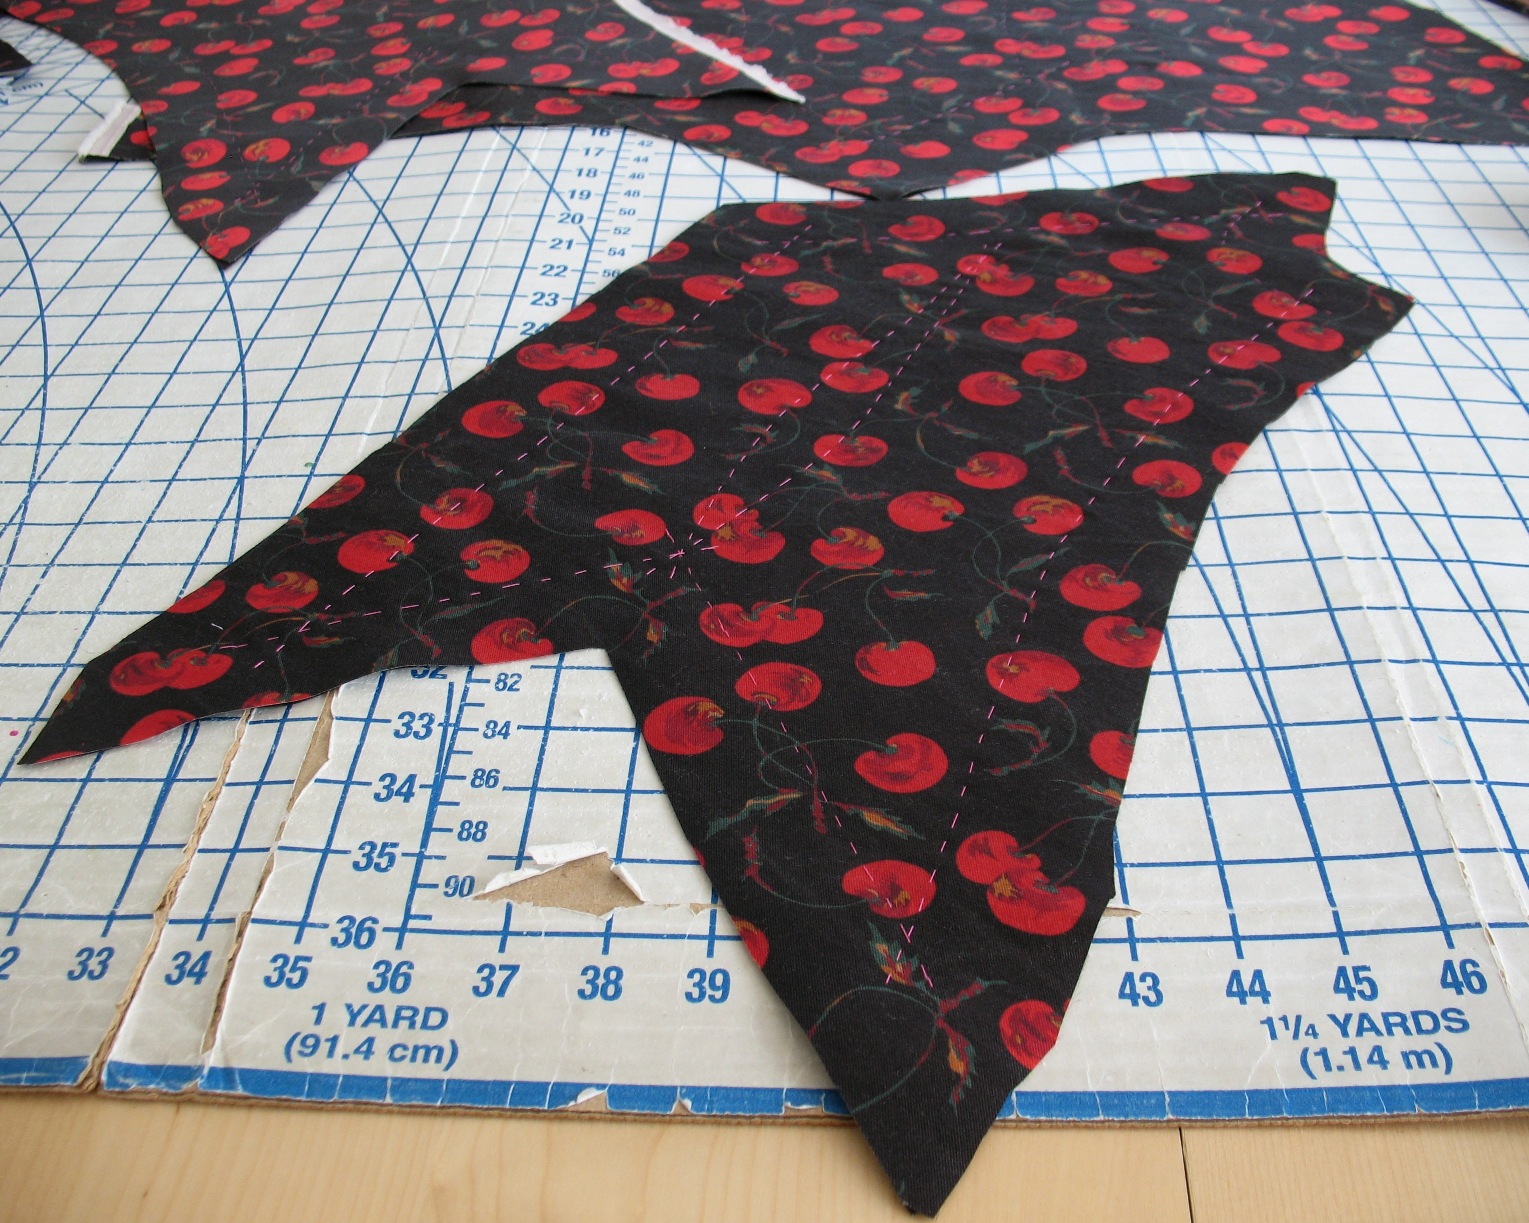
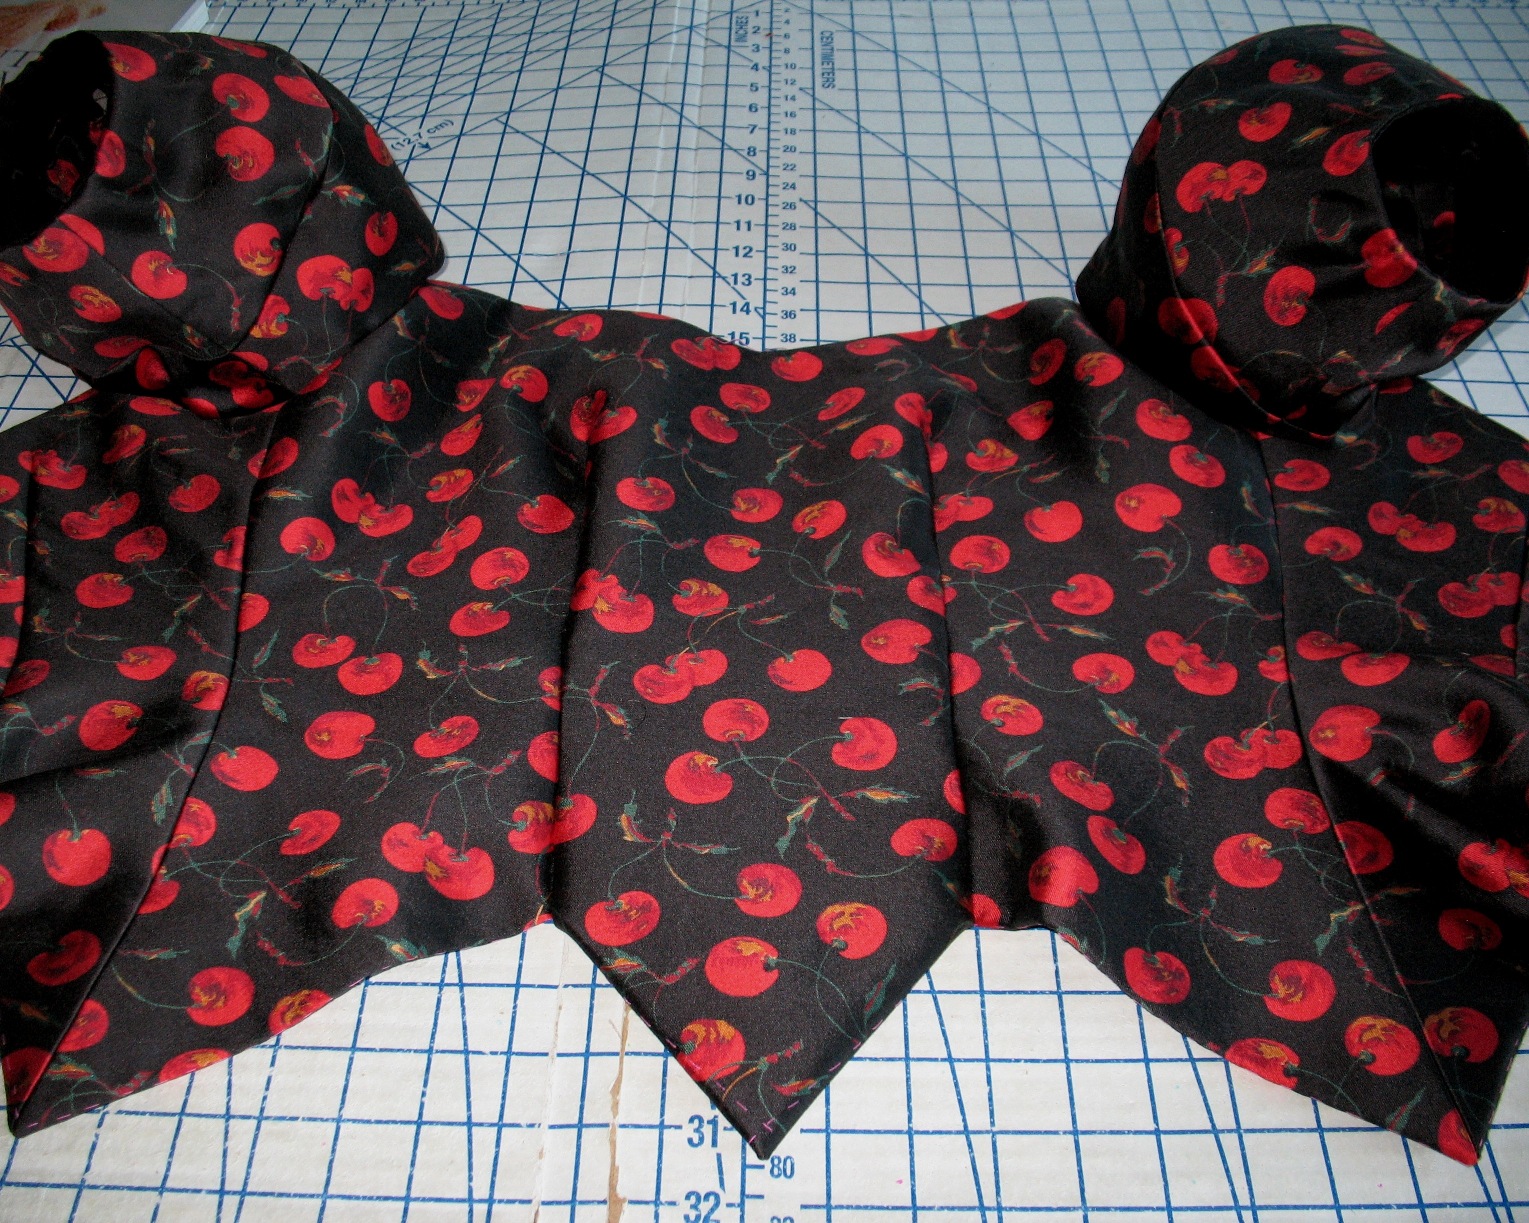
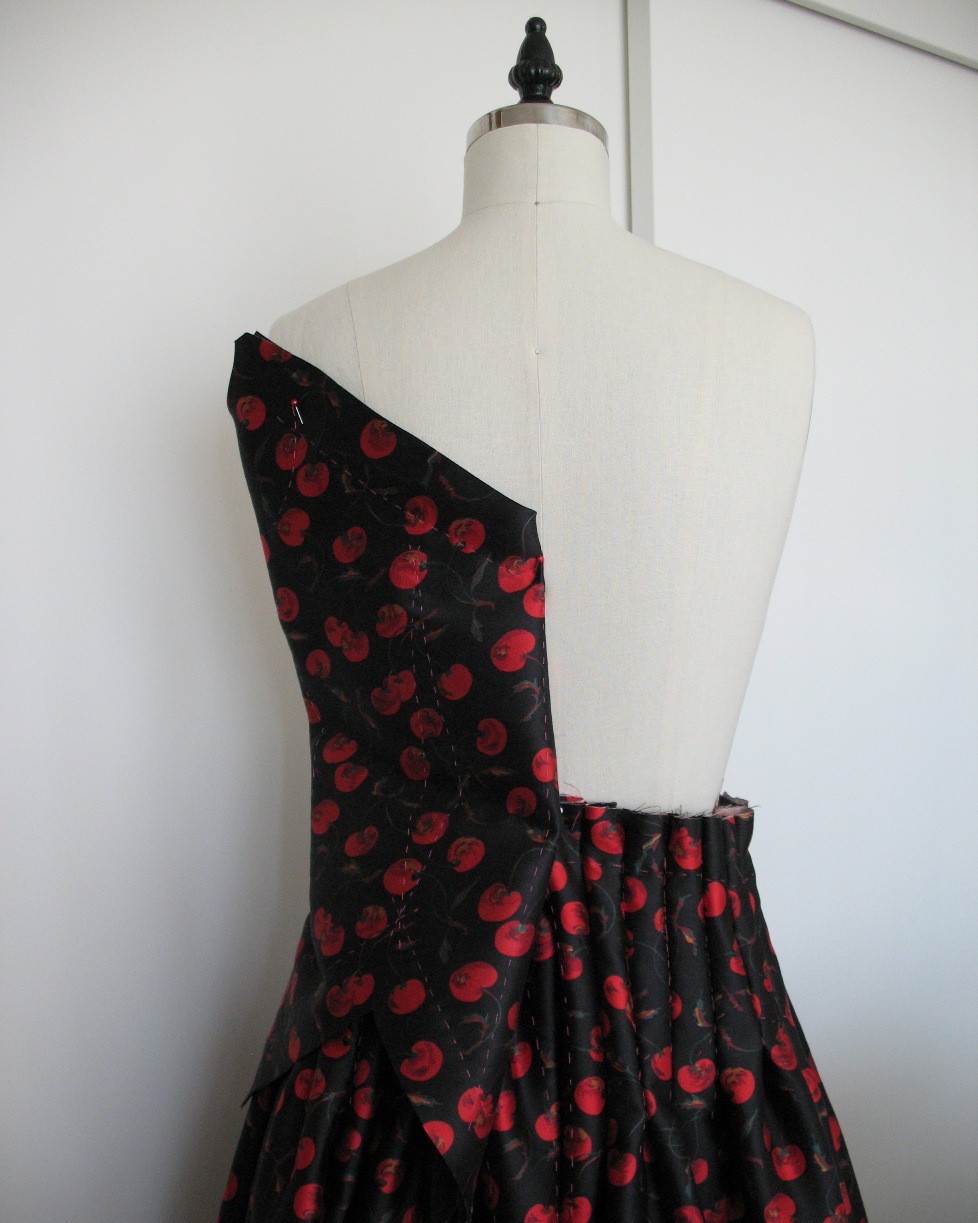
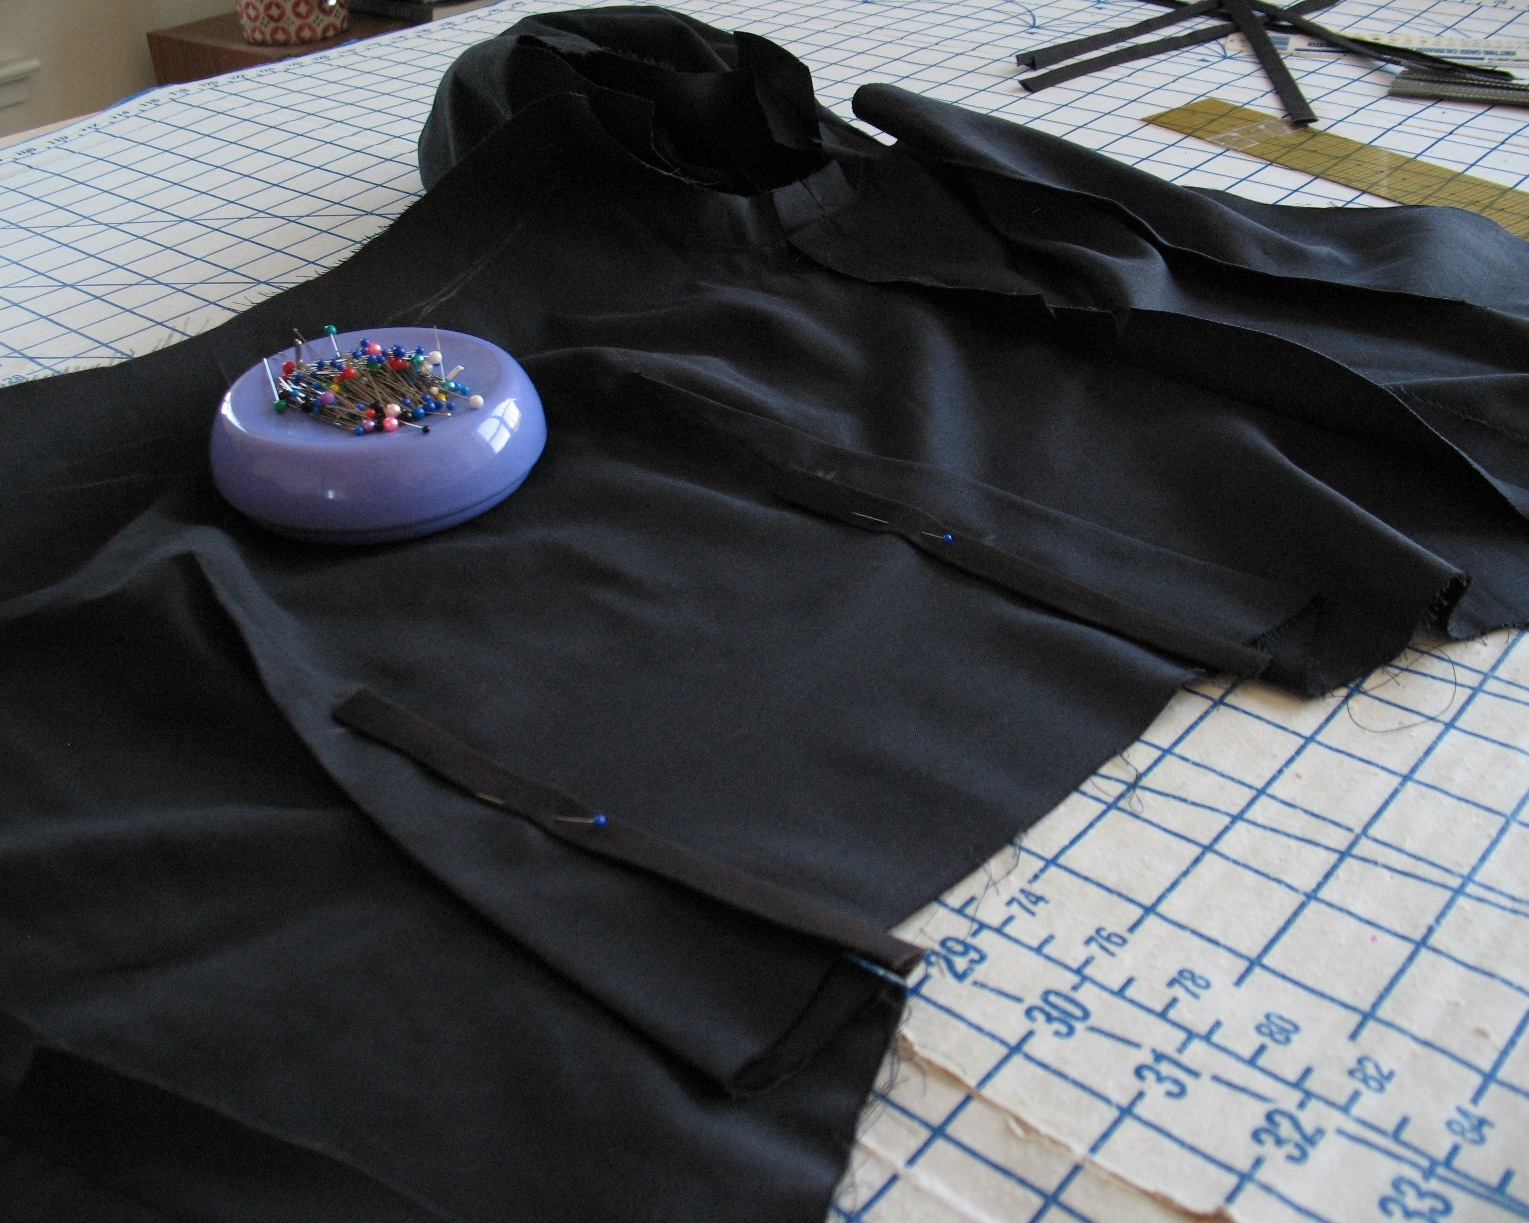
As with the corselette, I traced my pattern pieces onto a black cotton underlining before sandwiching it to my cherry print fabric with lines of thread tracing.
In many ways, putting the front and back bodice pieces
together was the easy part. Even without
directions, the construction is pretty basic.
Stitch the darts, then side seams, attach it to the skirt, and voila . .
. you have a dress. But I had to go and complicate things.
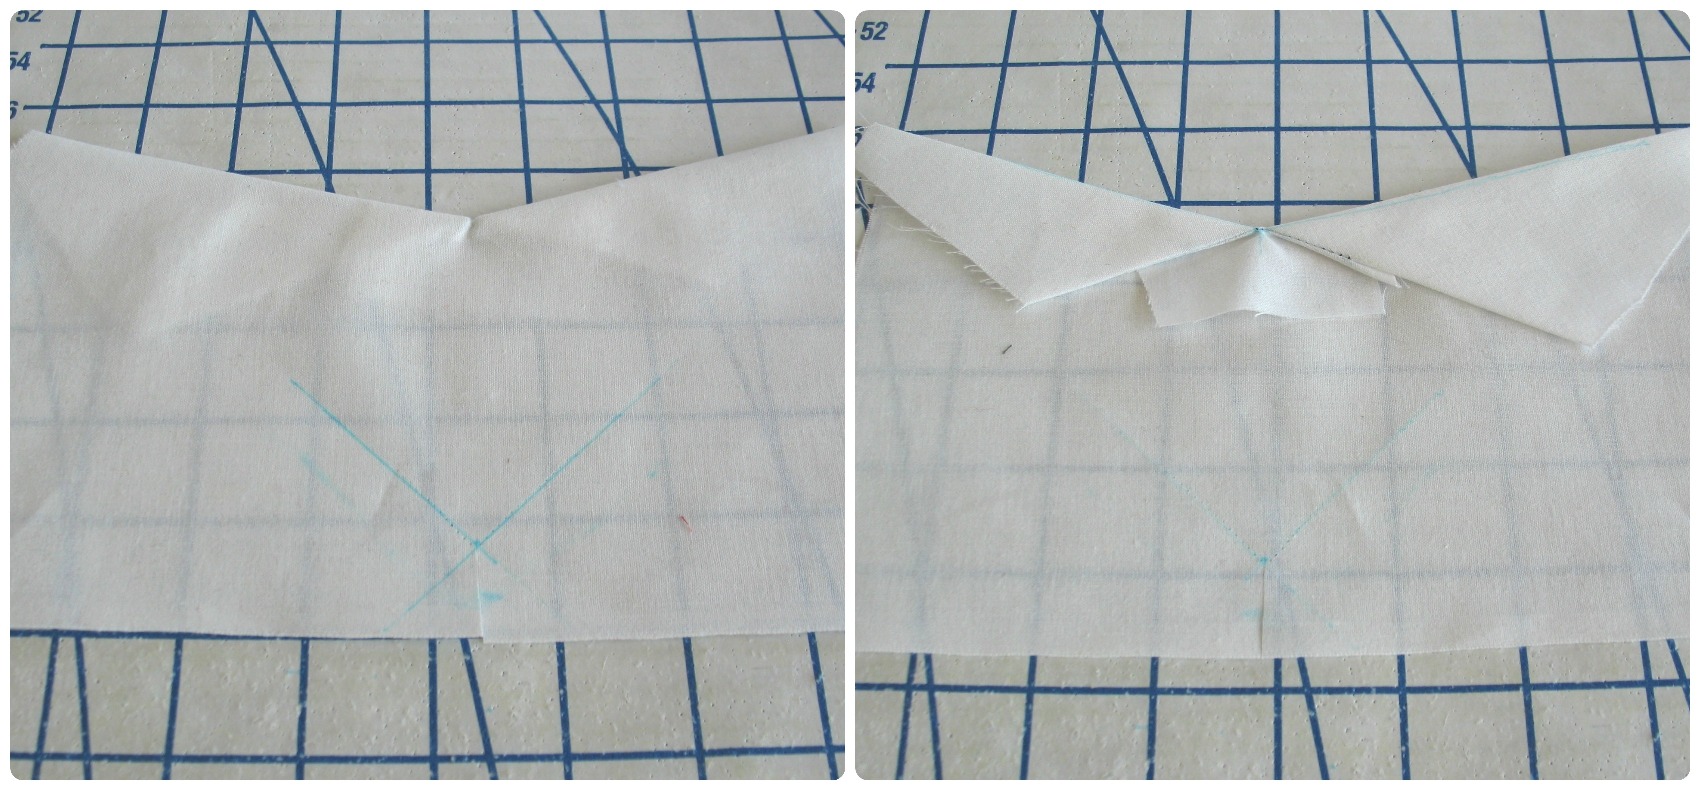
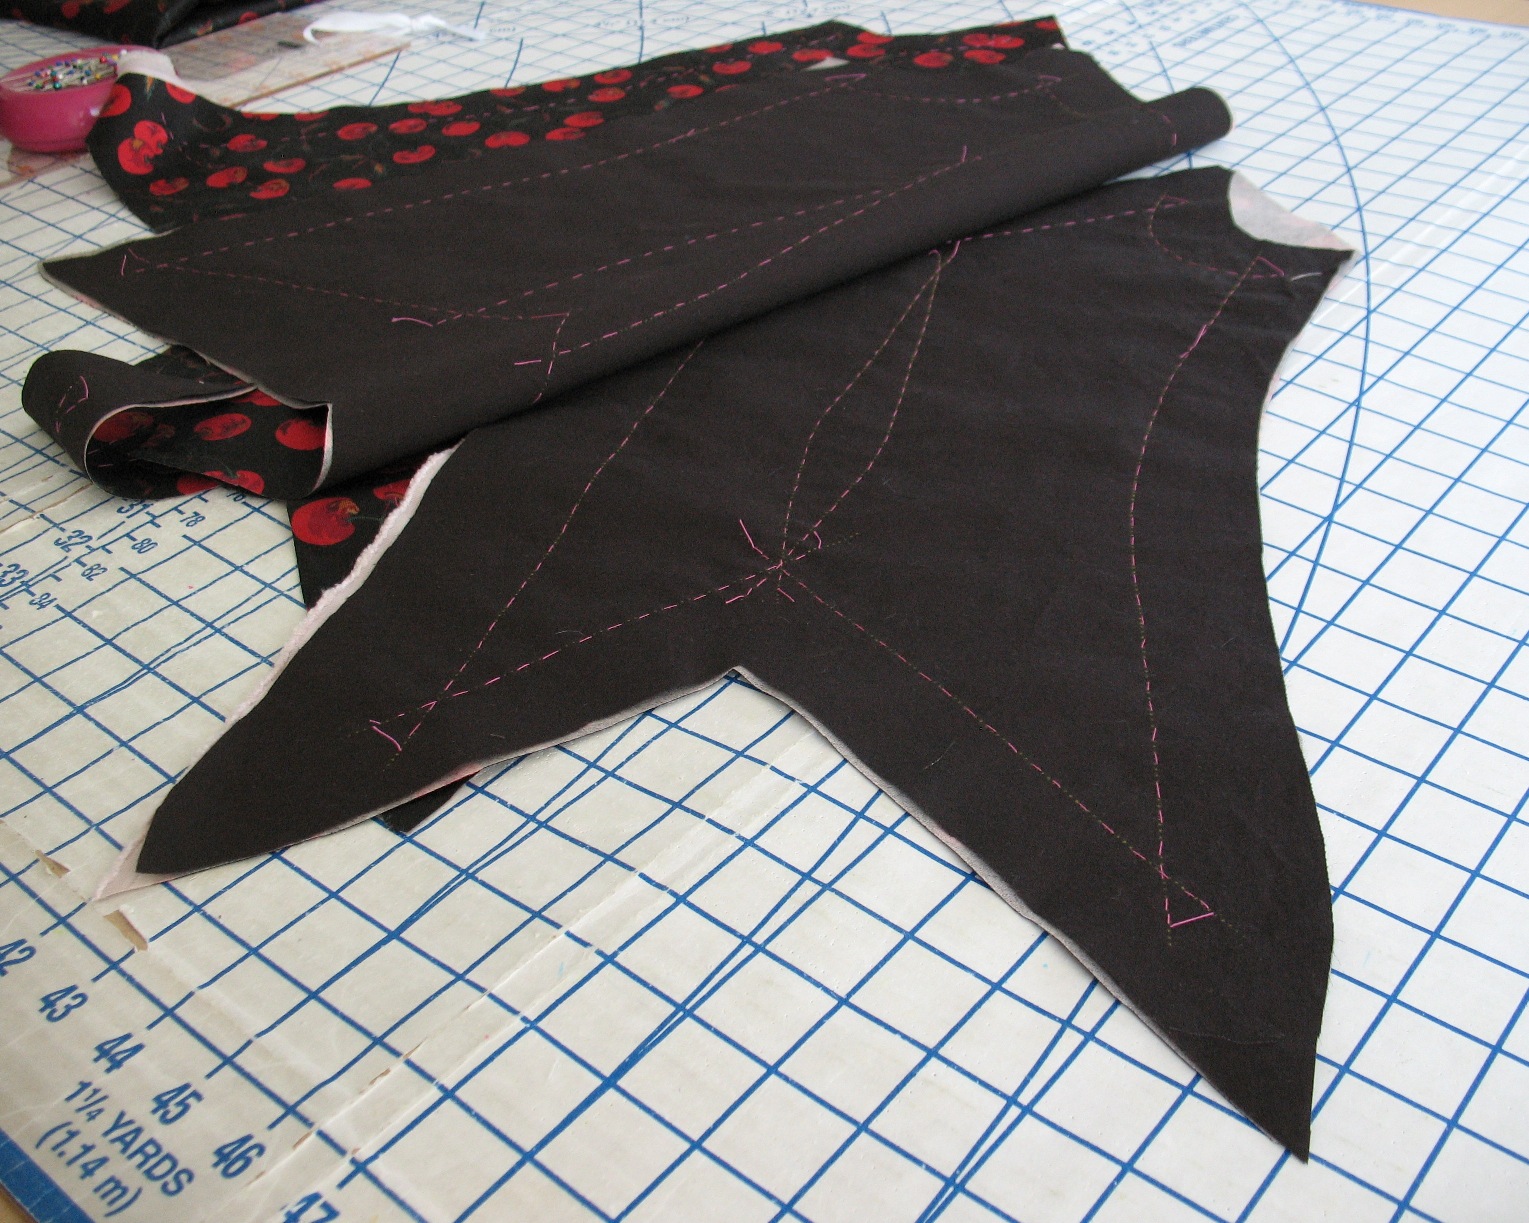
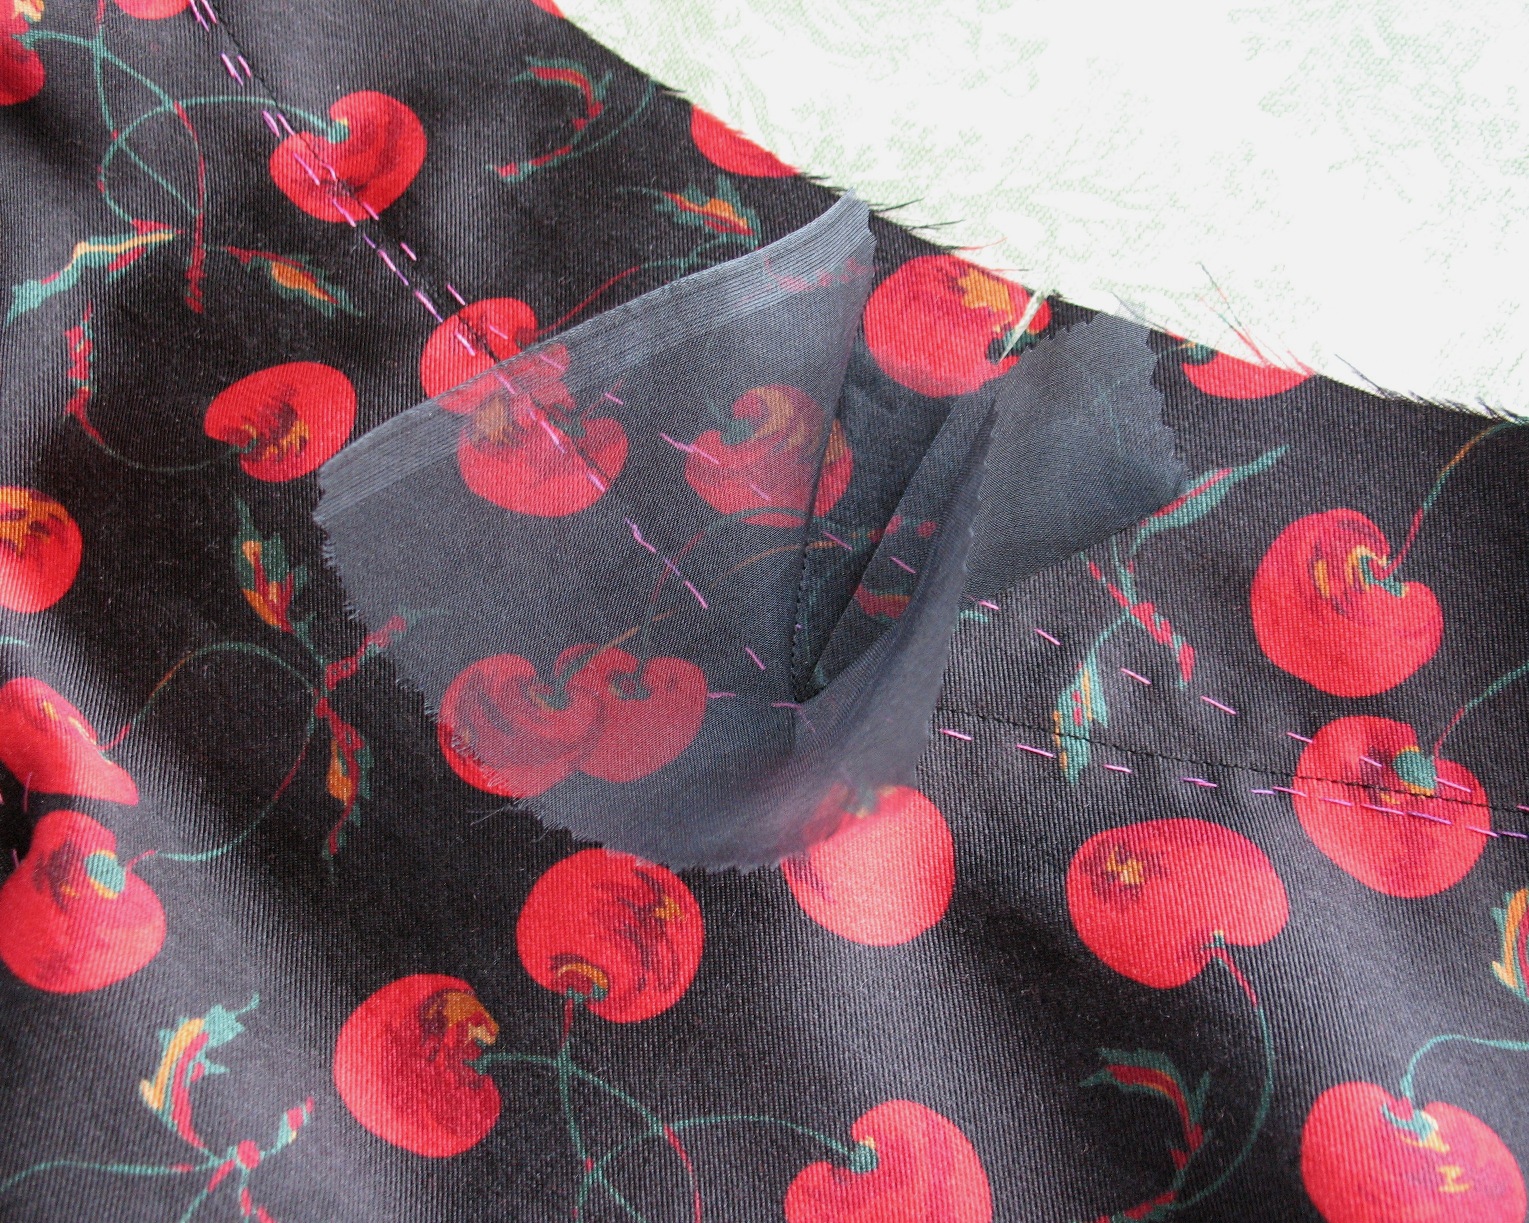
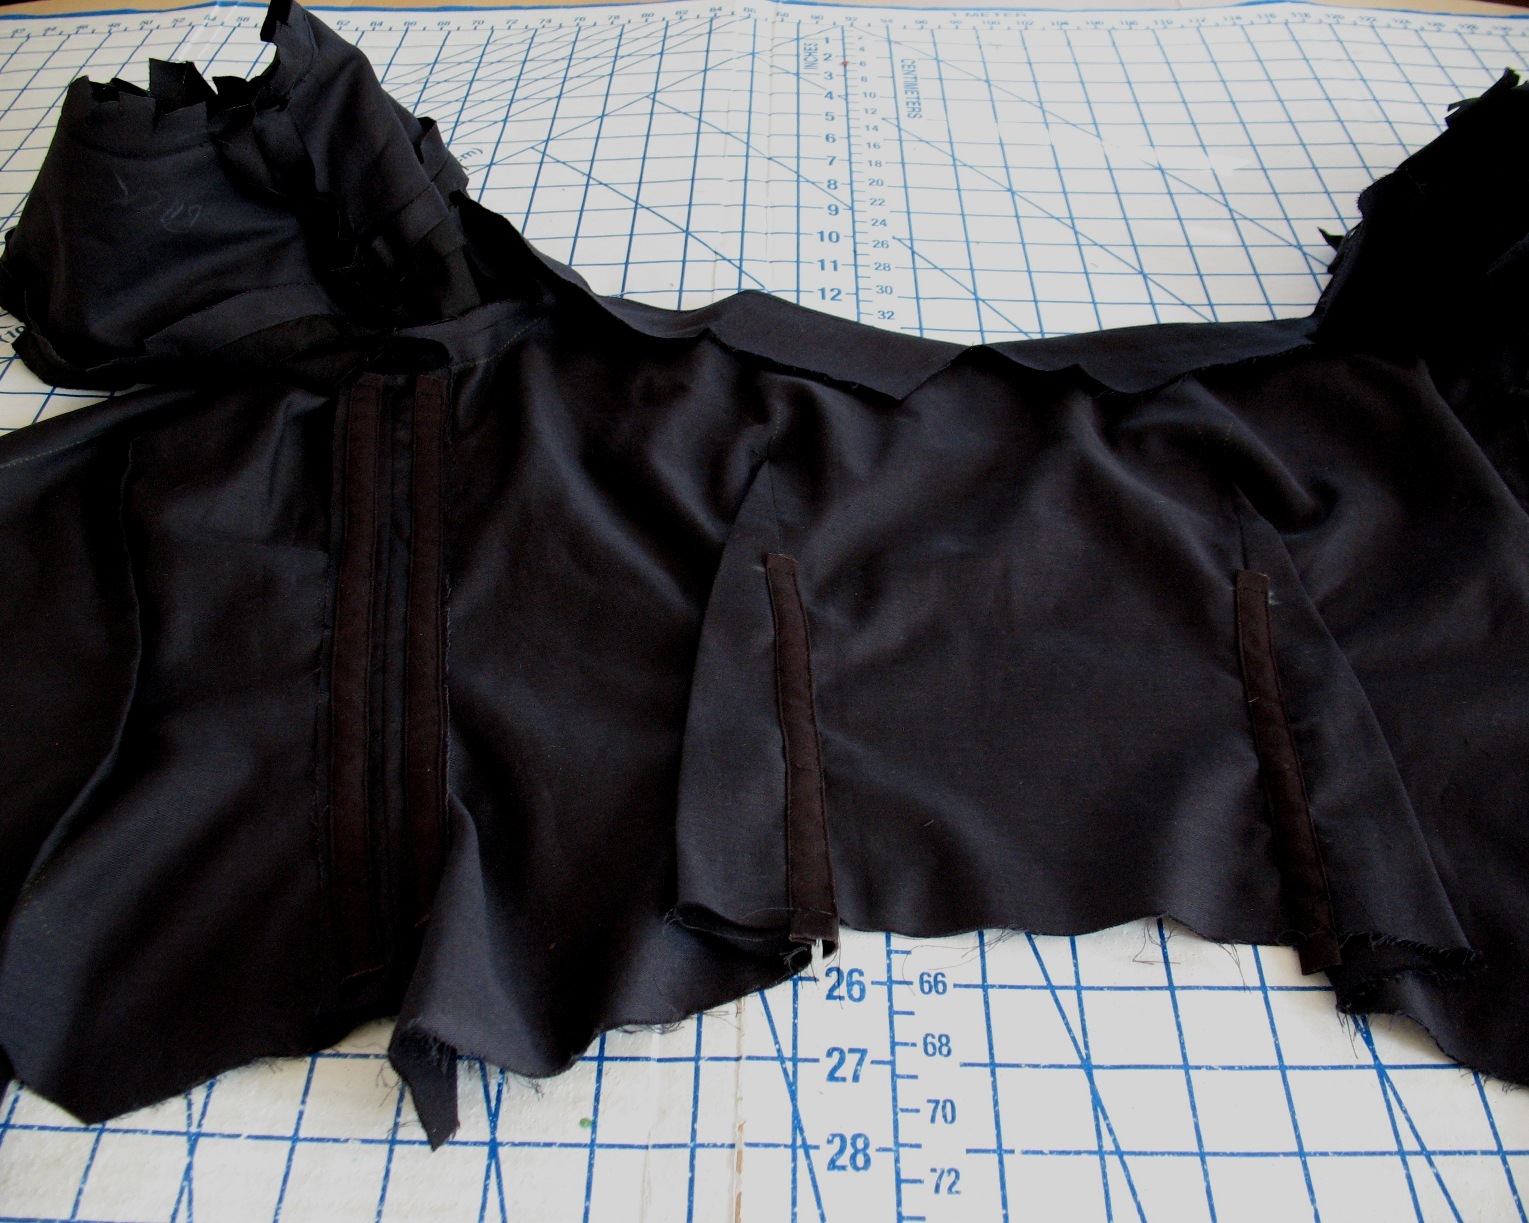
Just to make sure this would work for my design, I practiced with muslin before committing myself with my pretty fabric. Internal corners were easily solved with the same technique that reinforces a gusset.
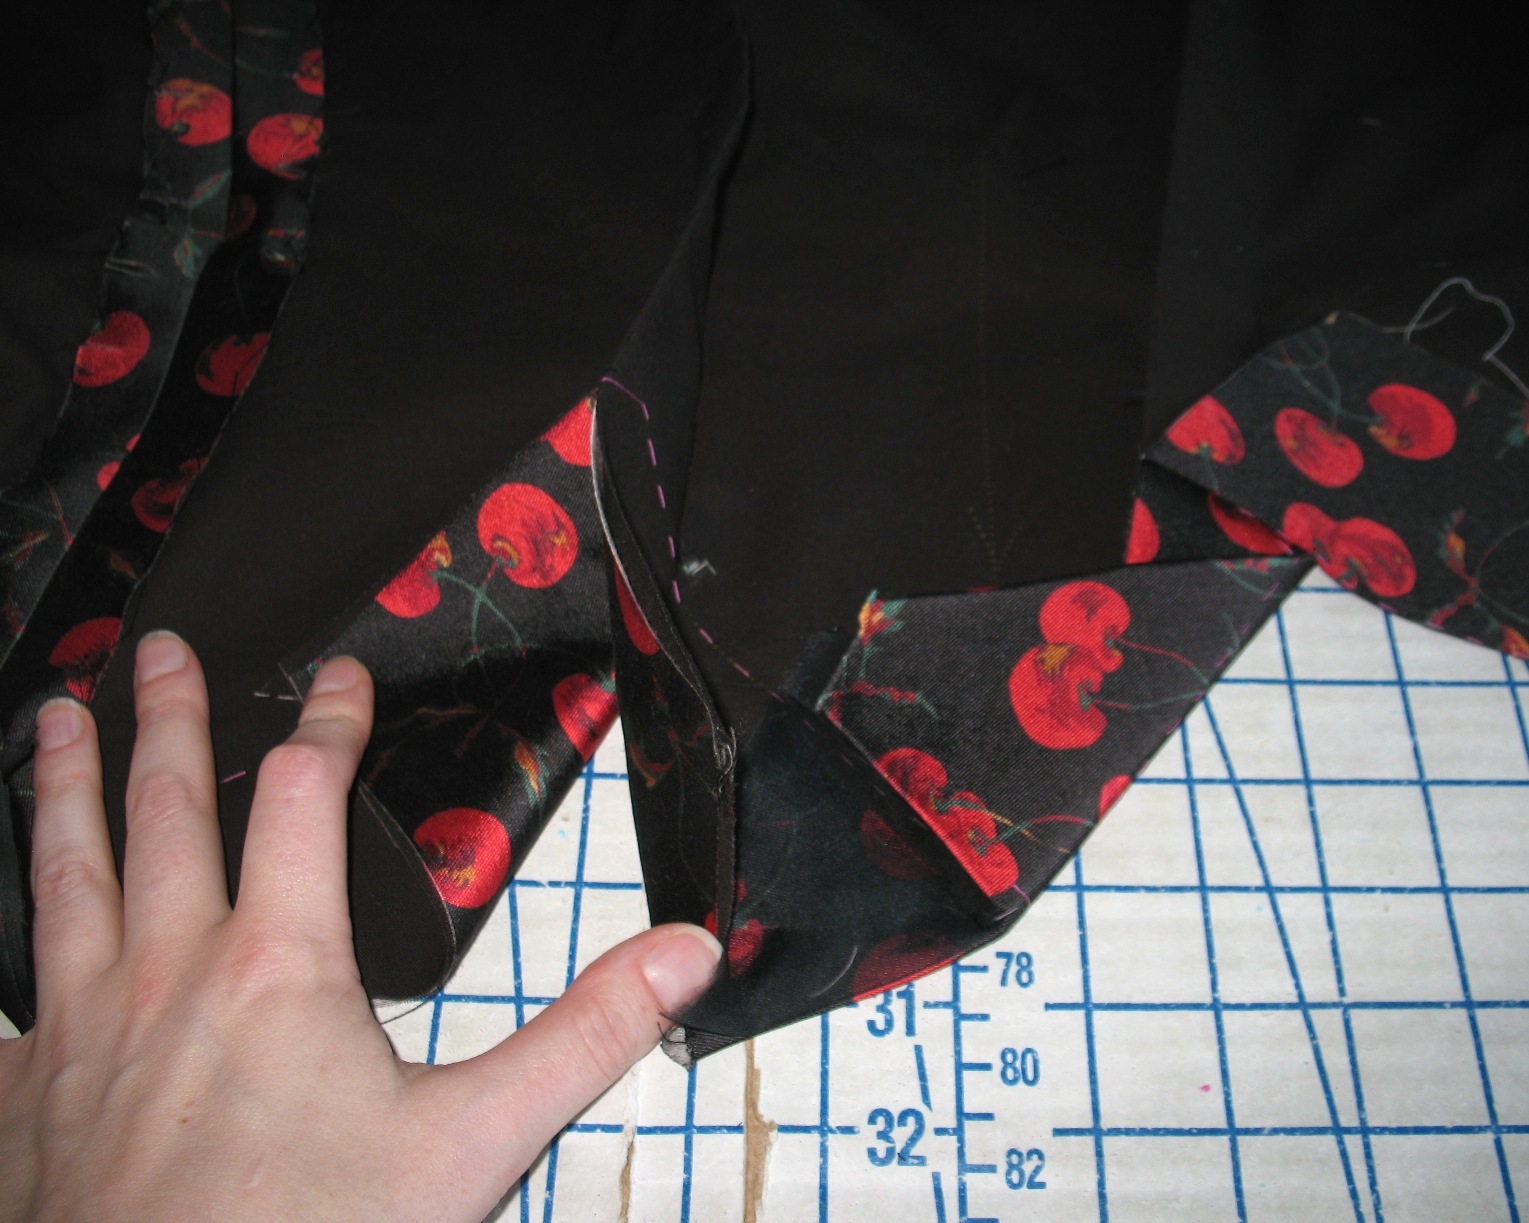
But the points were a different issue.
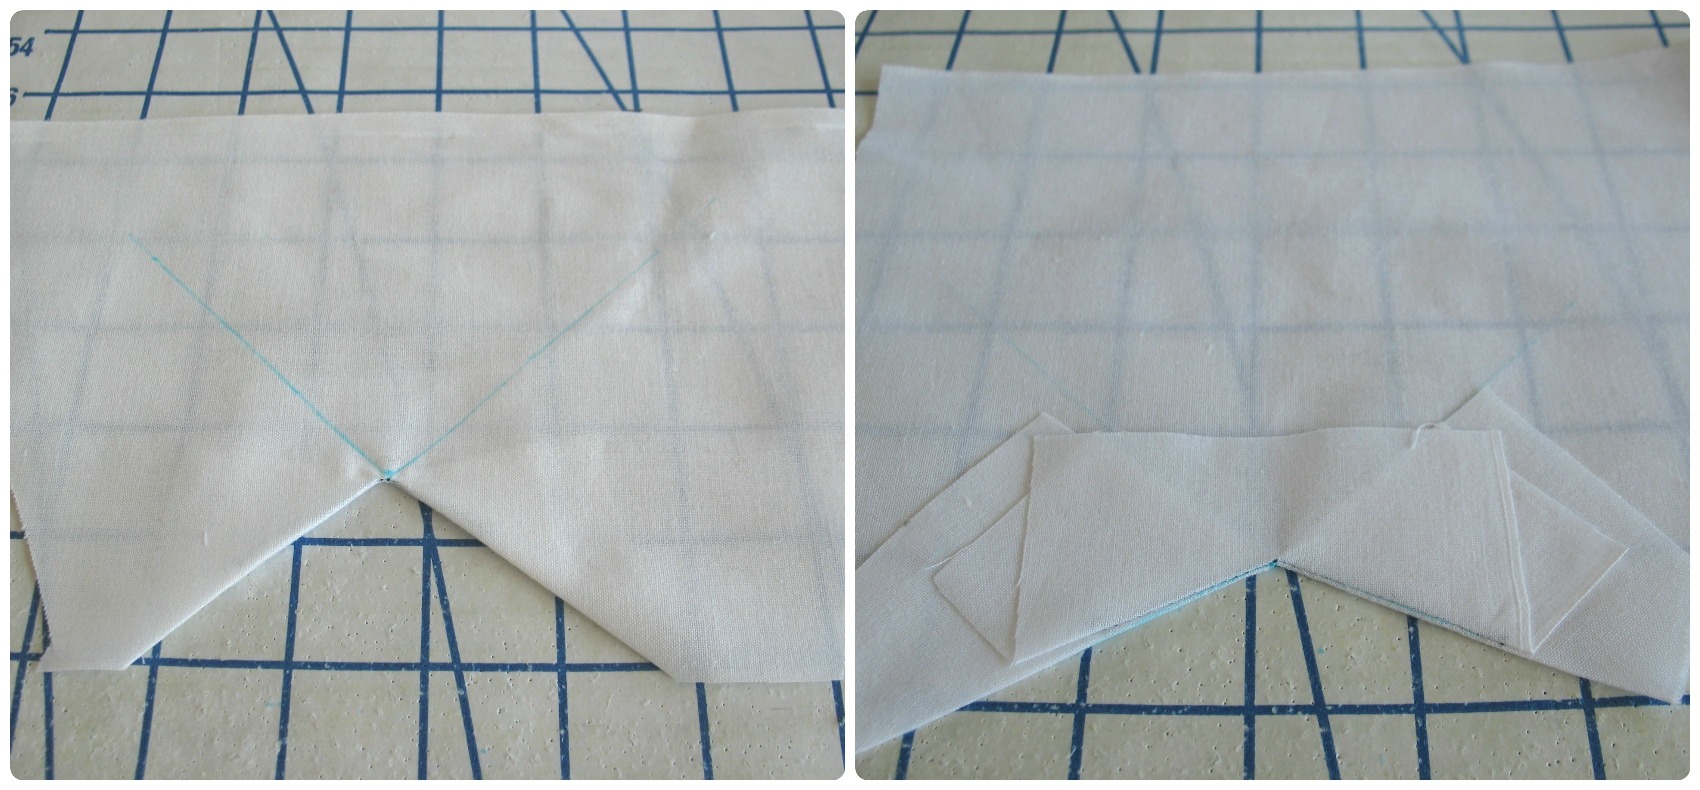
I suppose I could have mitered them, but this way I had a bit more play with the sides and how acute of an angle I wanted, even after the point was reinforced.
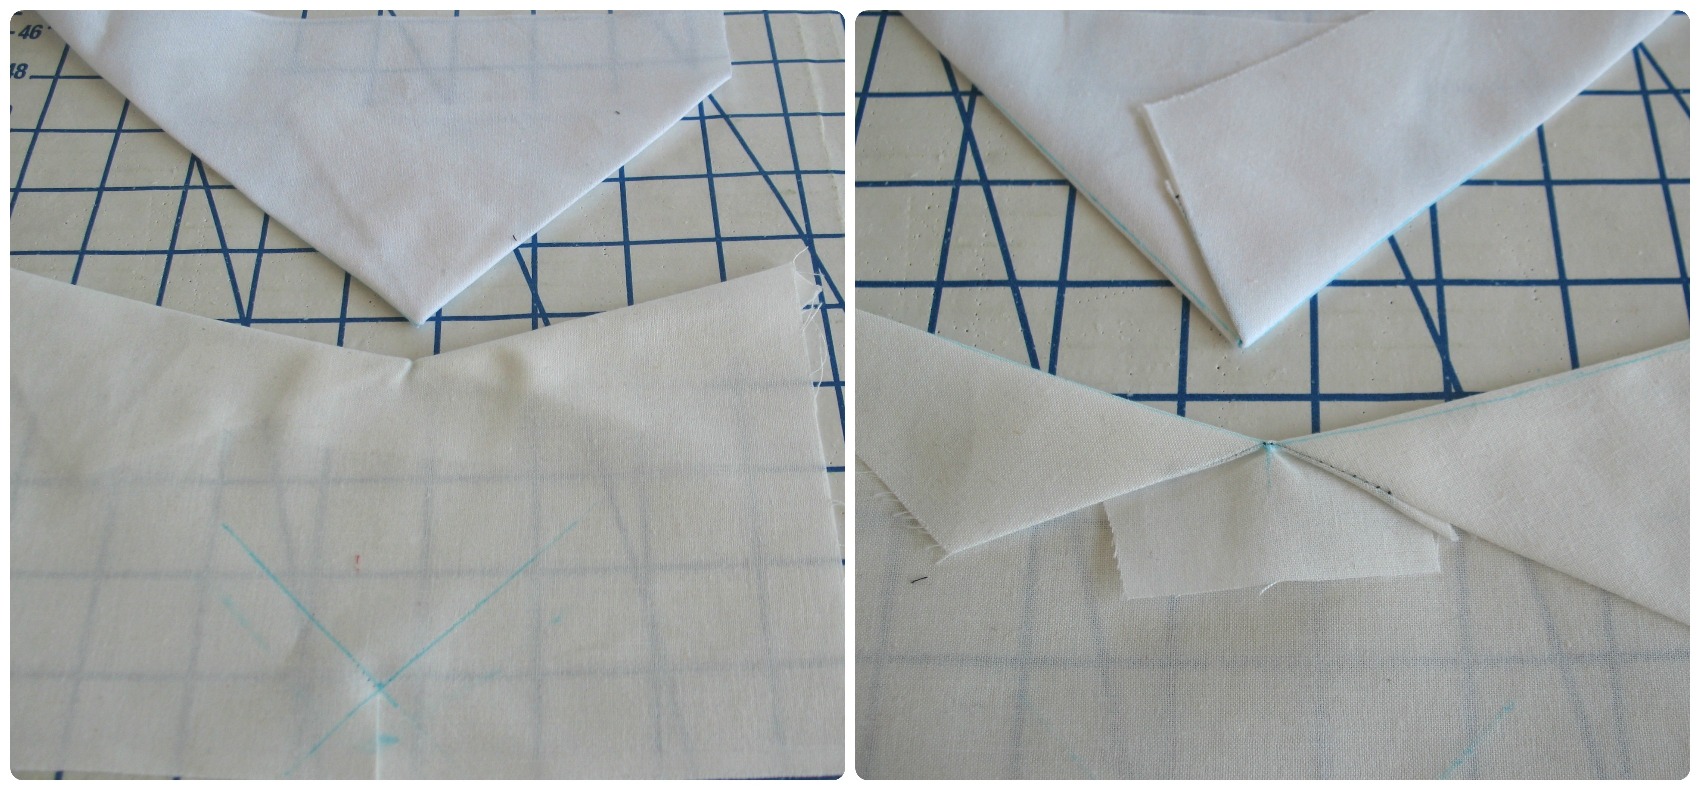
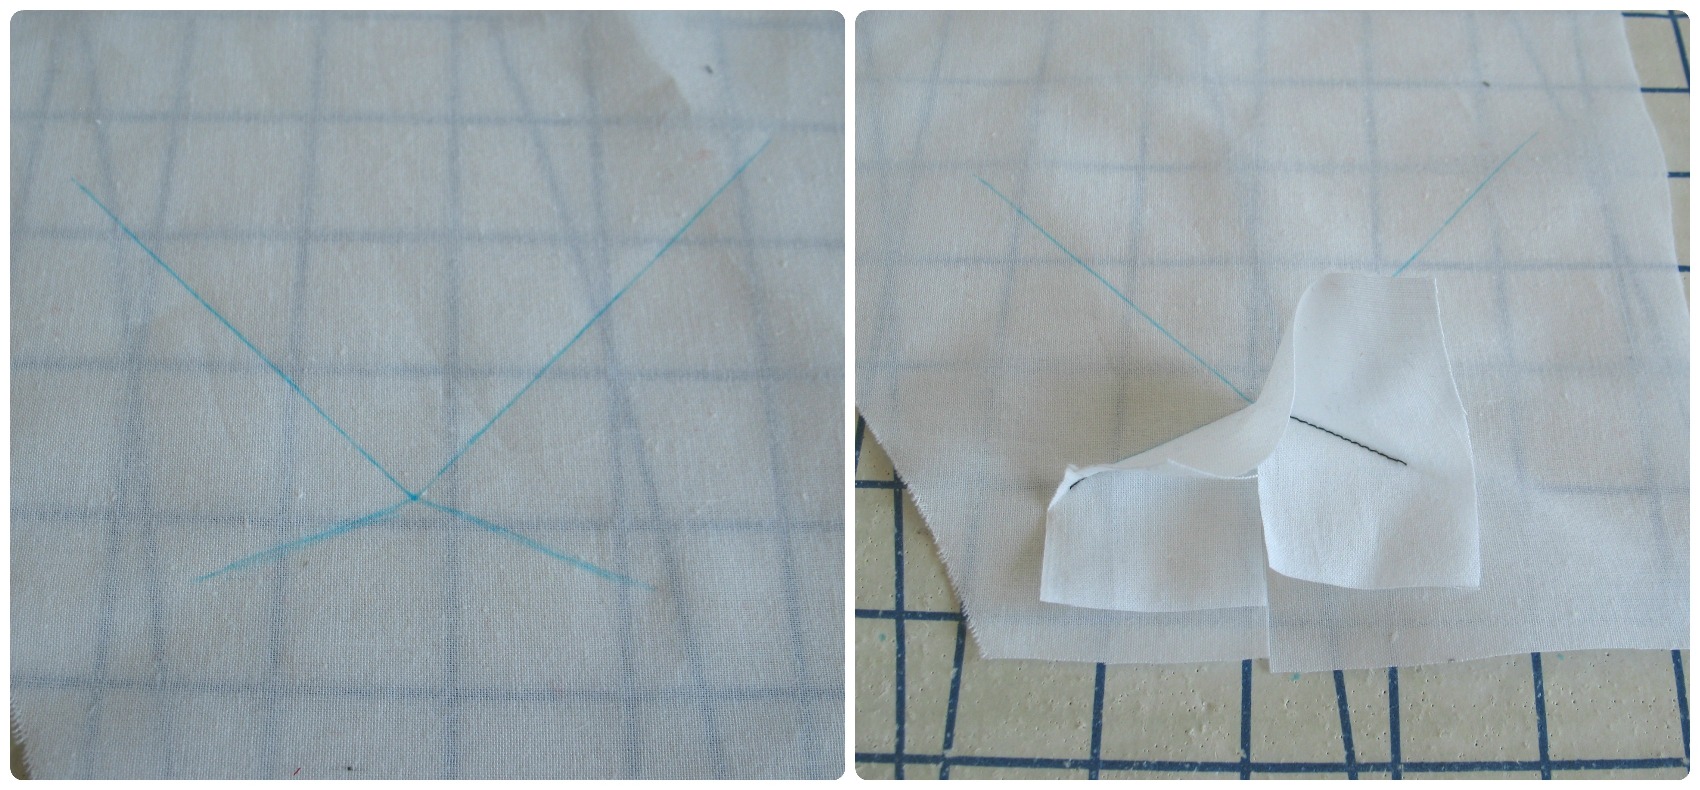
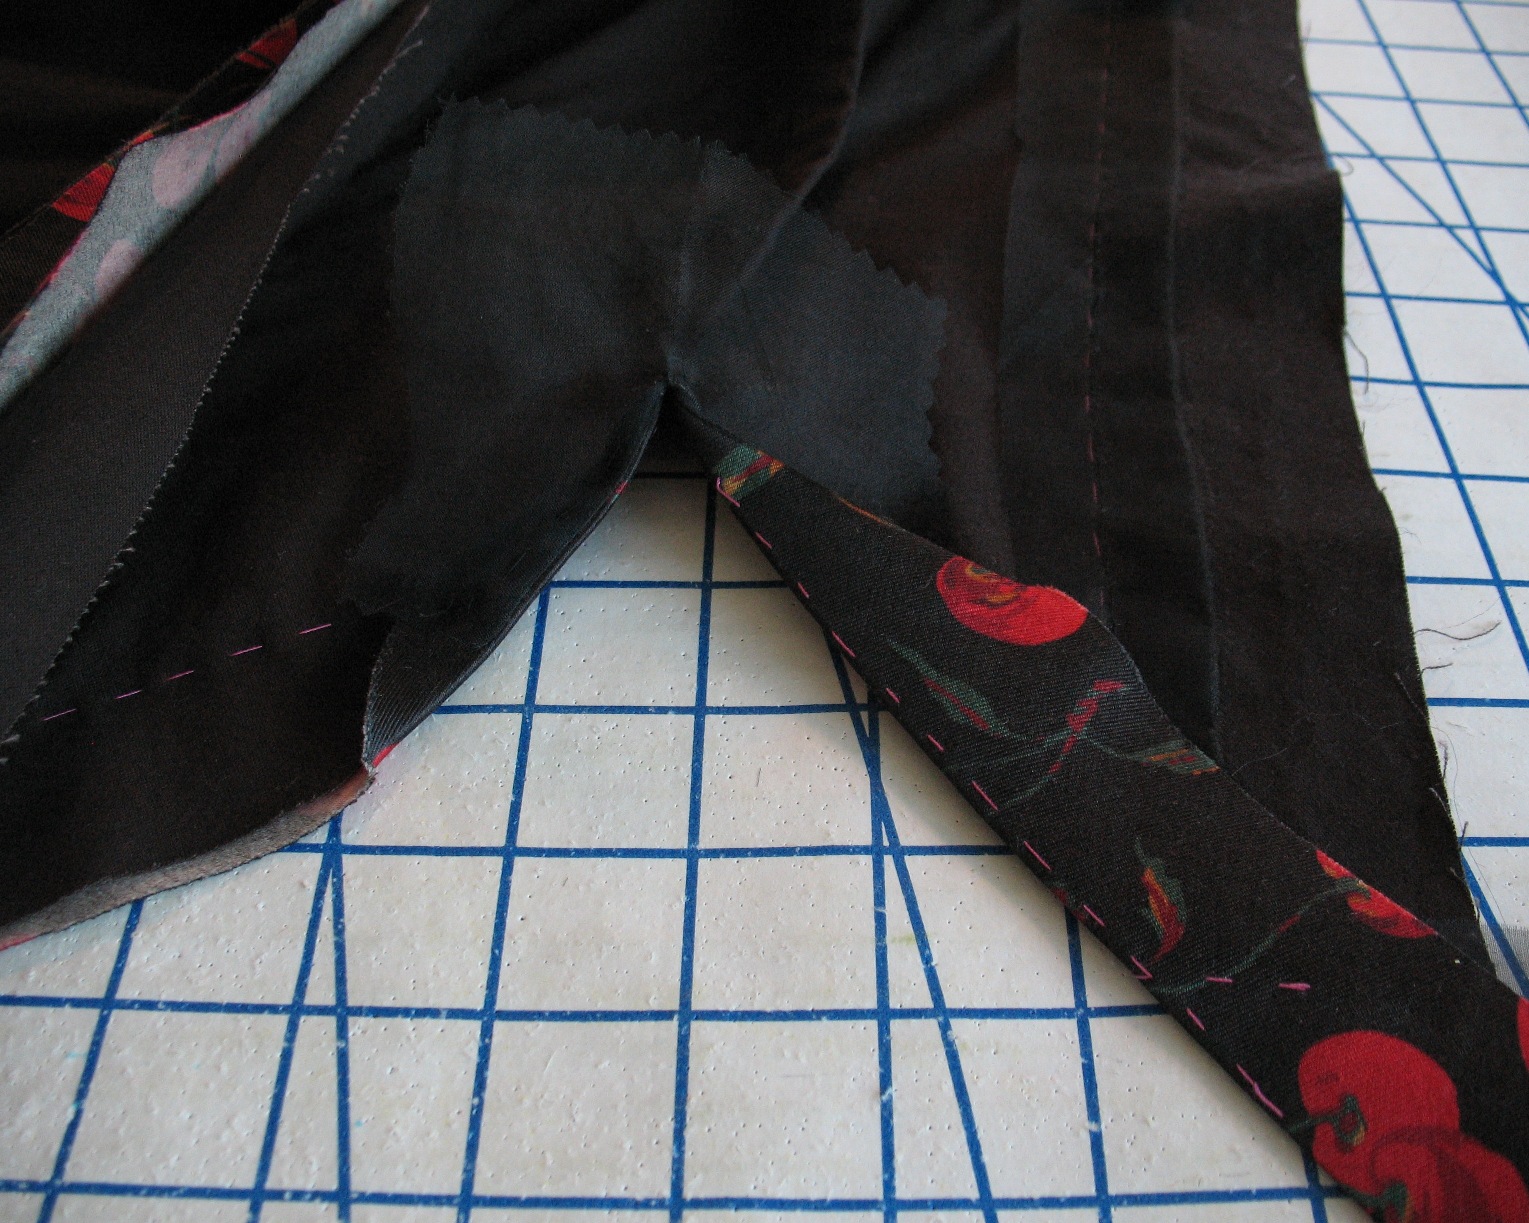
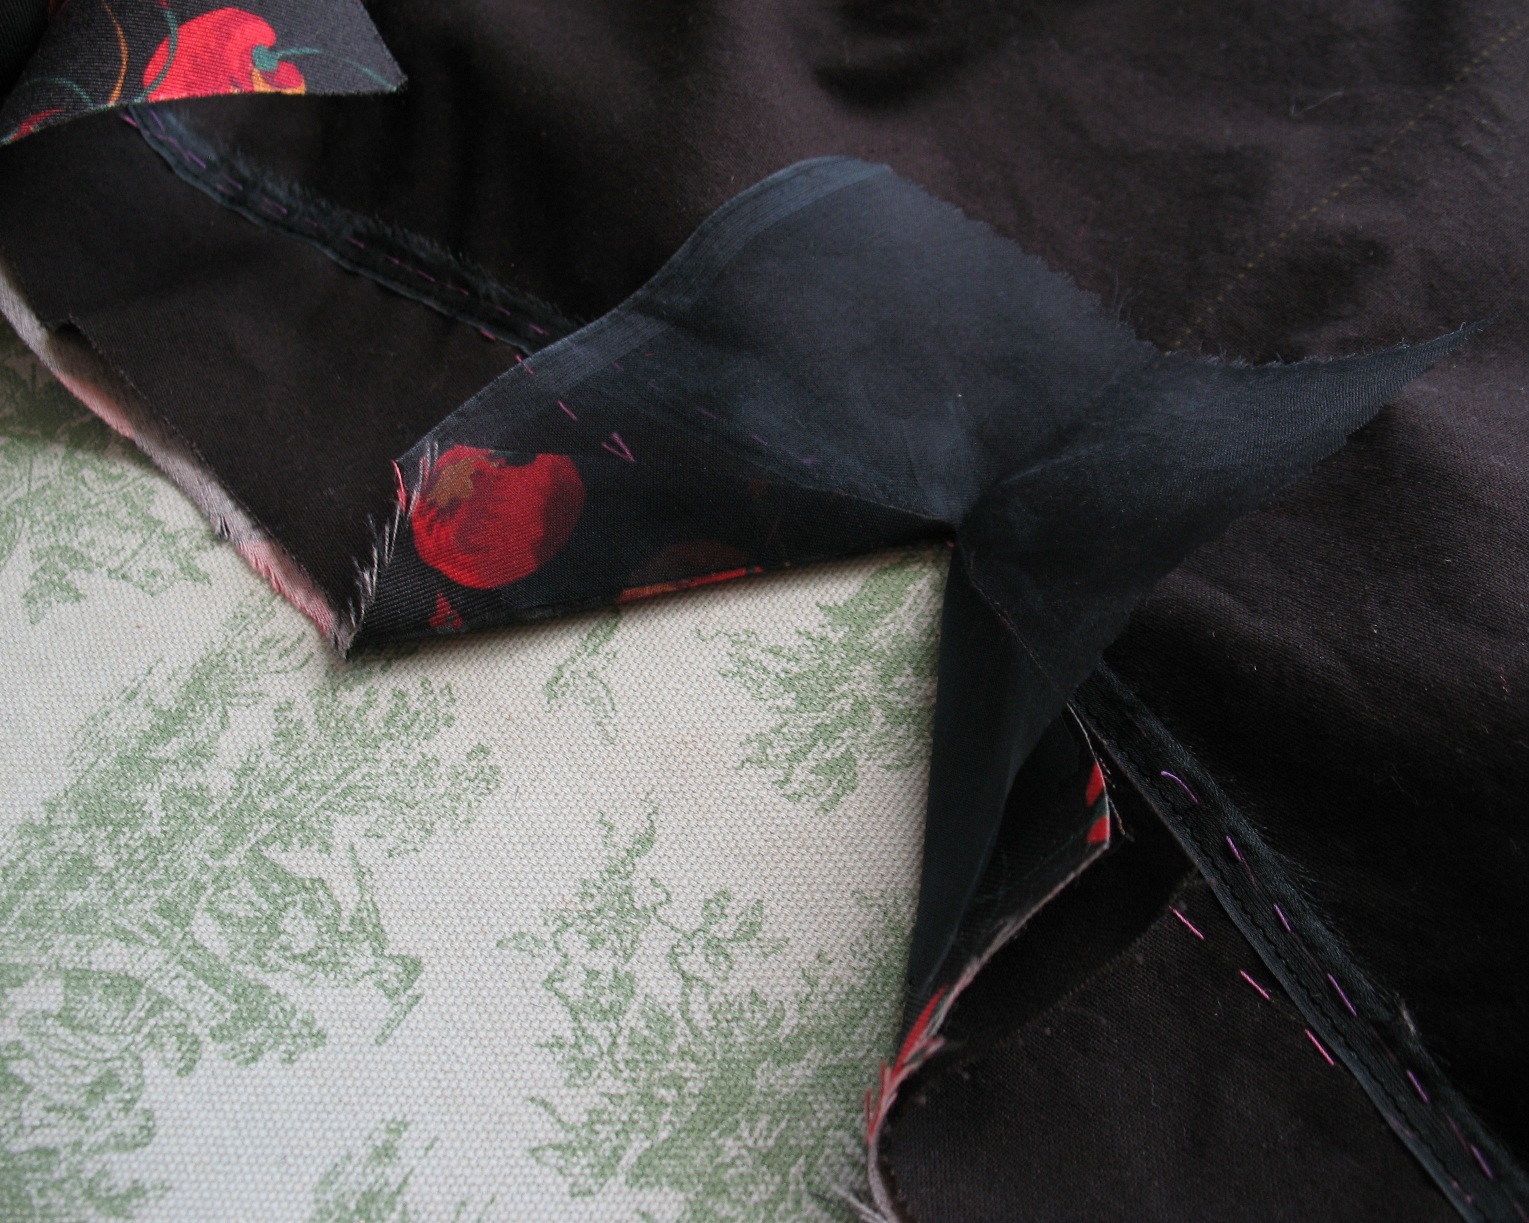
In the end, I applied the patch of organza below the point (think two triangles joining at a single point). The fabric and organza patch was then clipped to the center point, folded to the wrong side, and then the edges are folded again along the style lines. This eliminates the possibility that the fabric frays or rips apart at the clipped point.
Of course, all of this reinforcing required a bit of trimming once the fabric was folded into place. But that clipped point was safe, which was my main concern.
The neckline was originally curved, but with all of the hip points I added, that one rounded style line looked out of place to me. So I changed it! Which is so easy to do with oversized seam allowances.
Facings are not often used in couture pieces, so I thought I
would do my best to avoid them. Of
course, I cannot think of another option for certain necklines like a scalloped edge,
but for this dress, it seemed possible.
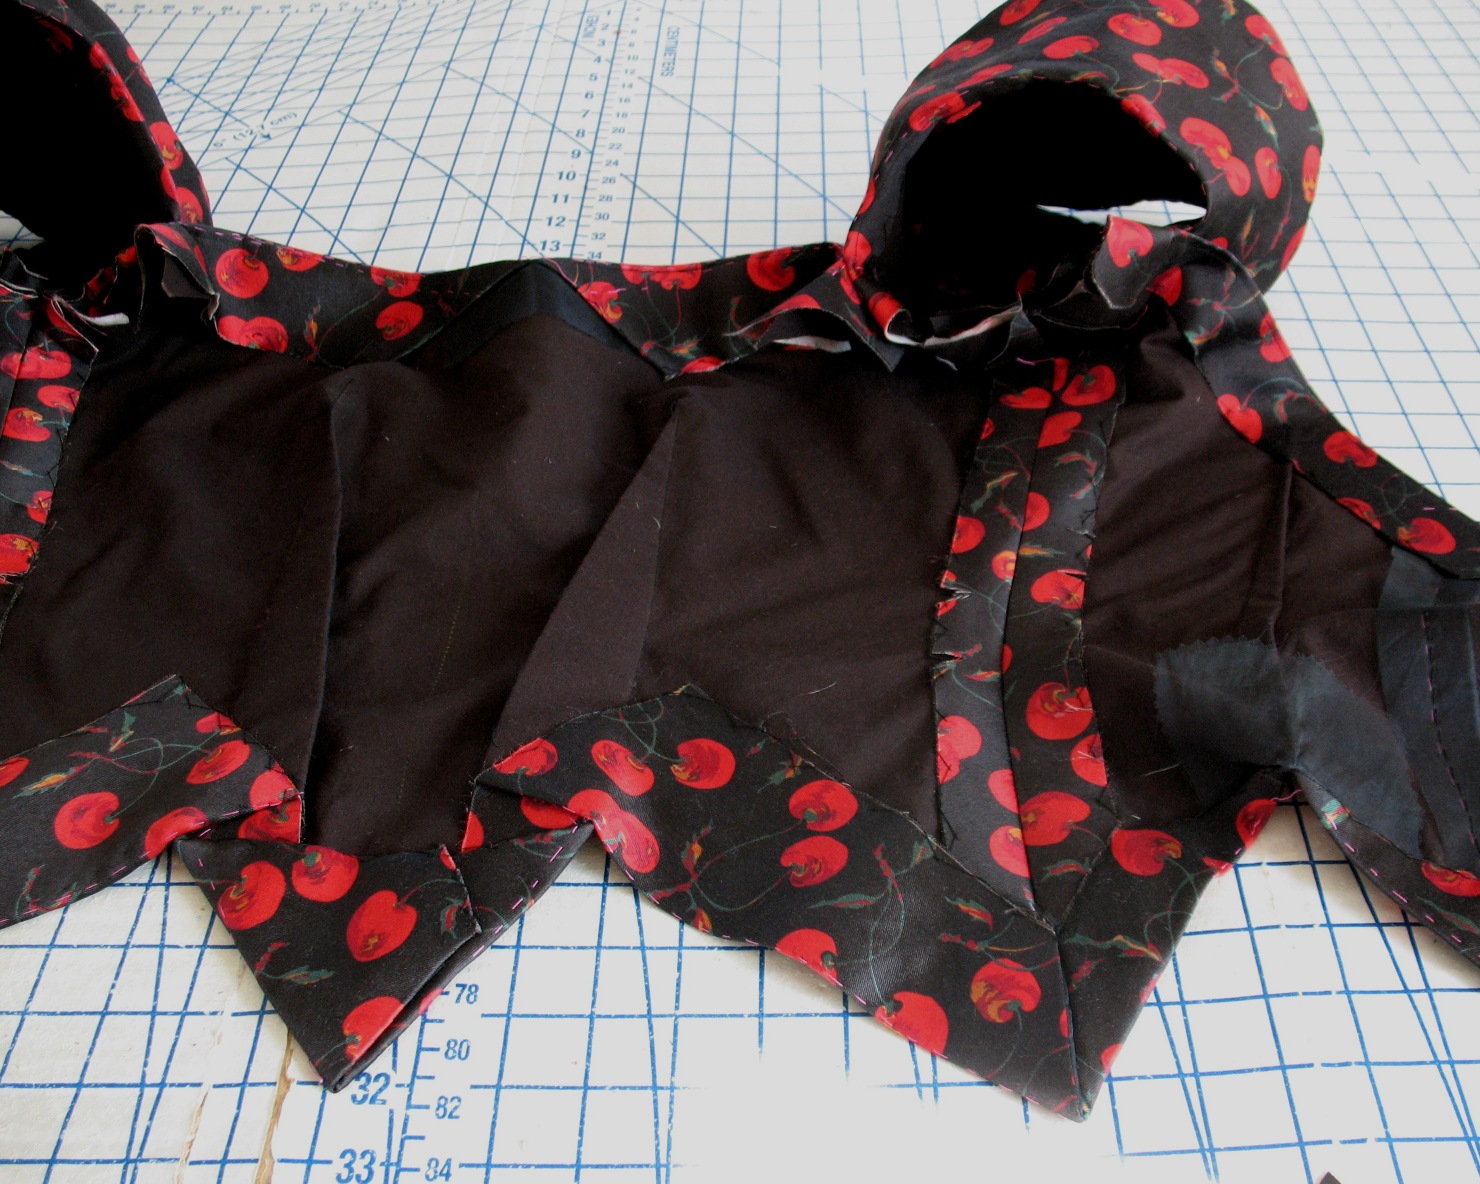
That internal corner/gusset procedure worked brilliantly for
the center point on the neckline as well!
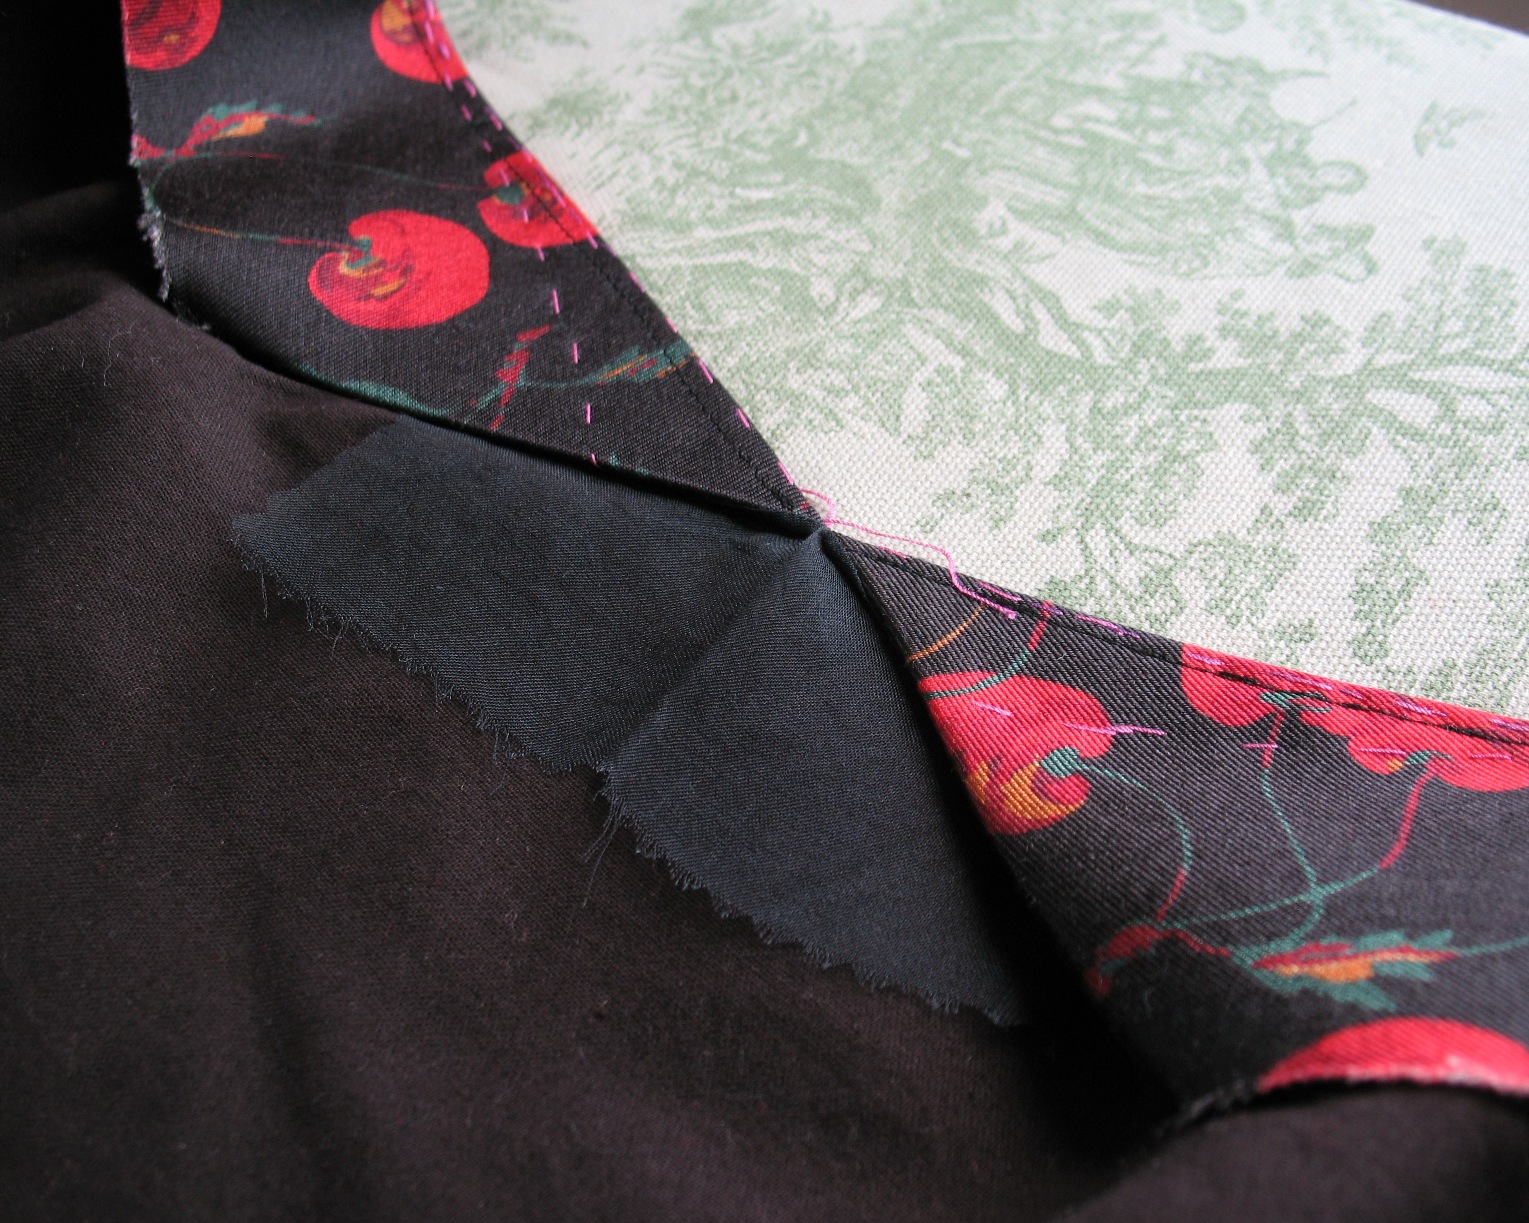
And here is the finished front neckline from the right side.
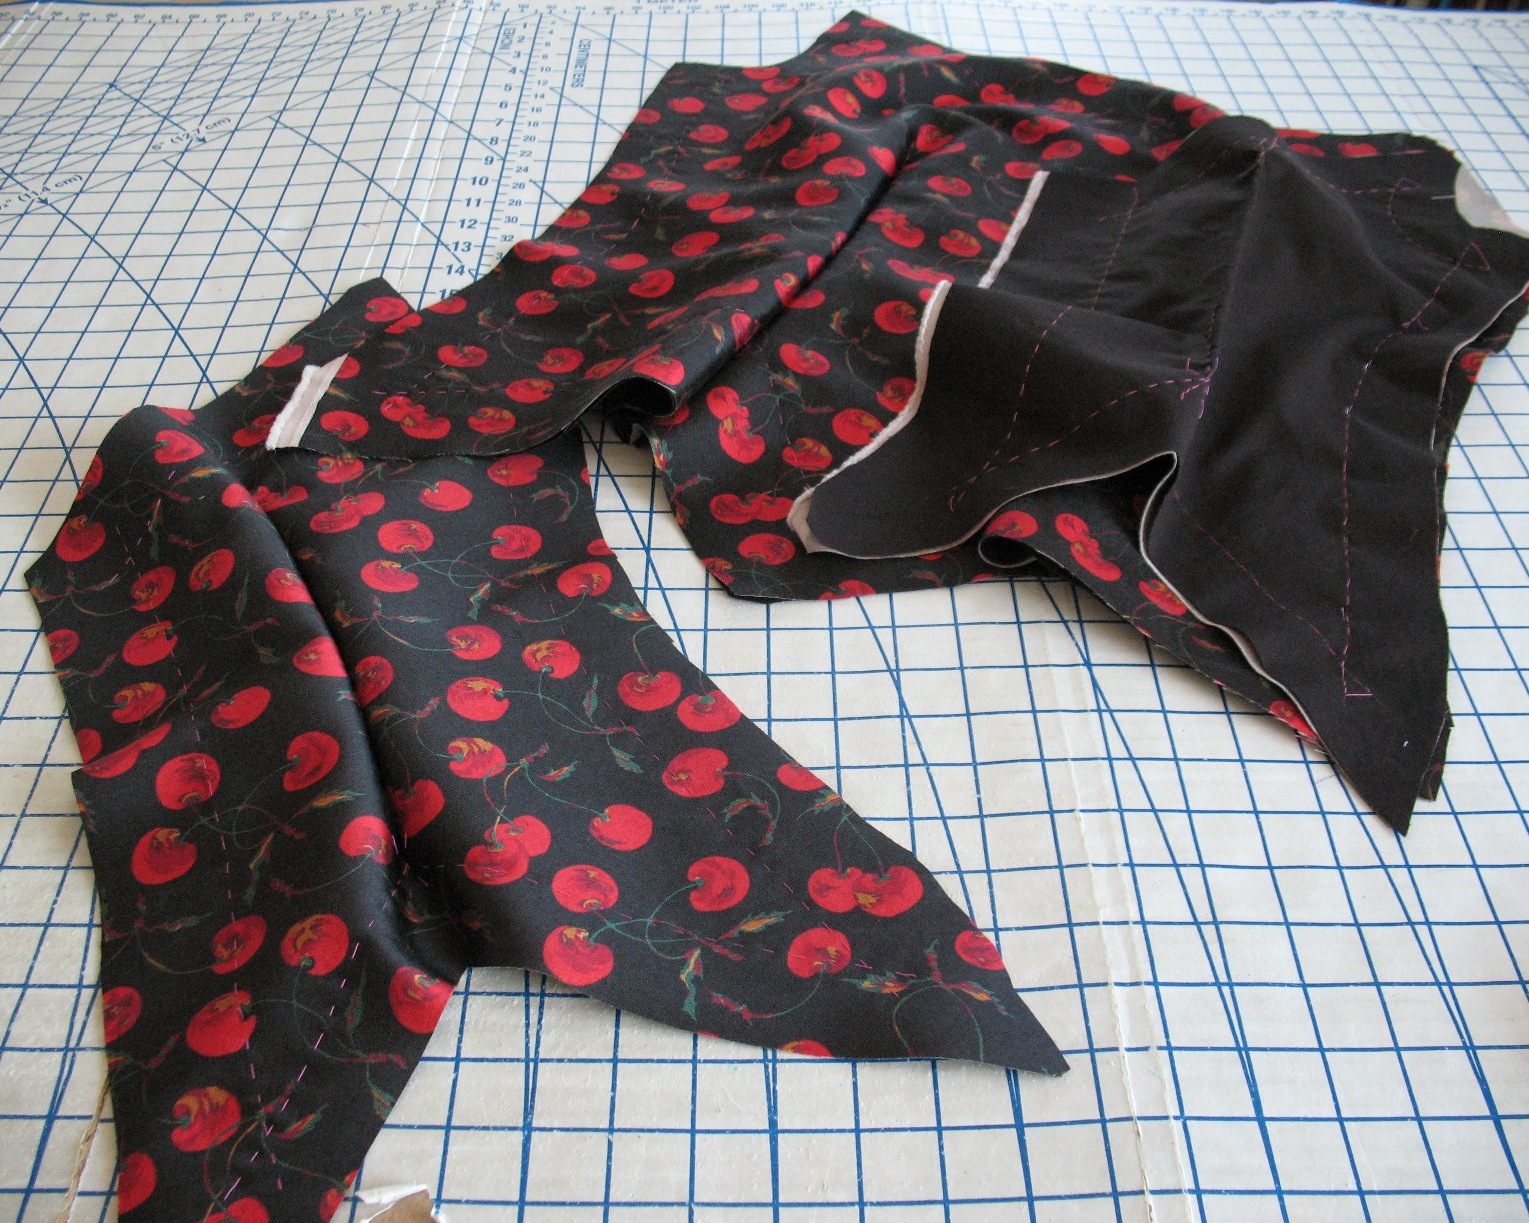
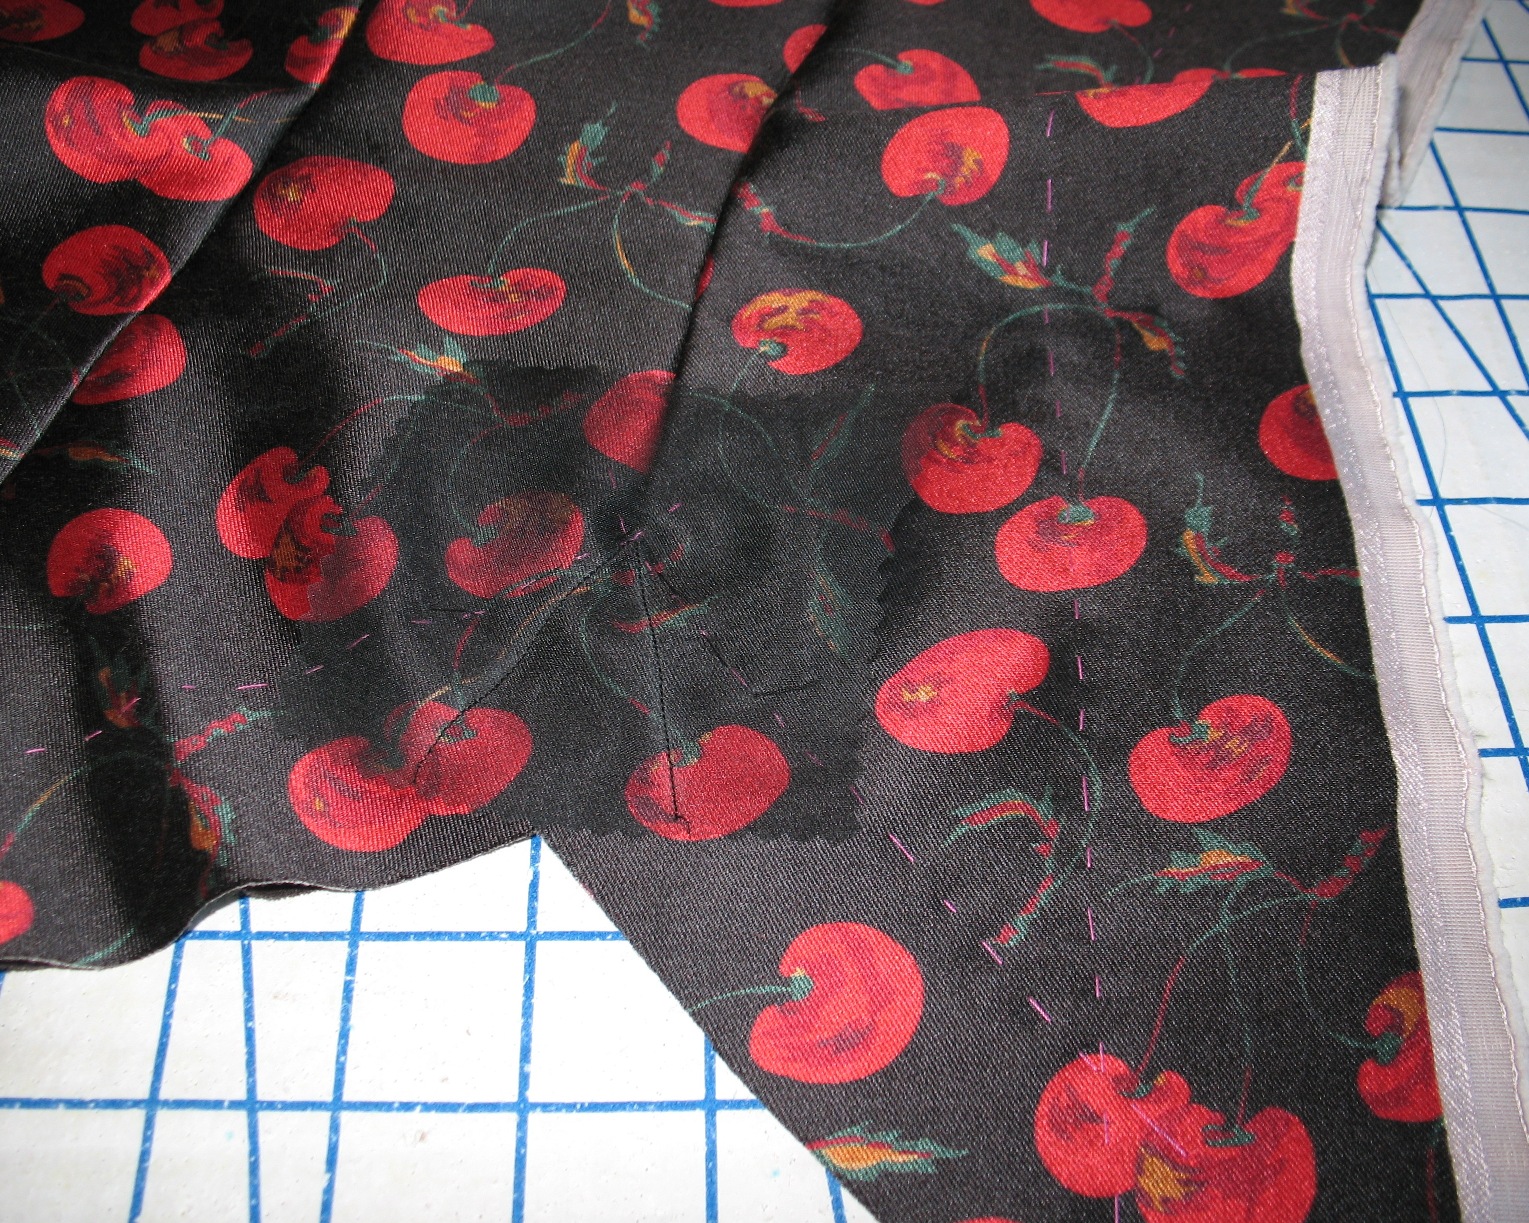
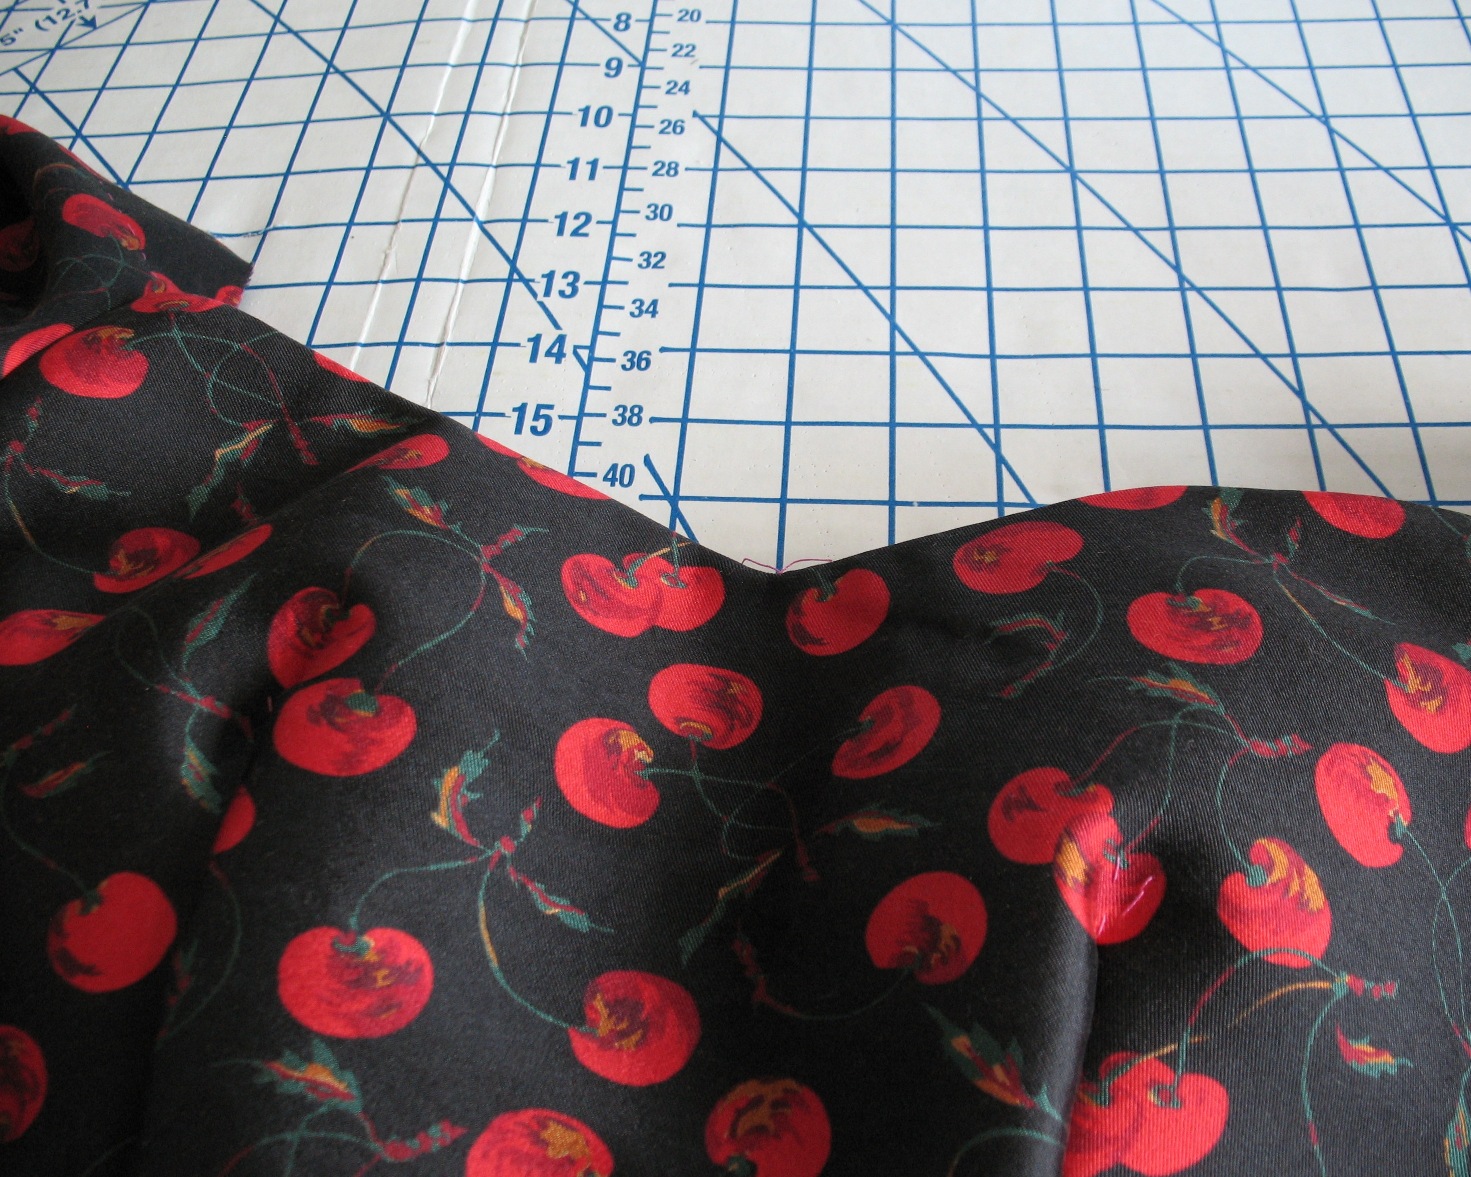
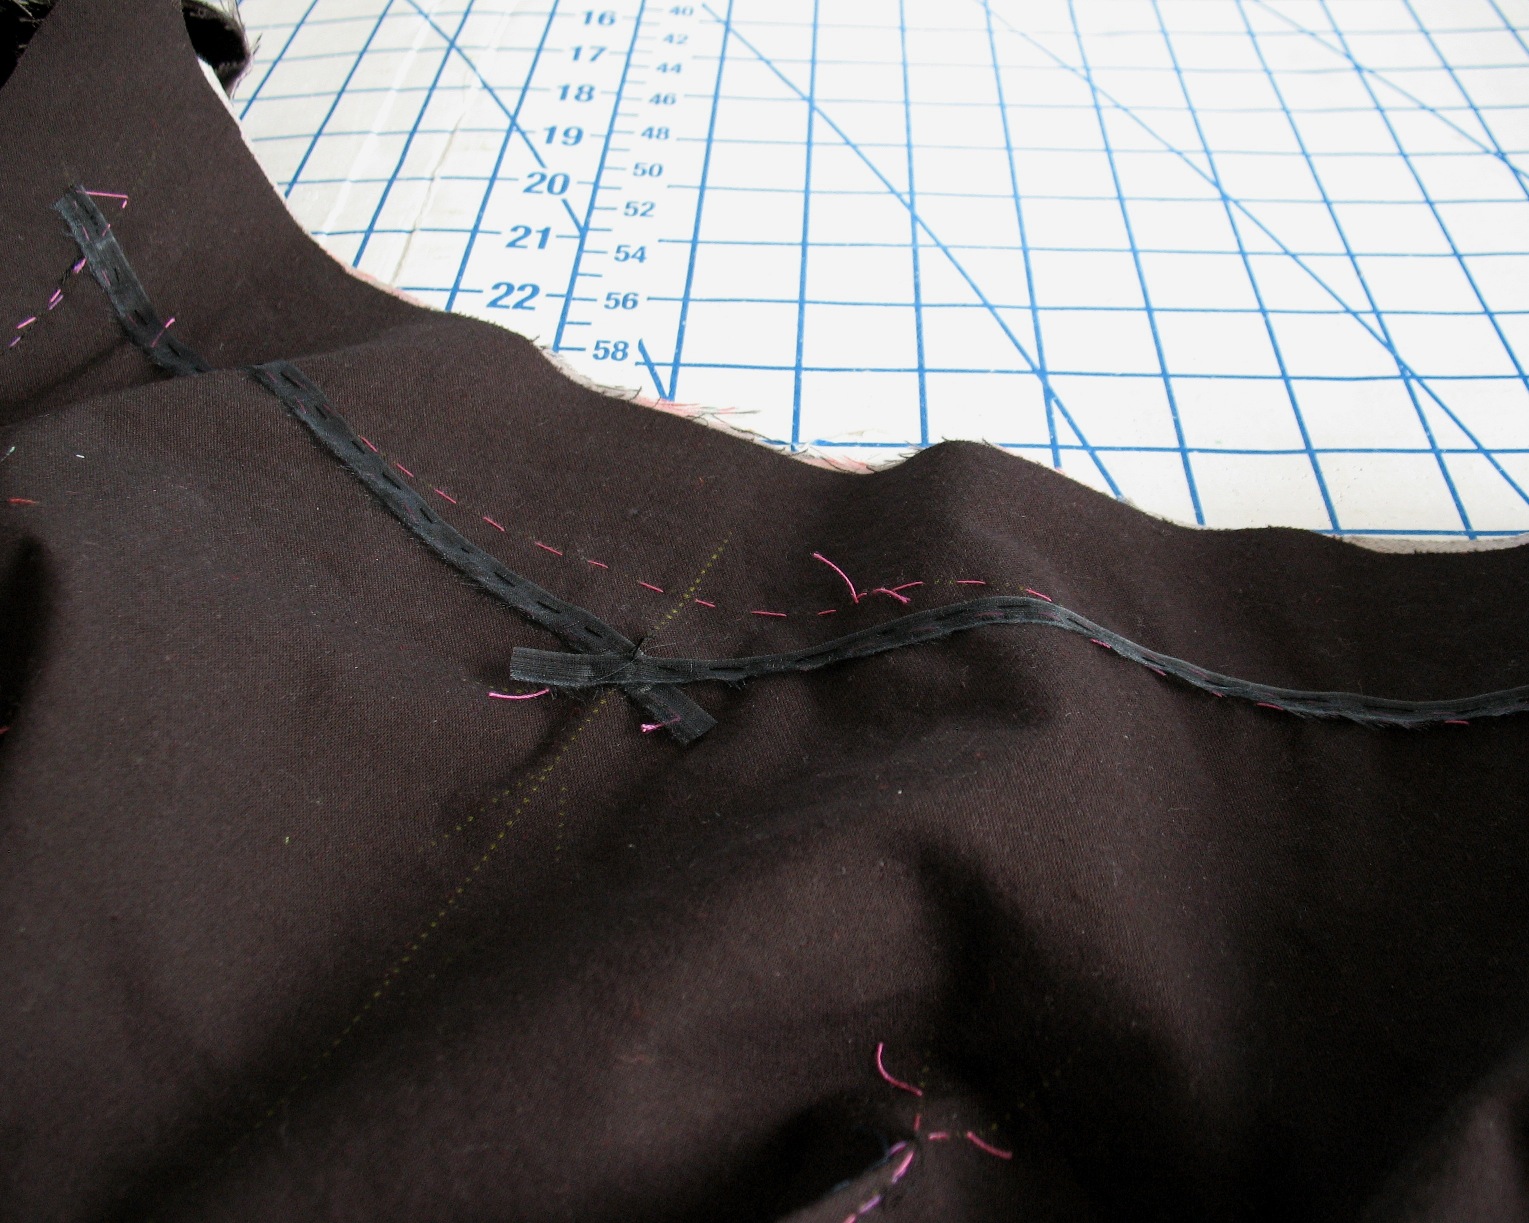
The scariest part of this process, by far, was cutting up
into the front bodice darts to allow the fabric to release so that the center bodice
could lay flat on both sides.
Theoretically, I knew it would work, but cutting into something that
already has a whole lot of time invested in it is always hard when there is no going back if something goes terribly wrong. Thankfully, it worked!
The original designs were cut on the fold at the center back, so presumably, the zipper opening would have to be placed on a side seam. Well, I decided that I would prefer a center back application (easier to get in and out of the dress that way!).
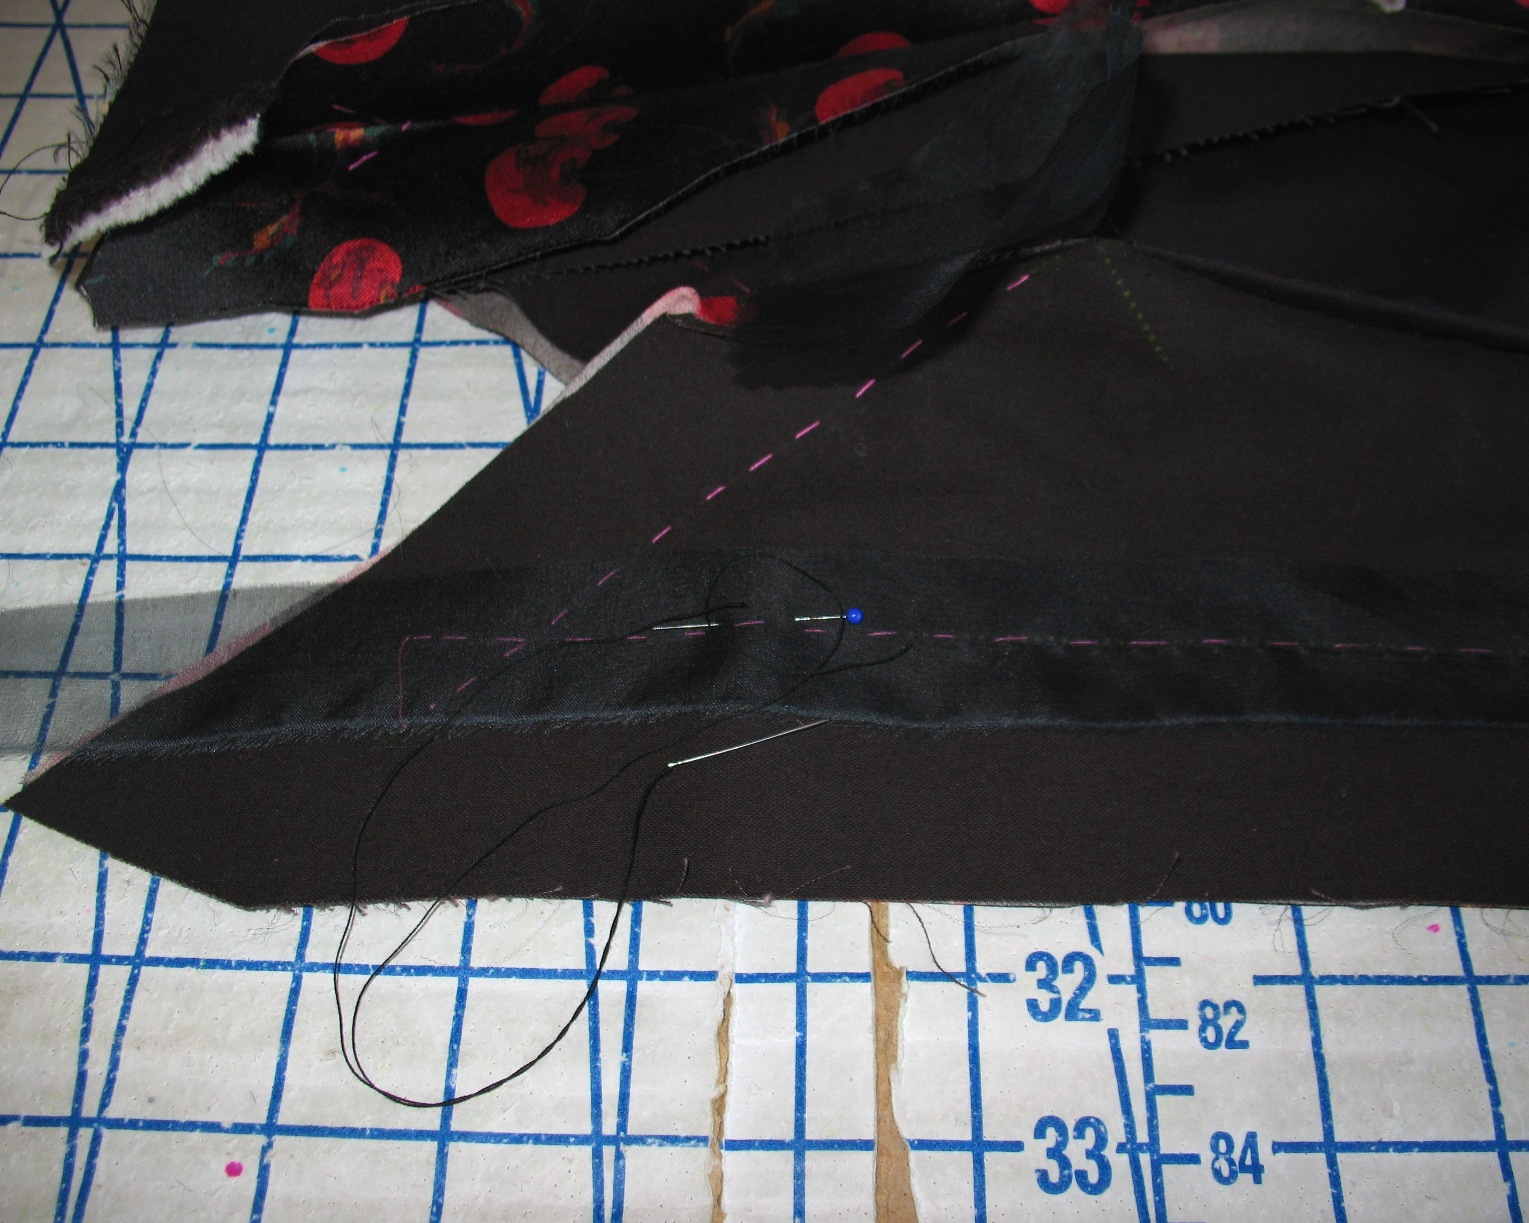
The center back zipper opening was reinforced with a strip of silk organza. Both the silk/wool and
the cotton underlining is fairly stable, but it would have been silly to go to
so much trouble with everything else, only to have that seam stretch, right?!

The neckline edges were also stayed with organza – this time
with the selvedge.
I thought about using my trusty rayon seam binding. But the black binding is opaque and I could not see the line of thread tracing through it, so the sheer organza was a better bet. The same was done along the back neck edge.

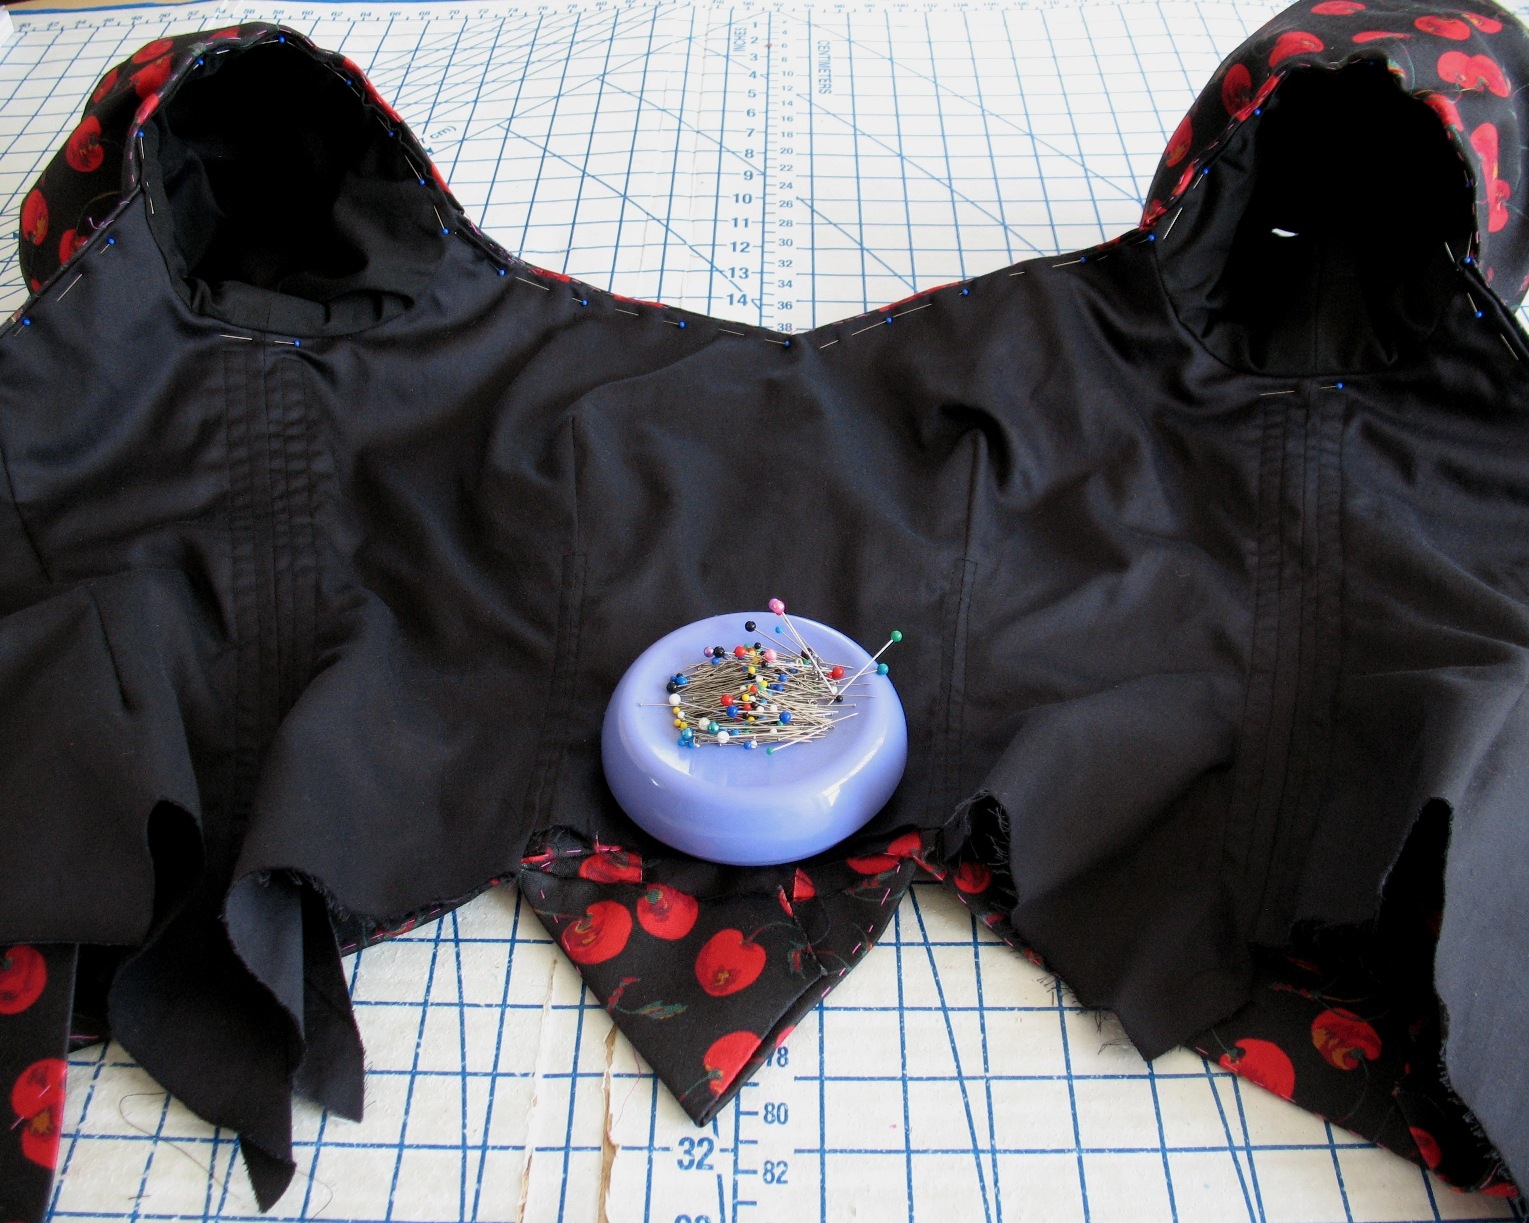
The bodice lining (time to cover up all those raw edges!) was cut shorter than actual bodice to minimize bulk.
Lining darts were pressed in the "wrong" direction to balance them.
I added a couple of boning channels to the side seams and
the front darts. I was not sure I would end up adding boning, but it did not hurt to add the channels - and it would have been a real pain to do so after the lining was attached to the bodice.
Once the lining was complete, the upper edges were hand stitched
into place.
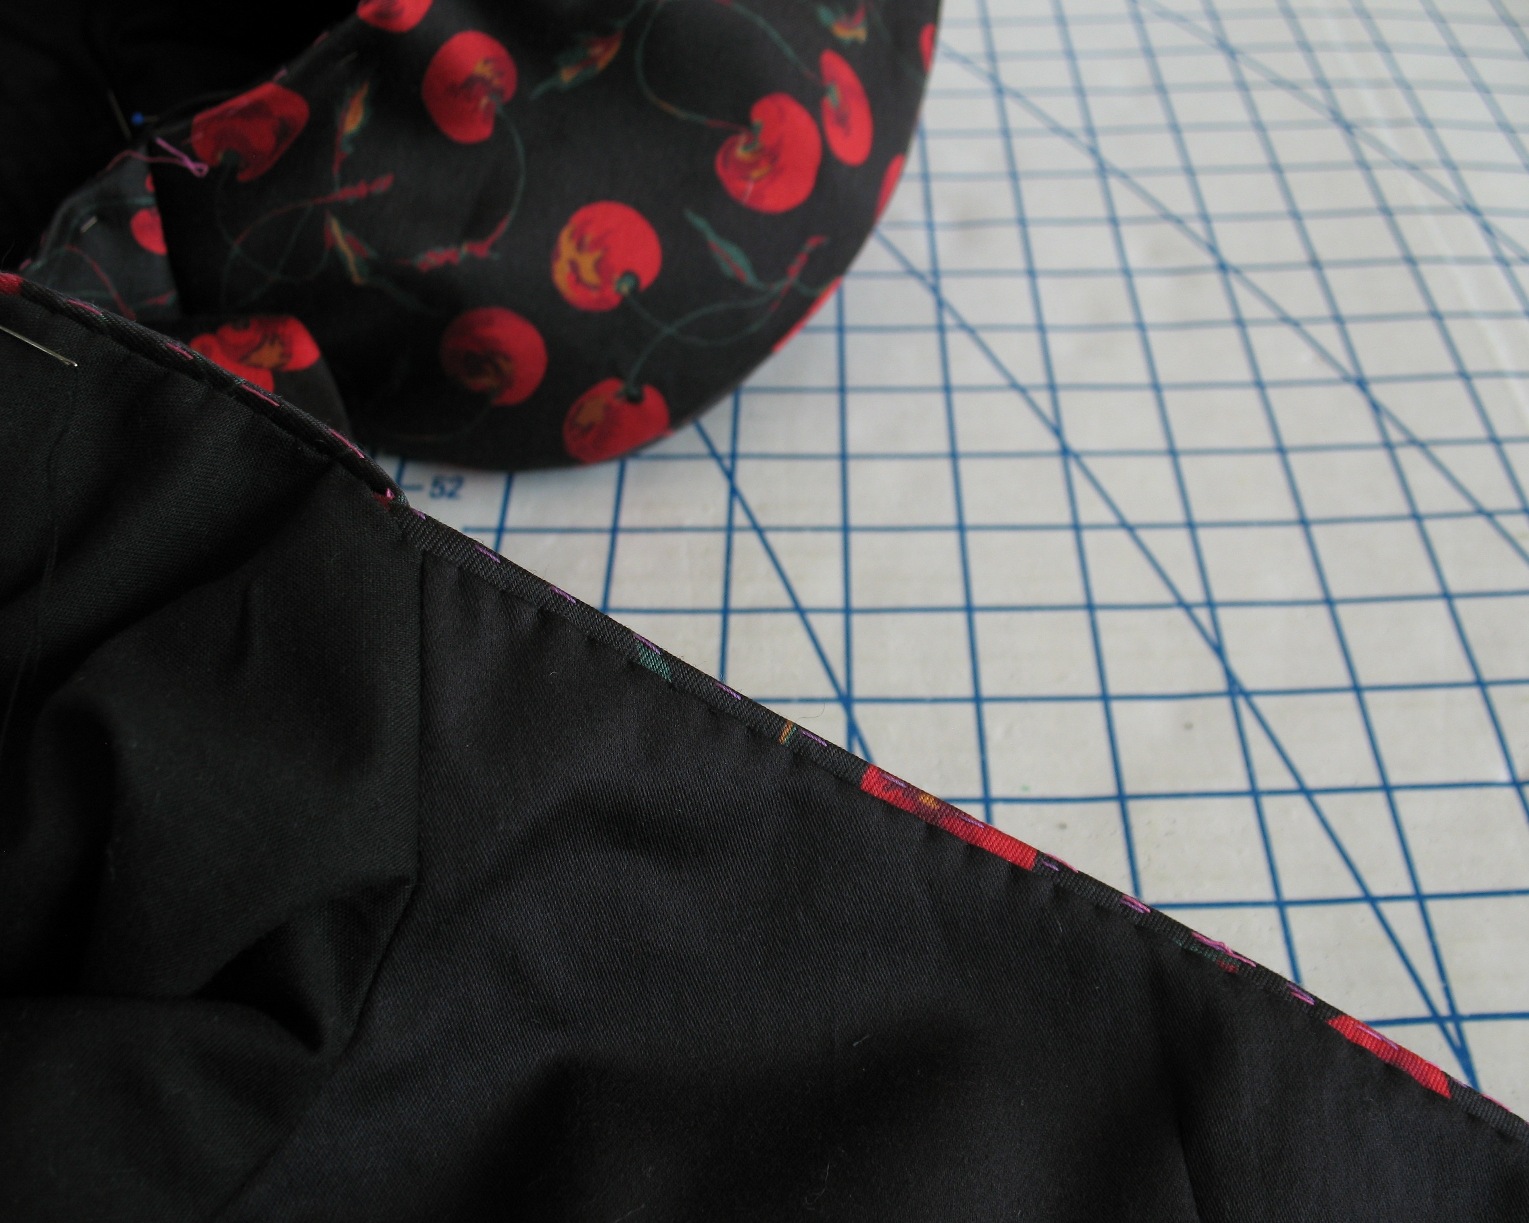
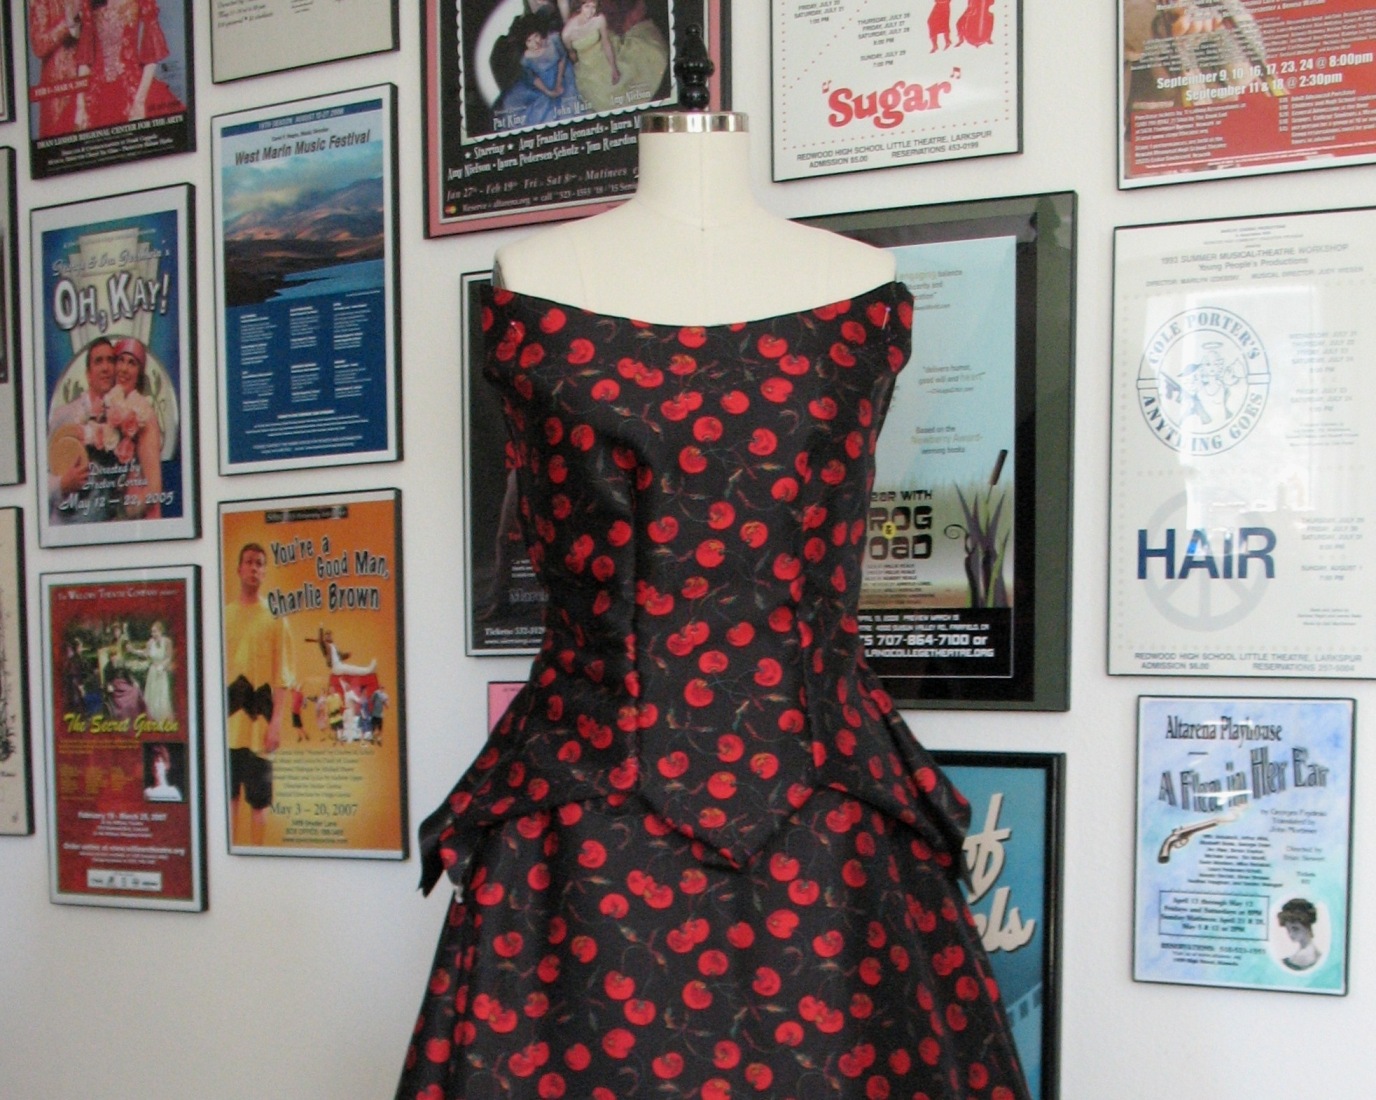
And that is the bodice!
I so admire your attention to detail when sewing. You have really inspired me to slow it down and sew with more care - plus I have discovered a love of hand stitching!
ReplyDeleteLovely! Wonderful pictorial.
ReplyDeleteThis needs its own museum exhibit! Very inspiring (and humbling).
ReplyDeleteBeautiful! thank you for all the photos and info. I suddenly MUST sew myself a ballgown. :-)
ReplyDeleteMy sentiments exactly, and I'm a guy.
DeleteExcellent!! Thank you - and looking forward to more on the process...
ReplyDeleteYou are so inspiring. I just vowed that my next opera ball gown would be something truly simple out of an interesting knit fabric, but you're making me start to dream of a more complicated project!
ReplyDeleteIt's really shaping up nicely. I use silk organza I think as much as you do; I always have it on hand as I'm using it constantly. :) How else would you do those inward and outward angles, ya know?!
ReplyDeleteGorgeous. I love seeing the detail. Your work is meticulous and beautiful. Thanks for sharing the steps you took to stabilise and reinforce those corners!
ReplyDeleteI did not think you could make anything more beautiful than the Ceil Chapman dress but this is prettier than I thought it could be. I think even you are getting better at your craft. Your tutorials are so clear and easy to understand that anyone can follow your technique if they like hand sewing (I do). I would pay to take classes from you but your photos and detailed explanations are so good it's not necessary.
ReplyDeleteThis Dress series is just incredible!!! And you are so generous publishing every thing in such detail. I am truly amazed! And grateful! All the best,
ReplyDeleteJu
I just love everything you do. Wonderful!
ReplyDeleteSpectacular! I admire your attention to detail.
ReplyDeleteI'm very impressed with all the work you put into this dress. It looks great and you are really going the extra mile with all the hand-sewing.
ReplyDeleteAlthough I have to admit that I was taught thread tracing as child, when I was learning to sew and I hated it so much it stopped me from sewing much until I was living on my own and didn't have my mother watching over my shoulder making sure I didn't skip that step. My mother used cotton basting thread for thread tracing and in everything she ever made, there is still the occasional bit of fluffy off-white stuck in some seam...
And silk organza... I've been reading about that for years now but I've never been able to find any (in real life that is. I'm sure there are web stores selling it but, especially for a new-to-me material, I would like to see and feel what I'm buying). I've tried using other materials to stabilize gussets and things like that, but it's always hit and miss depending on the fabric used for the garment itself.