

Ah yes, the annual Christmas dress. It has become a bit of a tradition. Last year, I made myself a blouse and matching quilted skirt, and I had plans to make a dress out of this wonderful snowman print. Alas, I only got as far as washing the cotton before the holiday came and went, and I lost the motivation for winter themed novelty prints and moved onto something else.

This year, I knew that I wanted to get back to the snowman print. I gave myself plenty of time, and started working on a muslin at the end of November. My idea was to combine last year's blouse (already a combo of different shirt and sleeve patterns) and add a skirt to the mix.

I also wanted to change the collar shape, and make the blouse more fitted through the waist in order to add on a skirt, so a practice run was in order.

I never made a complete dress, but I did have a good enough idea that the dress would turn out with part of two skirt panels pleated down into my bodice, so it was time to cut into my fabric.

I made a few minor changes after ripping apart the muslin in order to use those pieces as my pattern.

And then it was time to fit everything on my fabric yardage.

I knew it was going to be a tight squeeze, and it really was a bear.

I mulled things over for a couple of days, determined to use the massive sleeve pattern. I adore these sleeves, but they are fabric hogs. In the end, I made it work with a slightly shortened hem for my skirt pieces.

And it was worth it! These sleeves are ginormous and absolutely fabulous.

I had my buttons chosen early on, but with only eleven of them available (vintage from an estate sale) the two extra cuff buttons would have to come from somewhere else.

I found a pretty good match that were half an inch in diameter, and while not a perfect match, they pair nicely.

And with that, the sleeves were complete! It's strange to complete the sleeve so early on in the process, but I guess after being unsure that I would have them at all, I was anxious to see how they would turn out.

Next up, I had more bound buttonholes to make for the bodice and skirt front.

Although there are multiple ways to go about bound buttonholes, over the years, I have found this technique to be my favorite, starting with making marks on the wrong side of the garment which get transferred to the front by hand basting the lines in silk thread (the silk is so much easier to remove than a standard poly thread).

For the skirt, I decided that the majority of the pleats could be in place before making my buttonholes, so that is what I did.

And here we have more marking . . .

and more basting.

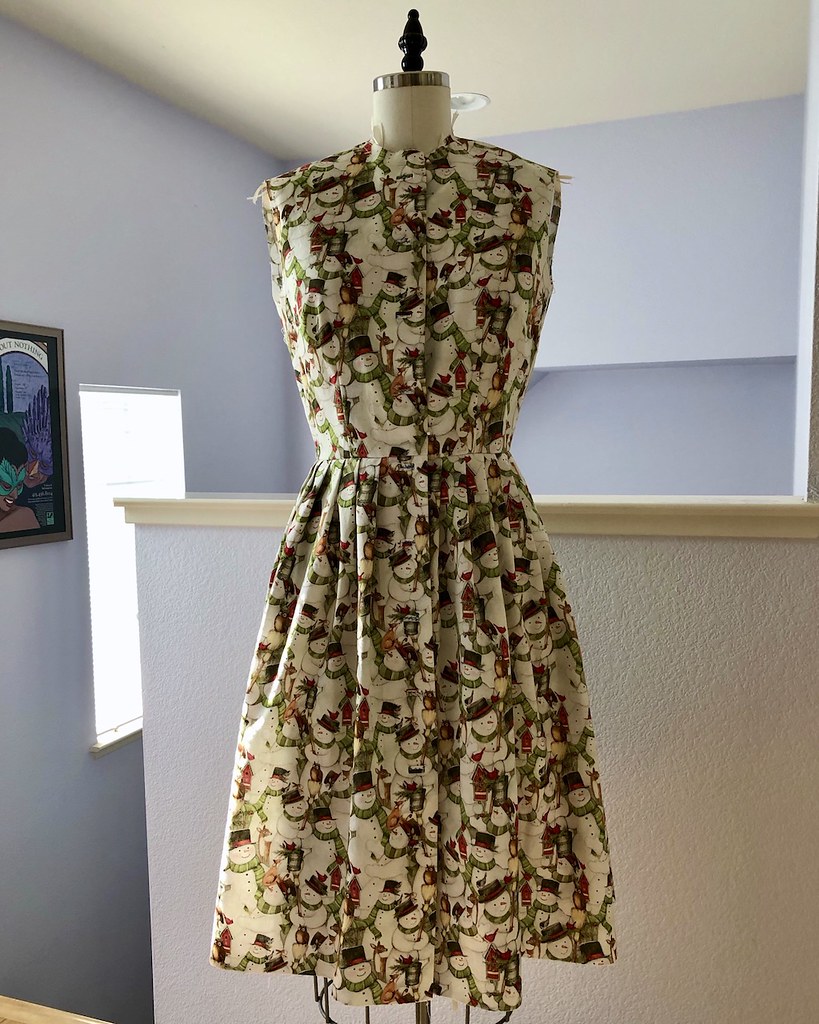
After the buttonholes were finished, skirt was attached to bodice, and the seam finished with seam binding, naturally!

Which leaves the dress looking something like this.
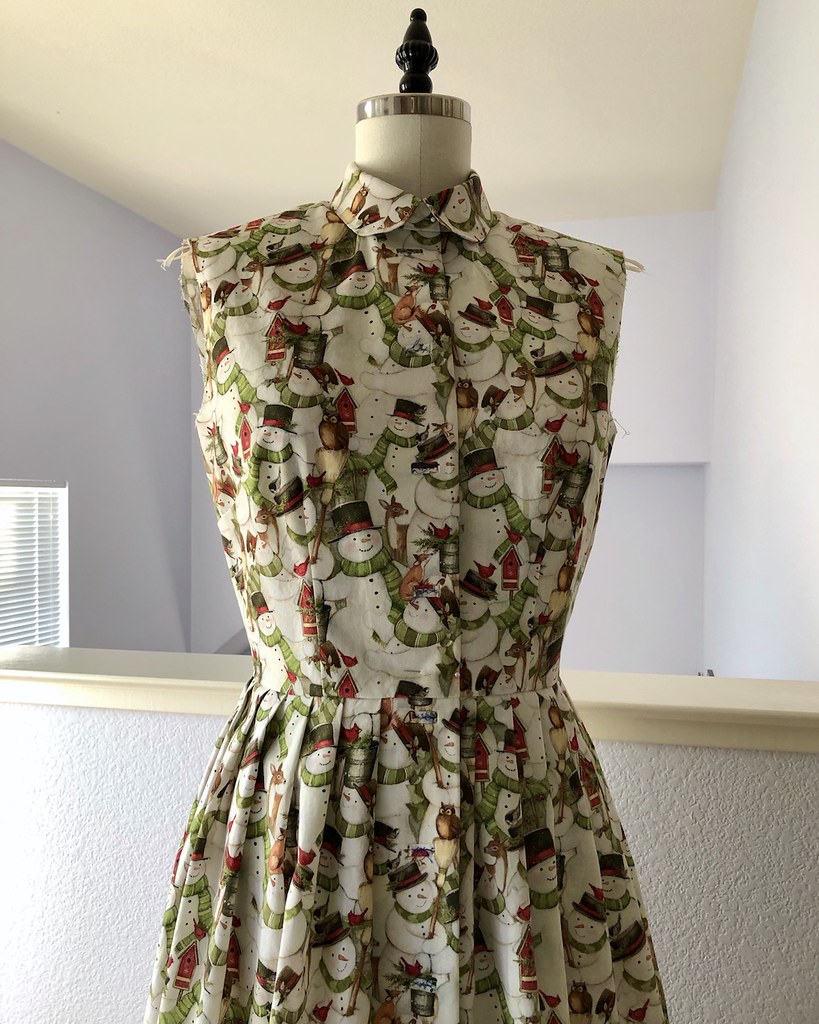
And now for my very first collar stand.

Yes, I have been sewing garments for over twenty years and this is my first collar stand. Embarrassing, but true.

My only excuse is that I love tie necklines, shawl collars, and less tailored looks, I suppose. The instructions that came with Vogue 8772 were easy to follow, and I have seen quite a few images over the years and in progress shots of people constructing the collar stand, so all in all, not a difficult process. My reason for choosing this type of collar will become clear later.
And, of course, this dress needed a matching belt.
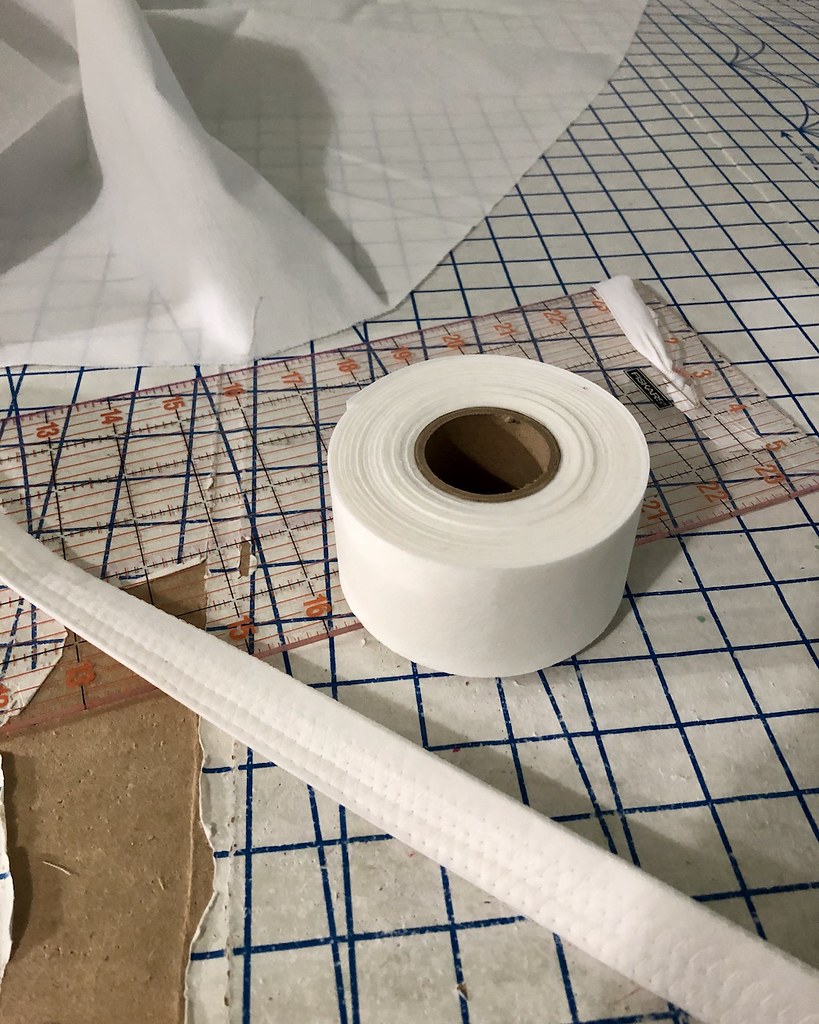
I didn't have any one inch belting on hand, but I remembered this roll of interfacing. It just happens to be two inches wide. I cut two lengths, zig zagged them together, and then folded the double layer in half and stitched again. It's not quite as sturdy as actual belting, but with a substantial interfaced fabric piece, it does the trick.

Unfortunately, I did not have enough fabric to cut a length of fabric long enough for my belt, and piecing the directional print meant that a center back seamline requires that the belt open opposite to my button front dress. It's a small thing, but it bothers me. I doubt that anyone would notice, especially since the print is so busy, and I have no choice but to live with it.

And since the collar was edge-stitched, I decided to edge-stitch the belt and went back and edge-stitched the cuffs to tie everything together. The process of edge-stitching makes me very nervous, but it all turned out well in the end. Also, I had the protection of a busy print to hide any top stitching mistakes, which, of course, never showed up. Do I dare try this on a solid colored fabric with a contrasting thread? Probably not.

The other thing I was slightly concerned about was skirt length. In the end, I decided that this silhouette would work as an above-the-knee length which allowed for a decent hem; not the three to four inches I like to have on a non-shaped skirt, but better than what I was expecting.

Which means the dress is complete!

Except for one missing element . . . can you guess what it is?

You are probably wanting some kind of tie/scarf at the neck to finish it off.
ReplyDeleteTheresa in Tucson
Absolutely gorgeous dress and your usual exquisite handiwork. I am always in awe of your projects. I agree with Theresa, my guess is a bright reddish bow at the neck.
ReplyDeleteYou do such lovely work! Very pretty dress. Is it a hat that’s missing?
ReplyDeleteIt's missing red tights and a twirl!
ReplyDeleteConvince me otherwise.
Cute dress and I am glad you made bound buttonholes instead of machine made ones. The only thing I can think of to add to your dress is a knitted striped scarf in coordination colors.
ReplyDeleteMe parece un vestido maravilloso de principio a fín y ¿qué le falta? quizá una lazada en el cuello????
ReplyDeleteDisfrútalo mucho y BESICOS.
Two things come to my mind: a very modest petticoat so the skirt has a bit of flair at the bottom or a unique closure for the neckband since I do not see a button.
ReplyDelete