Wednesday, March 19, 2014

The Wearable Muslin


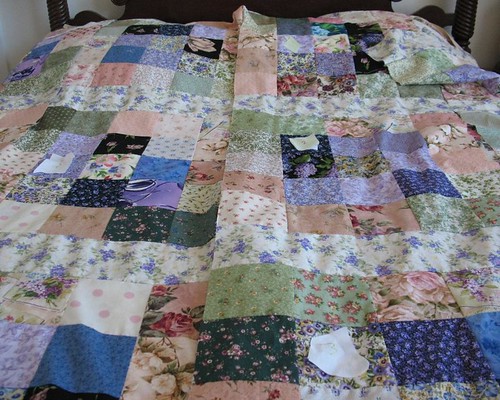
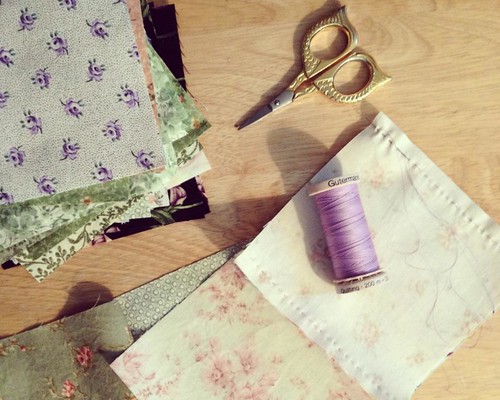
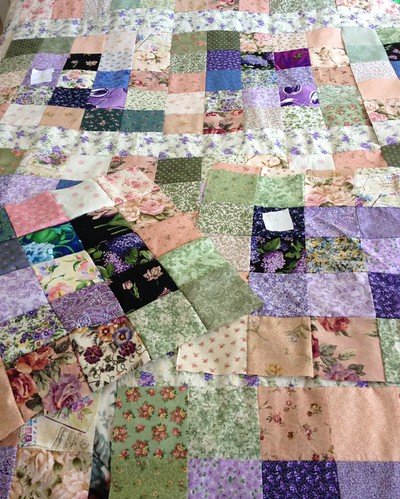
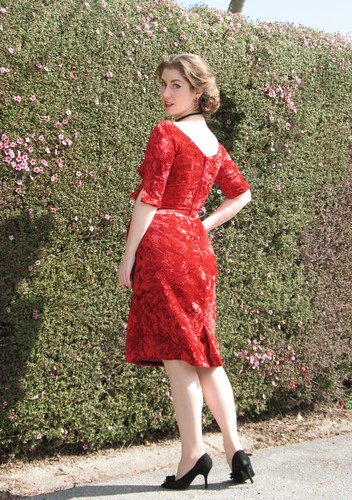
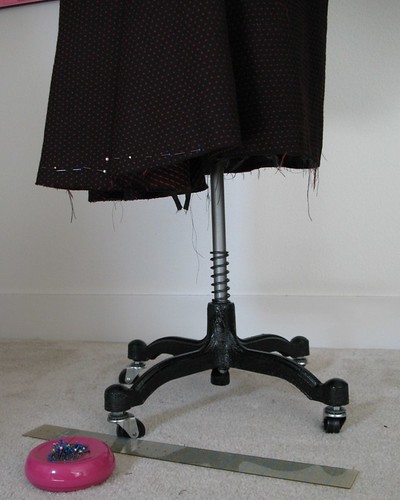
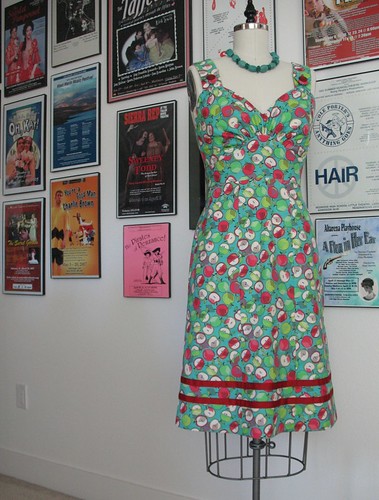
In the spirit of using what I already have, here is my latest project.  And I even managed to find every single item I needed for this dress in the sewing room – that NEVER happens!


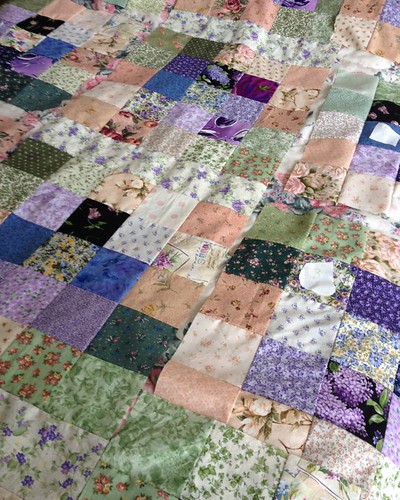
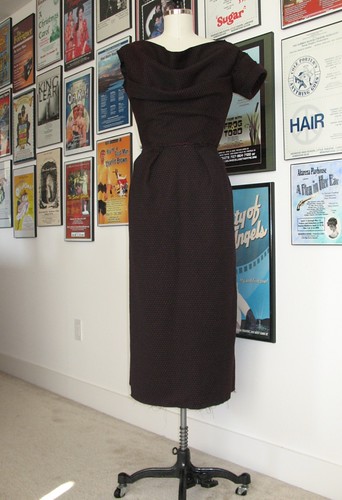
Quilting cotton is easy to work with and, despite all the naysayers, can work great as an apparel fabric, provided your demands are reasonable (if you are hoping for a 1930s Jean Harlow look, steer clear).


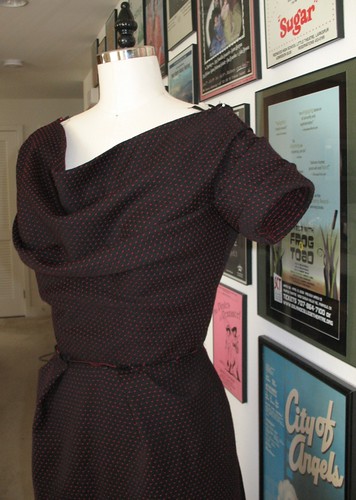
These days, I end up making muslin mock-ups for a large percentage of my projects.  But sometimes it gets tiresome staring at white muslin.  There, I said it . . . sometimes all the prep work gets boring.


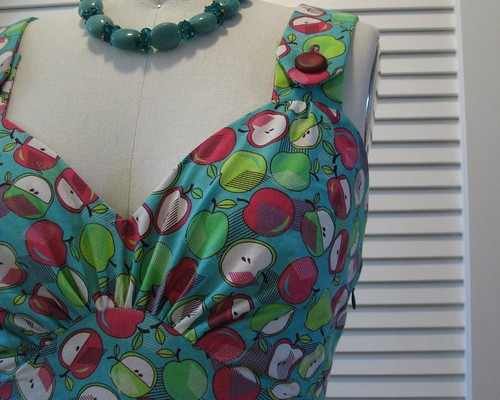
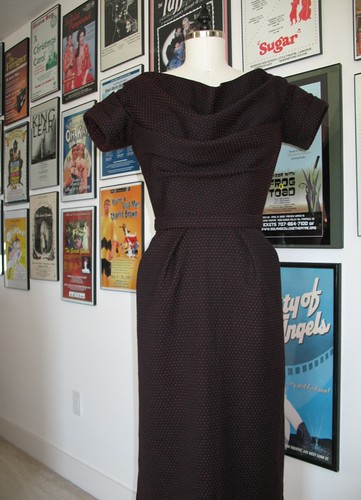
With Colette’s Parfait, I guessed that there were not going to be many alterations necessary, which is why I decided on a wearable test version of the pattern.  Right away, I knew the length was too short for me, so I took a guess and added two inches there.  The waistline is high, but I think it is supposed to have that look, so I just add ½” to the midriff pieces.  That gives me 2.5" of extra length to work with.


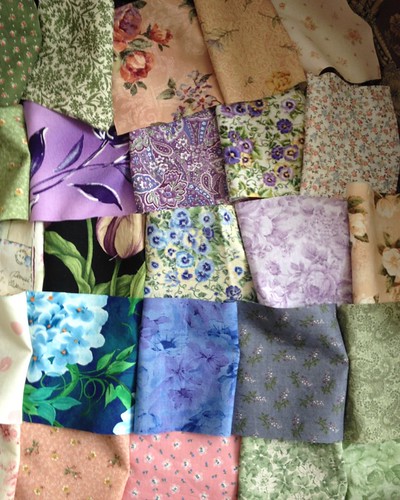
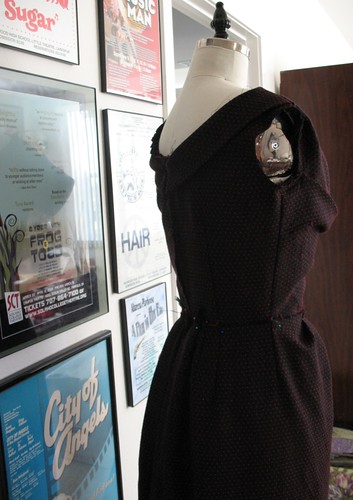
My initial thought was to use another quilting cotton that has 
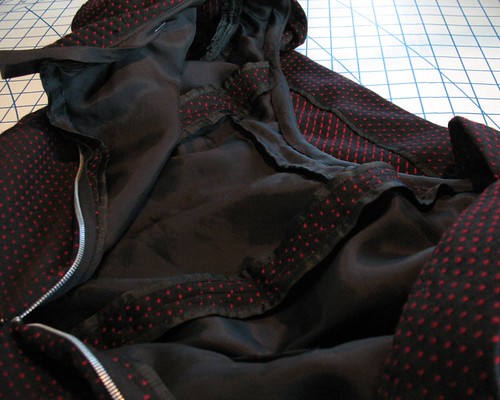
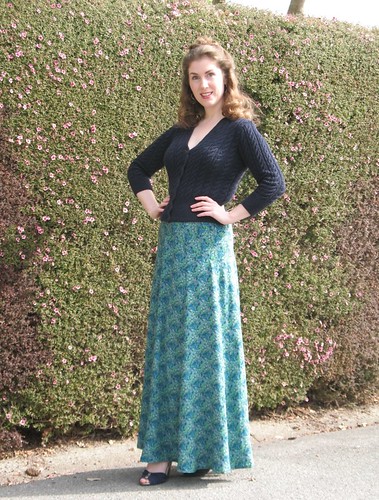
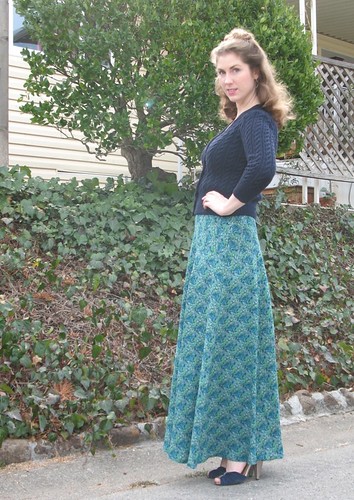
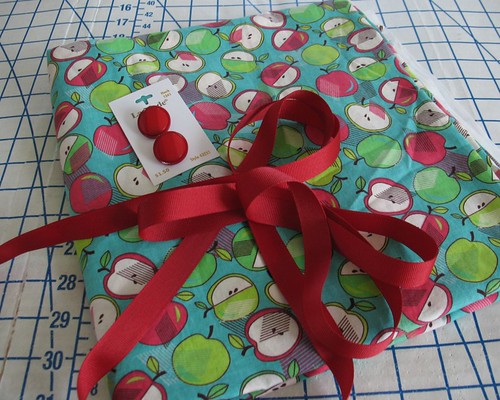
been stashed away, but I was not sure I had enough.  And then I remembered this quirky apple 
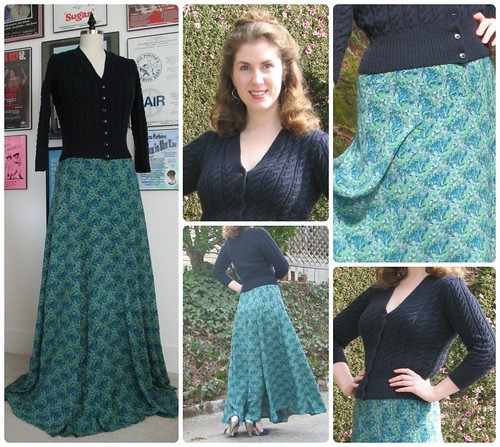
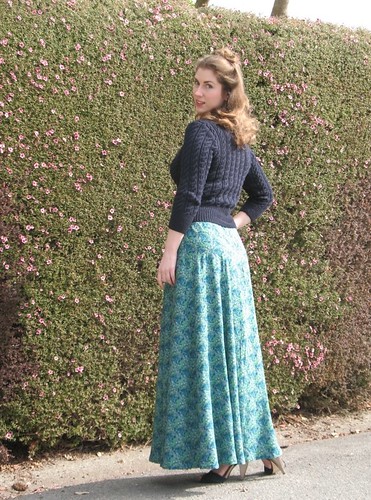
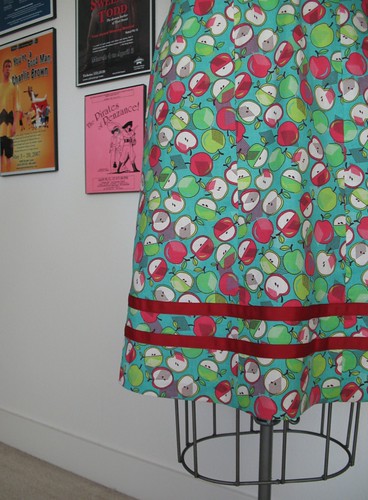
print.  It was purchased to make this skirt, but I still had enough to squeeze out this pattern using a multi-directional layout - not ideal in most cases, but since this print is random, it really does not make a difference.  Oh, and I also made a blouse last year - three projects from one length of fabric - whoo-hoo!


The only real change I made was to use the midriff lining pieces as a full lining, instead of leaving raw edges at the side seams.  This adds a bit of hand stitching to the process, but I have never had an issue with that!  Also, it keeps an extra layer out of the zipper seam.


Oh, and since I did not want to mess around with trying to figure out the buttonhole attachment on my machine (been there, done that, and had issues), I opted for bound buttonholes


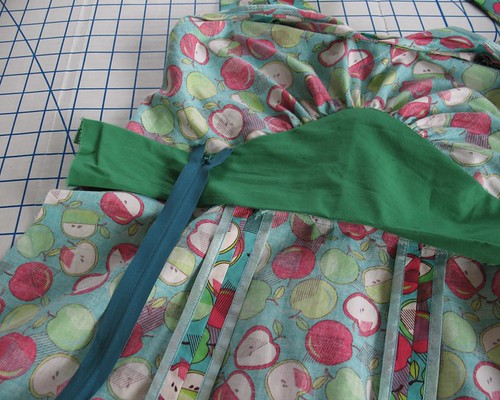
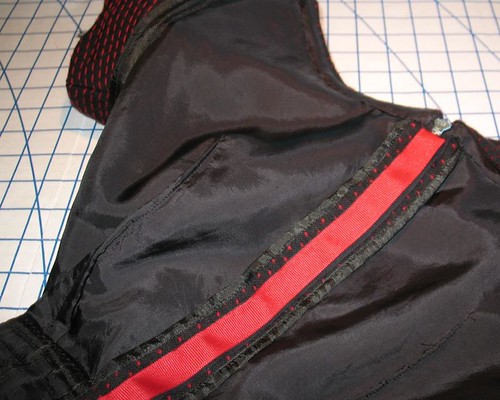
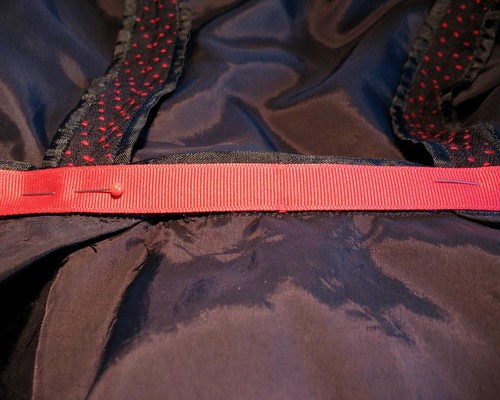
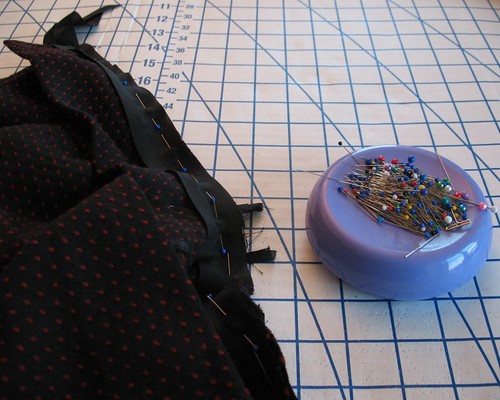
The red grosgrain ribbon was already on my sewing table from this project, so I swapped the pocket embellishment for the ribbon trim.


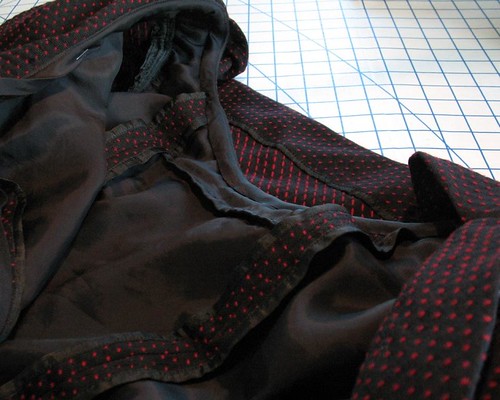
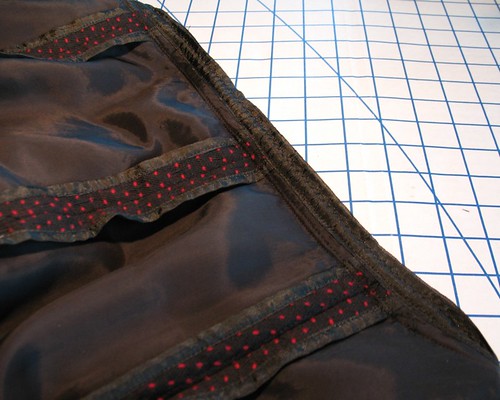
Sure, I spent a bit more time on finishing than I would have with an actual muslin, but in the end, I have a new dress to wear!


Tuesday, March 18, 2014

Hand Pieced


So what is a girl to do when faced with making changes to a garment that she really doesn't feel like dealing with?  Pick up something new, of course!  I started perusing my knitting patterns and yarn to see what I might want to play with next, but nothing was really calling out to me.  


And then I noticed the stack of quilt blocks that have been draped on the back of a chair for goodness knows how long.  Every once in a while I notice them sitting there and feel guilty for yet another abandoned project (though it never seems to motivate me to do anything about it).


But this time I was a good little crafter, and decided to tackle one of my many unfinished projects.


This is actually the second quilt top I have started (not including this doll quilt from my childhood that never actually made it to the quilting stage).  Maybe I will have to pull that other abandoned quilt out and use the appliqued blocks to make some pillows, or something . . . 


This particular quilt was started at a time when I had an intense craving for a whole lot of hand sewing.  I have a ton of cotton stashed away, the majority of which is leftovers and scraps from past projects.  


My first instinct is always to make everything look matchy, matchy, (any excuse to get new items for a project is too good to pass up), but I always love looking at other examples of patchwork that were clearly not part of a charm pack, so I decided to throw caution to the wind.


The wonderful part of working with scraps, is that every time I cut another square or thumb through the stack of semi-completed blocks, I look at the fabric and remember all of the projects that came before, a dress here, a gift there.  And, of course, that lovely feeling I get when I can use some of my stashed fabric is another reward.


Well, I finished the last block and started on the sashing this past week!


Who knows how this will end, and if I will lose interest before I get to the quilting stage . . . but this just may be the year that I learn to hand quilt!


Sunday, March 16, 2014

Zipper Woes


So here are the “finished” insides of the Ceil Chapman dress.  And thank you to everyone for your support and suggestions regarding the zipper.  Although I am dreading it, I have decided that the zipper is going to have to come out.


And I thought I was begin so smart and careful with my construction . . .


I managed to zip my skin into a metal zipper during the construction of this dress (not fun, by the way), so I brilliantly decided to spare myself any more scars by adding a length of grosgrain as a shield, which also saves cold metal from touching the skin.


My first experience with a mangled invisible zipper (that one was plastic) was with this dress.  In the end, the offending item was removed, and I inserted my first lapped zipper.  The experience was not as dreadful as anticipated, so hopefully that will be the case with this dress.


I expect the strips of organza that were used to stabilize the opening edges will, in fact, help me unpick all of the tiny backstitches that hold the zipper in place.  The waist stay will remain, since it does not interfere with the center back opening.  


The weather has been so beautiful these past few days, working with wool feels wrong, but I am hoping that tackling a more successful project will get me motivated to finish this one.  Because there sure is something about having to make repairs to a "finished" garment that makes me want to run and hide - I really need to get over that!


Wednesday, March 12, 2014

Second Choice


A couple of weeks ago, the Marin Symphony produced another wonderful concert, which meant that I had the perfect excuse to finish up my Ceil Chapman dress.  But as you can see, I did not wear the dress.  Instead, after a minor catastrophe, I had to run home and to change.  This dress is what I came up with.


Everything on the Ceil Chapman was completed in plenty of time, although getting into the dress by myself was problematic, even during construction.  But that did not really concern me.  I was going to Mom’s anyway for pictures, so I figured an extra pair of hands would solve the zipper issue I was having.  But I was wrong.


Before you yell at me for attempting to use an invisible zipper with a bulky seam, I should tell you this was a metal vintage zip.  And I have had no problem in the past using them with fairly bulky seams because they are sturdy (another one worked beautifully on this dress).


But even after all the ends were tucked in and tacked down for stability, it was no longer possible to zip the zipper on my body.  With the waist stay, it should have been easy.  


The dress fits, but the darn invisible zipper just cannot make it past the seam bulk at the waistline on the body.  It works on the sewing table, although I need to get a running start at it – but that is normal for any invisible zip.


The project has been put away until I process how I want to proceed.  I think the only solution is to rip out the zipper.  I just hope I have not trimmed too much away from the corners.  Anyway, this is a job that must be done in the daylight - it is hard enough to see black thread on black wool in the best of circumstances, and I am going to need all the help I can get!


So, I am rather sick to my stomach about it at the moment, but hopefully a bit of time will give me the courage to do a little surgery on the dress.


Wish me luck!


Dress:  Made by me, Butterick 5814
Wrap:  Vintage, gift
Shoes:  Via Spiga
Earrings:  Givenchy

Sunday, March 9, 2014

Getting There


Progress continues on my Ceil Chapman project.


Instead of adding a lining to an already intricate design, I decided to go the easy route and underline as suggested by the instructions. 


The back skirt drape, which I initially thought was tacked on top of a fitted skirt or attached with a belt, turns out to be part of the actual design and held at the center back with two internal “lining” pieces.  I do not agree with the description, and would consider those pieces a "stay" to help the soft pleats remain in their proper place.


After living on my dress form for a couple of days, the pleated section started to drop (not very surprising as it is cut on the bias).  I find straightening a hemline to be a tedious process, so doing a bit here and there in between more interesting parts of construction helps to make it less painful.


To keep the bodice lining neck edge from stretching, I added a length of seam binding and stitched just inside the seam allowance.


And I ended up replacing the given neckline facing with a bias strip of my bemberg lining.  


This midweight wool is probably a little on the heavy side for this design (the sleeves were my first hint) so adding more bulk with a wool facing did not seem like a great idea.


For raw edges that were too bulky for a single fold of seam binding, I used two.  Two lengths were applied, one on each side of the seam, at which point the top edges were stitched shut with a zig-zag stitch.  This process was used on the waistline seam as well as the armhole edges.


This is really starting to look like a dress!


Monday, March 3, 2014

Sewaholic has done it again!


By now, I am sure most of you have heard all about Sewaholic’s latest offering:  just in time for the warm weather, here is “Gabriola” - also know as the perfect maxi skirt.  And I was lucky enough to be a pattern tester!


This skirt sits at the waist – which is brilliant!!  That means the skirt is going to stay put instead of rotating every time I get up until the side seams are working their way towards center front.  (I realize that a waistband that actually sits at the waist may not work for everyone, but I am personally thrilled with this feature.)  


The yoke detailing is my favorite part of the pattern, and really elevates the look from just another long skirt to something much more special.  Even if the style lines are hard to see with the print I chose, the silhouette that is created flares from the lower hip instead of the waist and makes it that much more flattering.


If I was forced to admit I was unhappy with any part of the design, it would be the large yardage requirement.  But, given that any maxi length skirt or dress is going to use tons of fabric, it is a minor irritant.


That being said, I think this would also make a fantastic knee-length or mini skirt.  Although the season is quickly passing, I think Gabriola would work beautifully in a lightweight wool with a shorter hemline. 


As I was waiting for the hemline to drop on this skirt, my first Knit for Victory sweater was on my dress form and I realized that it complimented the navy in the rayon print very nicely indeed.  I just love when things work out like that!


This is my first rather winter appropriate styling for the skirt, but I am absolutely positive it will be getting a whole lot of wear this summer!  And when the hot weather once again turns chilly, I have a feeling I am going to need a warm weather version of the skirt.  


Sweater:  Made by me, Cabled Cardi
Skirt:  Made by me, Sewaholic’s “Gabriola” Maxi Skirt
Shoes:  Seychelles
Earrings:  Macys