I knew I was going to want something that said "1950s," so I
started with a buckram hat form from Britex since I am too lazy to make my own.
The form is meant to be worn with the point facing forward
or back, but I wanted it on the side of the head. This made the form a bit too large, so I
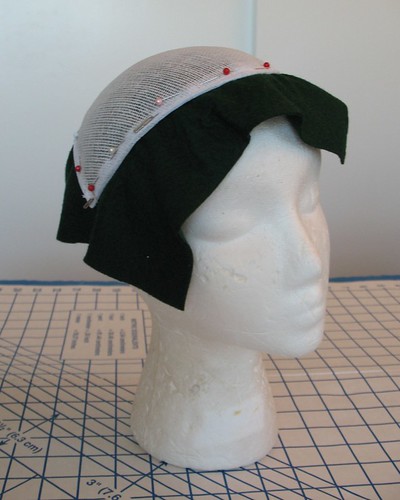
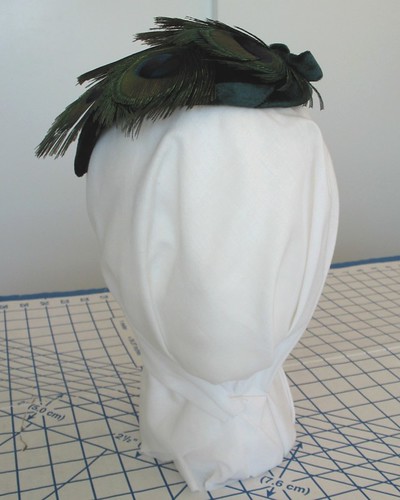
pinned it to a styrofoam wig head I have using t-pins, and carefully steamed
it. Thankfully, the buckram did not
stick to the styrofoam!
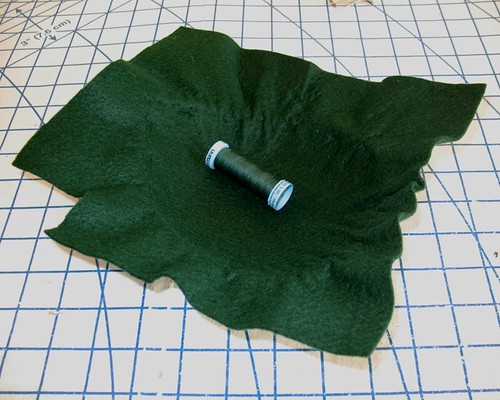
My hair is rather slick, so I like to use felt on the interior of a hat instead of silky lining material (I find that it is also much easier to add elastic holders to a thicker fabric like felt).
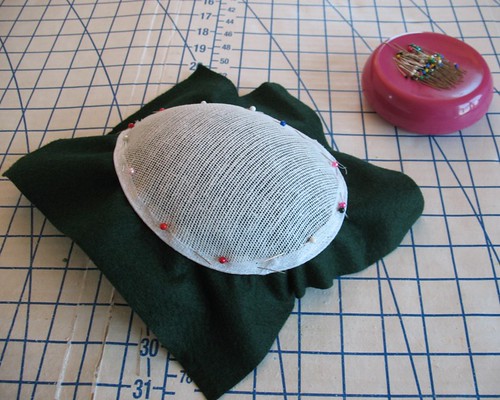
A square of felt was cut out and pinned to the inside of the form. To help the felt adjust to the concave surface, I pinned it back on the wig form and gave it a good steam.
After letting everything cool, the form was removed from the head and hand basted along the edges.
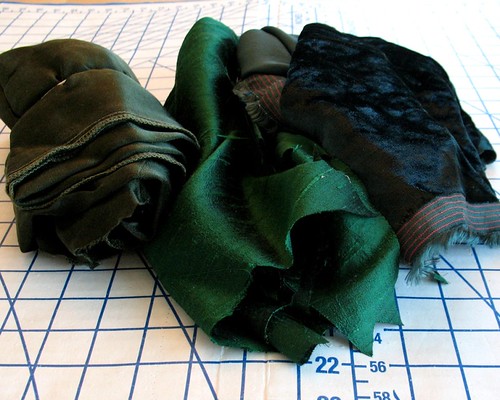
There were a few options for fabric, but in the end, the
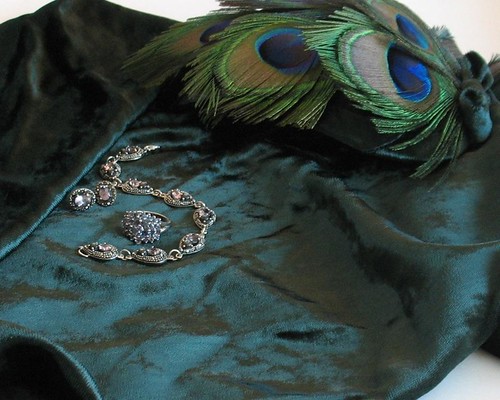
velvet I found tucked away in a drawer seemed like the best match.
A piece of the velvet was draped over the top, hand basted
around the edges, and a bias strip of velvet
was used to bind the edges. (Most of
this work was done in the evening, so I have no photos - but the idea is to sandwich the buckram form with fabric and
then hide the raw edges.)
As I have mentioned before, I am not a fan of glue for
apparel and accessory projects.
Sometimes it cannot be avoided, but whenever possible, I stick with my
needle and thread.
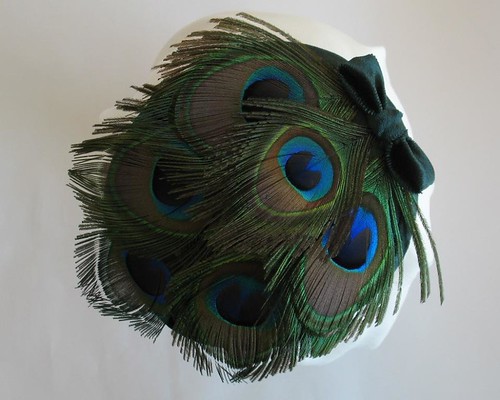
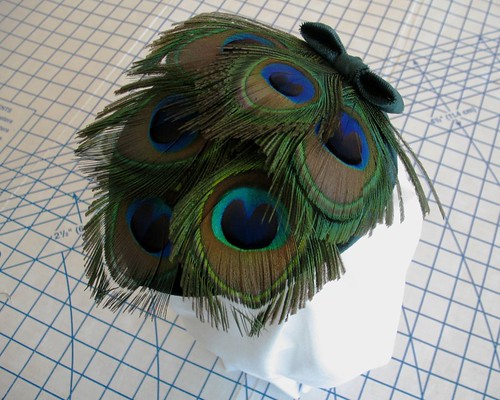
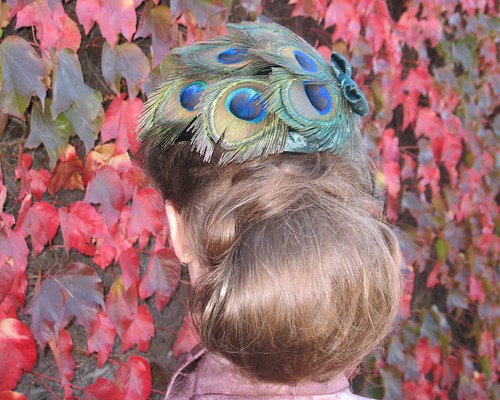
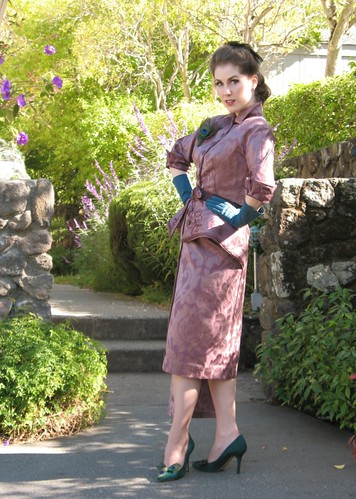
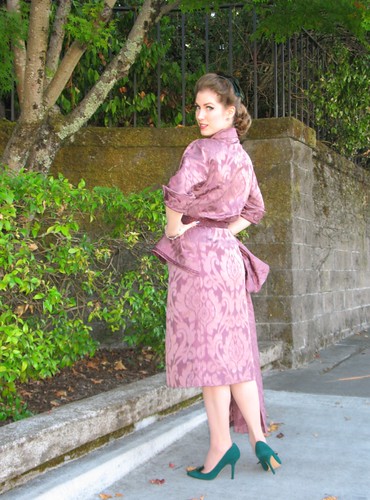
The feathers were a bit of a bother to deal with. I found that the best way of attaching them was to hold the hat up-side-down so the thread would not tangle and “unzip” all of the peacock feathers. Once they were applied, the feathers were sticking up and not following the curve of the hat. I had a bit of a panic, and then decided to throw a piece of muslin over the entire thing and steam the feathers. It worked! They still have enough loft that creates a fun and feathery texture, but they also fit the shape of the hat much better!
I was originally going to add beads to disguise the ends of the feathers, however, I had reached my beading limit! Instead, I used the leftover bias velvet pieces to make a little bow. One of the white ends of the feather was peaking out when viewed from certain angles, so I used a green colored Sharpie pen to dab the white away.
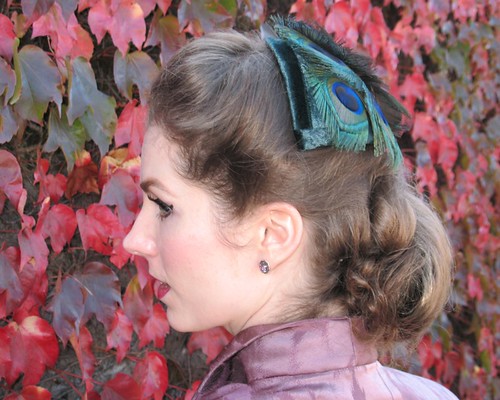
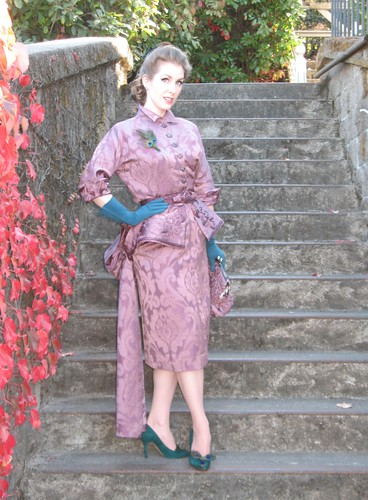
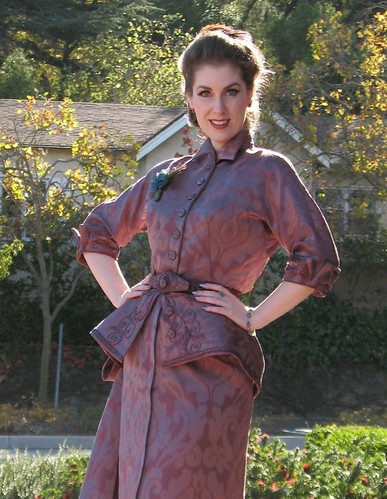
And, of course, it matches back to my brooch!
There are still quite a few peacock feathers left, so I may have to come up with another feathered project at some point!