
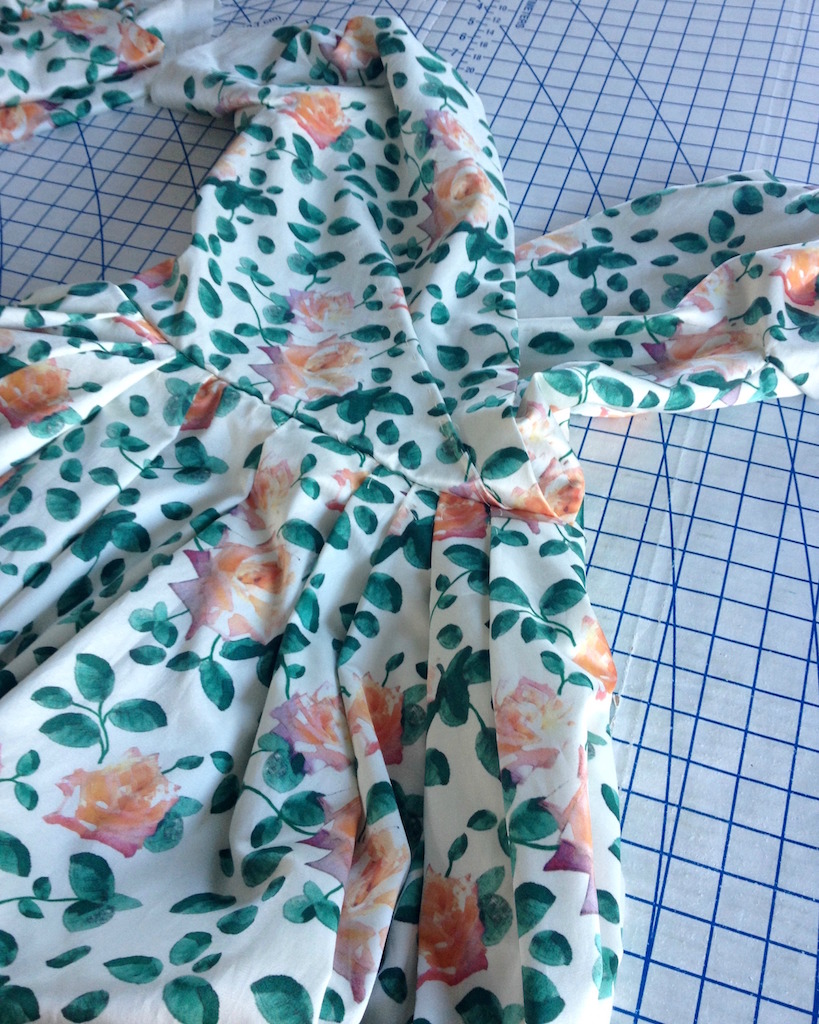
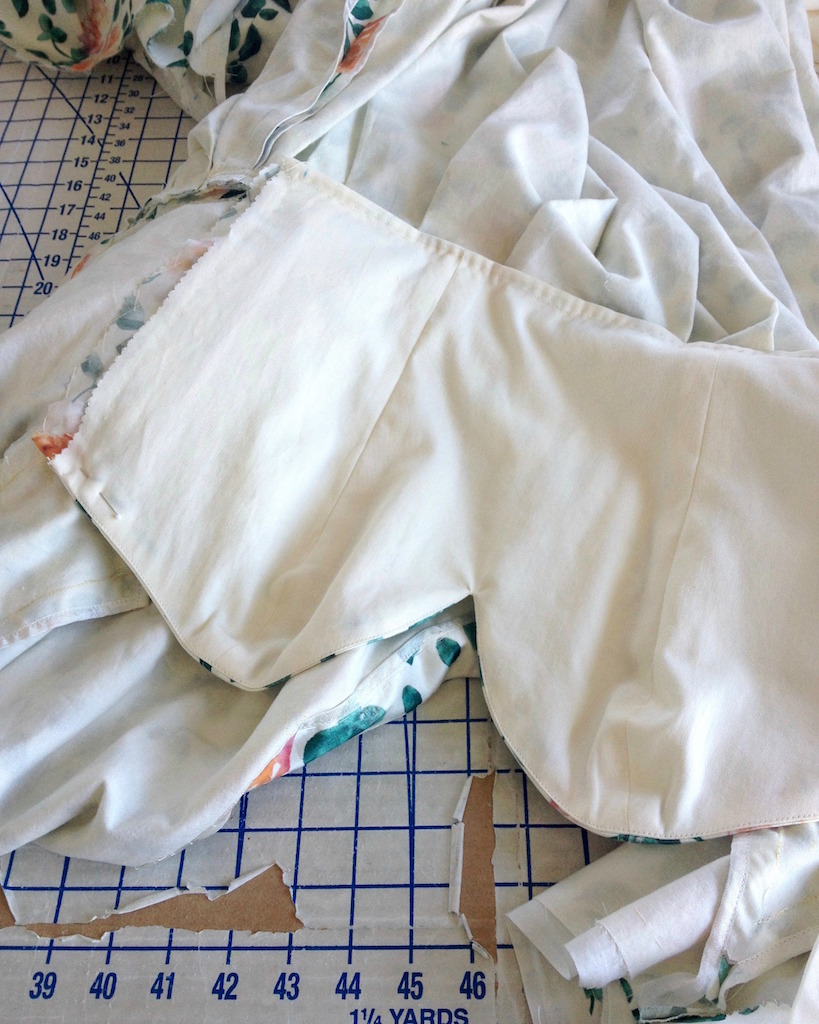
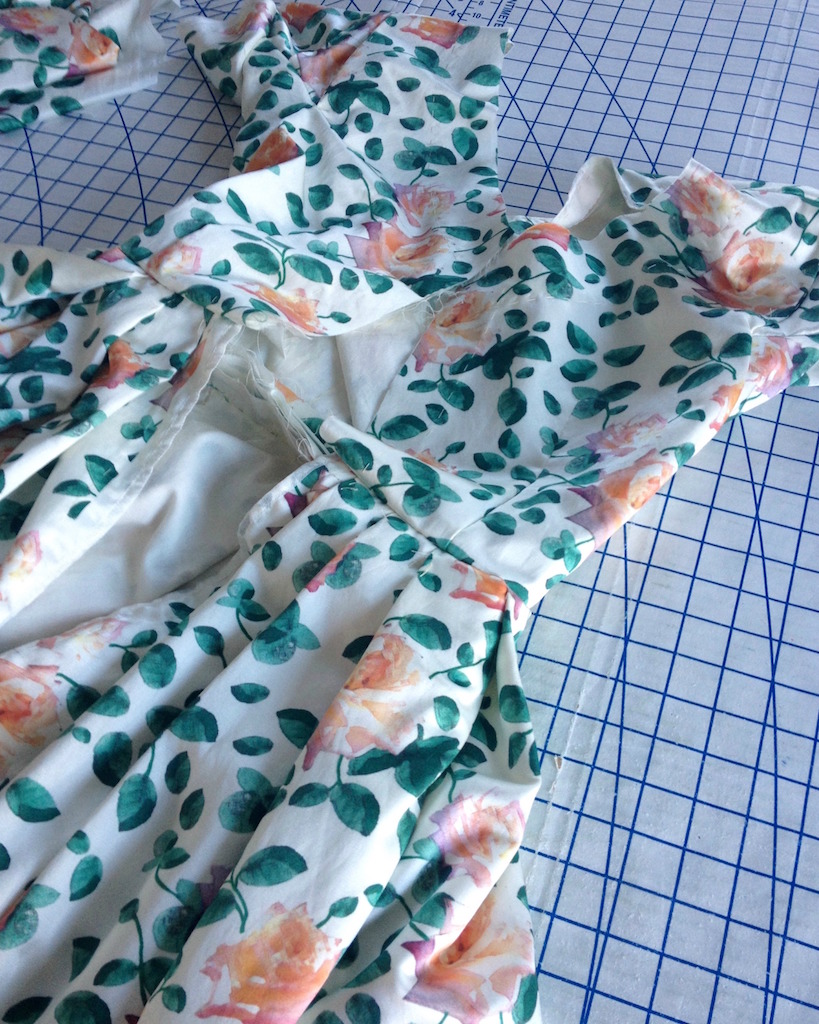
And now it starts to look like an actual dress!

Joining the bodice to the skirt is always exciting.
I love getting an idea of what the final dress is going to look like, but from here on out, there is a lot of fabric to drag around the sewing room.

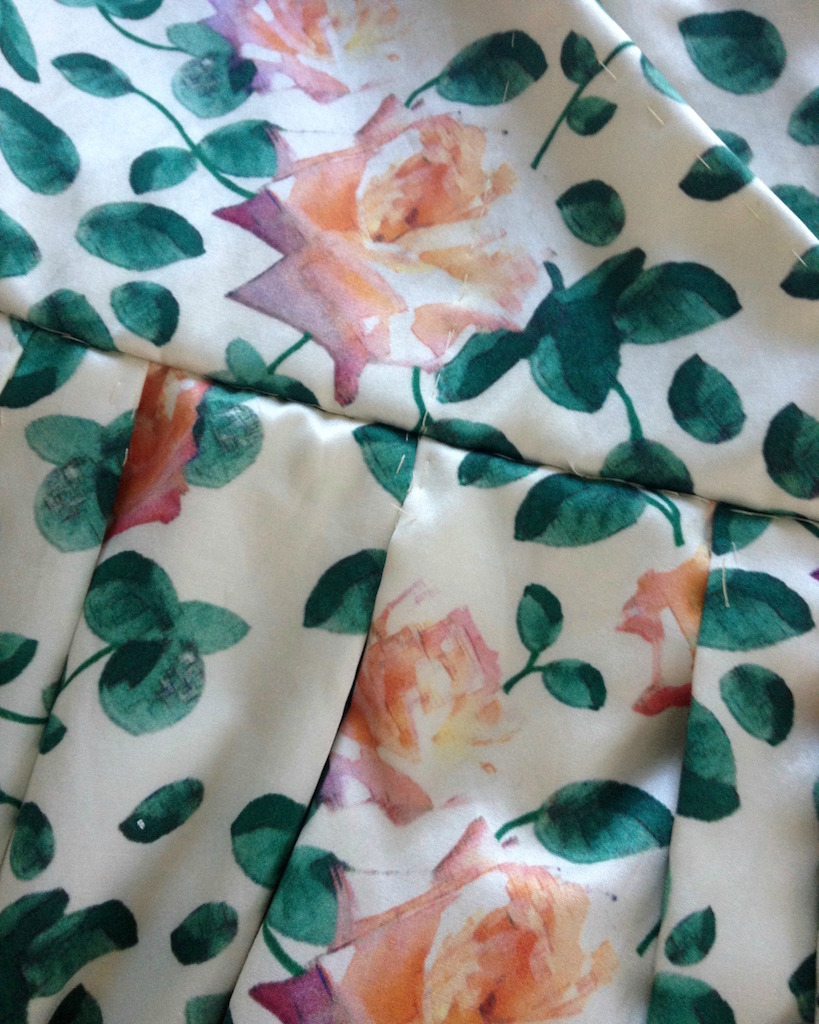
I did a fair amount of grading to the waist seam.
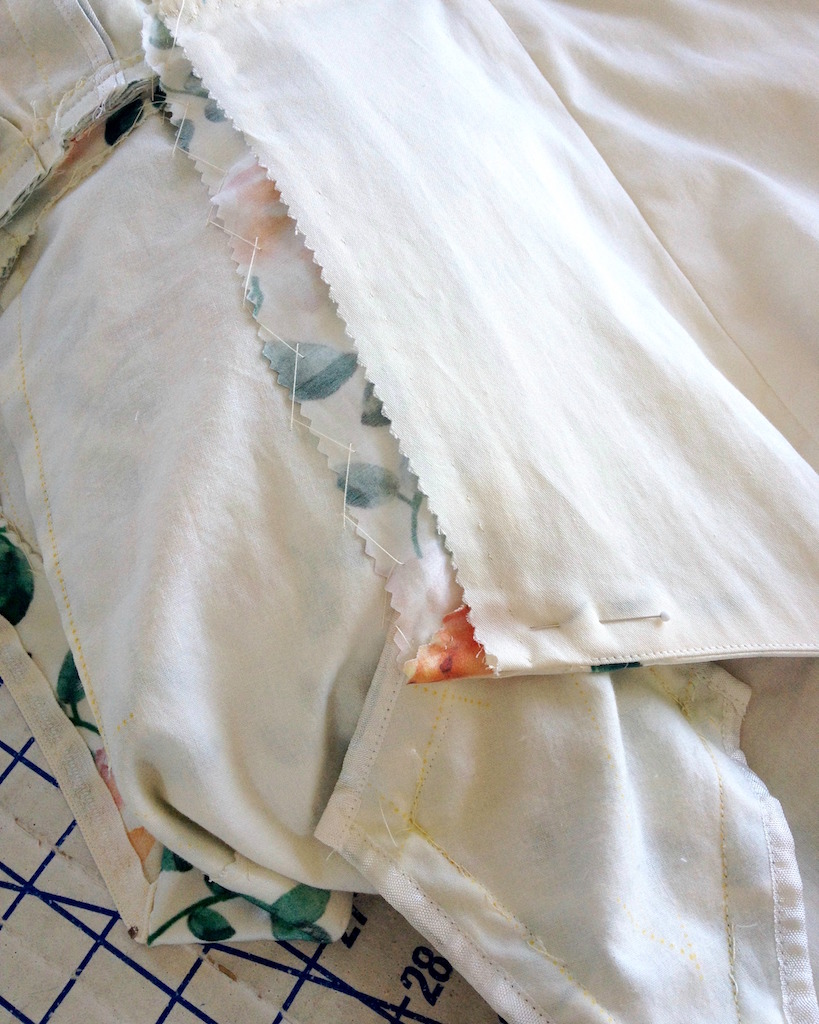
Most of the raw edges were pinked and catch-stitched to the underlining.
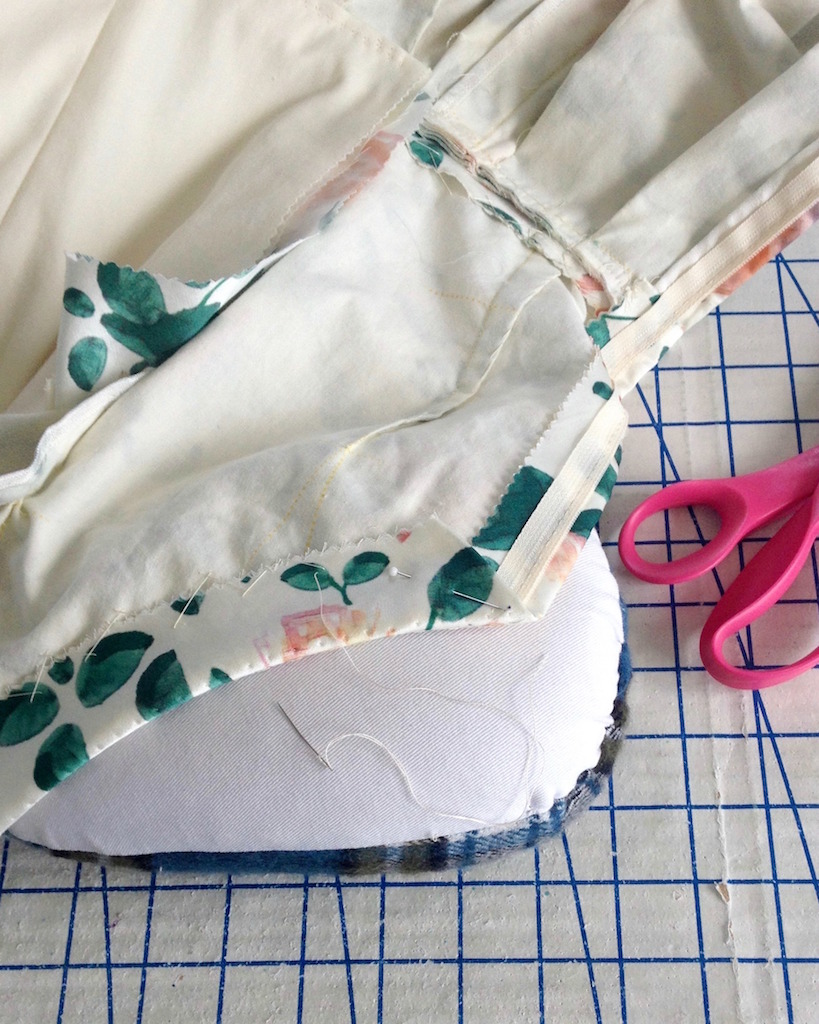
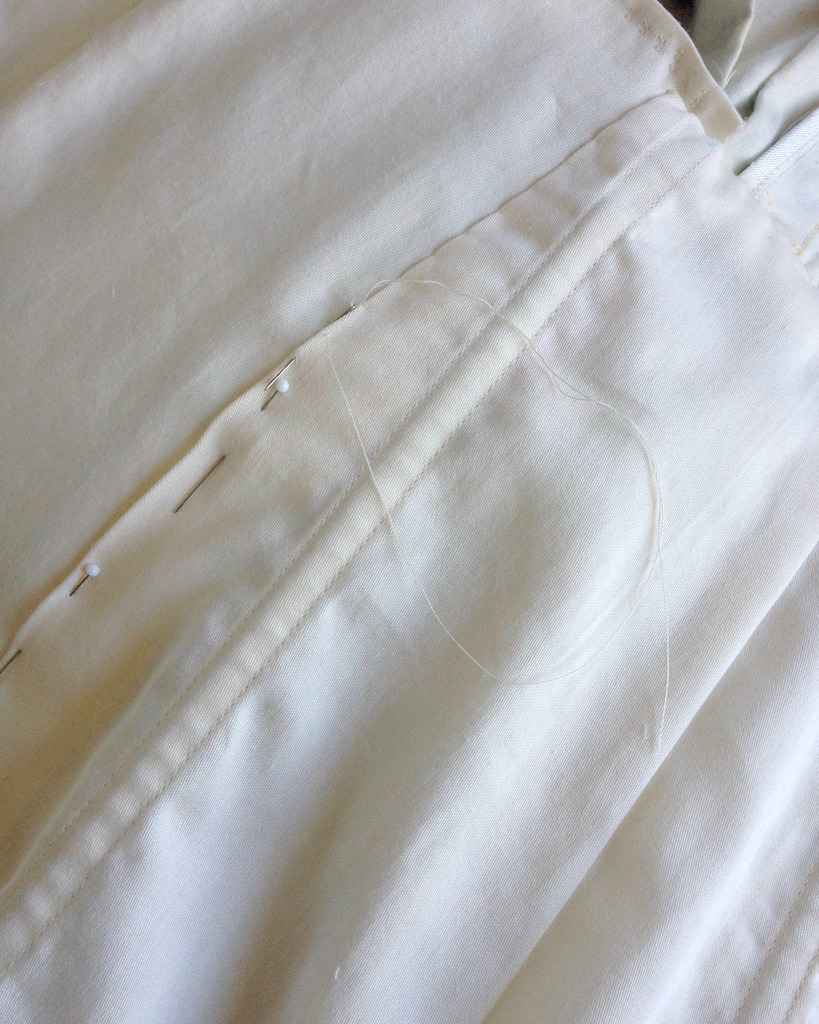
I decided to go for a lapped zipper application, which was hand-picked.
The underbodice was hand stitched to the bodice side seam allowance. I trimmed the layers and catch-stitched them to the underlining of the bodice as well to keep them from moving around.
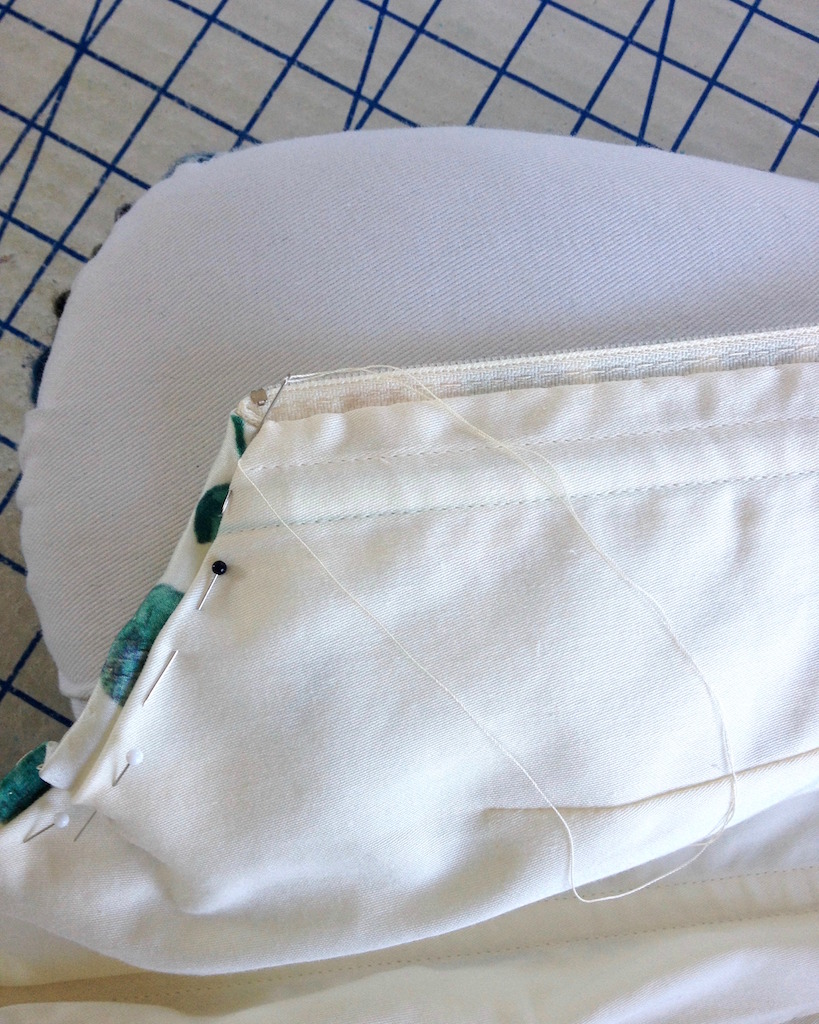
The back bodice pieces were cut out in the cotton lining fabric and hand stitched in place, covering the raw edges of the underbodice. I added a couple of bones to the back bodice lining as well.
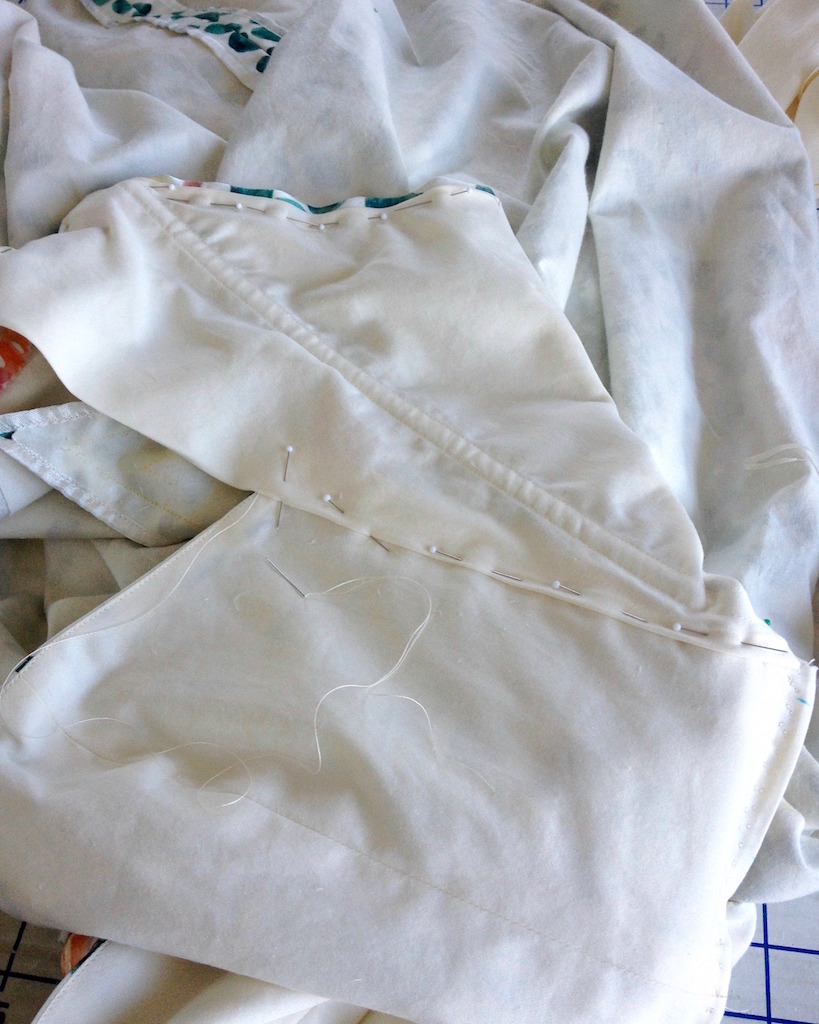
The gussets were omitted from the lining, so the upper portion of that side seam is simply folded under and not stitched to anything.
This eliminates some bulk and keeps the mobility through the arms.
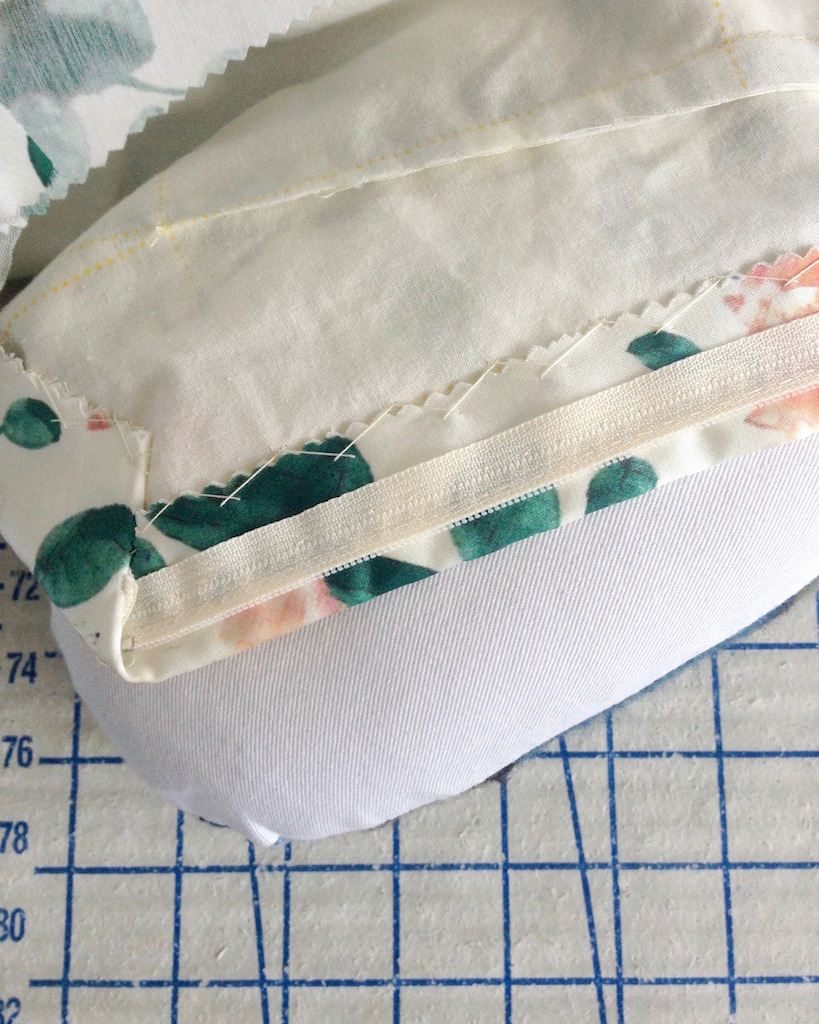
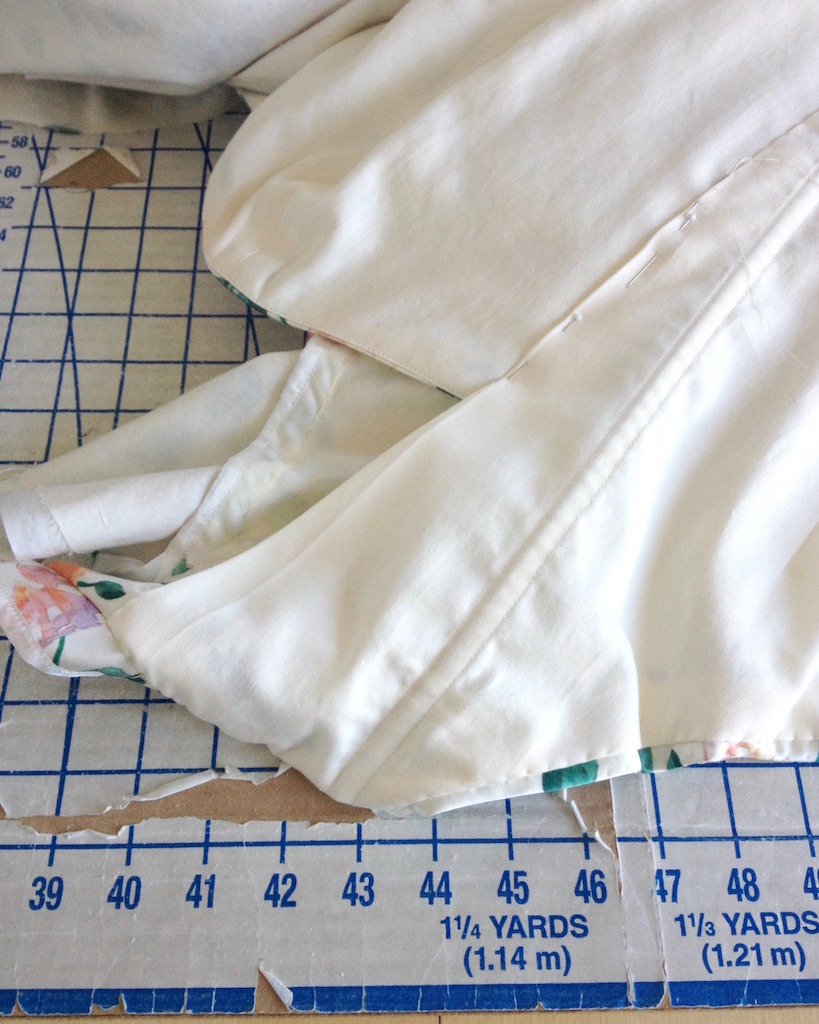
And after a lot of hand stitching . . .
most of the raw edges were covered.
[Disclosure: My Fabric Designs provided me with a coupon code which was used to purchase a portion of this fabric, but the opinions posted here are my own.]
Yet again I am astounded by the attention to detail in your garment construction. You seem to sail through these amazing gowns like a professional! Thank you for sharing your journey. Once again you have had me hooked from the start. I am now holding my breath to see if the finished garment is as stunning as my all time favourite the Emerald Green Ceil Chapman Cocktail Dress. Thank you for sharing the construction is so much detail.
ReplyDeleteHow clever to eliminate the gussets from the lining - an idea I will remember, for sure. Your dress is going to be incredibly lovely, inside and out.
ReplyDeleteThere's some serious beautiful going on there--can't wait for the final reveal!
ReplyDeleteLaura I love to read what you are making. Your attention to details and how you share your process really speaks to how much you love to sew. It is one of the reasons your blog is a pure joy to read!
ReplyDeleteTruly a beautiful piece of professional couture work. I look forward to seeing you model this work of art!
ReplyDeleteThe detail is lovely and the fabric is beautiful. Can't wait to see the full dress on you.
ReplyDeleteI do zippers by hand, too. They come out much more neatly than I can do them by machine. This is looking gorgeous! Can't wait to see the end result!
ReplyDeleteIt's looking just beautiful, Laura Mae!
ReplyDeleteThank you for explaining how to sew the under bodice to the bodice. Your pictures and instructions are perfectly clear. The beauty is how simple it is to sew a masterpiece if you have a well fitting muslin pattern, a construction plan and lots of patience as you put the hours and hours it takes to make a couture garment you cannot buy at the finest store.
ReplyDeleteYour finishing techniques and handwork are tres couture. This dress will be a work of art and a true original.
ReplyDelete