Friday, June 11, 2021

Puffed Sleeves from the Seventies

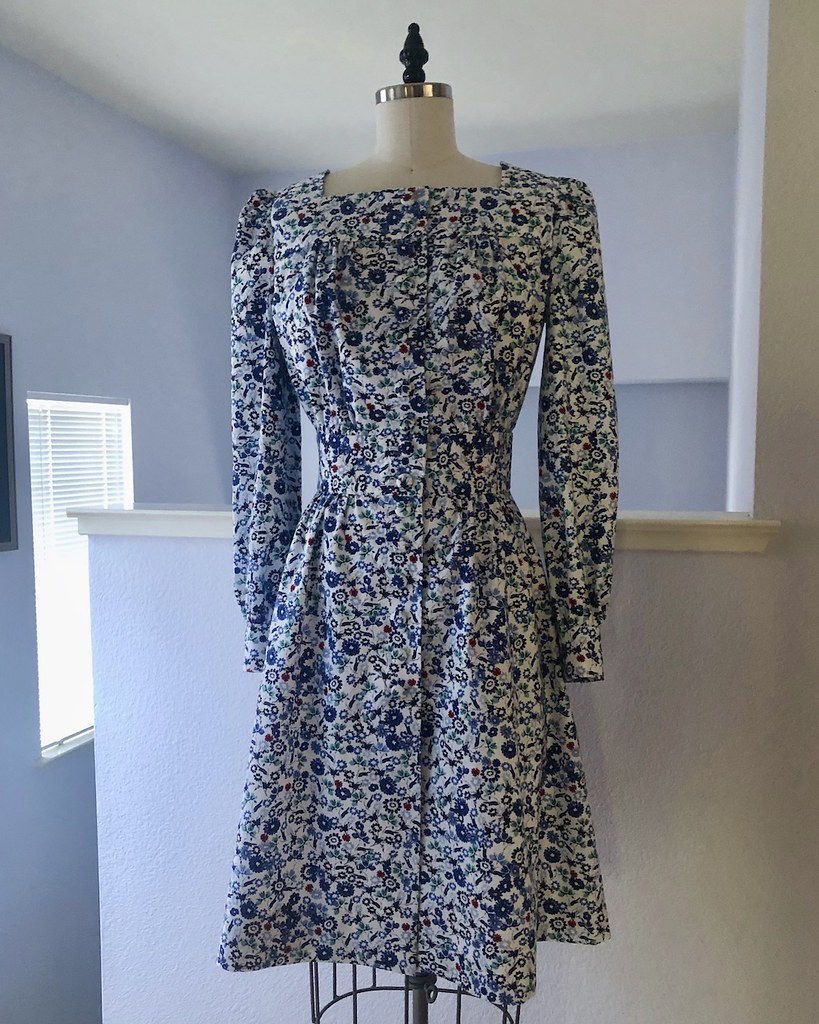
This pattern has been sitting on my sewing table for over a year.  Prior to that, it was sitting right on top of a basket full of other patterns so that I wouldn't get distracted and forget about it.  Well, I finally found a fabric that I thought would pair nicely with it, and here we are.

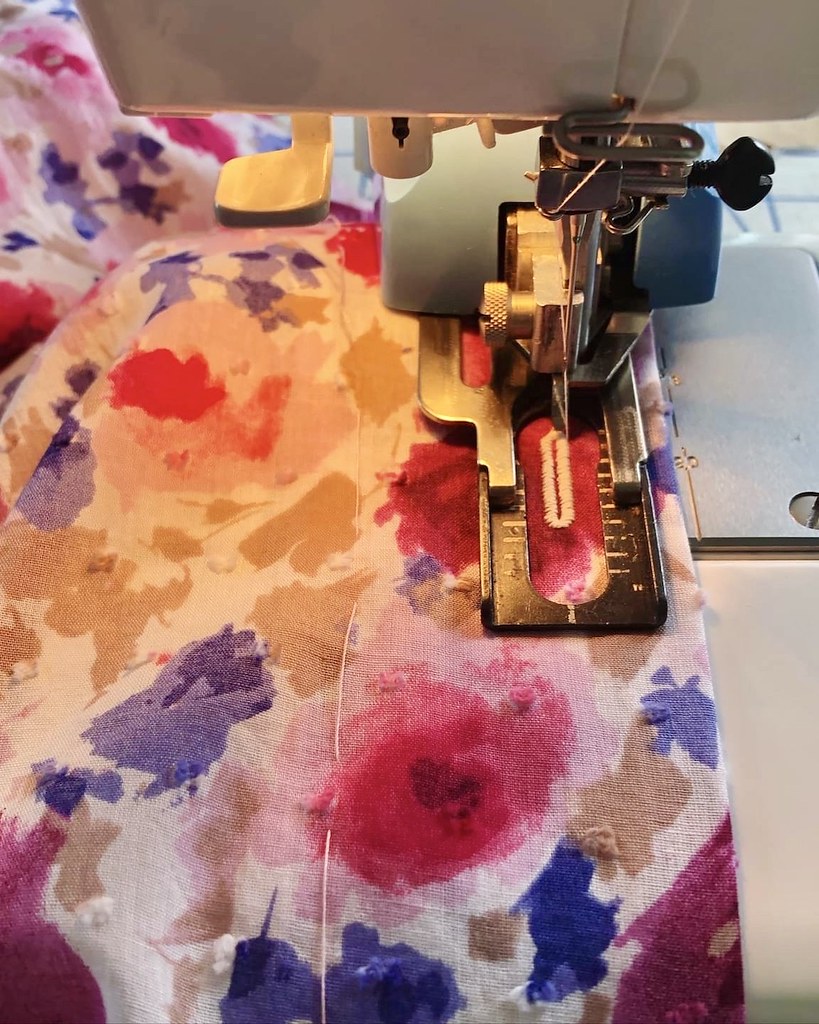
All of the those buttonholes gave me pause for a second because I didn't think my white backgrounded fabric would take well to bound buttonholes.  And then I thought, why not figure out how to make a hand worked buttonhole.  I love hand sewing, so why not finally get around to trying that technique?  But more on that later.

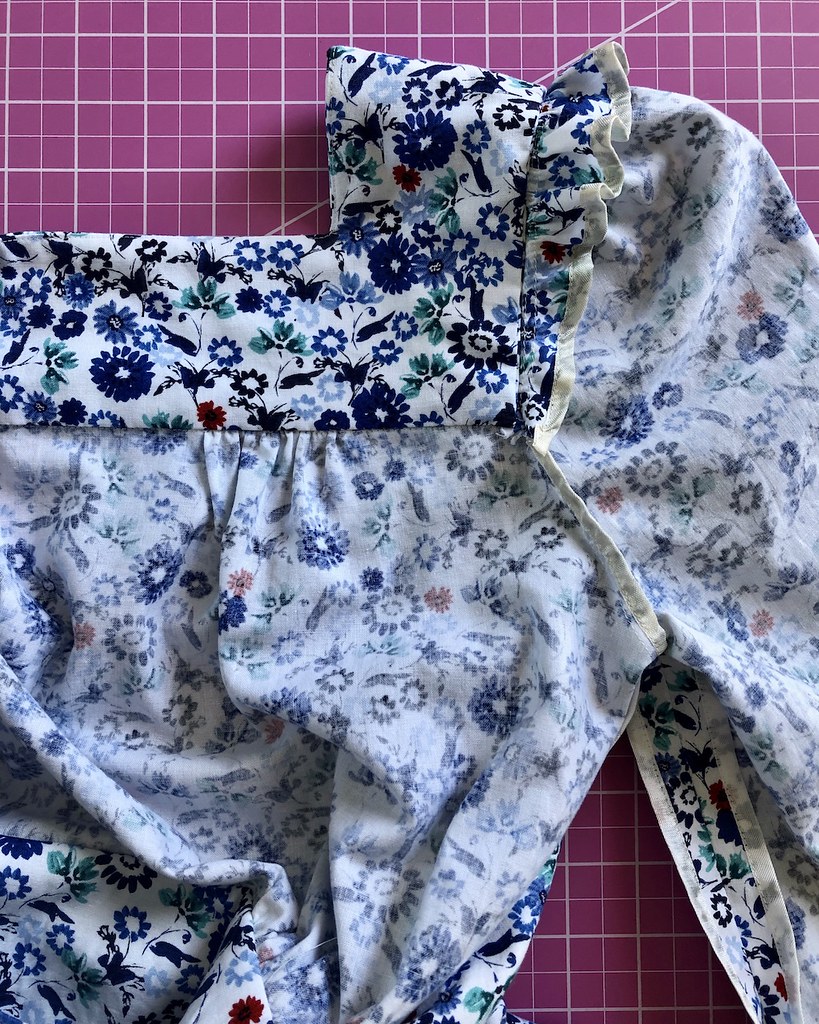
The construction was pretty straight forward, but I did come across something that is new to me.  Take a look at the top of that sleeve pattern.  Notice anything odd?

It jumped right out at me so that I had to look at the instructions to confirm my guess as to what was going on here.

And, sure enough, that extra large seam allowance is added to create a little mini sleeve head that is built right into the pattern piece to help the puffed sleeve to puff.  Pretty genius, actually.  My only complaint would be that you need to thread trace or mark the seam allowances on both your armscye and the sleeve cap since the edges will not match up as the sleeve has extra allowance and the armscye does not.
As to buttons, seventeen are required between the front opening and the sleeve cuffs.  Now, I thought I was being super slick and had found some lovely shell buttons.  I had about 20 of them stashed away, but alas, this print is very white, and the shell was not.  Turns out, optic white buttons are difficult to find (or, at least, the ones that I like are).  I love these domed ones, but I only had two.

In the interest of making this project out of nothing but what was on hand, I used covered buttons since I have a whole lot of those laying around.  I sort of wish they contrasted a little bit more as a solid white would have, but the dress turned out fine, so it is what it is.
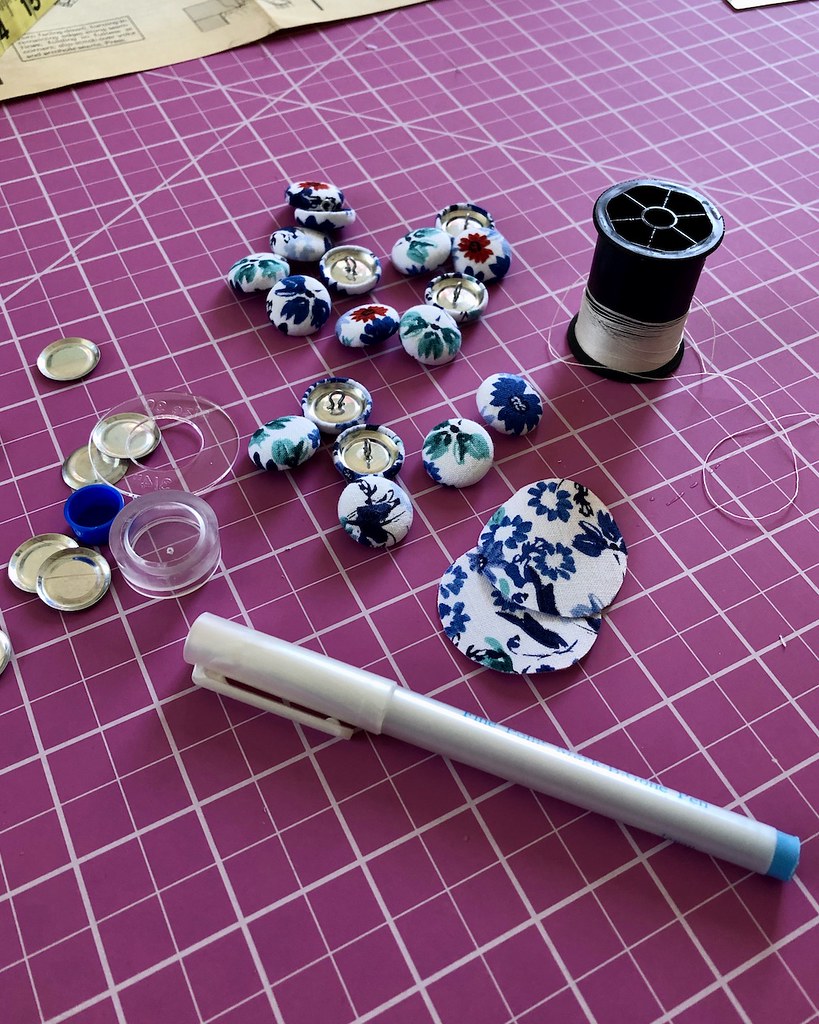
And now on to those hand worked buttonholes.
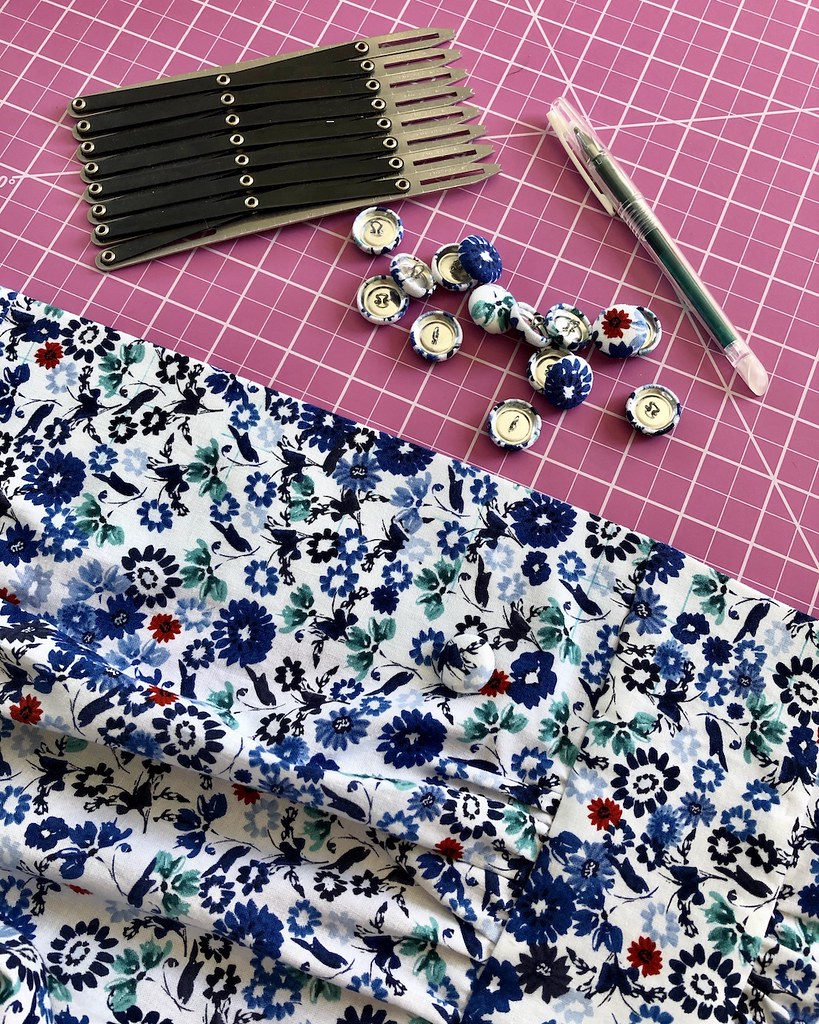
I pulled out an old reference book for a little help.  And I also perused a couple of YouTube videos to see some different techniques for the bar tacks, etc.

My initial thought was to use a white silk thread that I had stashed away, but it was too thin.

I really didn't want to purchase anything new for this dress, so I was at a loss for a day or two.  After searching through most of my thread, I realized that cotton button and carpet thread might be a good alternative to buttonhole twist.  The spool I had was vintage and 100% cotton, which matches the fiber of the dress, and it's beefy.  I made a little scrap of fabric for a few test buttonholes, and after whip-stitching the buttonholes closed with some Gutermann silk thread, I decided to try the button and carpet thread for the buttonhole stitch itself.

It may be a little thick for the weight of the dress fabric, but it worked pretty well.
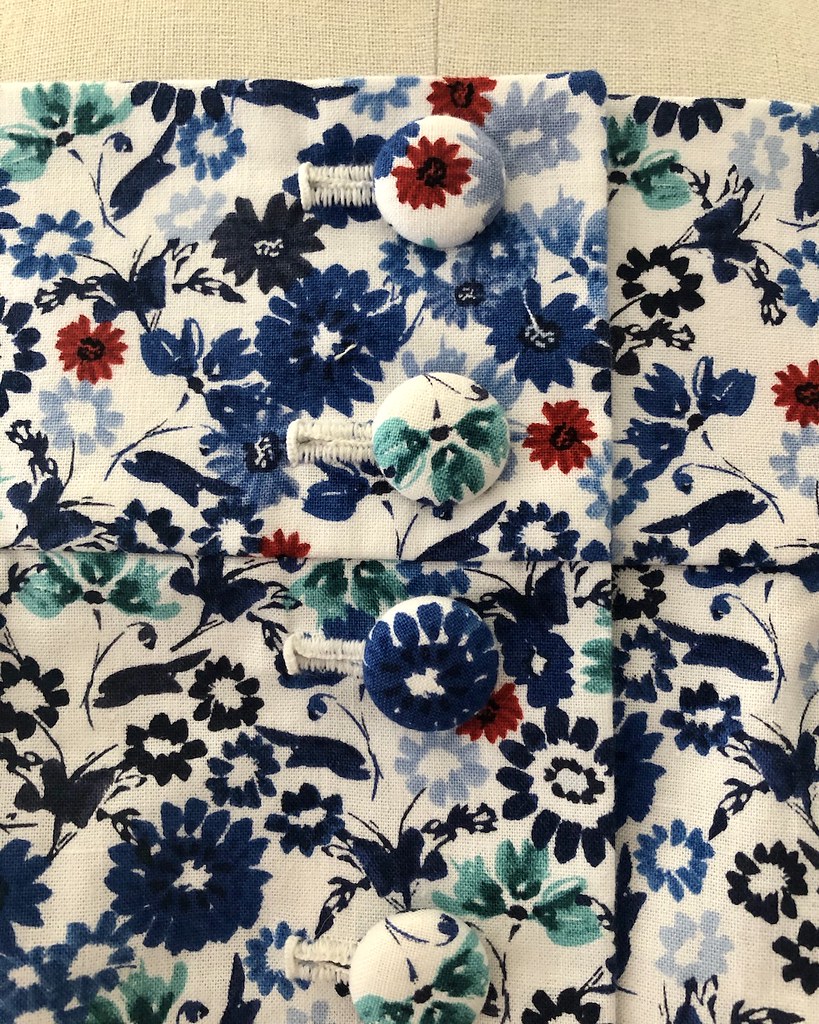
I started the real buttonholes at the bottom of the center front row of buttons, hoping each one would look slightly better than the last, and the ones that show more at the top would look the best.  I am by no means an expert, but between the test versions and the dress, I've got about twenty hand worked buttonholes under my belt. Only 980 more to becoming an expert, right?!
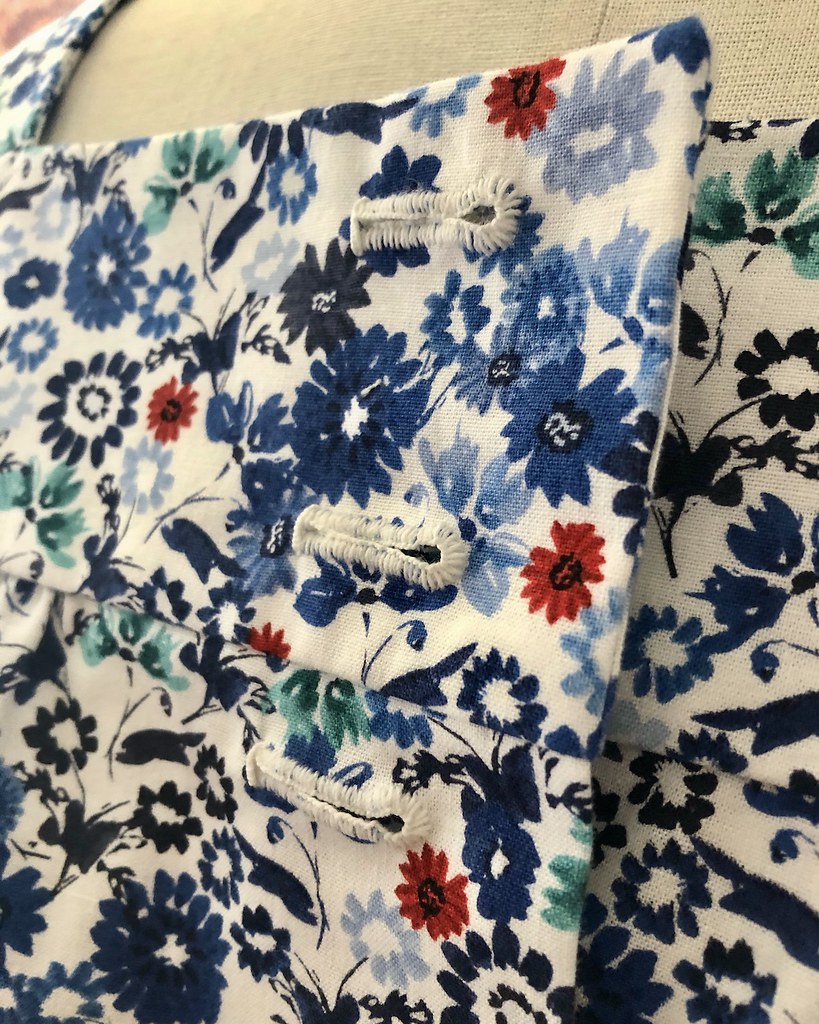
The other interesting thing to note on this pattern is the placement of the lowest buttonhole.  It stops rather high up from a modesty perspective, which is evident from the pattern illustration.  It's a design choice which looks great, and I know why the designer chose to stop the buttons at that point.  To solve the modesty issue, the pattern instructs that a snap should be added to close the skirt front below the line of buttons.  Now why didn't I think of that?

And once again, vintage patterns come through with great drafting and a couple of surprises.  I really encourage everyone to use vintage patterns for this very reason - there are so many great tips and tricks that I have picked up over the years from those brittle instruction pages.

This particular vintage pattern helped me make a great little dress.  And I am pretty sure I will be using this one again.  I may even dare to make this out of a solid, provided I can fine a solid colored fabric that I really like.  This has proved rather challenging in the past, but I am hopeful that one day I will stumble on some beautifully textured solid colored dress weight fabrics.

Tuesday, June 8, 2021

Upper Back Pattern Adjustments

In my last post, I made reference to two of the pattern adjustments that I almost always make to the back bodice of any pattern: an erect upper back/flat upper back adjustment, and a long torso adjustment.  I had quite a few people ask about what I was describing, so I decided to clarify those adjustments here.  I rarely see any reference to the flat upper back fitting issue.  People mention full bust adjustments, and small bust adjustments, and sway back adjustments all the time, but I really never hear about erect upper back or flat upper back adjustments!  Maybe that means there are not many people who require the alteration, but perhaps it will help someone out there with a similar issue.  In short, most standard blocks allow for a slightly rounded upper back as the average human body has that shape and requires slightly more fabric to cover that rounding.  Since I don't have that rounding, mostly due to my posture, I think, I don't need that extra fabric, and it pools below my shoulder blades.  This is one way to remove that extra fabric.
The major thing to remember about this adjustment is that it must be done prior to cutting out your bodice back.  It's best to figure this issue out ahead of time!

All of my life (or at least as long as I can remember), I have known that I have a longer than average torso.  There is a story that as a child in diapers wearing a jumpsuit at a party, some guy made a comment about how short my legs looked.  Thanks a lot, rude man, but clearly, my torso is longer than my legs.  Both of my parents have long torsos, so it's not a surprise that I do as well.  And it's certainly one of the reasons why I am such a fan of high heels!  It's all about proportion!!

After I started making my own clothes some twenty years ago, I figured out pretty quickly that a long-torso adjustment would help with the fit of the clothing that I was making.  It took a lot longer to figure out what to do with the excess pooling on the back of the bodice somewhere around bottom of my shoulder blades.

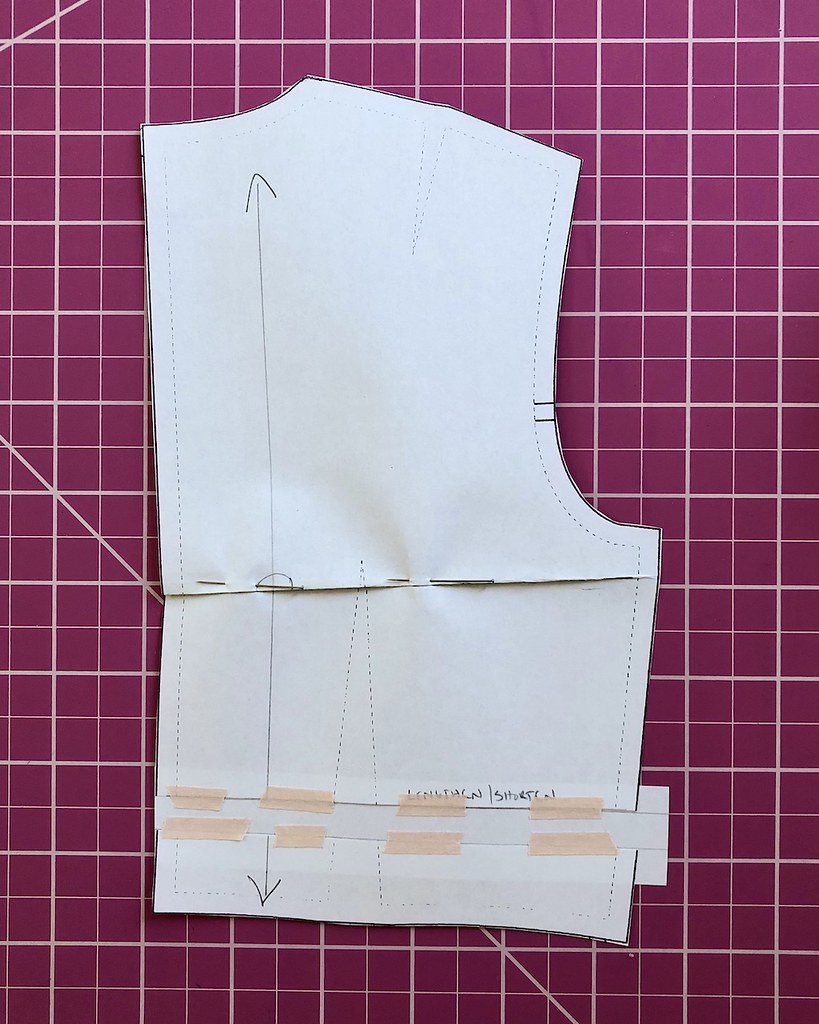
The first adjustment I make probably looks familiar to most people.  This is the easiest way to lengthen (or shorten) a bodice.  A lot of contemporary patterns will include a lengthen/shorten line with other printed information right on the pattern pieces.  It's best not to add the length at the bottom of the pattern since it will affect the waist measurement as the side seam will continue to get smaller and the dart intake will get larger.  If this notation is not on the pattern, it is easy to make a line perpendicular to the grainline and adjust from there.  You can true up the side seams, but your waistline measurement will remain the same and therefore match your skirt pieces.

Then, all that you need to do is fold to shorten, or cut and add an extra strip of paper to that pattern piece.  Just make sure to keep that grainline nice and straight and do the same adjustment to all of your bodice pieces!  Well, that will give me the added length I need so that the waistline sits at my actual waist (I usually add anywhere from 5/8" or 3/4" to the torso length).  Ironically, I still need to remove extra fabric from my upper and mid back.  The adjustment itself ends up looking like a horizontal double ended dart, or something like this.

Basically, you are removing excess fabric from the mid center back, but not changing the armscye area or the length of the bodice side seams, since those have to match up with your bodice front and the sleeve.

First up, draw a line perpendicular to the grainline somewhere just below the arm.  I don't need to adjust the armhole or the sleeve, and since those curved edges are more of a bear to modify, I like to steer clear.  I also don't want it to be too far down toward the waist, since that is going to be more in the territory of fixing a swayback.  My particular issue has pooling fabric that starts just below the shoulder blades.

Next, I fold the pattern along that new line.  You can slash through to the seam allowance at the side bodice edge, but I try to keep my cutting of the pattern to a minimum when possible!

Using the folded edge as a guide, I tuck about 3/8" out of the center back bodice, tapering to nothing at the side seam.  [If you are using a princess seamed bodice, make sure to lay those extra seamlines together and take that into account as you take a wedge of length out of the pieces.]

You will notice that this distorts the grainline and the center back is no longer on grain.  But we will deal with that next.

As you can see, a small wedge was taken out, which can now get pinned in place.

If your back bodice has a dart, you may need to true the upper portion of the dart legs, or even reposition it slightly.  I usually find that I can make my adjustment below the armscye and above any dart, but this bodice block I found online has the darts up rather high.  But the adjustment still works!

The most important thing to do is reconcile the grainline.

I often cut my bodice back out with extra pattern tissue to play with at center back, but if that is not an option, simply add a strip of paper.

Draw a line from the top of center back to the bottom of center back, recreating a vertical center back seam that will line up with your fabric grainline (and make it possible to cut on the fold, if need be!).  It is also a good idea to mark a nice straight grainline as well, or at least cross out the janky one.

And now my pattern piece is ready to be cut out of fabric!  These two changes are made to almost all patterns I use and I have found that it works well for me.


These two changes are made to almost all of the patterns that I use and I have found that the technique works well for my body shape.  I would be curious to know if anyone else has to make a similar adjustment for a really flat back, and how they slice and dice their pattern pieces!

Wednesday, June 2, 2021

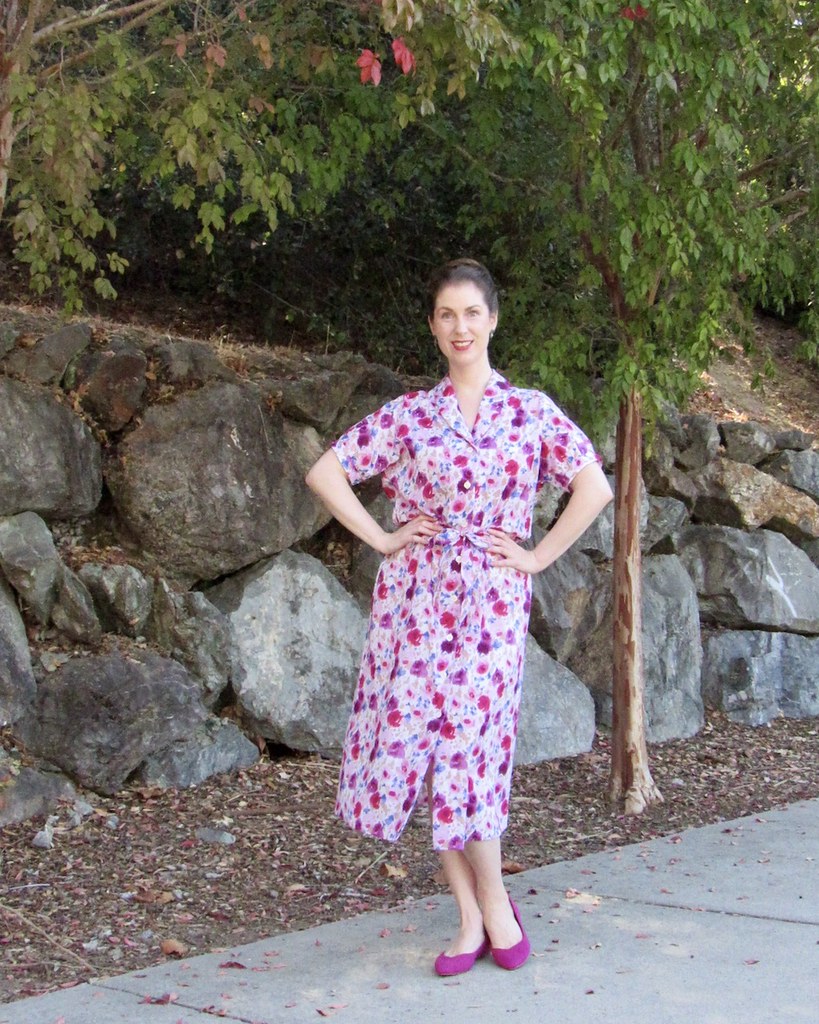
1970s Shawl Collars

Well, the sewing motivation has returned, and my intention to get back to blogging finished projects has disappeared.  No matter what I try, I never can seem to do both things on a consistent basis.  And honestly, the actual creating is usually what wins out in the end . . . which is probably how it should be.

But I do want to catch up with some of my projects here on the blog, and seeing as the temperatures are rather high these days, I thought this particular dress would be appropriate to post.  

I am going to have to pull this out of the closet now that I have reminded myself that it is a perfect warm weather garment.

My original intention with this pattern was to make the blouse, however, I had enough fabric to make the dress, so I went for it!

And I am very pleased that I have a dress and not a top with nothing in the closet that matches.  Don't you hate when that happens?!

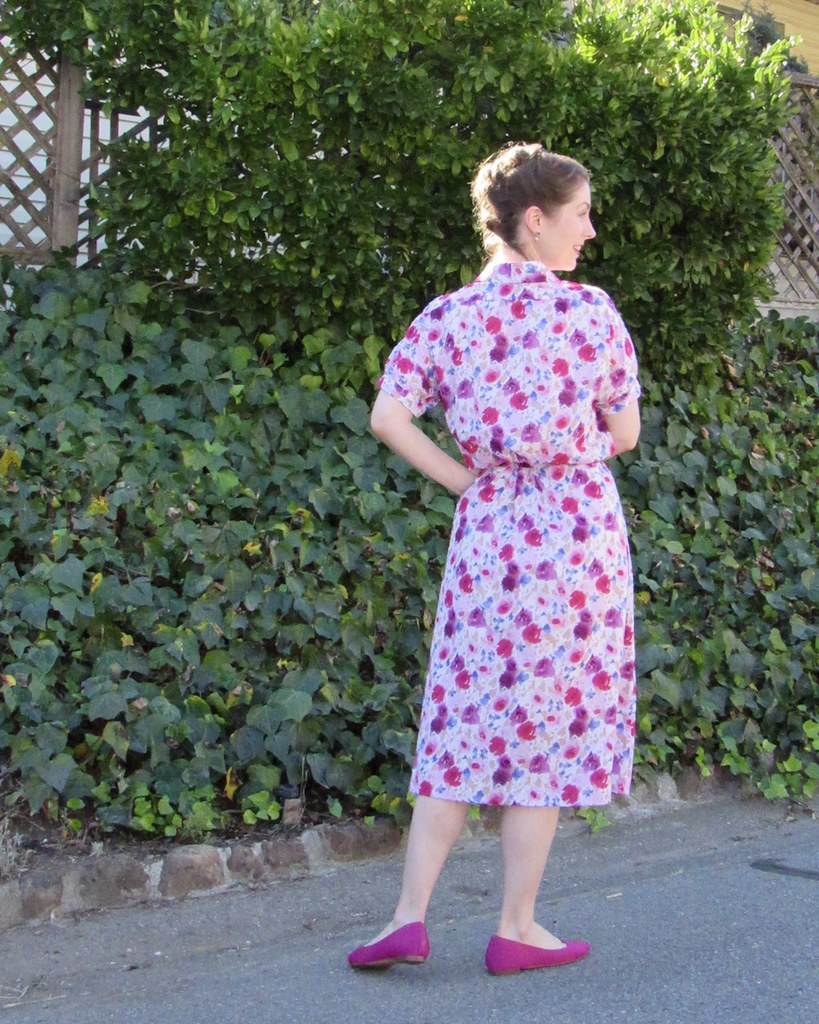
If I make this pattern again, I will have to remember to take a wedge out of the upper back length.  I always forget to do that with designs that don't have a waist seam and are simply belted to achieve shaping of any kind.  And even though the intent of the dress is to have a bit of drape through the back bodice area, I tend to have too much length which pools oddly if I'm not careful.  It's an odd thing because I alway have to add length to the bodice pieces to have a waist seam sit at my actual waist, but then remove a wedge from the upper back because it's so flat.  Figuring that out took me a few years of sewing my own clothing, but it was a game changer for fit.

It certainly doesn't make the dress unwearable, but I think I would enjoy wearing it more if I had remembered to do that adjustment.  That, and I should also remember that I definitely prefer to have an actual waist seam.  So why do I keep making designs without?  I really haven't got a clue.  In this case, I blame the collar.  I do love a good shawl collar!

The question is, will I make a blouse version - and I haven't decided one way or the other quite yet.  If the right fabric came along, or I happen to find it stashed away, I may have to revisit this pattern (and remember to make that simple adjustment!).

And yes, no need to adjust your monitors, I am wearing flats.  It has been happening a bit more than normal since things shut down for the plague, but never fear, I am still a huge fan of my heels.  They really are a long-waisted girl's best friend!

Dress:  Made by me, Butterick 6463

Friday, April 30, 2021

The 1970s Pattern I Had to Try

You know you have too many patterns in your possession when you can't remember where some of them came from.  I know that I did not purchase this particular pattern, so I believe it came from a local pattern swap (remember when we could actually do those?!).

I was intrigued by the shawl collar, and something about the style appealed to me (it may have had more to do with the fact that I wish I had the illustration's hair more than anything else).  

And it just so happened that this fabric had been sitting in a drawer for years.  I pulled it out on a couple of occasions thinking it would make a great blouse, but then the issue of what to pair it with would always stop me.

I had just enough to make the dress view of this pattern, which solved the what to wear on the bottom issue.

And that is the story of how this dress came about.  I actually had more interest in the blouse version, but figured a wearable muslin made of the Swiss Dot that lingered a little too long in a fabric drawer was an excellent idea.  Turns out, I do love that collar!  And having an easy to wear dress in the wardrobe during lockdown was a great idea.  Add to that the fact that this was made entirely of stashed bits and bobs, and I am rather pleased with the outcome.

Tuesday, April 27, 2021

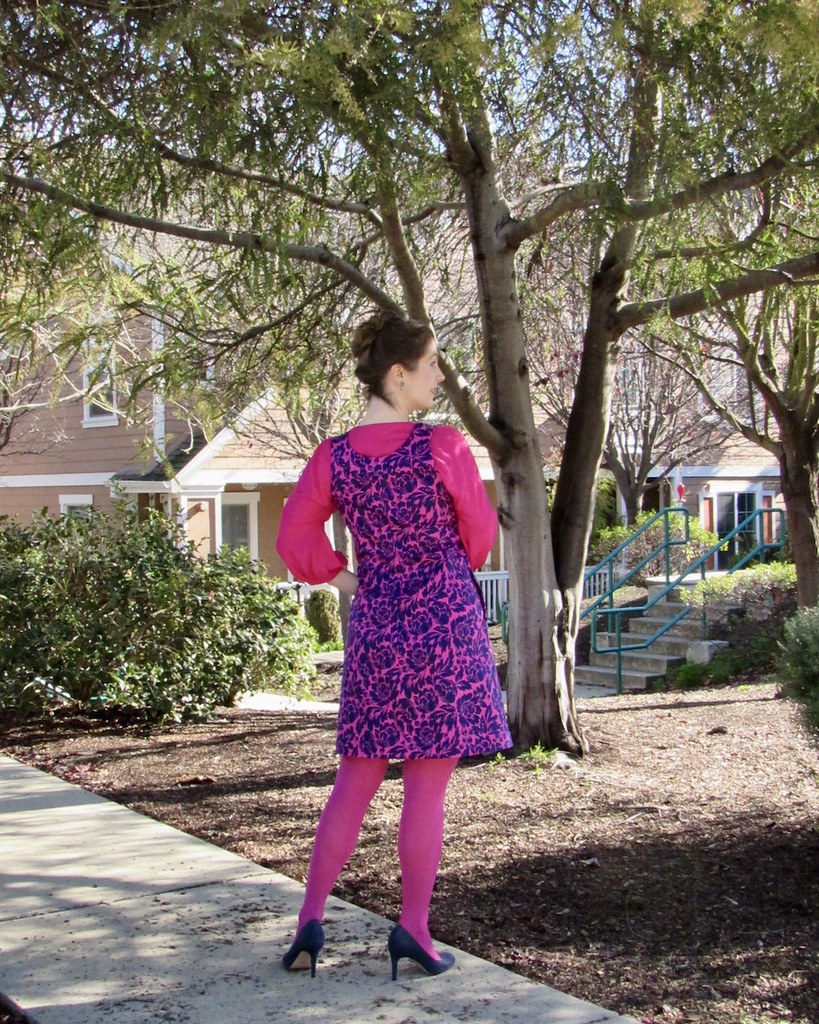
The Brightest of Jewel Tones

There is very little danger of blending into the background in this outfit!

I do love jewel tones, and bright pink is definitely one of my favorites.

Years ago, I was a bit dye obsessed, and these are two of the items that came of that preoccupation.

The blouse came first.  I decided that I needed a bright pink blouse in my life, and so I made one with a little help from Dharma Trading Co. fiber reactive dye and white rayon twill.  Soon after, I had the opportunity to help test The Ivy Pinafore for Jennifer Lauren Handmade.  I first made the tented silhouette version, and next, this more fitted option.  I had a graphic blue and white print on hand, and the pink blouse came to mind, so I went ahead and dyed the print as well to match, thinking that the two garments would pair nicely.

I did love the original blue and white, so when I stumbled on more of the print at JoAnns, I purchase more, and eventually made this Donna Karan design.  The design (Vogue 1220) looks amazing on everyone.  It's now out of print, but if you ever gets your hands on it, make sure to scoop it up!  

But I am glad that I decided to try a dye experiment with this print.  It may have taken me years to finally wear the outfit, but I love how obnoxious the bright colors are.

It is also one of the outfits that has reintroduced me to my tights collection.  The pink stands out in a sea of more neutral tones, so they mock me every time I open the drawer.  But finally, I have the last laugh as they are an almost perfect match to the bright pink dye.

And it feels wonderful to have finished another project that was set aside for so many years.  Which reminds me, I really need to get back to all the other half completed garments I have tucked away.

Blouse:  Made by me, McCalls 7053
Jumper:  Made by me, "Ivy Pinafore" from Jennifer Lauren Handmade