Wednesday, July 6, 2022

Oversized Pockets & Circle Skirts

One of my favorite wardrobe pieces is my red wool circle skirt.  When it is weather appropriate, I take every opportunity I can to wear the darn thing.  Of course, it's not exactly Summer heat friendly.

I have been meaning to make a lighter weight version for the warmer months ever since I made the wool one.  Of course, finding solid colored fabrics that I like is an issue.  But add in a bit of texture (enter this cotton piqué from Mood Fabrics) and it becomes more palatable to me.

At some point as I was dreaming up a cotton version of a circle skirt, I came across this vintage pattern.  Isn't she marvelous?!

Those style lines look familiar, right?  The first thing that caught my eye was that shaped waistband that comes to a point at center front.  That was a super easy alteration.

The back panels were stitched together.

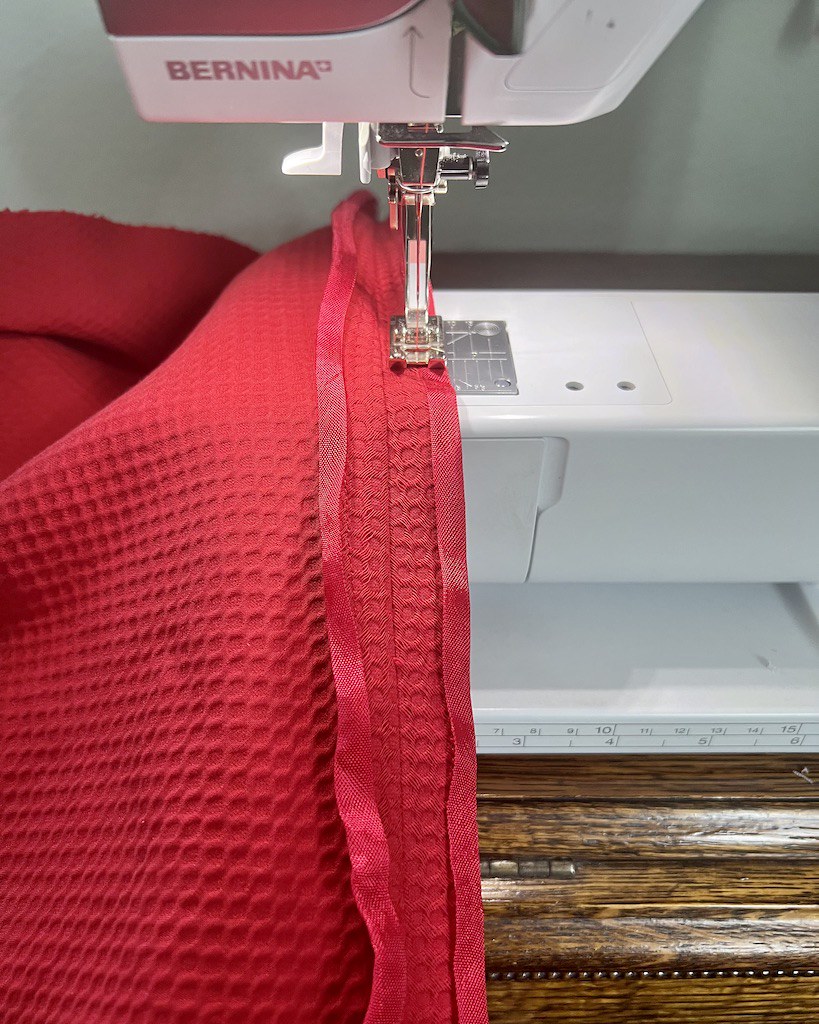
Any guesses as to how I finished my raw edges?  If you have been around these parts for any length of time, I'm sure you have heard me extol the virtues of rayon seam binding.  And I happened to have the perfect red on hand.
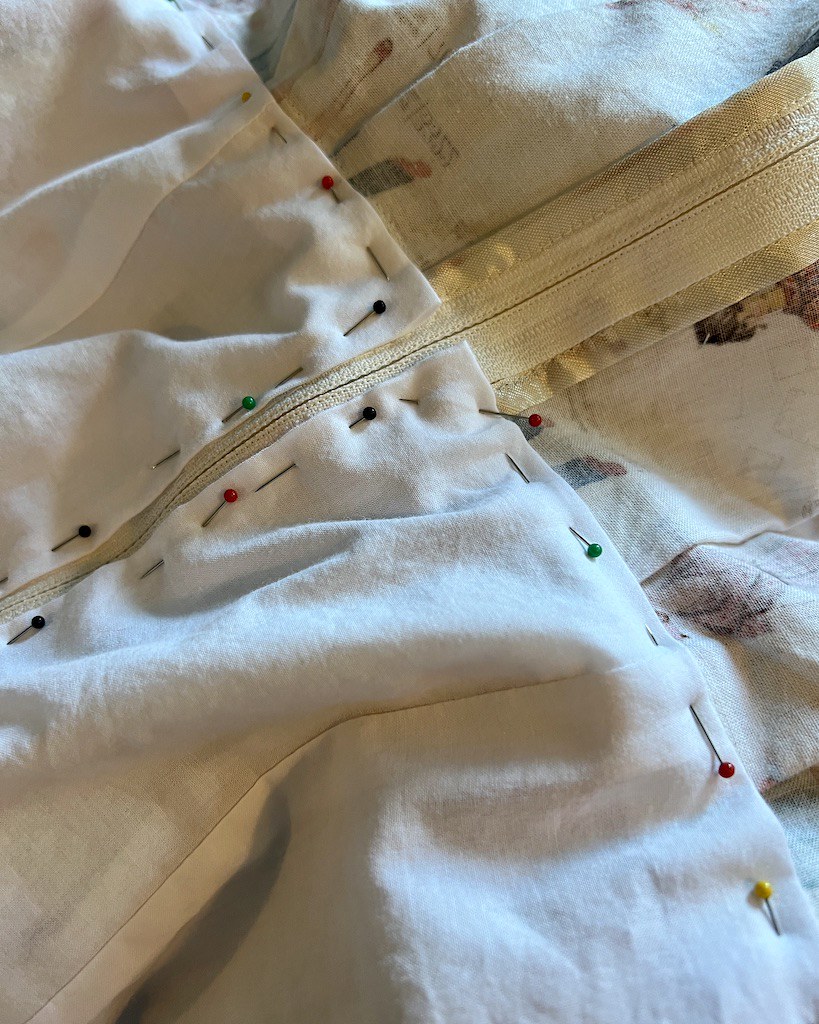
A lapped zipper was installed at center back.

And then it was time to decide on my pockets.  The drafted Stanwyck pockets are really oversized and not exactly what I wanted.  My search for a vintage circle skirt with oversized pockets brought me to that fabulous vintage pattern, which was exactly the look that I wanted.

Now armed with an image of what is perhaps the perfect circle skirt/oversized pocket combo, I had some work to do.
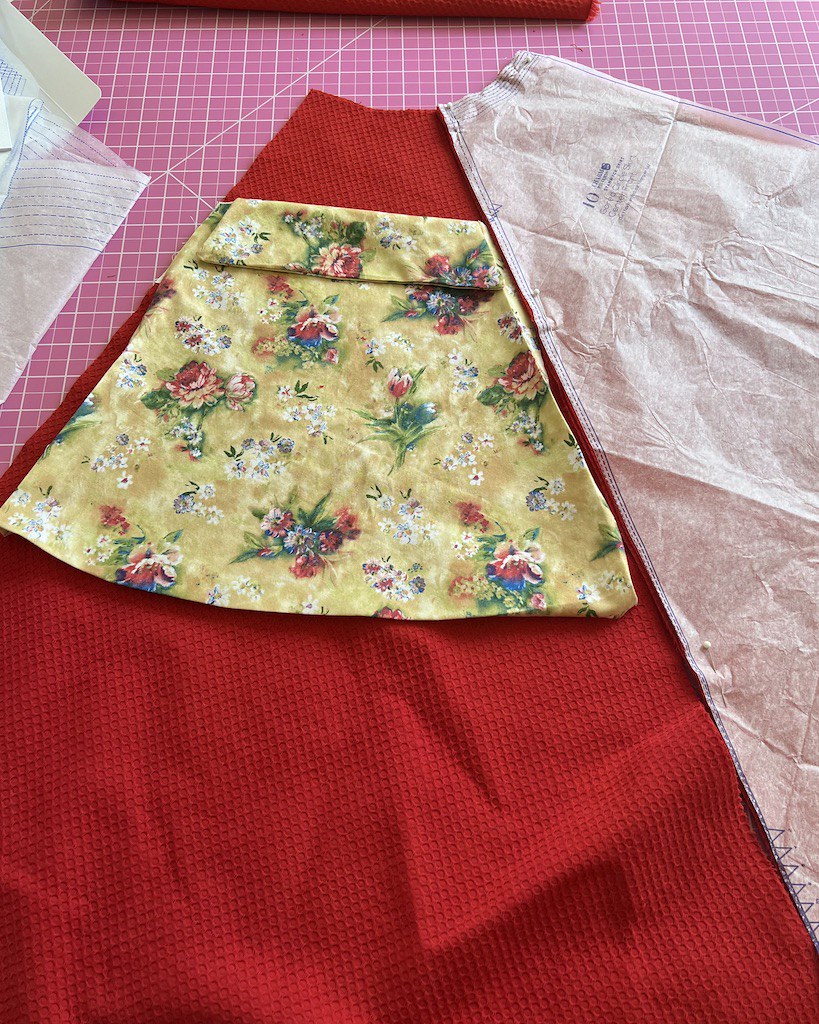
I mocked up a version of my newly drafted pocket in some scrap fabric because I only had scraps of fabric left with no room for errors.

Once I was happy with the size, I made myself a pattern and cut out two pockets and two facings for the folding portion of the pocket.

The facing finishes the upper edge, and the two side seams are incorporated into the seamlines, but I needed to finish the bottom of the pocket.

This cotton has a lovely drape, so I thought that it would be a good idea to add a bit of stability to the folded portion of the pocket.
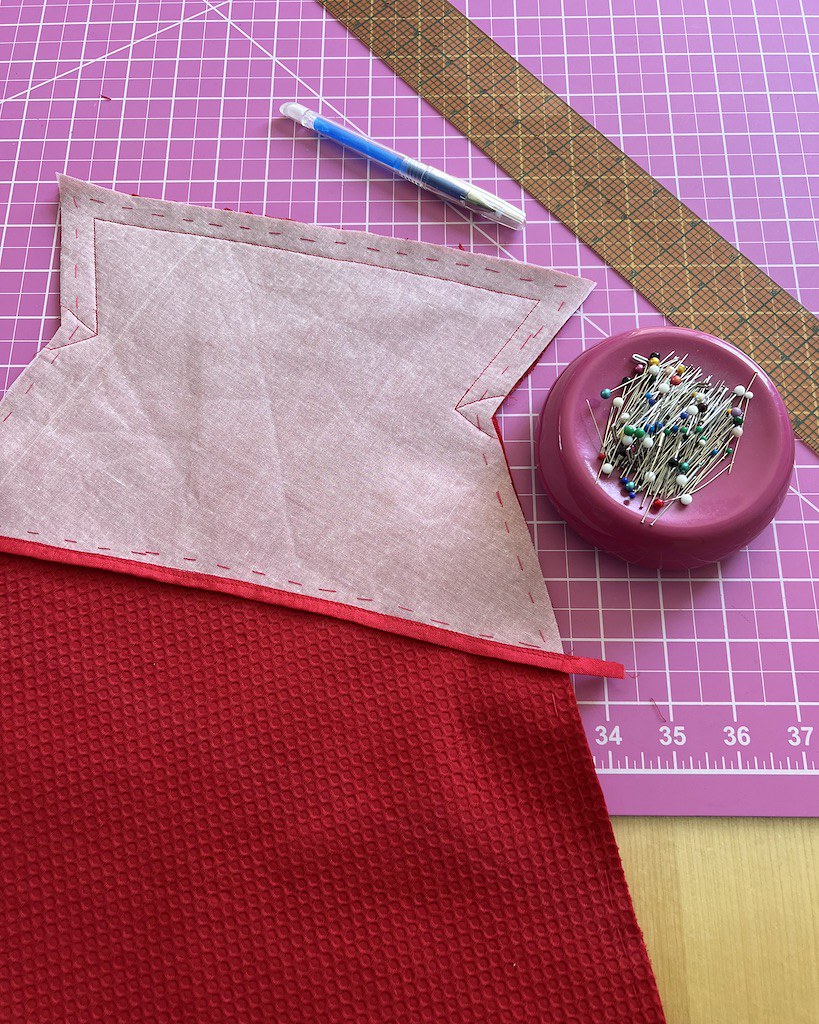
I pondered the idea of adding an underlining to the entire pocket, but decided it would mess with the beautiful drape of the circle skirt, so I left it out.

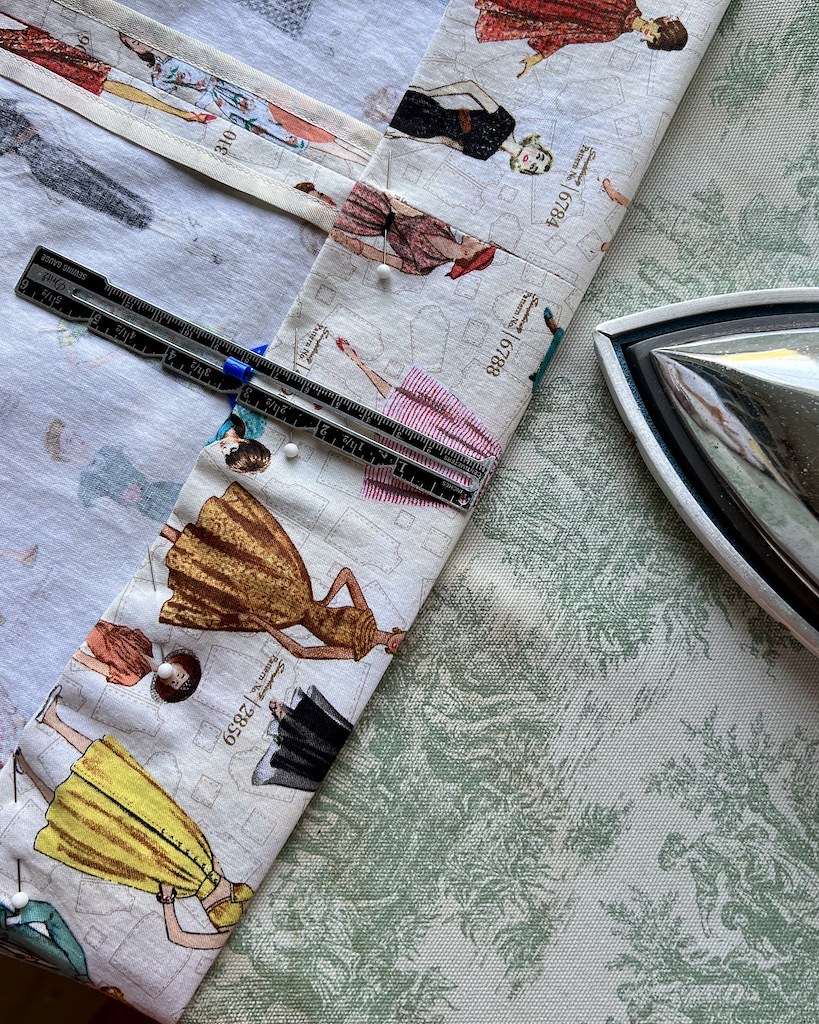
Here is the way I finished the flap while leaving myself two side edges that were applied to the skirt side front pieces.

It worked out very nicely.

I would say that nine times out of ten, I look at pattern instructions, whether or not I intend to use them during the construction of my garment.  This many years into garment sewing I feel fairly confident about the ins and outs of putting things together, but I still hold my breath when I am winging it with no pattern pieces and directions to fall back on.

Once the pockets were in place, the front sections of the skirt were stitched together.

Once all of the seams were finished, it was time to get back to that waistband!

As with all of my wider waistbands, I add pieces of boning to keep it from collapsing during a day of wear.

The boning is installed in the lining section of the waistband.

And I just love that shape!  

Which brings us to the worst part of the project . . . evening out the hemline.  

Okay, so it's not all that bad.  It's just not something that thrills me, and I don't believe that it ever will be.

This cotton did not drop as much as I had expected, but it did need some trimming.

To maintain as much length as possible, I used a fairly narrow hem; the raw edge was finished with my seam binding.
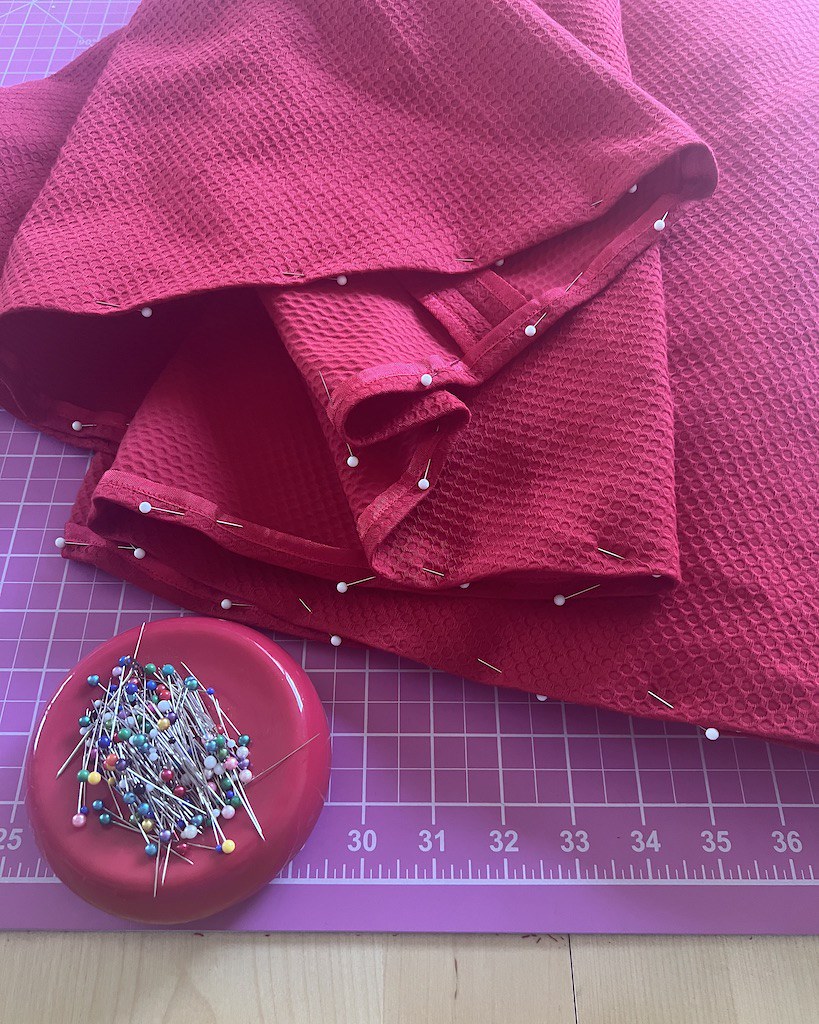
And after evening out that hemline, I get rewarded with some hand sewing!

The waistband was hand stitched in place.

It can be a little bit awkward working around the longer lengths of plastic boning, but it works.

And here is the finished look.

This skirt turned out even better than I expected.

It has already become a wardrobe staple, so I am going to call this one a resounding success!


Tuesday, June 28, 2022

Sparkling Florals


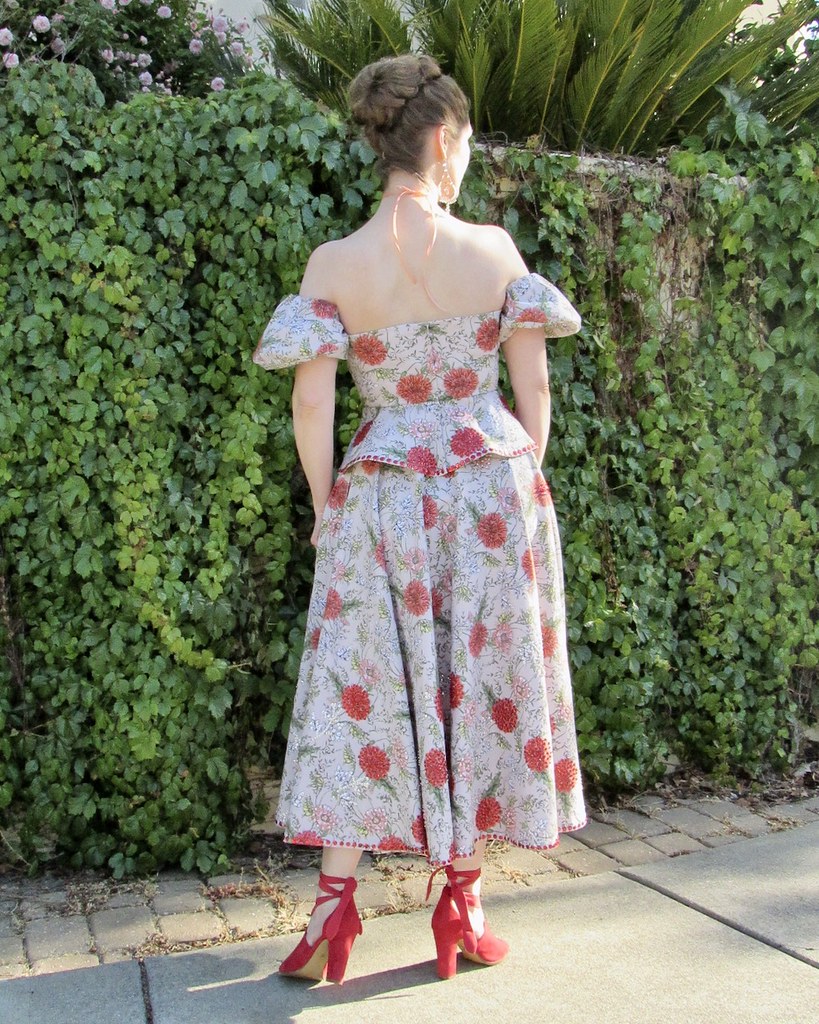
In May of 2020, I began work on this skirt.

I wanted a project that was going to keep me busy for an extended period of time.  And it did!  

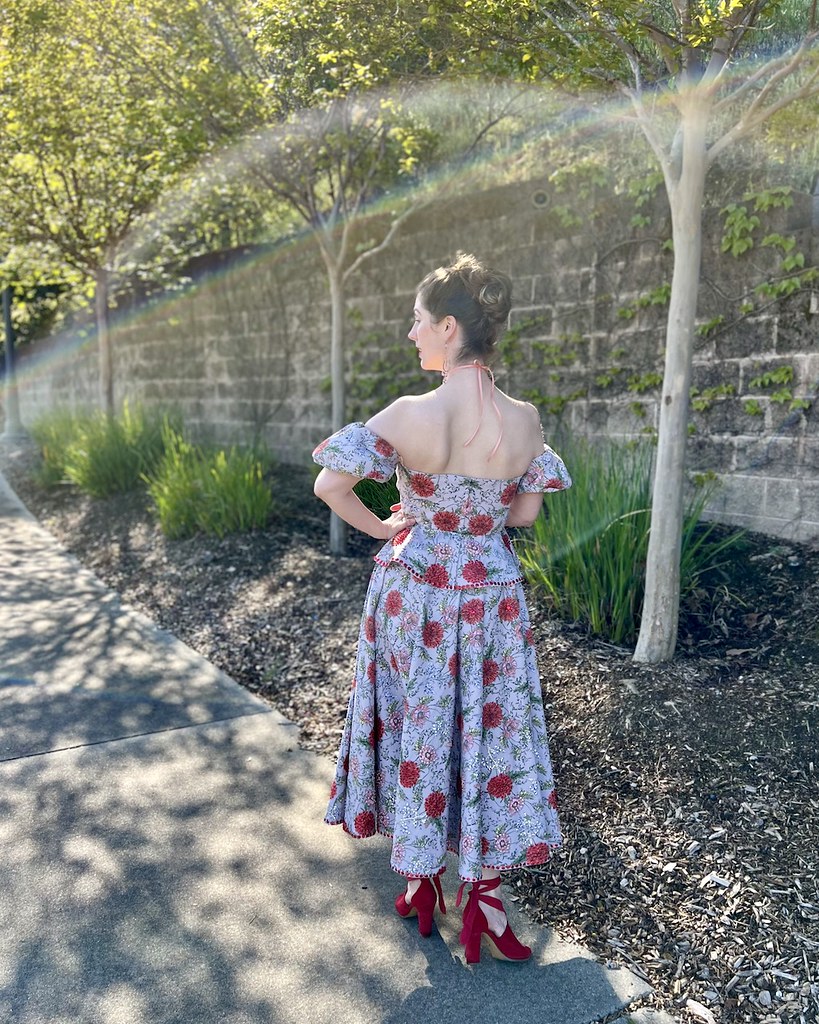
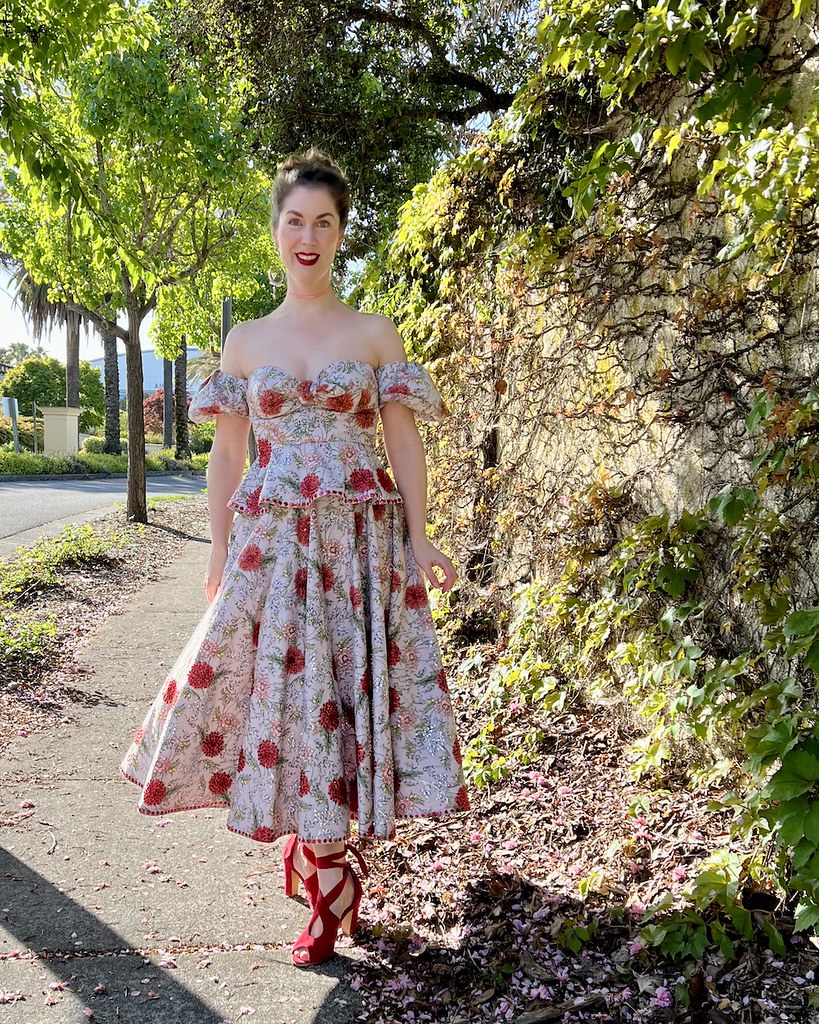
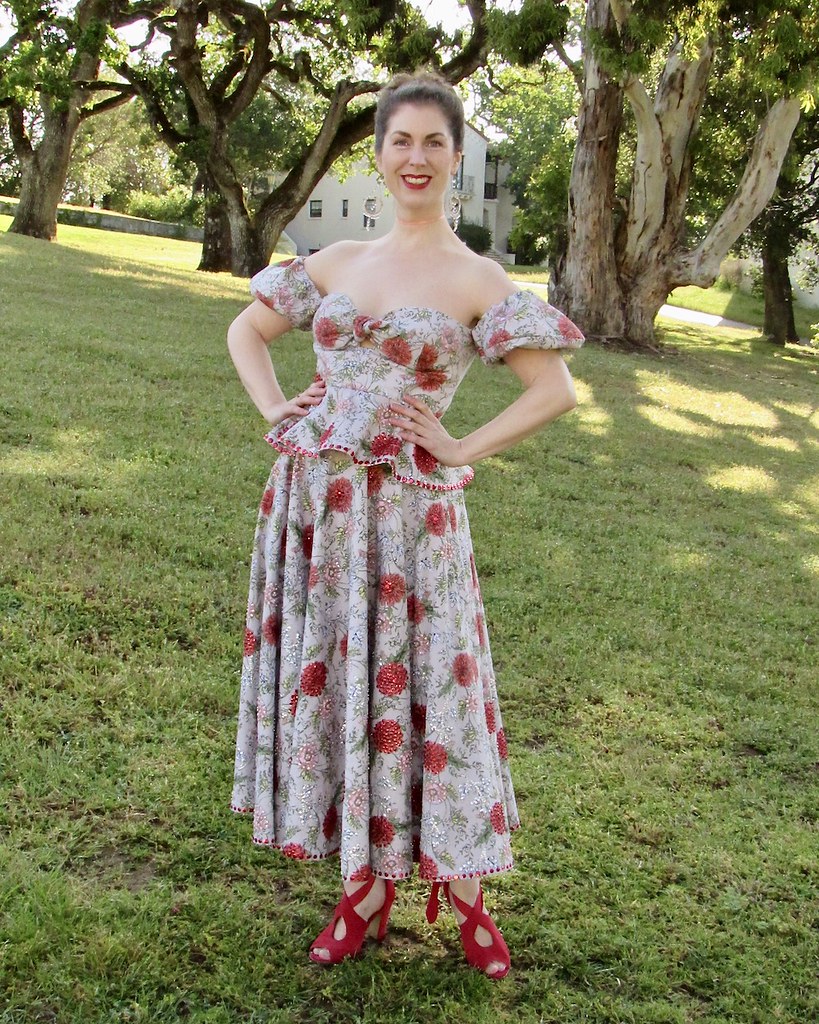
What began as a few sequined floral motifs at the hemline eventually extended to most of the skirt.  At some point, the matching top was dreamed up, and although that particular article of clothing gave me a bit of grief, I eventually finished the entire outfit.

Serendipitously, I knitted a sweater that was a fabulous match to the skirt, so I have shared the skirt on this blog before.  And now I am finally getting around to sharing the whole look.

The final push to finish the peplumed top was a symphonic performance by The Marin Symphony in April.  

This was only the second live performance I have attended since the beginning of Covid, the first being about one month prior, so I decided to go all out!  I also felt like the program (that included a performance of Carmina Burana) was up to all the sequins.

The program was fabulous, by the way, and I had an excellent time!

As for the top that gave me attitude during the construction process, for a variety of reasons . . . I can confirm that the elasticized under-bust stay does, in fact, work.

While I don't have another project requiring such an addition at the moment, I will definitely be keeping this trick in my back pocket should the need arise at a later date.

And while I believe that there are some failed/frustrating projects that are best left behind entirely, I am very glad that I powered through this one.  Giving myself the extra time to work through the issues was probably one of the main reasons I saved this one.  Time outs are not necessarily a bad thing when it comes to the creative process, and I really need to remember that when I get frustrated.

Which reminds me . . . I have quite a few in-progress items that I should pull out to see if they spark some sewing motivation.  It has been exceptionally warm in these parts, and since the sewing room is on the second floor, it is not all that fun to stay in for anything other than very short periods of time.  But I can only go so long with out some sewing creativity in my life, and I have a dress that is very close to being completed, so back to the sauna I go!

Top:  Made by me, McCalls 7929/McCalls 7937
Skirt:  Made by me
Shoes:  Nina "Serena"
Earrings:  Banana Republic

Wednesday, June 8, 2022

A Soupçon of Sequins

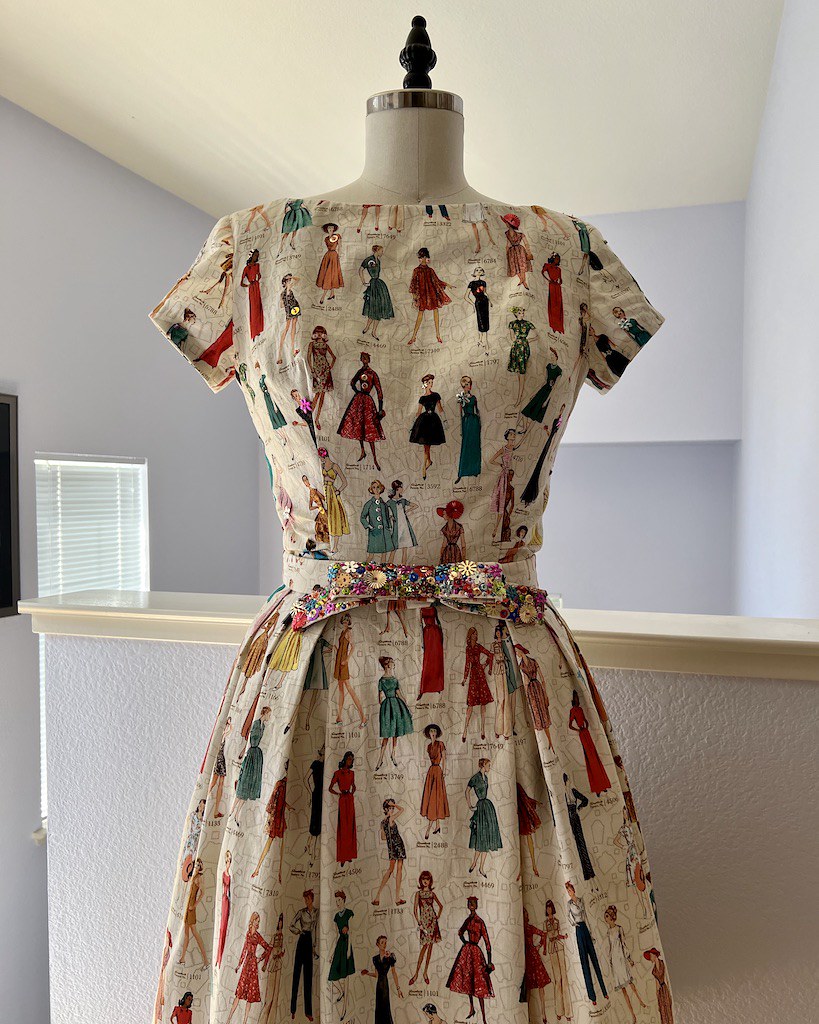
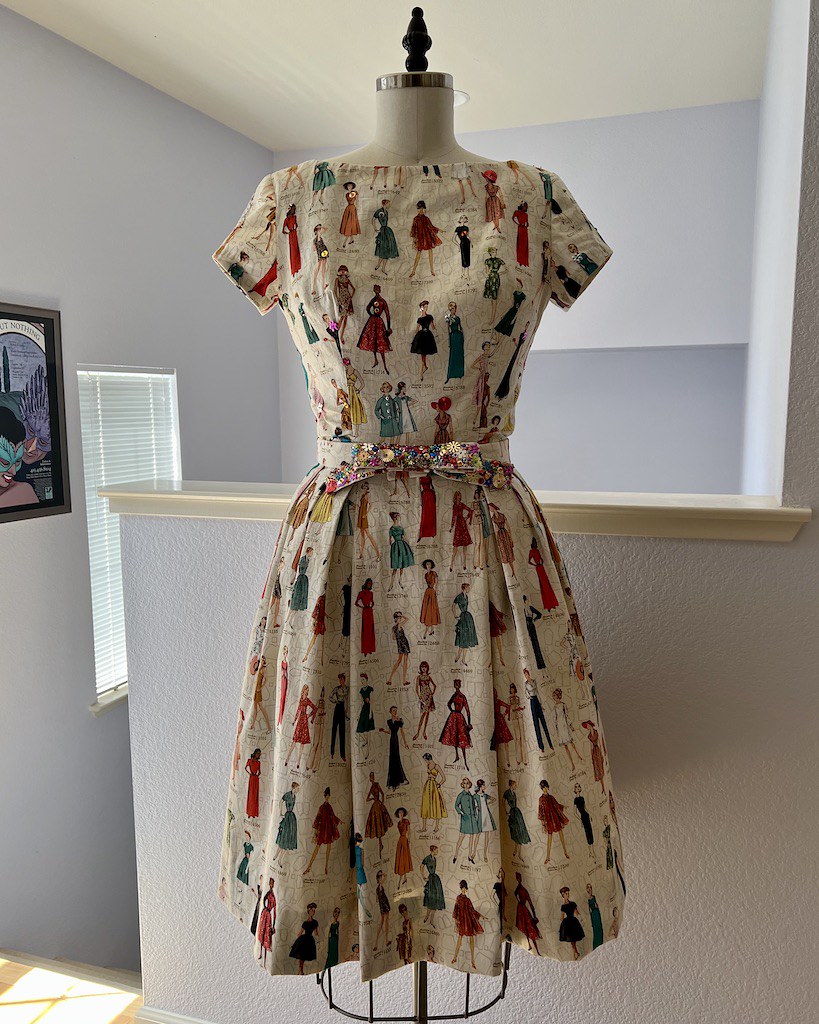
After findings a bunch of novelty sequins at an estate sale last year, I wanted to find a good use for them.  So for the ultimate finishing touch to my novelty printed dress, I decided to go all out with the belt, and use some of those sparkly bits.

The Sixties seem especially suited to the addition of sequins to apparel of any kind, and so that bow belt included with the pattern was going to get the spangled treatment.

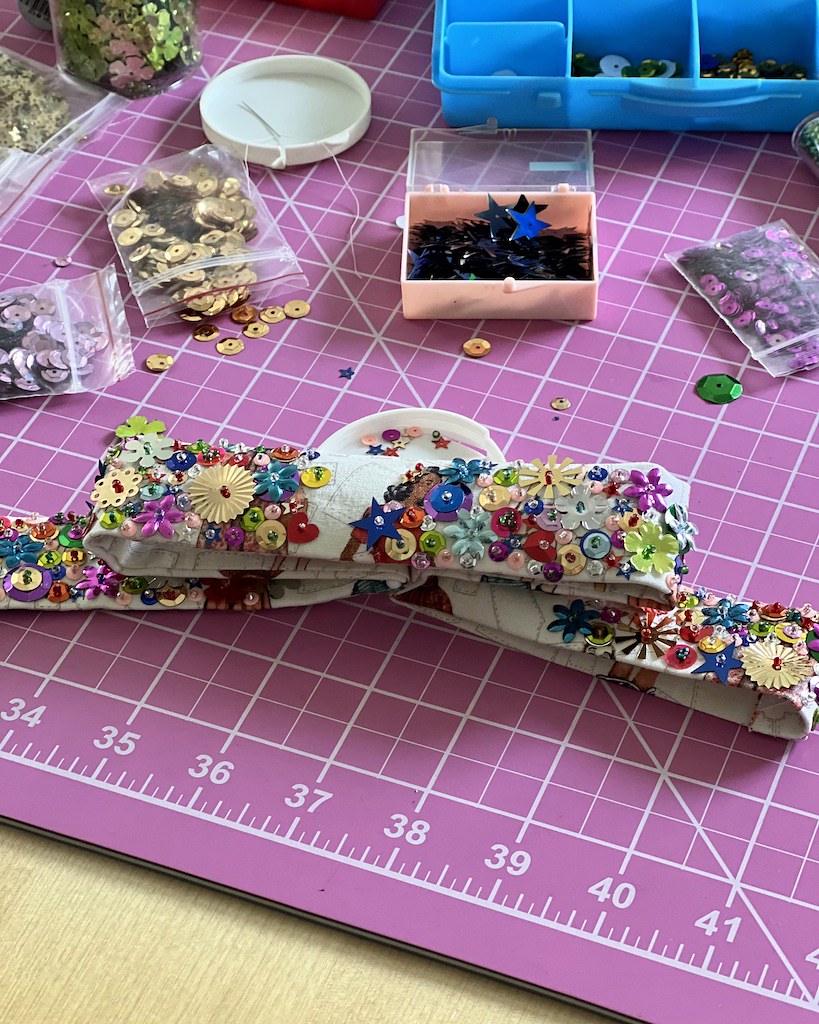
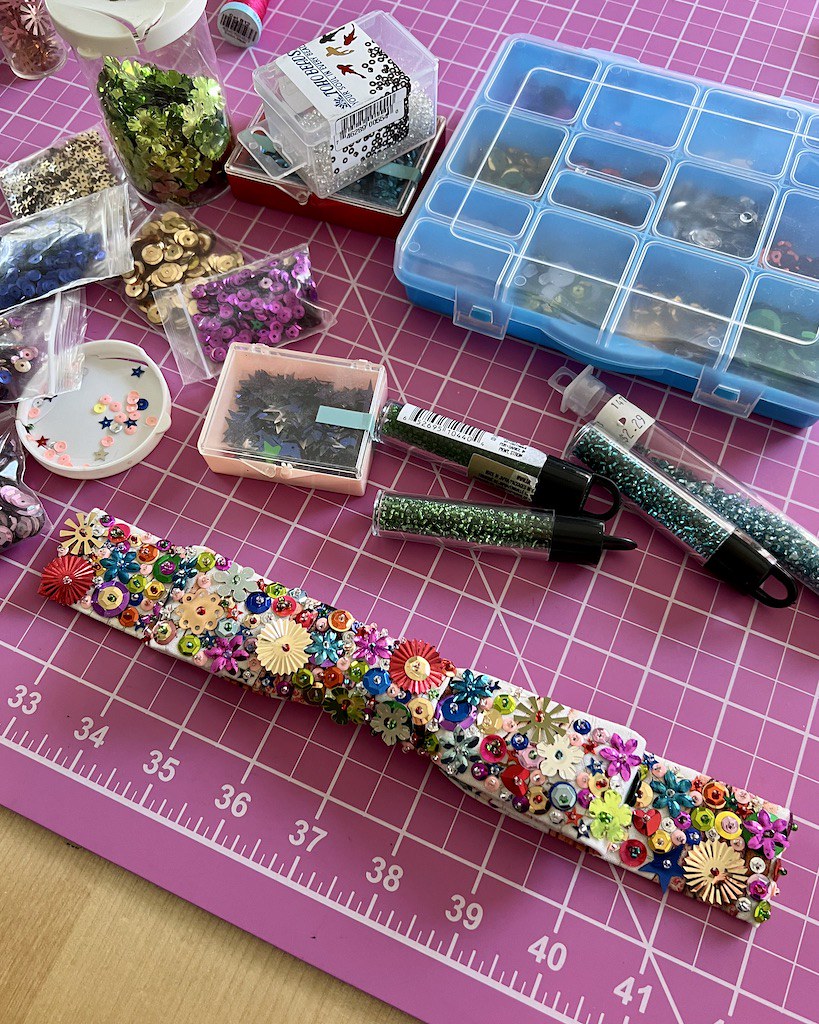
I pulled out all of the sequins I had stashed away, including those from the estate sale, and decided to jump right in.  After placing a few of the larger sized sequins in a pleasing pattern, I stitched them in place.  And then I started filling in the blank canvas of the fabric with the smaller sized embellishments.

Of course, all of those sequins were going to be a problem for the sewing machine, so the back of the bow was stitched to the front piece by hand.

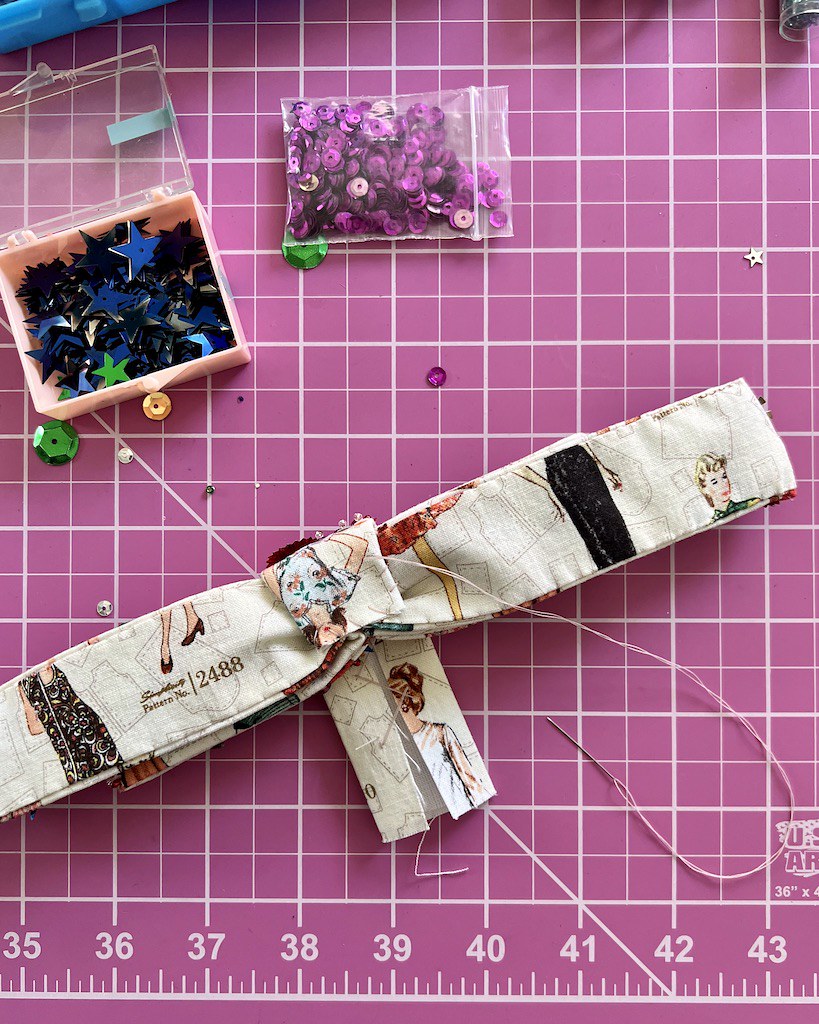
The same thing was done for the "knot."  The portion that would show from the front was covered in sequins and beads, leaving the back bit that would be wrapped around the bow completely unembellished.

I also left the middle portion of the bow blank so that once the "knot" was in place there would be as little bulk as possible.  The bits of bow that are folded to the back are left blank as well.

Everything was basted together by hand.

And once I was happy with the look of the bow, the knot was wrapped and stitched into place.

I just love how this little accessory turned out - it looks so cheery!

Sometimes the execution of an idea doesn't quite live up to the image in my mind.  In this case, however, I think the finished project is even better than I could have anticipated!

I love the extra sparkle that the belt adds to the dress.

And I am thrilled to have found the perfect use for some of my sequin collection!


Friday, June 3, 2022

Matching Pattern and Fabric


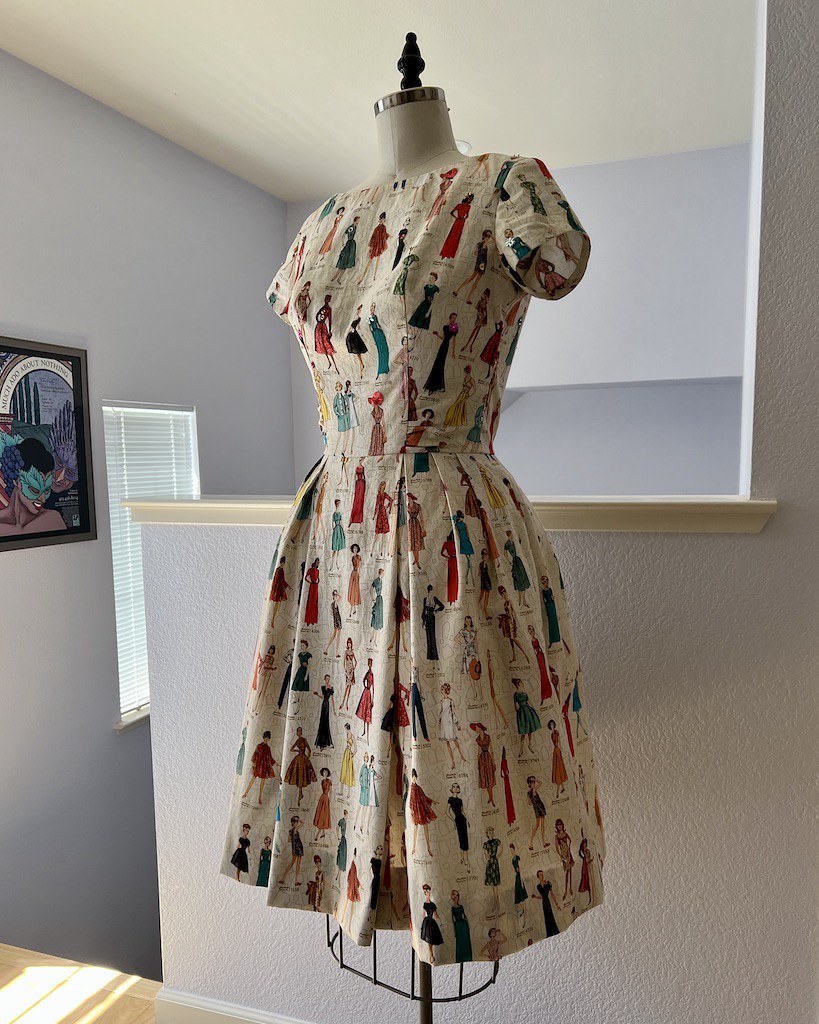
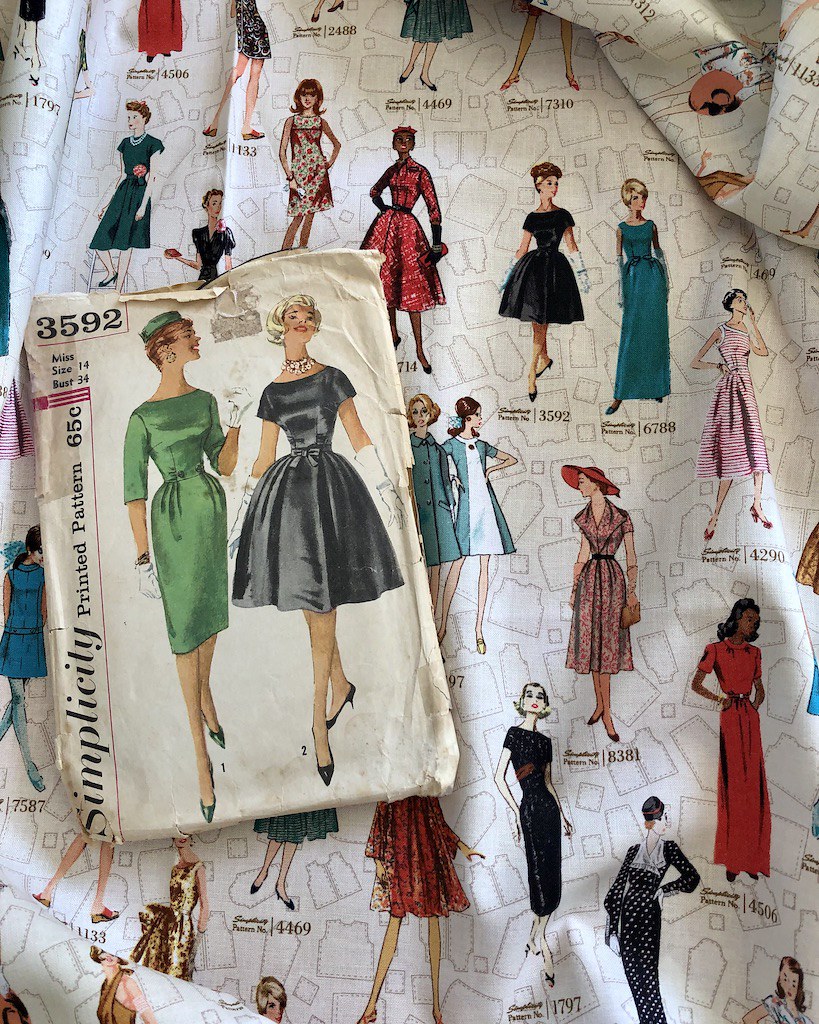
One fine day while perusing the fabric aisles in JoAnn Fabrics, I happened upon this print.  I already have a few of these novelty prints from Simplicity, but they always catch my eye, so I pulled this bolt out because it looked promising. 

Upon closer inspection, I spotted an illustration of a black 1960s frock that looked very familiar.  Although I didn't have the pattern in hand, I was pretty sure that it was a match to a vintage Simplicity pattern that I had been meaning to make for a couple of years . . . I was just waiting for the perfect fabric.

A quick google search confirmed that Simplicity 3592 was indeed the pattern that I had pulled out of my pattern stash time and time again.  Well obviously, the fabric search was over!

It also pushed this pattern to the front of the queue.  Because I needed a dress that illustrated that very dress on its fabric, and I needed it now!

At some point, I had an idea that the addition of a smattering of sequins to each of the pattern ladies might be a fun touch.  (I may have become slightly obsessed with sequins in the last couple of years.)

After thinking about placement, I decided that I would only embellish the bodice and sleeves - and a belt, but that comes later!

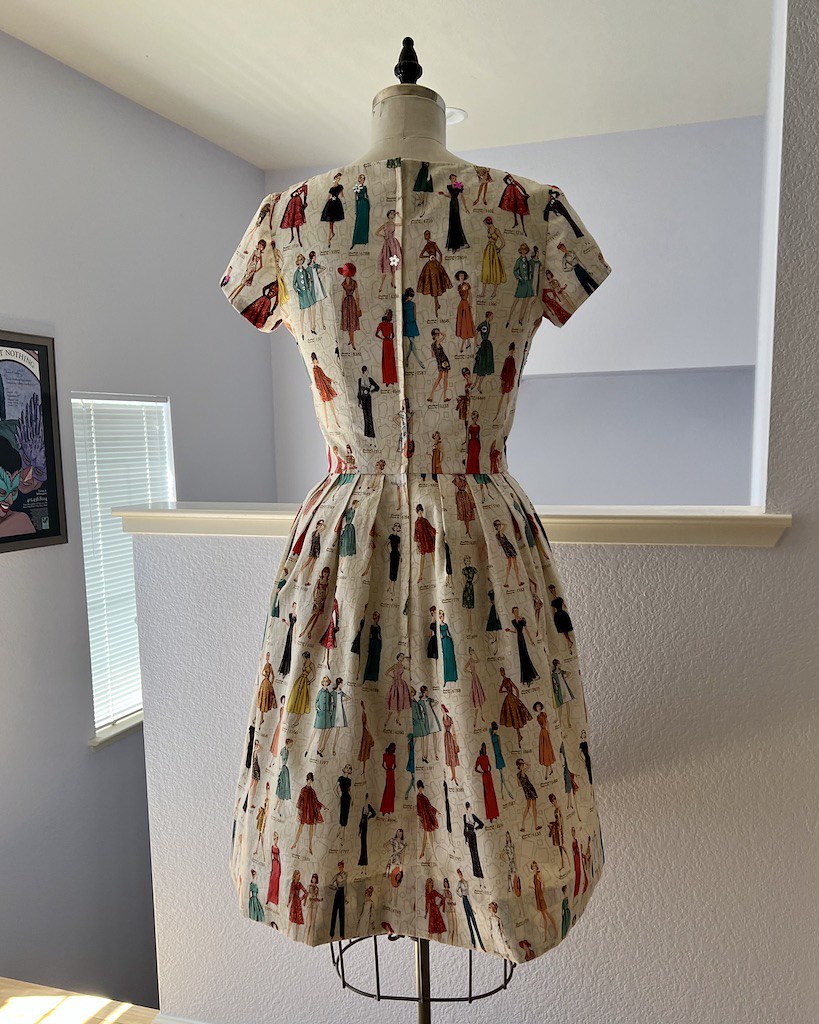
So I pulled all of the sequins out of my stash, along with a few beads.  Each lady was given a sparkly accessory, a brooch here, a hair accessory there, or perhaps some sparkly buttons.

I kept the seam allowances clear until the pieces were stitched together.  After the dress was constructed, I went back and added a few more sequins to those spots which were very close to the seamline.  

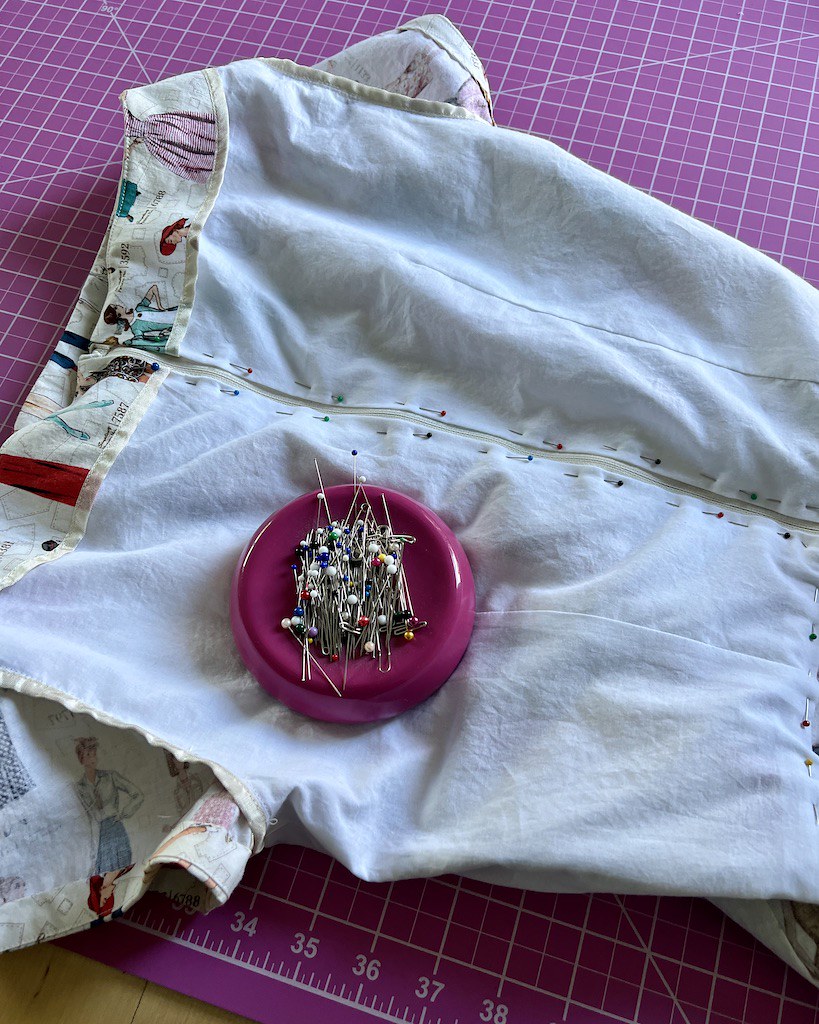
This pattern is drafted as an unlined garment, and includes a neck facing.  I didn't think about a lining until after the majority of the construction was finished, but as I looked at a bunch of little thread knots on the wrong side of the bodice, I thought it might be more comfortable to cover those bits with a lining.

The zipper was installed by hand, with a lapped application.

Yes, it's still my go to technique for applying a zipper, but if it ain't broke, don't fix it, right?!

I did not have a perfect off white match for the lining, and instead of purchasing more fabric, I used a cotton voile that I had on hand.  That was machine stitched at the neck and armholes, and hand stitched in place along the center back opening and waistline.

The unlined skirt seams were finished with seam binding.

I would normally add a full bodice lining to a dress like this, but since I had already finished the hem edge of the sleeve with a length of bias, I opted to leave them unlined.

This just meant that I had to finish the armscye with more rayon seam binding, which was easy enough.

This pattern includes a whole lot of excess length in the skirt.  I didn't think much of it until it was time to hem it and realized that the skirt is slightly shaped (meaning it's not a basic rectangle/dirndl).  I love a deep hem on a squared off edge, but 6" is just too much to fold in on itself when there is shaping involved!  Next time around, I will remember that I can cut the skirt pieces a bit shorter. 

The neckline on this pattern is deceptively wide, and since I hate worrying that bra straps are showing, I added a set of lingerie guards.

I make my own with a length of ribbon and a snap.

When I first came across this pattern, I had hoped that it would be a great pattern that I would want to use over that over again.  And it is!  I have a black cotton pique that I have already decided would make an excellent second version.

For an added bit of fun, I made a matching mask for my new dress.

And I am very pleased with the whole thing.

The fact that the novelty print is spectacular is just the icing on the cake!