Sunday, January 4, 2015

Dye Bath

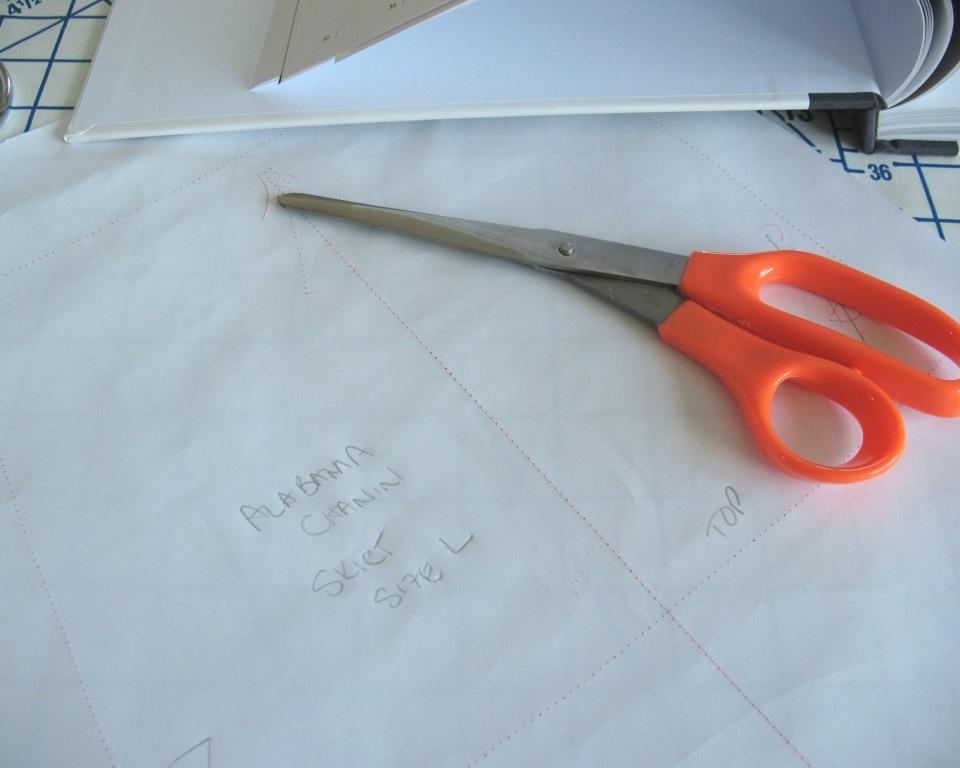
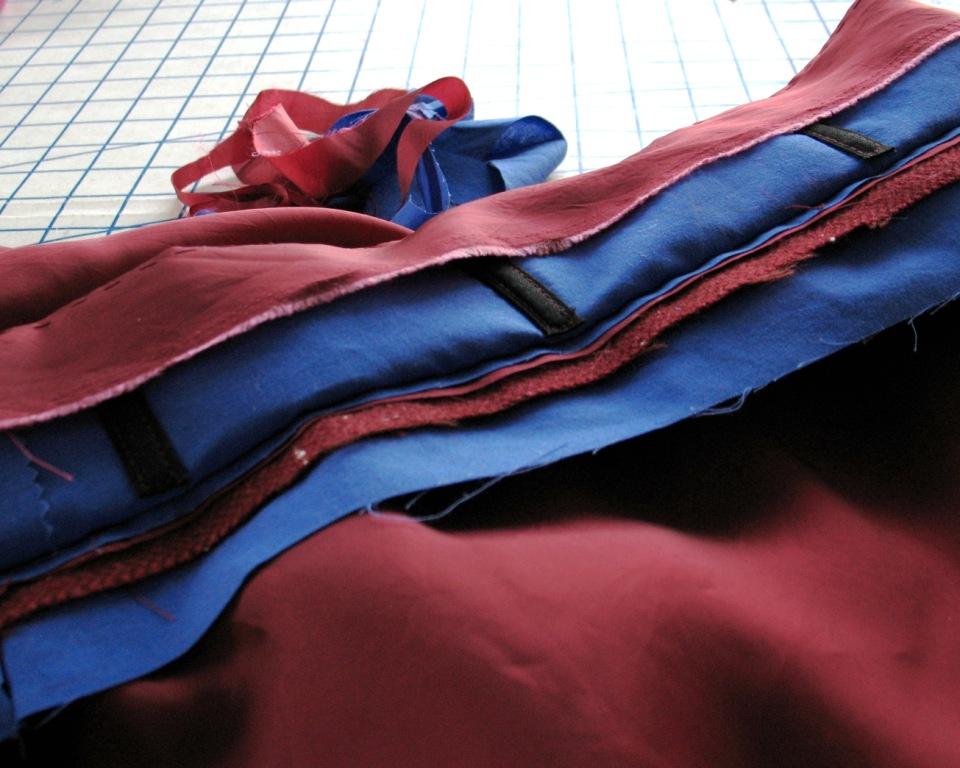
One of the biggest challenges in the Alabama Chanin process was sourcing cotton jersey - I was not expecting this.  There are a few online options, but not exactly what I was looking for.


Lucky for me, I work right down the road from the storefront location of Dharma Trading Co.  They are my main source for silk organza, but they also have a whole lot of different fabric options if you are not opposed to a lot of white, or going through the extra step of dying.

I have worked with RIT and Tulip brand dyes in the past with mixed results.  This process was more involved, to be sure, but the end result was much better.
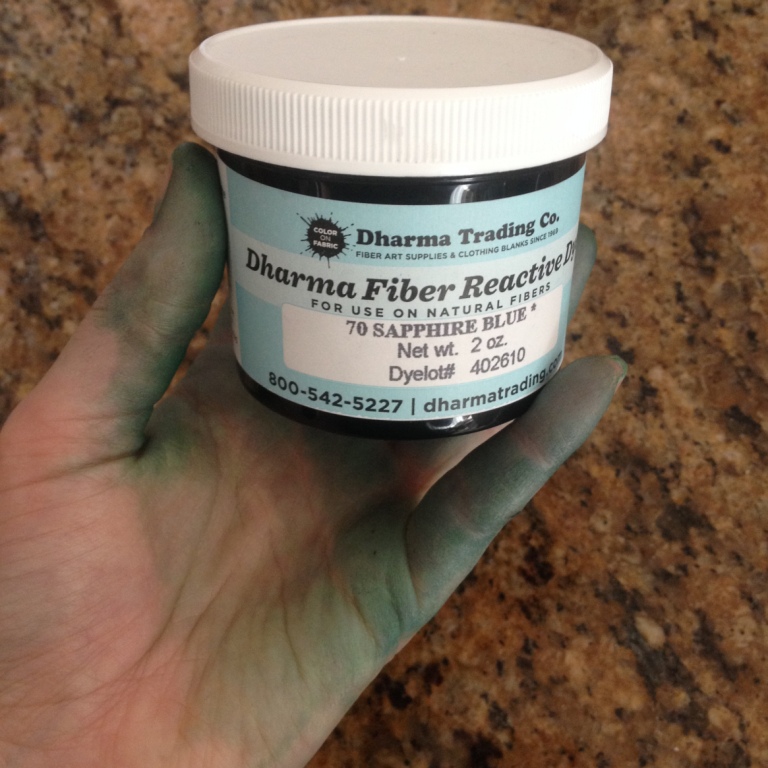


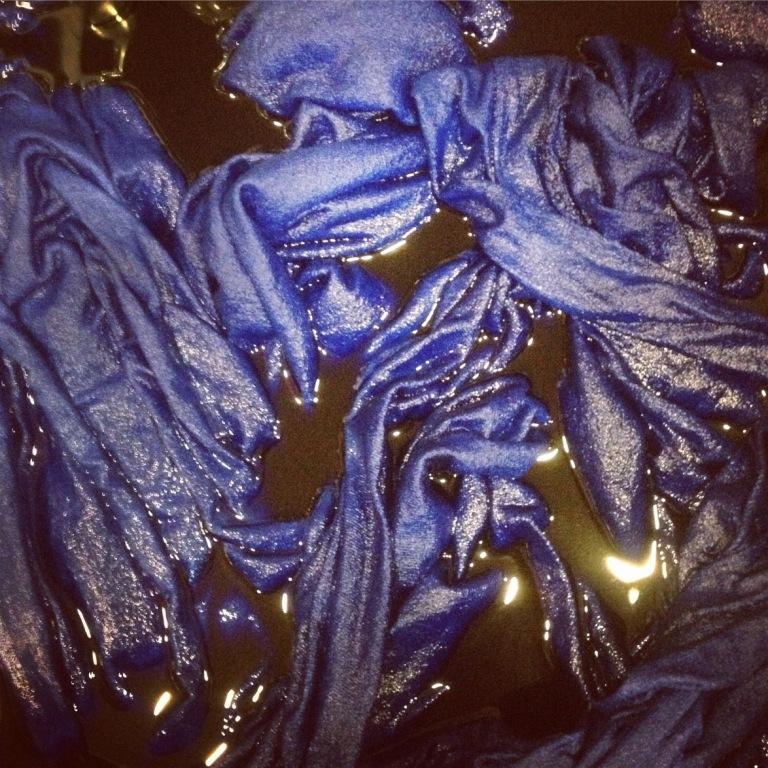
For the first batch, I placed a scrap of cotton over the top of the container which contained my dye and about 1 cup of water, secured the fabric with a rubber band, and dumped it into the sink with my salted water.  Not a great idea (especially considering I had not yet put my rubber gloves on).  The water did not funnel through the fabric quickly enough, so it had nowhere to go but climb the fabric along with the pigment onto my hands.  I felt a bit like Anjelica Huston's character in Ever After after she landed in the dye bath.


For the next batch, I covered a second container with fabric and poured the liquid into it, giving the dyed water time to seep through the cloth.  So much better!


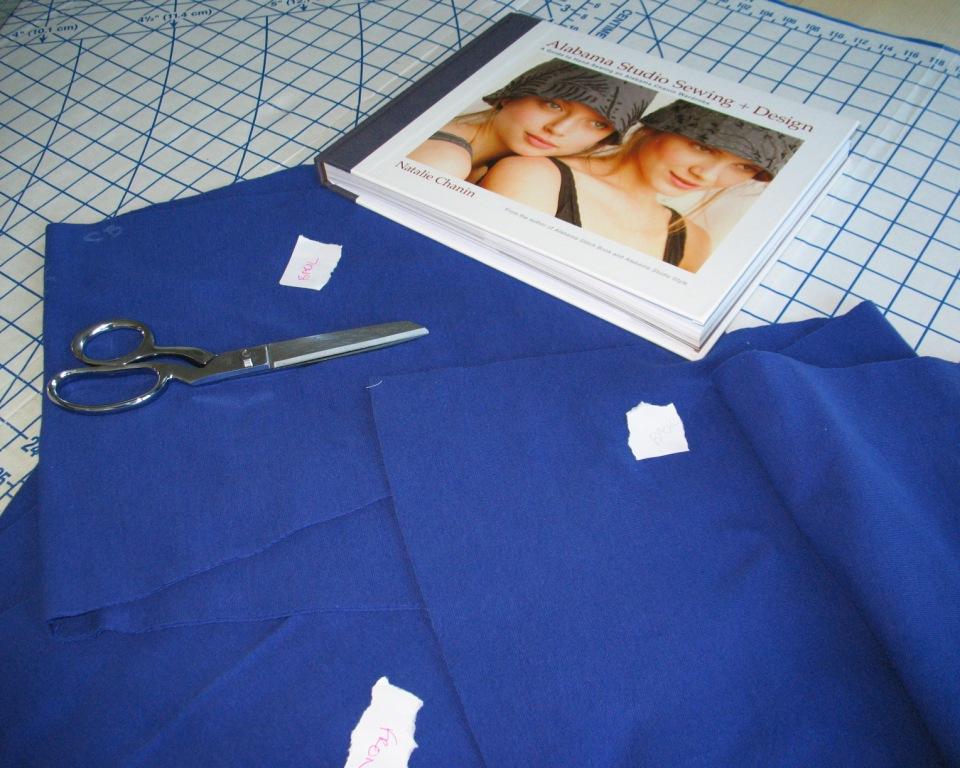
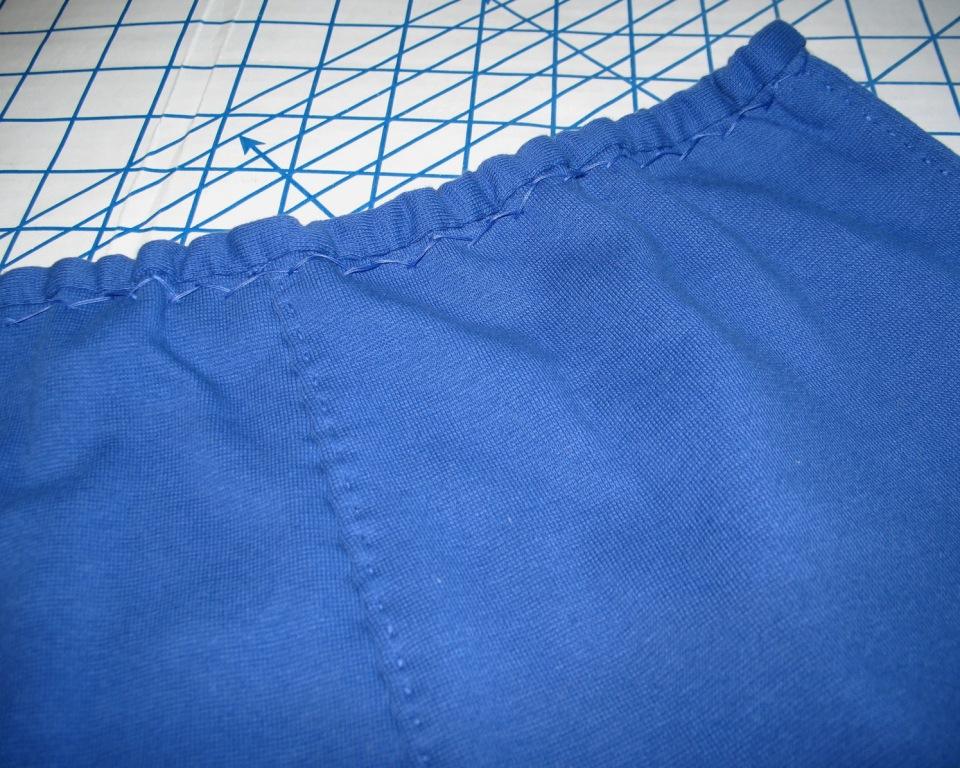
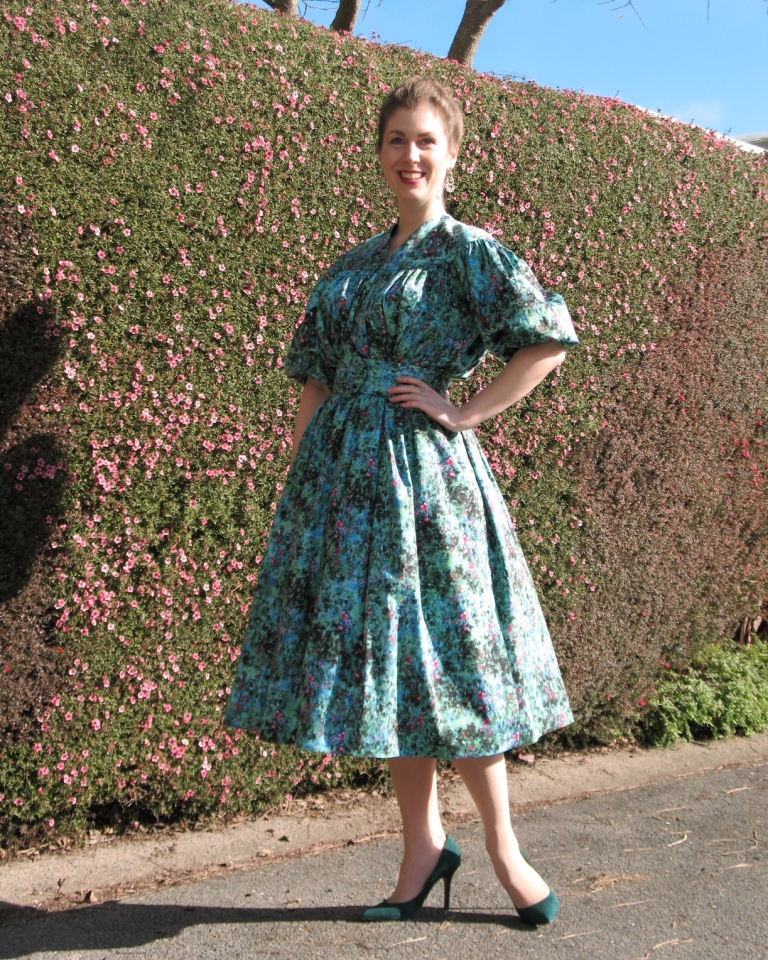
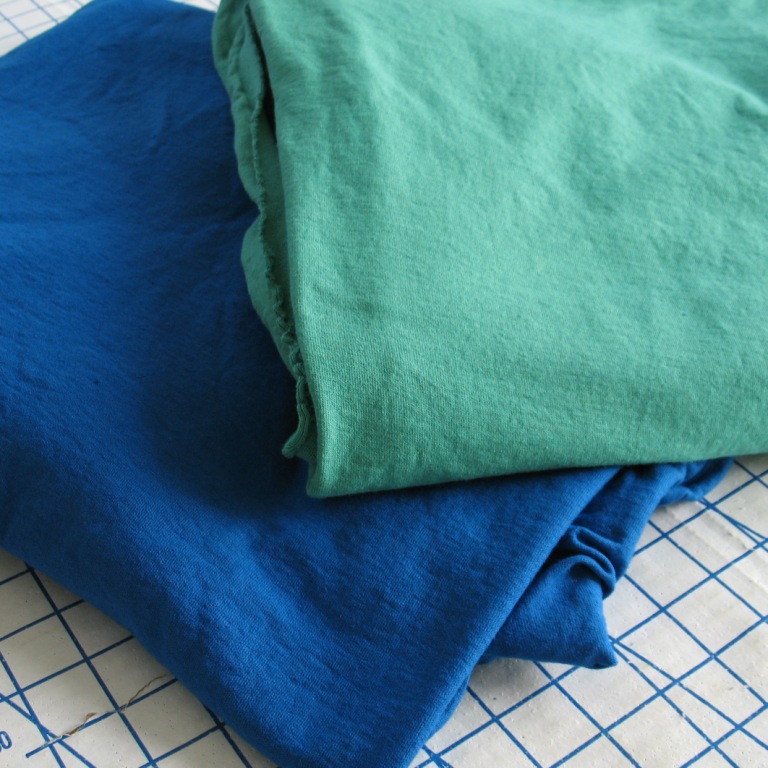
And my colors . . . Emerald and Sapphire . . . I swear I did not see the connection until I was standing at the sink and spooning the powder into a container.  I guess I have gemstones on my mind!


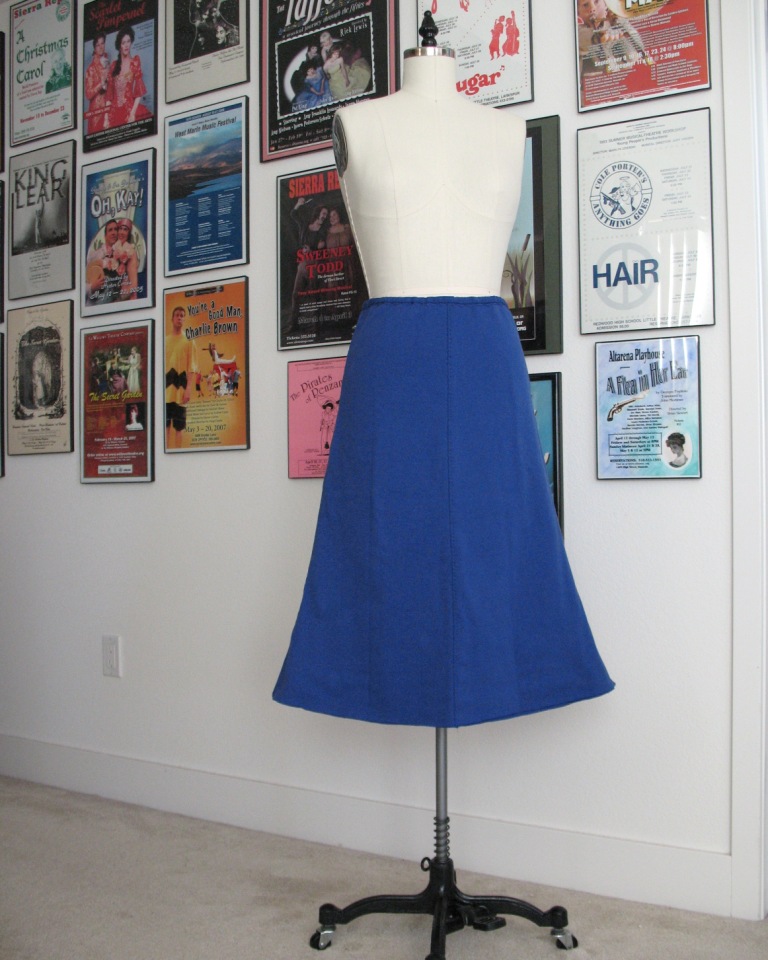
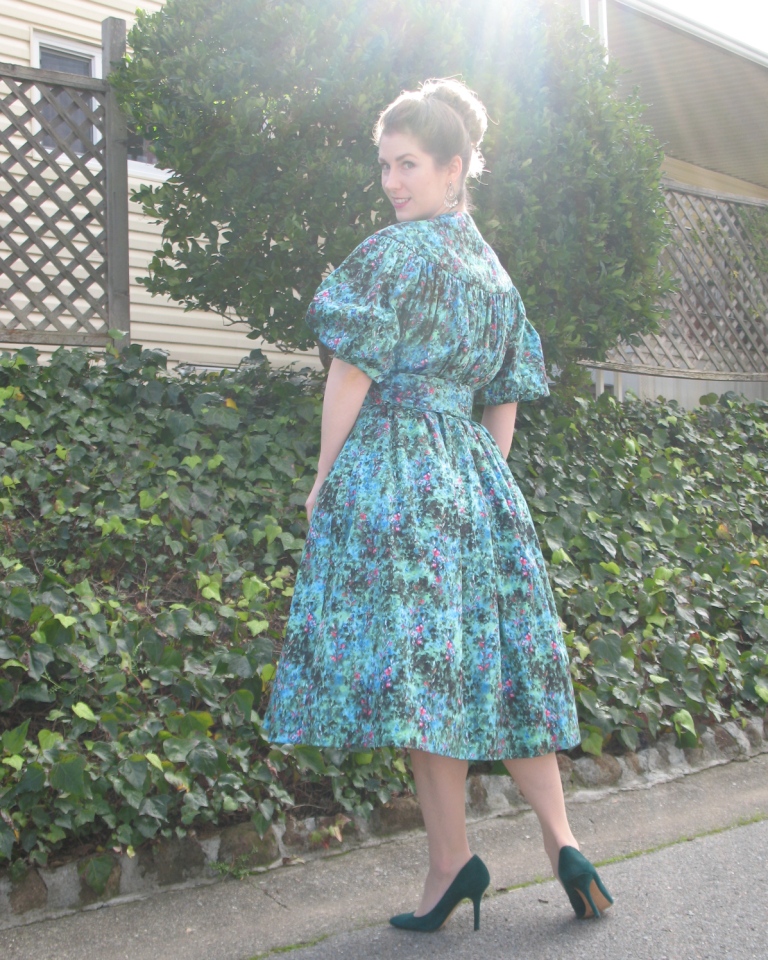
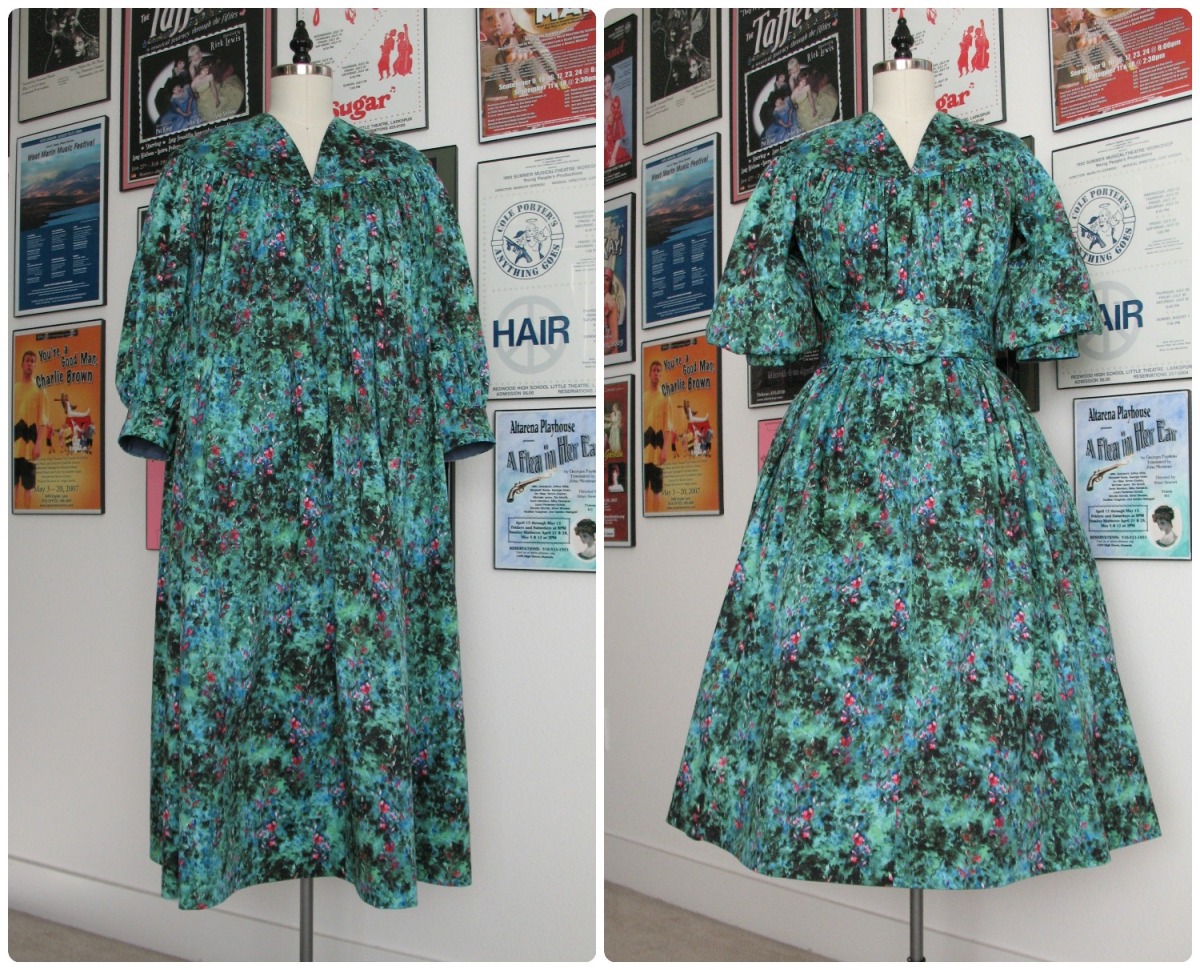
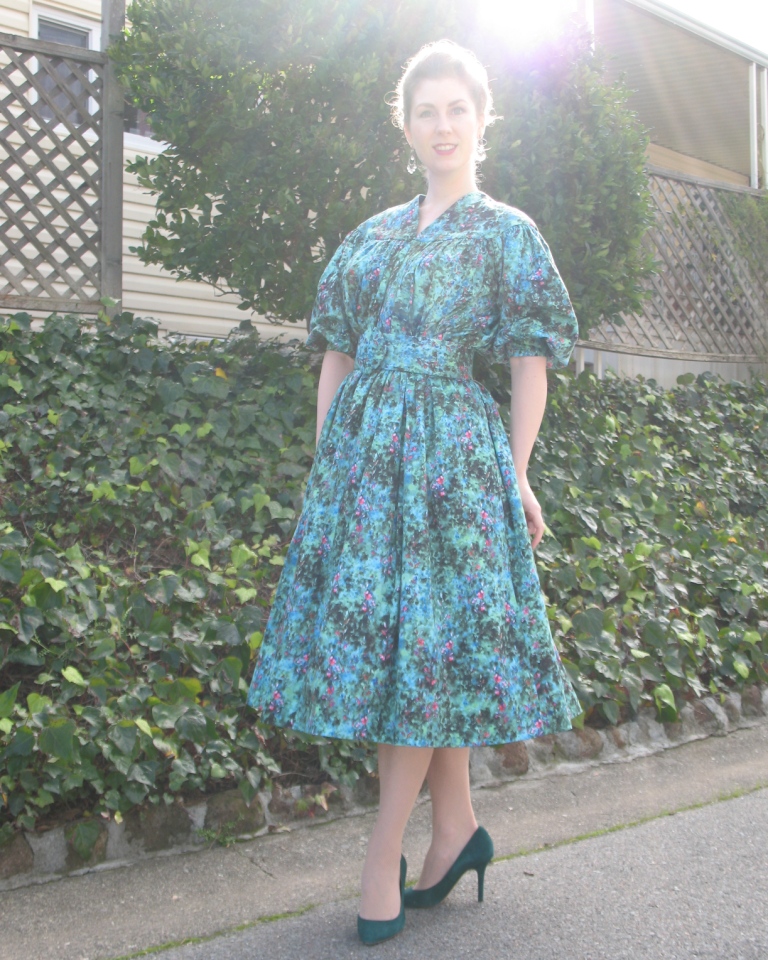
In the end, I am quite impressed with how even the color turned out.  It is certainly more work than purchasing fabric that is ready to go, but I am confident there will be more fabric dye in my future.  And, to be honest, it was not nearly as difficult as I expected . . . just a bit tedious.

Saturday, January 3, 2015

Arts & Crafts

The next step on my Alabama Chanin journey is the stencil.  Mylar stencils are available for purchase, but they are quite expensive, and I did not want to wait for the thing to show up in the mail.  Thankfully, PDF versions of the stencils are available for download on the Alabama Chanin website.


My computer/printer had a bit of a fit trying to print the stencil PDFs.  I was able to print a single page of the full size image, or the whole design on a single page that was clearly too small.  I ended up saving the PDF as an image, opening it in Paint, and printing it at full scale from there.


Natalie Chanin recommends using pennant felt as a stencil medium in her Craftsy class.  I did find a supplier, but once again, did not want to wait for the stuff to arrive.


Instead, I purchased some non-fusible heavy weight interfacing (Pellon Peltex Sew-In Ultra Firm for anyone who is interested).  It is about 1/16" thick, has a similar feel to pennant felt, and is able to be cut with an x-acto knife.  It seems to have worked quite well.  I sprayed the Pellon with some spray glue, left it to set for a few minutes, and then applied the printed image.  After all of the pieces were removed, it was easy to pull the remaining paper from the interfacing.


I have a bit of fear about x-acto knives (I blame a 6th grade science project accident) but I decided it was going to be the easiest way to get this thing done.  My technique is less than stellar because of my paranoia about slicing through a finger, and some of the smaller bits are far from perfect, but I think my hand sewing should be able to work around the stencil imperfections.

And now I have a whole lot of plain cotton jersey to dye!

Friday, January 2, 2015

Testing Testing, 1 . . . 2 . . . 3 . . .

I have decided that the new year is the perfect time to get over my fear of working with knits.  And my love of hand sewing and the Alabama Chanin aesthetic is going to get me through it!


Last month I treated myself to Alabama Studio Sewing & Design and Natalie Chanin’s Craftsy class.  I think I would recommend the Craftsy class more than the book for construction and sewing help and advice.  The book is gorgeous and has many luscious pictures of hand stitching and beading; it will definitely get you excited about hand sewing, but will not hold your hand through each and every step.


There are a few patterns included with the book; I chose the skirt as a good place to start.  They are nested on regular bond paper and most are in two disjointed pieces.  This is not especially fun to work with, but since I only needed two of them (skirt front and skirt back) it was not too much trouble.  I ended up using some tracing paper and a tracing wheel to transfer the lines to easel paper.


Before I spend hours and hours on hand appliqué, however, I decided I needed to make up the skirt pattern in a plain knit fabric.  Last week, I ran into JoAnn Fabrics to get my hands on some cotton jersey.  Except they did not have any - all of the knits had a large polyester content.  Yuck.  I ended up with a cotton rib fabric with 1 or 2 percent spandex, I think.  It is not perfect, but has at least given me a chance to practice. 


The rib knit is, of course, a bit more stretchy than cotton jersey, but it has given me the courage to move forward with this knit fabric/hand appliqué adventure.


Wednesday, December 31, 2014

2014, A Year in Review


Spadea 1251 / Gala Gown 2014 / Sirdar 1741 & Vogue 1296

As the year comes to an end, I wanted to look back at my creative output for the year.  It has been a busy one!

Lolita Patterns "Spearmint" / Vogue 4203 / By Hand London "Georgia"

The sewing community (both online and in person) has been incredibly inspiring, and for that, I will be eternally grateful.

Simplicity 1426 & Butterick 4792 / By Hand London "Georgia" / By Hand London "Anna"

I did not accomplish everything I hoped to (that never manages to happen . . . ), but for goodness sake, this hobby of mine took me all the way to New York City!

Colette "Parfait" & Capelet / By Hand London "Anna" & Beaded Collar / Simplicity 1587

I hope the next year brings even more fabulous adventures.

Colette "Parfait" / Butterick 6055 / Simplicity 1371 & Simplicity 3224

Thank you for reading along, and for all of the amazing encouragement.

Sewaholic "Hollyburn" /  McCalls 9245

Happy New Year!

Sewaholic "Gabriola" /  Spadea NS-203

And, more importantly, Happy Sewing!!

Sirdar 1741 / "Two-Tone Jumper" / "Spring Song" Lady's Blouse

Tuesday, December 30, 2014

Impressions


This was one of those projects that kept me guessing.


I received the pattern from an incredibly generous lady named Vivian earlier this year.  We met at a Britex event, and she mentioned that she had a stash of vintage patterns she thought I might like . . . would I!?!  This Spadea design was one of my favorites, but there was nothing suitable in my fabric stash, so it was put away.


But last week during a quick trip to JoAnn Fabrics, in a last minute effort to stock the sewing room with everything I would need for a sewing-filled holiday, I fell in love with this fabric and decided I could handle the 2% spandex mixed in with the woven cotton because I simply could not miss out on the color and impressionistic style of the print.  And it was just perfect for the Spadea pattern that kept popping into my head.


I was so excited, I threw the yardage in the wash as soon as I got home, followed by the dryer so I could cut right into it.


And then I started to doubt my choice of pattern and/or fabric.


It looked like a muumuu.  Not good.


Oh, the difference a belt and a petticoat can make!  I agree with the pattern illustration . . . a dress like this needs a wide belt, which meant that I did not have a suitable buckle option on hand.  And I desperately wanted to finish at least one project over the weekend.  So the only thing to do was make my own using the same technique I came up with for last year’s gala gown.


And I convinced myself to continue with the dress.  If I ended up hating it, I could always salvage the oversized pieces for something else.


In fact, there was just enough leftovers to make a straight skirt from this pattern, so that is also in the works (it was a rather successful few days of vacation on the sewing front!).


And in the end, I love my new dress!  Thank you, Vivian, for the lovely addition to my stash of vintage goodies!!


Dress:  Made by me, Lachasse of London for Spadea NS-203
Belt:  Made by me
Petticoat:  Made by me, Butterick 4792
Shoes:  Vince Camuto

Sunday, December 28, 2014

Crop Top


Somewhere in the middle of cutting out my skirt pieces, I decided that it might be possible to make a matching top from the limited amount of leftover yardage and scraps.  But it was going to be a really, really creative cutting layout.  And no second chances on this one.


Muslin time!


I loved the fit of Vogue 4203 so I borrowed the bodice muslin pieces for this project.  After narrowing the fabric intake on the darts to make it less fitted, I put the bodice and sleeves together to see if I liked the combination.  It works!


So there has been more hand basting around these parts.


This will not really be a crop top, since my midriff will be covered with the wide skirt waistband, but I am excited about a slightly different silhouette to add to my wardrobe.


My first thought was that I wanted a three-quarter length sleeve, but there was no way to squeeze two of them out of the wool.  And who knows, I may end up liking this even more than my original idea.


Saturday, December 27, 2014

Hidden Details


My wool skirt is coming along nicely.


Instead of a back vent or kick-pleat, I decided to add a godet.  I am excited to see how this added bit of shape at the back turns out.


And then there was a whole lot of catch-stitching to do.


Being a wool pencil skirt, this garment definitely needed a lining.  And I happened to have some bemberg rayon that is an almost perfect color match to the wool, which was quite handy.


The waistband is boned to help keep its shape.


I normally do my best to avoid plastic boning.  But when it is only two inches long, and will not extend past the waistline, it works.  


And I have some stashed away, so I might as well use it, right?! 


Then there was some more hand stitching . . .


Until all the pieces were put together!


Next, the bulk was graded at the waist seam.


The skirt still requires a hem, but that is for another day.