
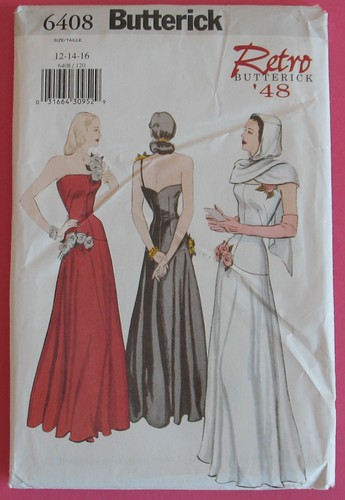
This pattern has been on my mind for the past few
years. I really love it! At least, I think I do.
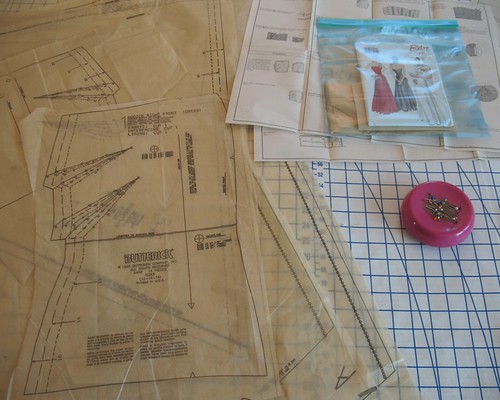
The first thing to do is pull out the pattern tissue and
inspect those direction sheets to make sure I know what I am getting myself
into!

After familiarizing myself with the directions (nothing
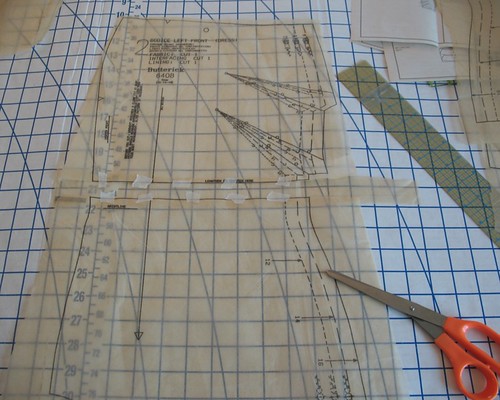
looks too crazy!) I cut all of the pieces apart. I have an old pair of scissors that I always
use for this task. There is no sense dulling my cutting scissors with paper! And I will admit that at this point I like
to be as sloppy with my cutting as possible.
It feels a bit wicked, but how fun is it to slice through something with
abandon, when you usually have to be so careful?!
And then comes a quick iron to get everything to lay flat.
Large pattern pieces are always a bit of a bear to work
with. The skirt on this gown requires
not only one extension piece, but two!
That means that the skirt is so large that the tissue cannot accommodate
it, and my table will have the same problem.
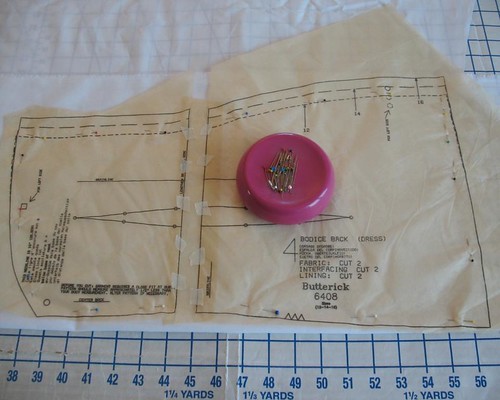
Not only that, the back skirt has an extension AND is cut on the fold. With my slick fabric, I will probably cut one
out of muslin so I do not run into grain issues.
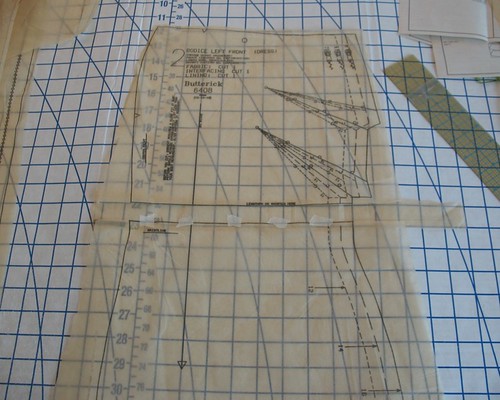
I know that some will consider cutting a pattern piece in
two sacrilegious, but I cannot think of a bodice pattern that I have made in
the past 10 years that could not be improved by adding length. So in the interest of cutting down on the
number of muslins I will be making, I am making this initial alteration before
I begin cutting into my scrap fabric.
[I will also say that I never cut into vintage patterns. I am not sure why I decided on this rule, but for me, something that was printed prior to me becoming obsessed with this craft is safe from my scissors. I suppose everyone has their silly quirks, and that is one of mine.]
I iron all those extra bits of unmarked tissue and mark my
¾” strips in pencil. Waste not, want not! I like to tear up
bits of masking tape to match the two pieces together (sorry to everyone who is
wincing in pain). Masking tape will not
melt should the pieces have to be ironed at some point like scotch tape
will. But since I plan on transferring
everything to muslin right away, I do not anticipate this being a problem.

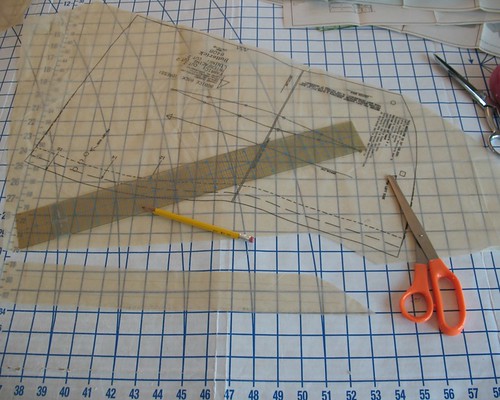
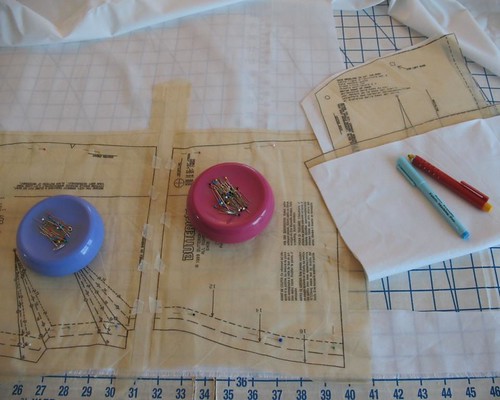
To insure that the bodice, now in two pieces,
is matched correctly, I use my gridded mat and match the grainline running
through both pieces along one of those blue lines. If the grainline marking is only on one half
of the bodice, I use a ruler and extend the line so I have something to work
with. This is especially important
because unless the outer edge is a straight line, chances are the extension will
cause the line to be a bit off where the extra piece is added.
With a multi-sized pattern, next I need to decide what size
I am going to be cutting. Generally,
these Butterick patterns have quite a bit of extra ease built in. However, this time around, I think I am going
to go up a size. The tissue actually
notes that the bodice should be SMALLER than your bust measurement. Because of this, the size 12 finished measurements look a bit scary to me.
As the two front bodice pieces are different shapes, I have to remember to cut them right side up, or will end up
with pieces that do not match.
No matter how long I have been doing this, designs that are
not symmetrical always give me pause when I am cutting fabric.
So I have just under a month to put something together . . .
we will see how it goes!
What a wonderfully exciting project! I think every lady, even if she isn't hitting balls right, left, and centre, needs a sublimely beautiful evening gown or two in her closet.
ReplyDelete♥ Jessica
This looks great. I cant wait to see the progress. I am with you with the bodice lengthening, and do it at the paper cutting stage too! I have made so many over the years I know I will need to and as you say it saves work later. My last gown was a 1920s one in red crushed velvet for a murder mystery night. Oh how I remember all that fabric on the floor because I didnt have room anywhere else!!It was all worth it in the end though and Im sure yours will be too.
ReplyDeleteThat pattern is super glam!!! Can't wait to see it x
ReplyDeleteHope your gown is a smashing success! Couple of little hints you might like to try. Instead of masking tape you might try Micropore tape, this is a medical paper based tape, it does not melt and stays very soft..at one time Nancy's notion carried it otherwise any medical supply store, it comes in many widths from 1/4" to 3". Also you mentioned your fabic was very slippy..when you cut if you put light paper under the fabric and your pattern piece on top and pin through both it makes a "sandwich" cutting will be easier. Added advantage..with no slipping, upper and lower cut pieces are the same size & without distortion..
ReplyDeleteGood luck, have fun and happy sewing
Any particular reason you chose a repro pattern and not a vintage original? (Just curious). Can't wait to see the gown made up!
ReplyDeleteI would say availability and price are major factors. That, and it is nice to purchase something and know that it is going to be complete!
DeleteI purchased this Butterick on sale years ago. Also, I have been meaning to work with some super fancy rayon yardage that I have stashed away, and the idea just came together! It is always a good sign when things just come together at the right time.