
The first step after cutting the fabric was to underline the
skirt back with a layer of silk organza.
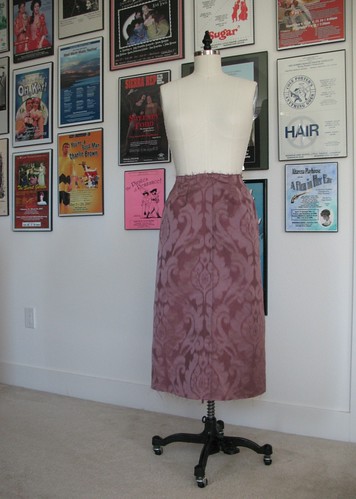
The fabric is a silk/linen blend, and I think the extra layer will help to minimize wrinkles and bagging.

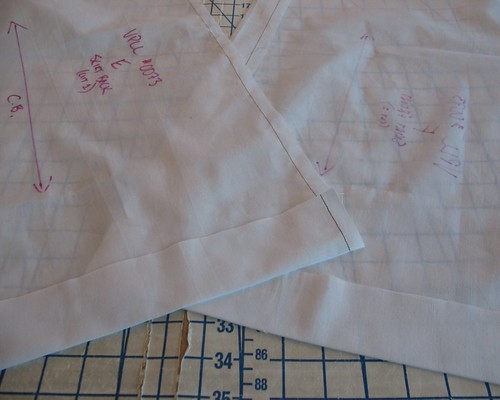
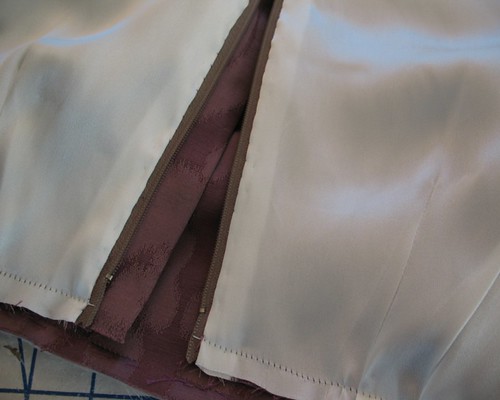
The opening is at the center front with a false fly, so
there was quite a bit of pinning and basting to get the print matched up.

This pattern does not use a lining, which is not all that
surprising. A slip was an essential part
of everyday wear when this pattern was produced in the 1950s. But I am not sure whether or not the weather
will be slip appropriate, or if I will feel like wearing one, so I thought it
would be a good idea to line the skirt portion of the pattern.

This rayon satin from Dharma Trading Company is something I
had on hand, and is a perfect lining fabric.
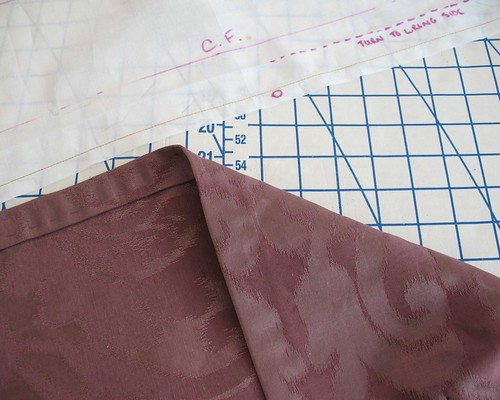
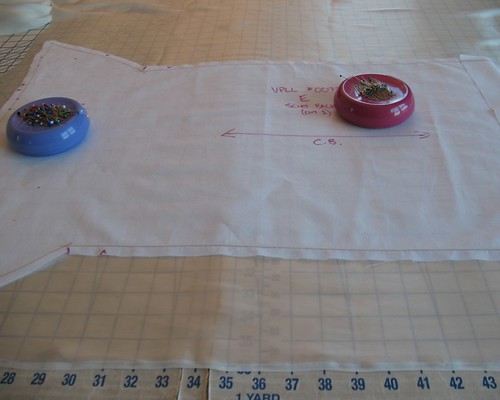
All of that fold business at the front is not necessary for the lining, so I
removed that. Happily, the pattern has a
center front line drawn in (less work for me!).
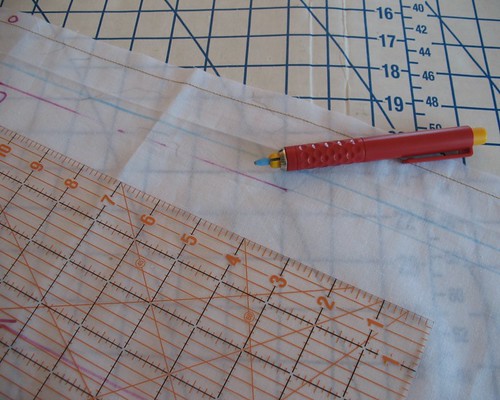
I extended that marking the length of the center front, added a seam
allowance, and folded the extra portion under before cutting the lining.
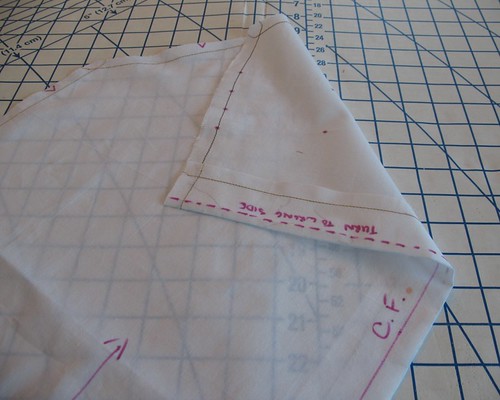
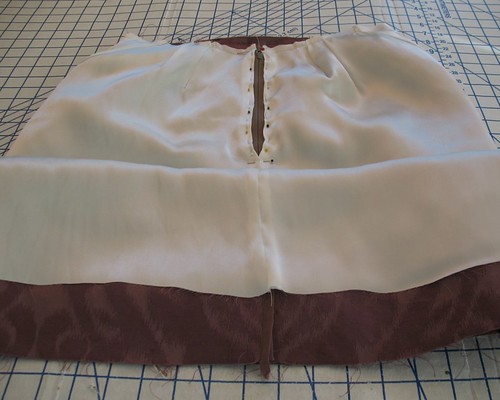
Of course, straight skirt linings need to be a couple of
inches shorter than the skirt to keep them hidden when you sit down, so I
folded two inches up on the hemline.
This also saves fabric!
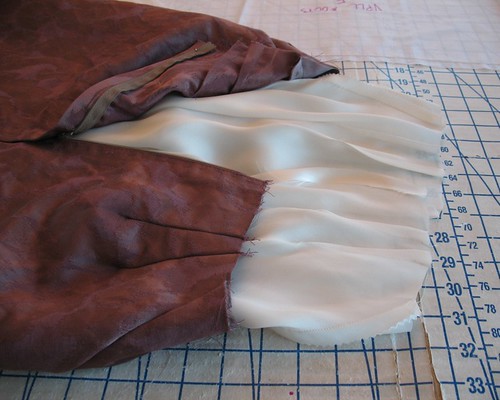
I am walking on the wild side and have left the skirt seam allowances raw
– gasp! The rayon is a bit shreddy on
the grain, so I did pull out the pinking shears.

Wrong sides together, the lining gets stuffed inside the
skirt.
When I am working with a lining, I like to balance
darts wherever possible. Instead of pressing the lining darts towards the center of the piece, they are pressed in the opposite direction. Some couture pieces will even add an extra piece of fabric to balance the bulk of a dart. I have never gone that far, but when I am already working with two layers of darts, I make sure they face in opposite directions.

The upper edges are stitched together.

Now I feel like I am finally getting somewhere!
[Britex has generously provided the fabric and sewing
supplies for a dress I will be wearing to a formal event in October. I will be sharing some of the steps and
construction techniques with you as I work on this project over the next couple
of months.]
Thank you so much for taking the time to blog all the sewing details. I always learn something! I can't wait to see the finished dress!
ReplyDeleteVERY excited to see the finished project. That burgundy color is one of my favorites.
ReplyDeleteWow, Laura Mae! It's really coming together and, of course, looking fabulous!
ReplyDeleteIt's positively beautiful! That fabric is so refined and elegant. (OT, but love your wall of musical posters!)
ReplyDelete♥ Jessica
I used to drive passed Dharma all the time on my drives between Livermore and Santa Rosa--I had no idea they had fabric. I thought they were strictly fabrics DYES!
ReplyDeleteThe fabric room is a bit hidden, but it's there! The only color choice is white, but they do have excellent deals.
DeleteSuch lovely details and so clean.
ReplyDelete